WAFL Colts Player Focus: Angus Sheldrick (Claremont)
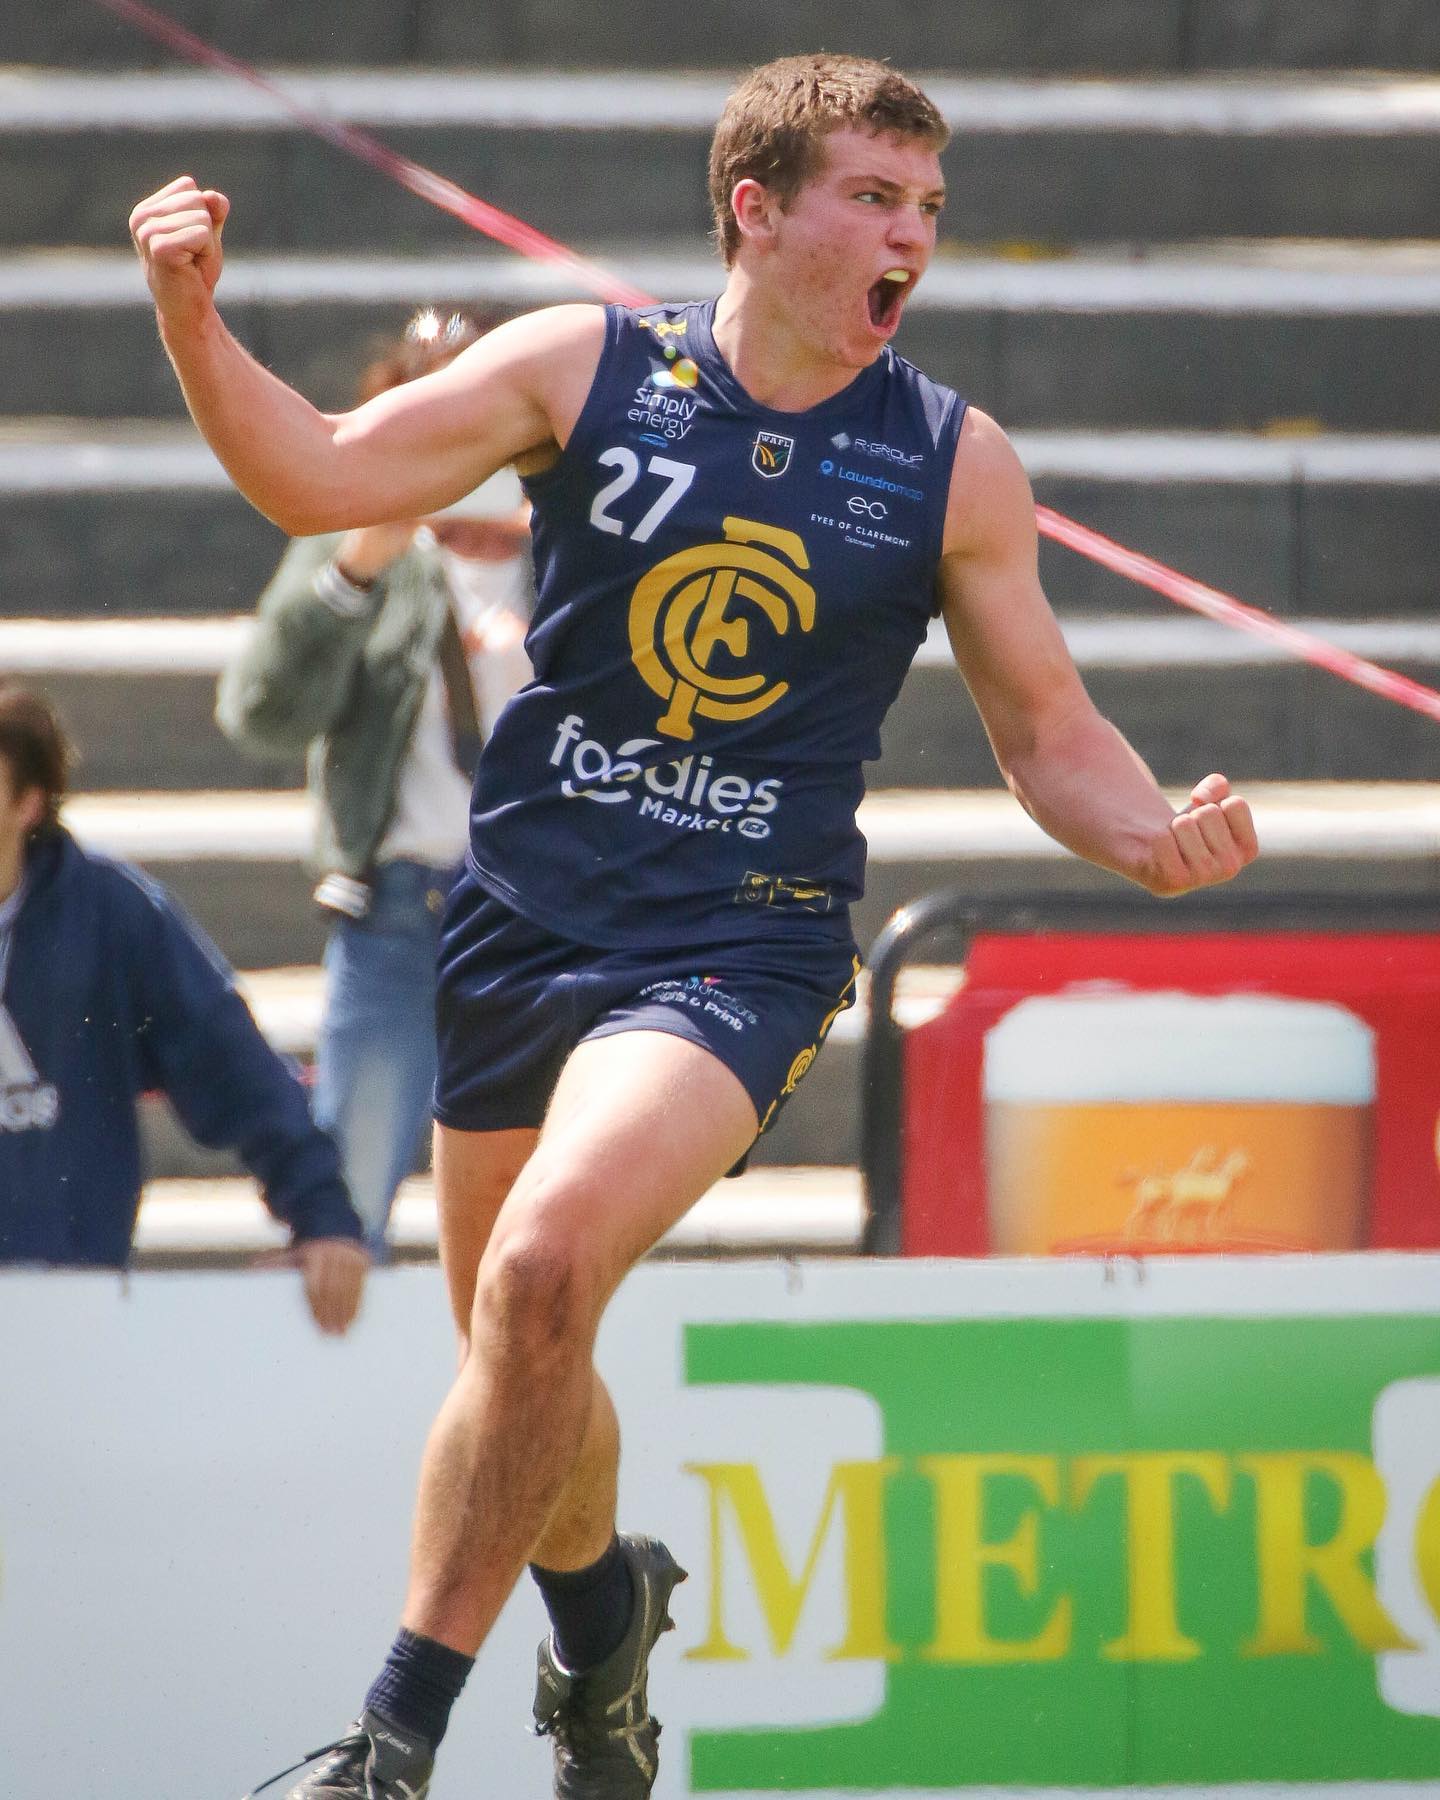
POCKET PROFILE
Angus Sheldrick Claremont/Western Australia
DOB: 7/11/2003 (17-years-old) Height/Weight: 179cm/88kg
Position: Inside Midfielder Strengths: Contested work, strength, work-rate
2021 Averages: WAFL Colts (7 games)
26.7 disposals | 3.9 marks | 4.7 tackles | 6.3 inside 50s | 0.6 goals (4 total)
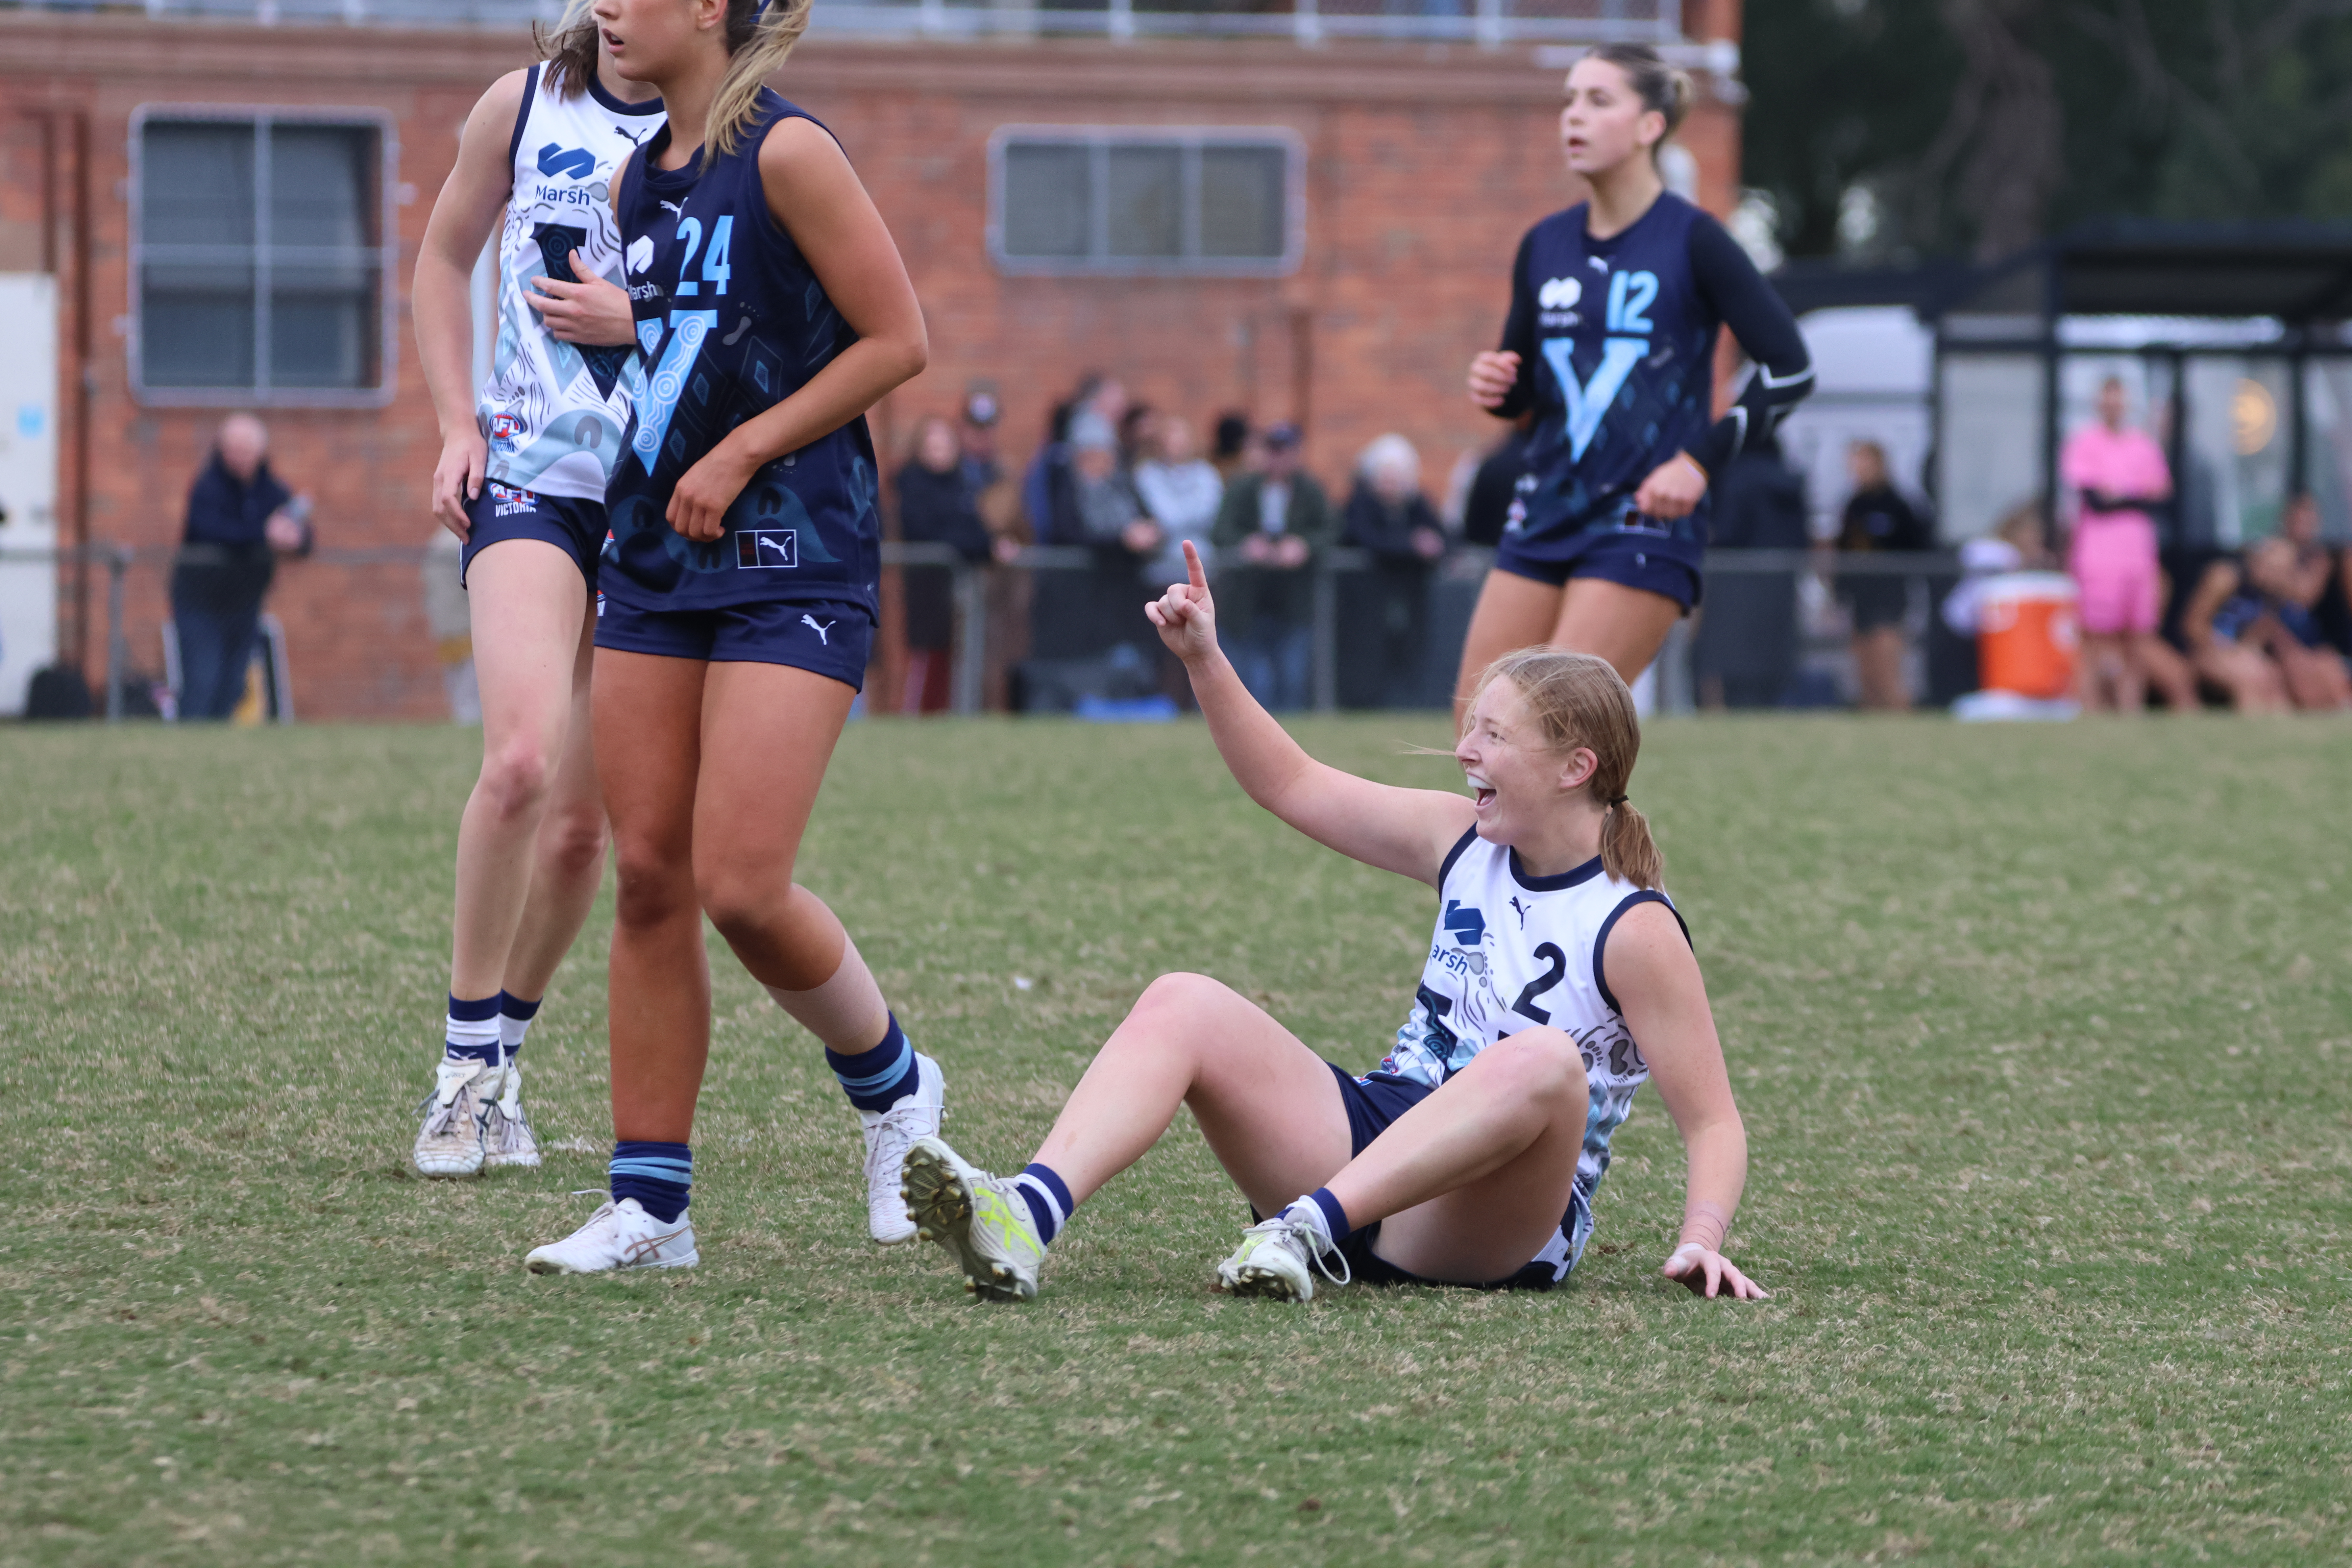
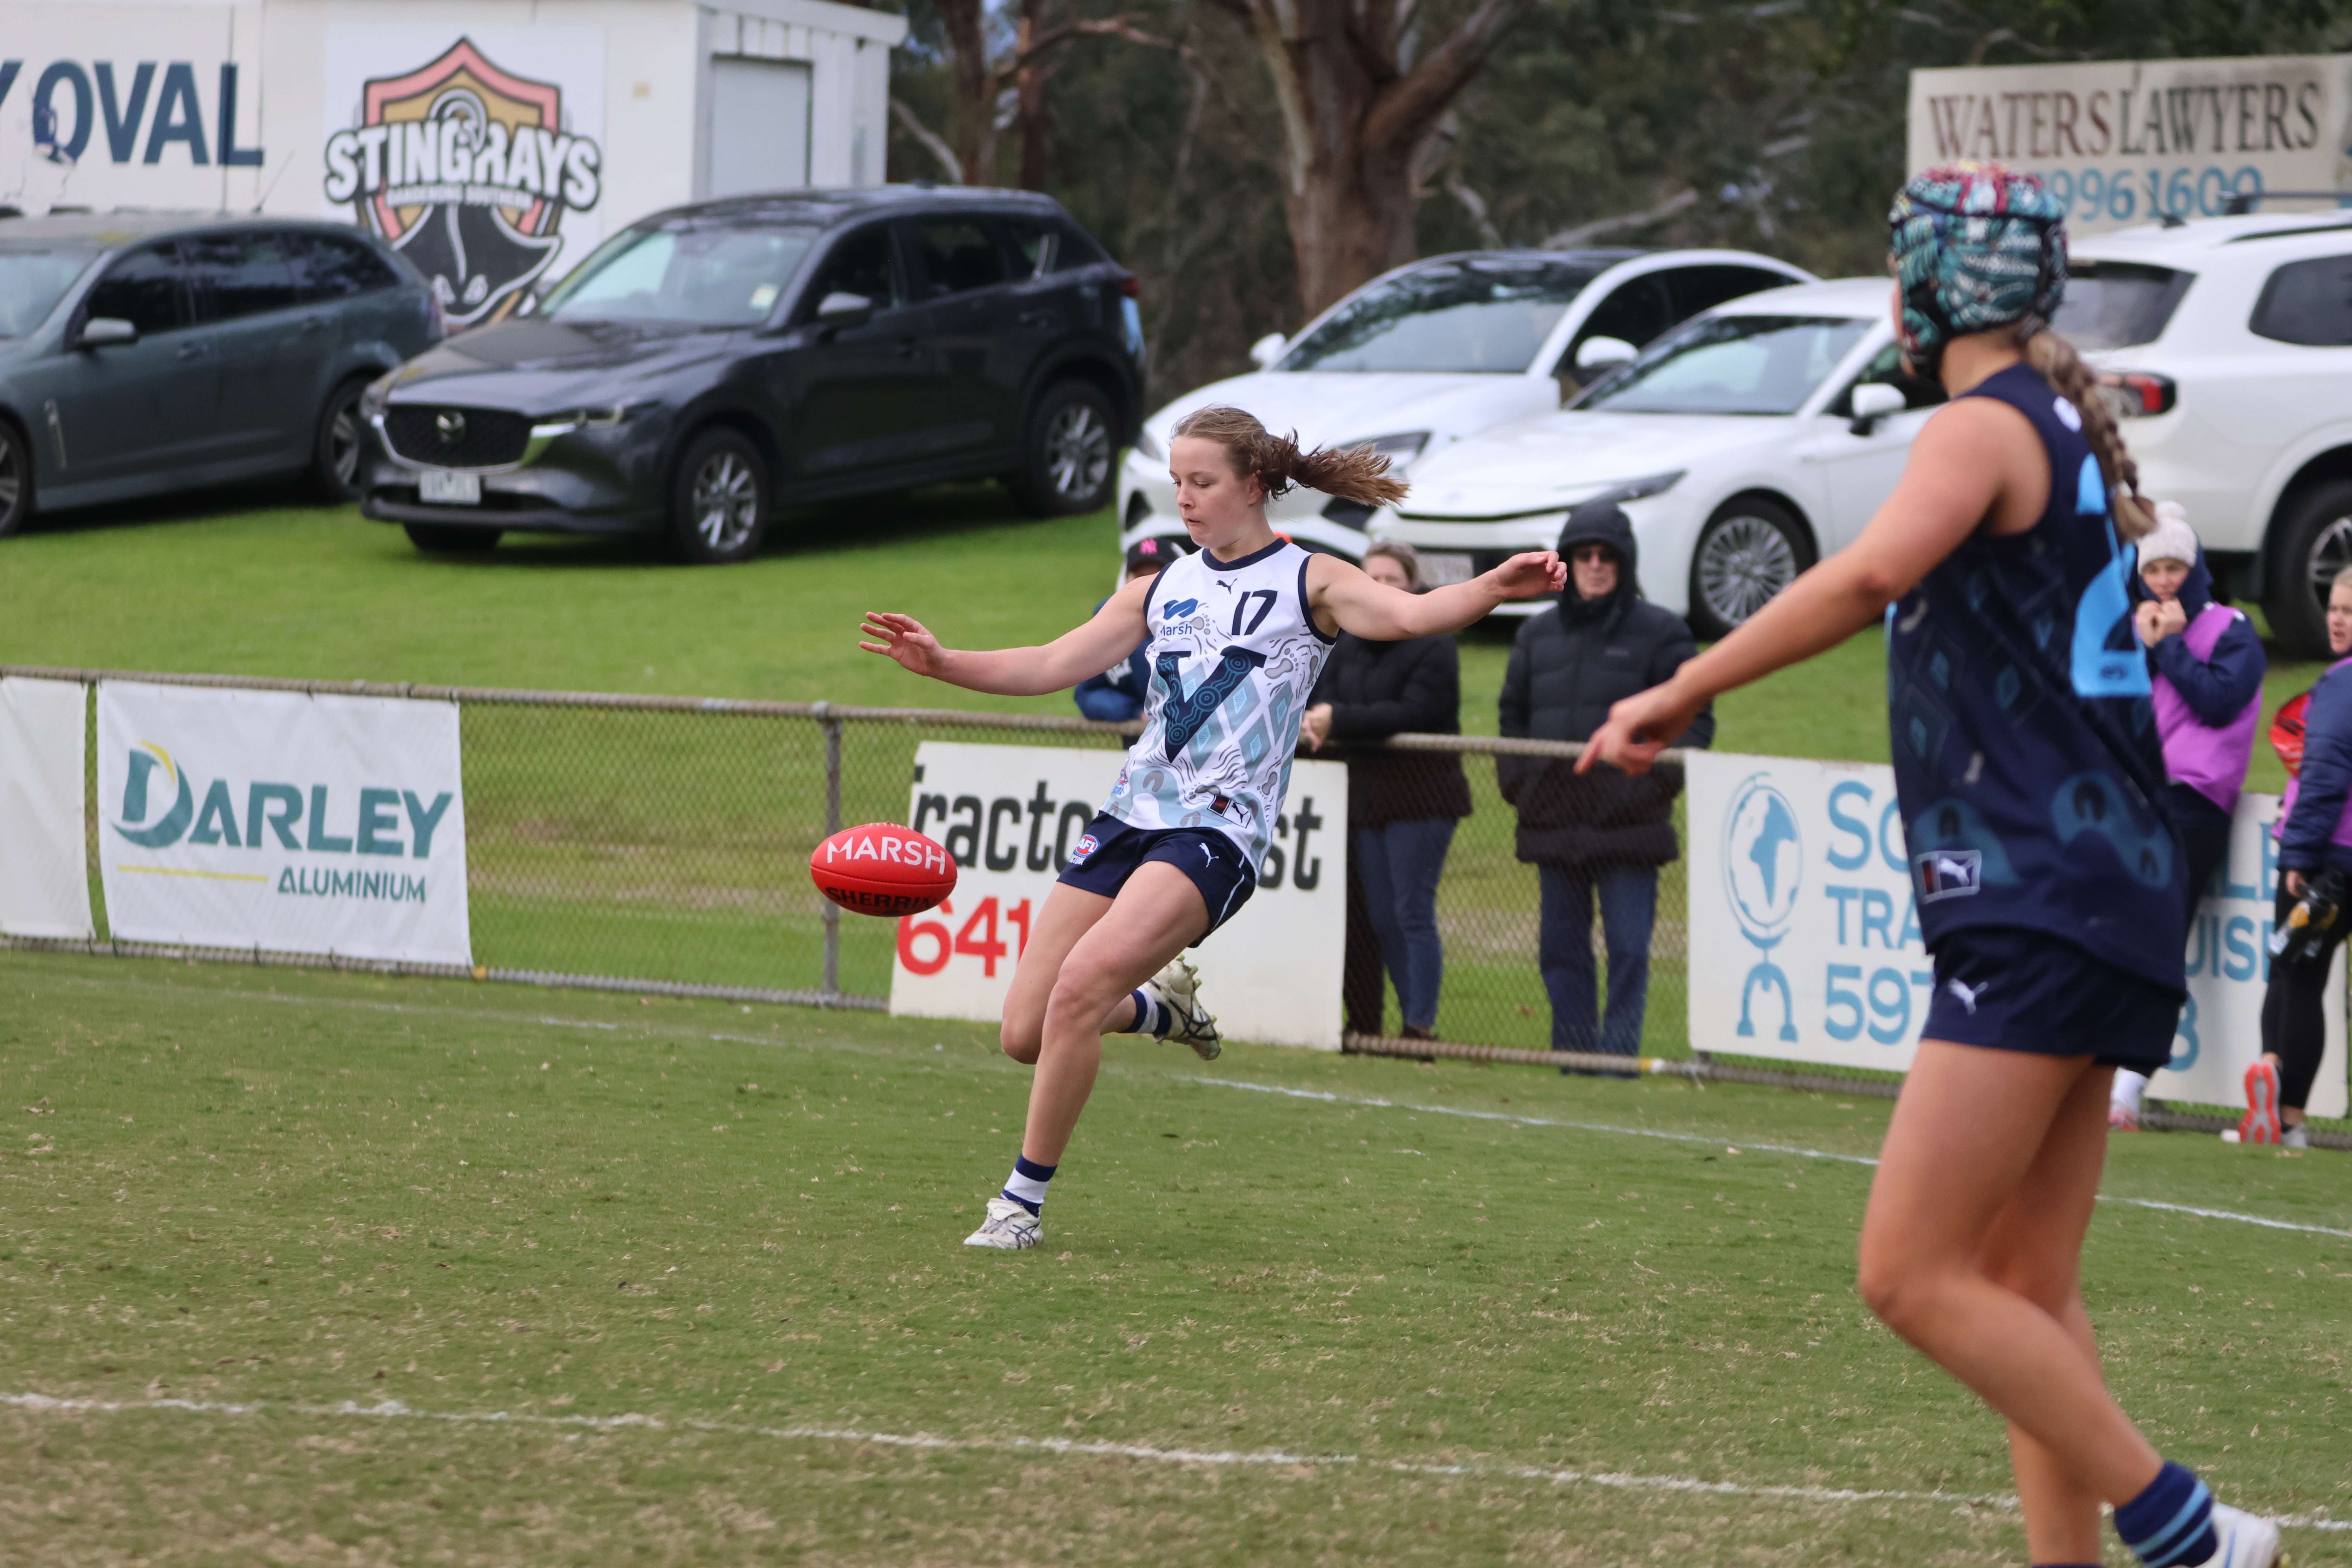
Scouting Notes: 2026 AFLW U18s – Vic Country vs. Vic Metro
VIC COUNTRY avoided a winless national carnival and finished the AFL Women’s Under 18 Championships on a high with an impressive 10-point win over rivals Vic Metro. Country booted four last quarter goals into the breeze which proved the difference, with only one goal a quarter kicked up that end previously in the match. The […]
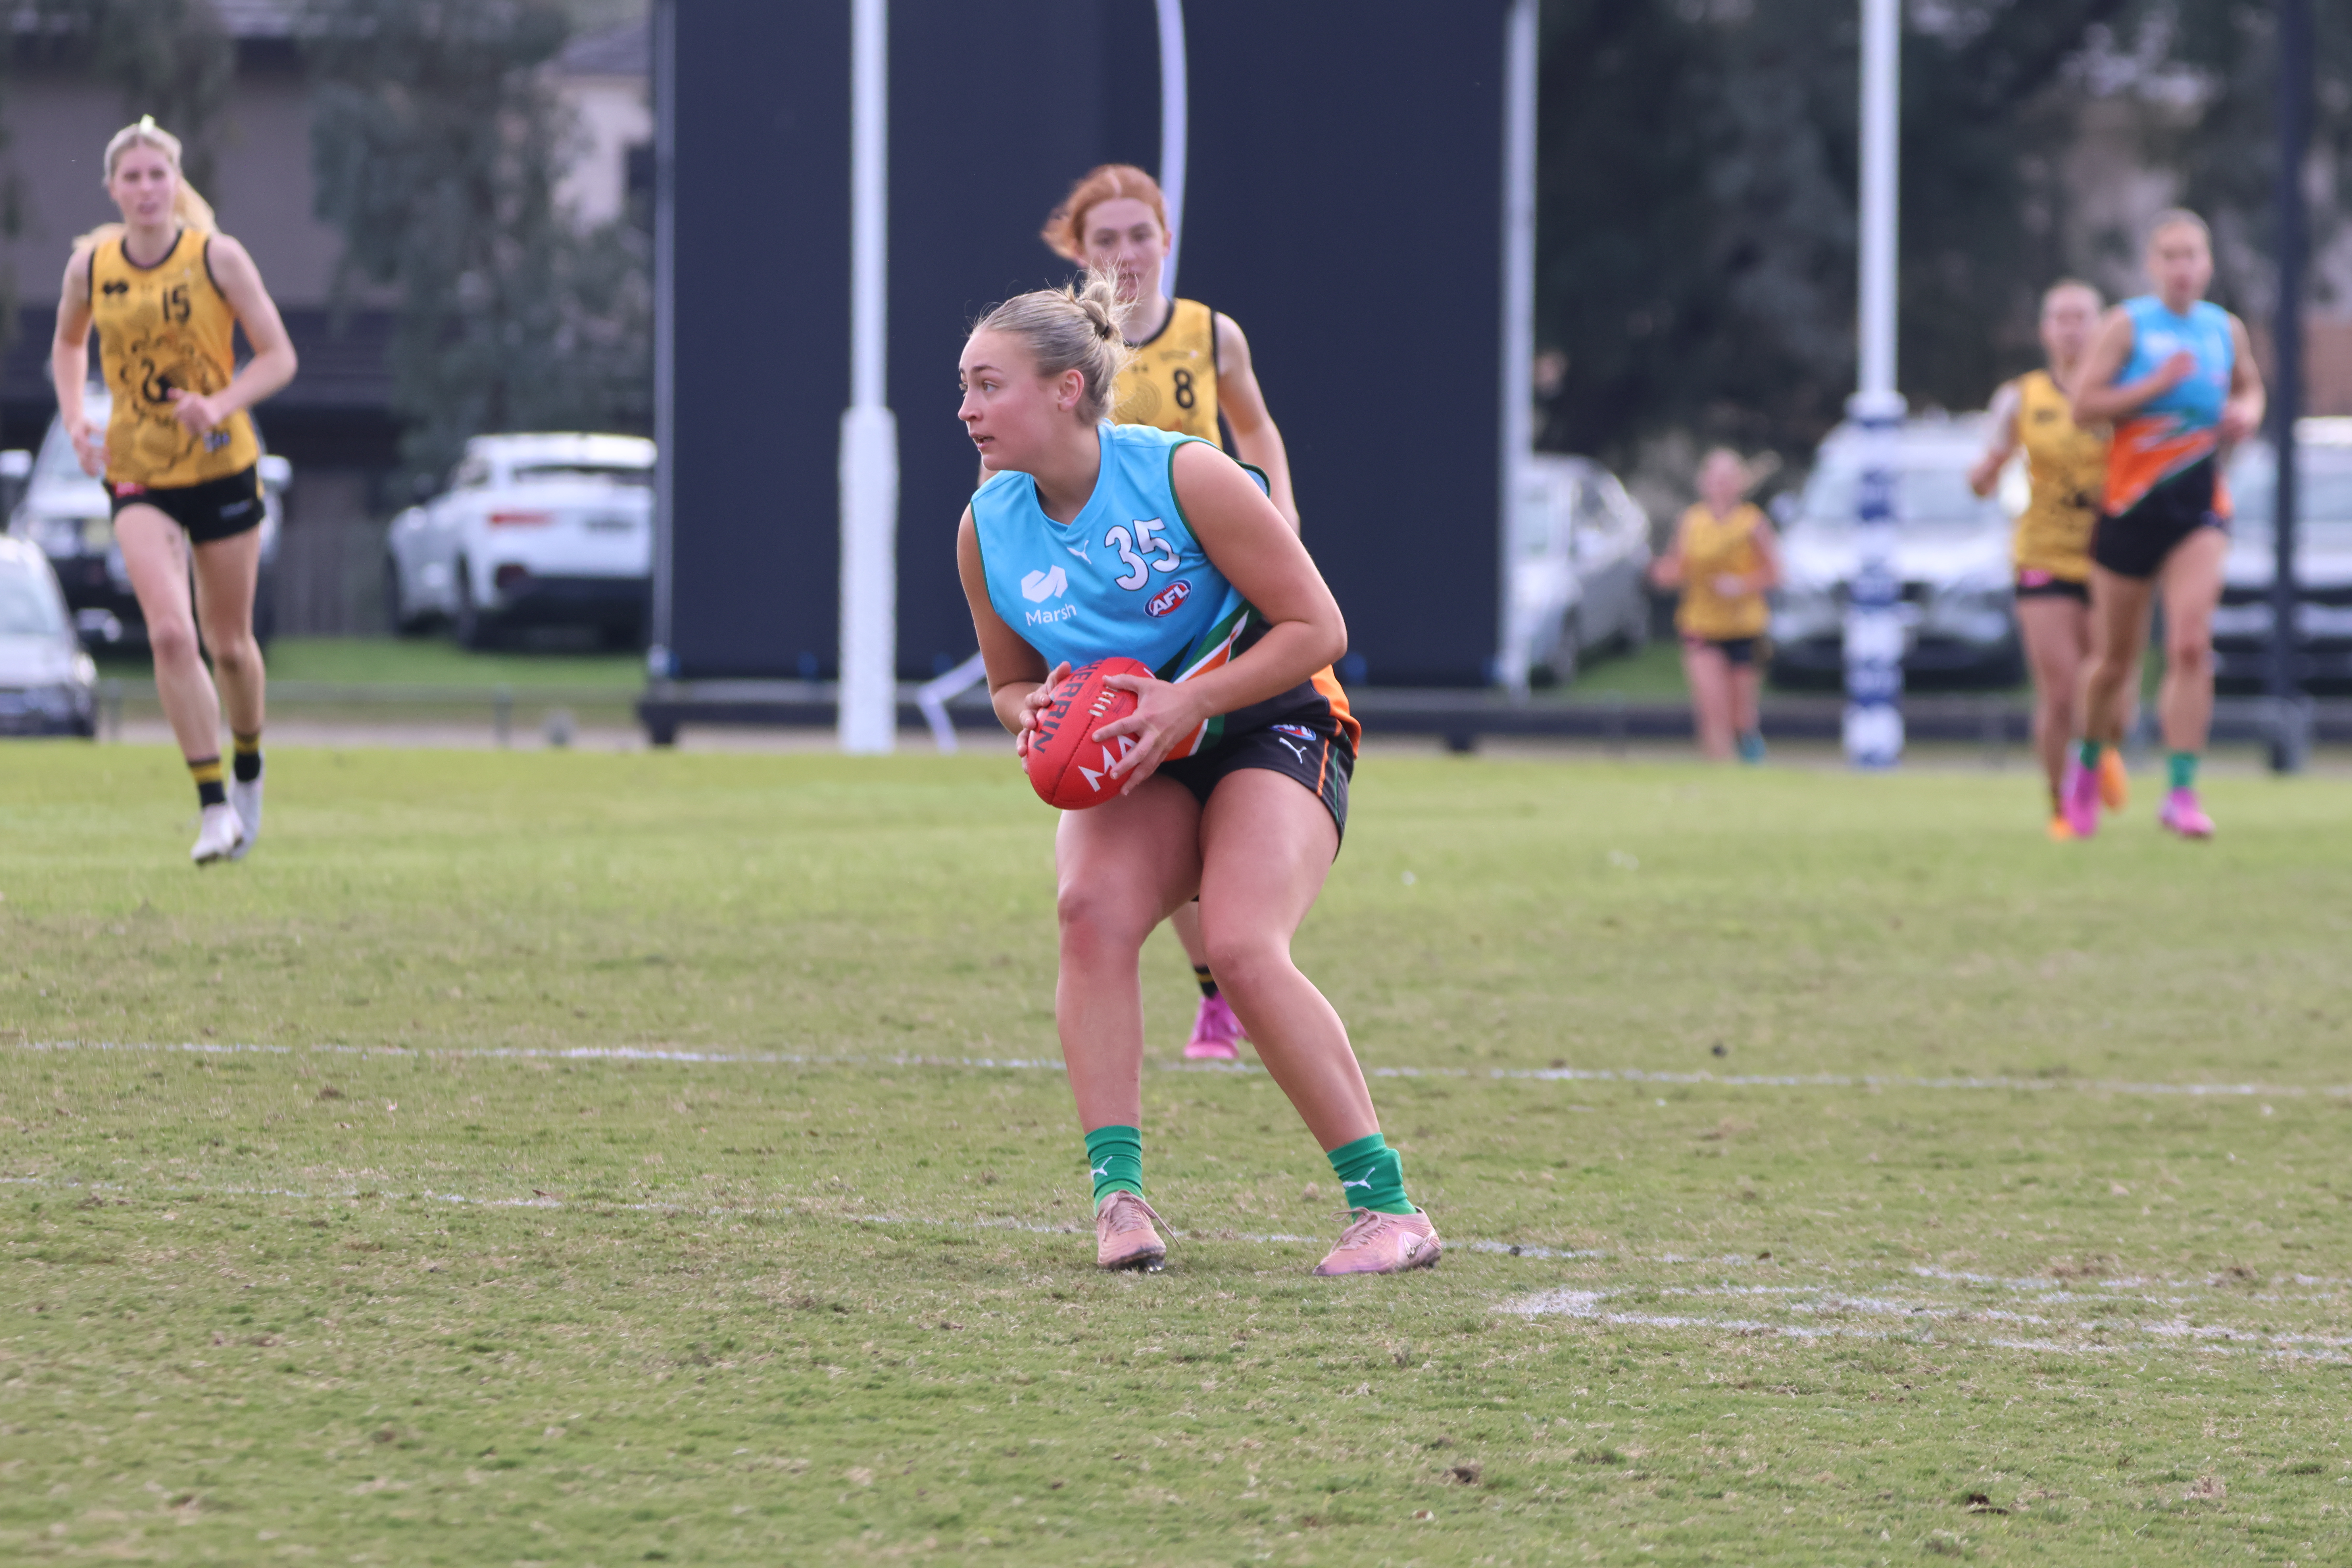
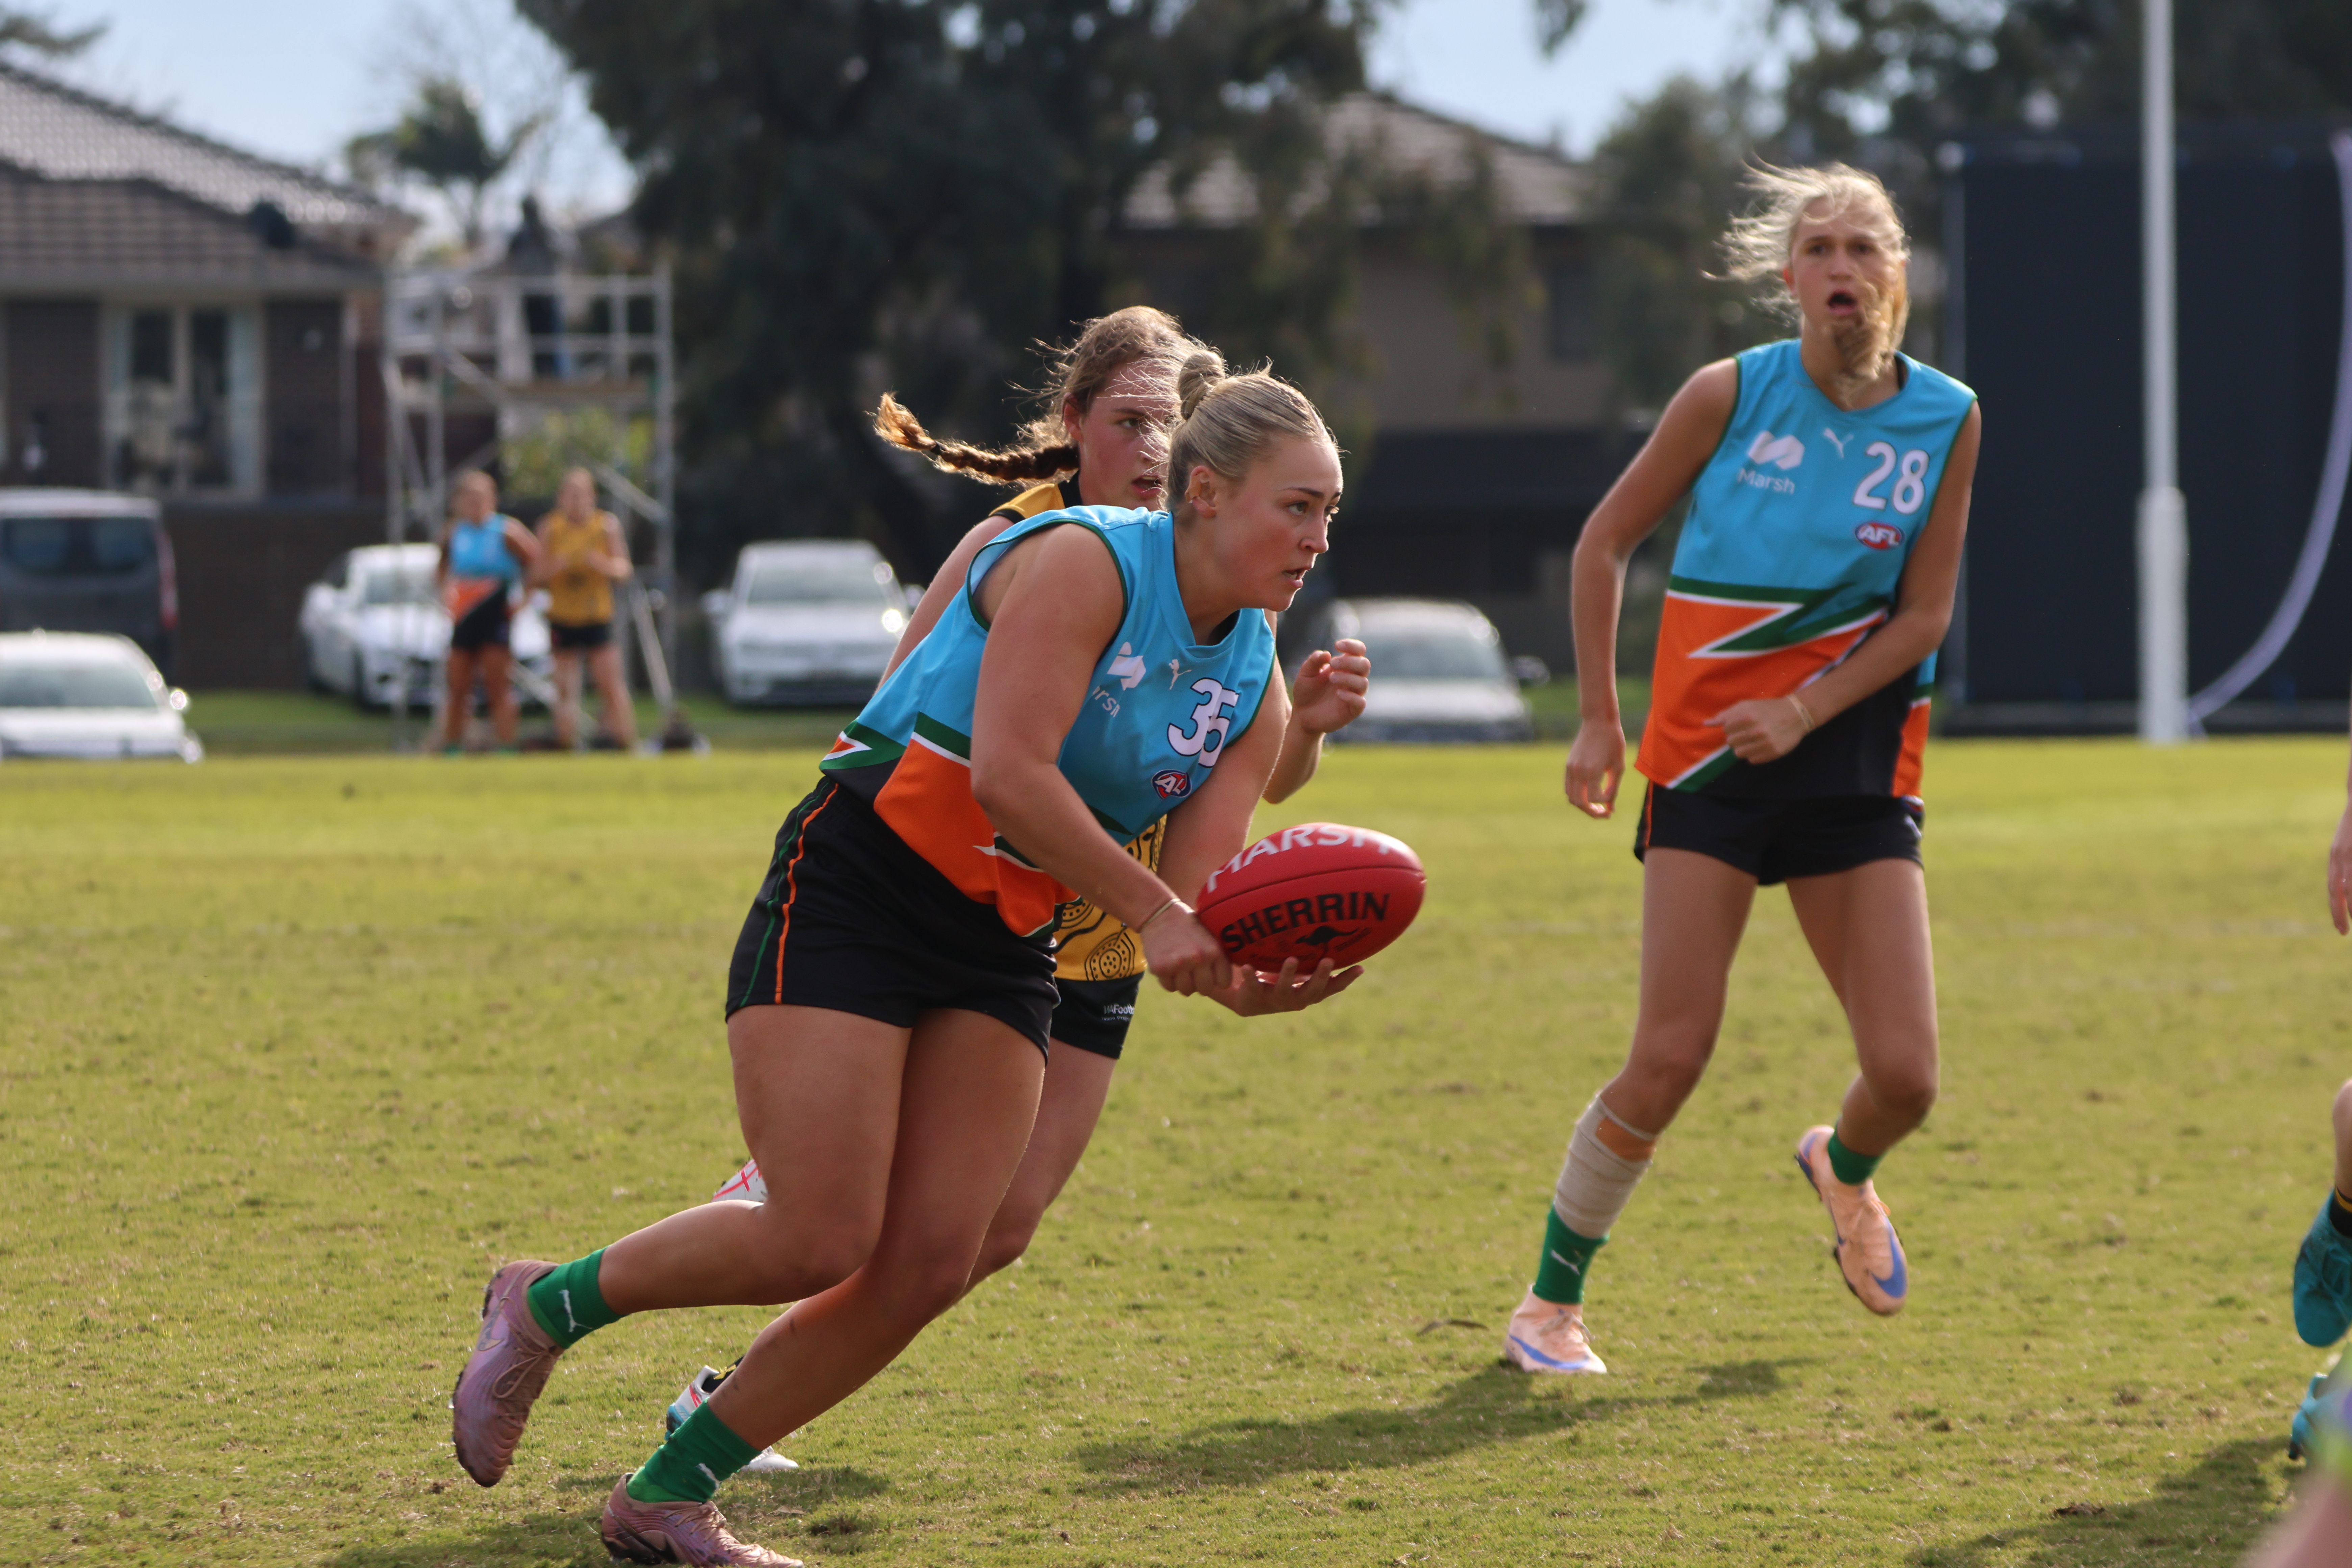
Scouting Notes: 2026 AFLW U18s – Allies vs. Western Australia
AN IMPRESSIVE finish to the 2026 AFL Women’s Under 18 Championships saw the Allies snatch second spot overall with a 29-point victory over Western Australia. In the second game of the last day triple-header at Shepley Oval, the Allies got up 8.12 (60) to 4.7 (31) thanks to six goals to two after quarter time. […]
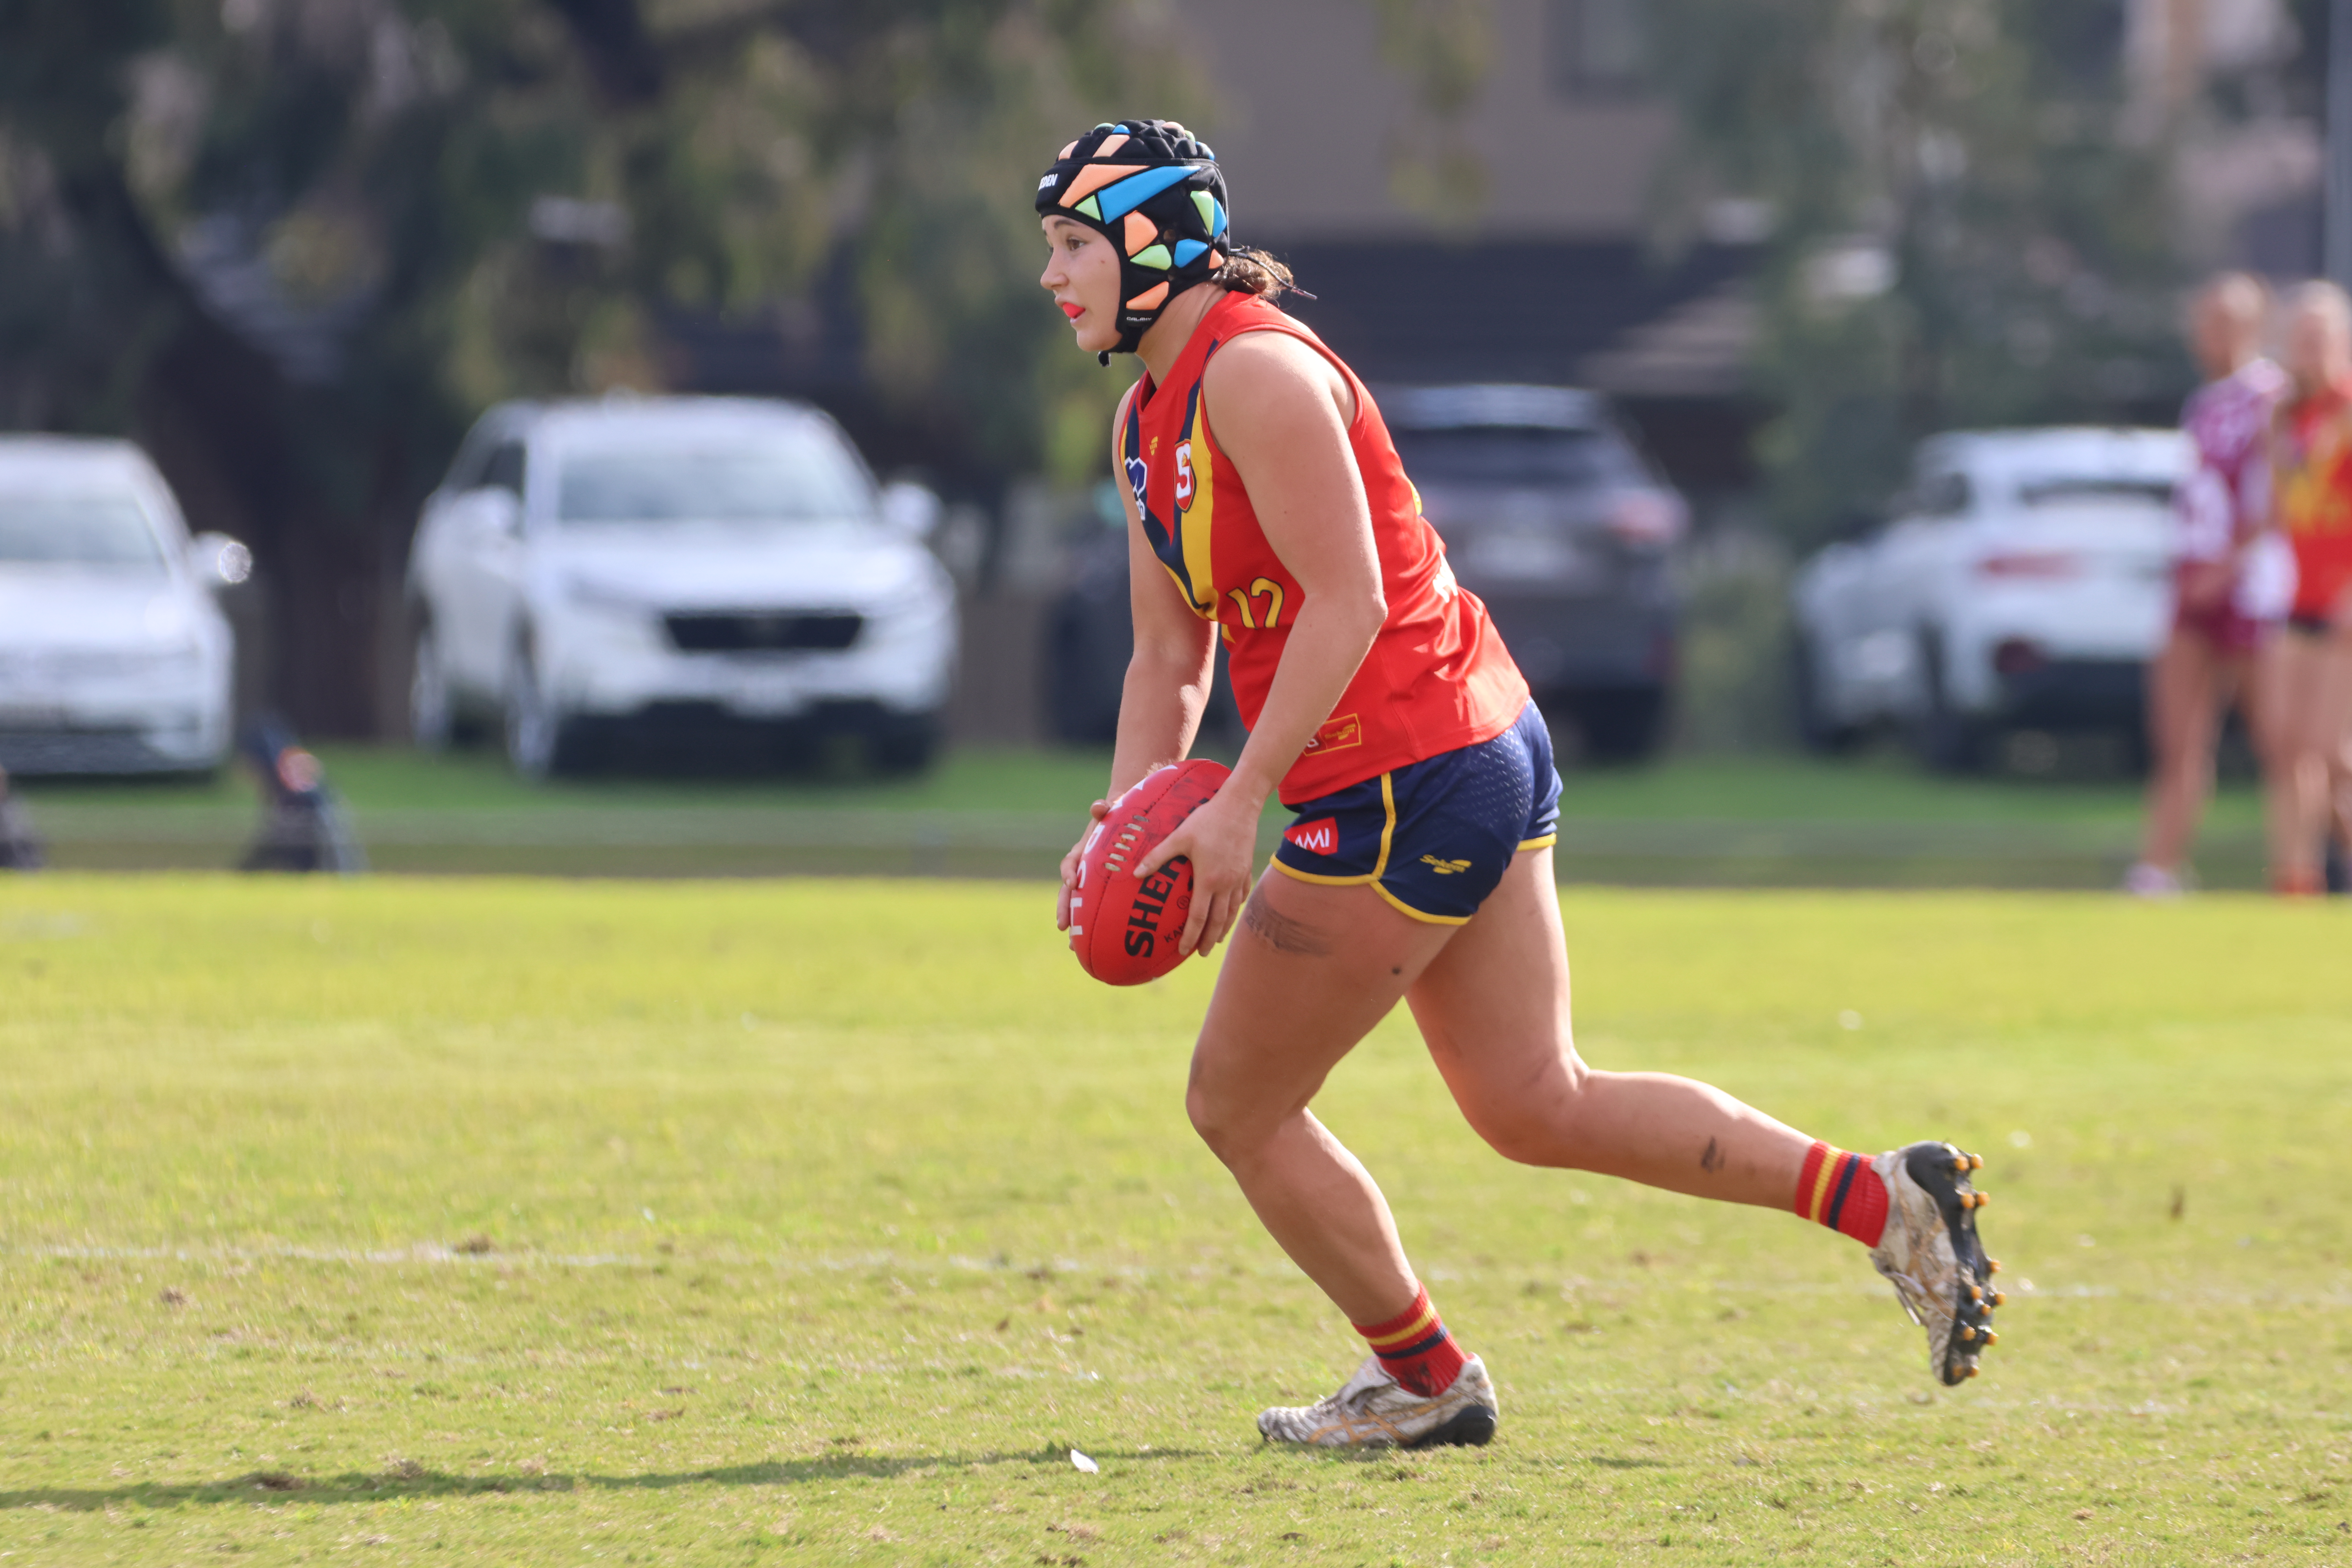
Scouting Notes: 2026 AFLW U18s – South Australia vs. Queensland
SOUTH Australia completed an undefeated run at the 2026 AFL Women’s Under 18 Championships and collected the title with a hard-fought victory over Queensland on the last day of the national carnival. The Croweaters stormed home with the breeze in the final term to kick three unanswered goals and win by seven points at Shepley […]
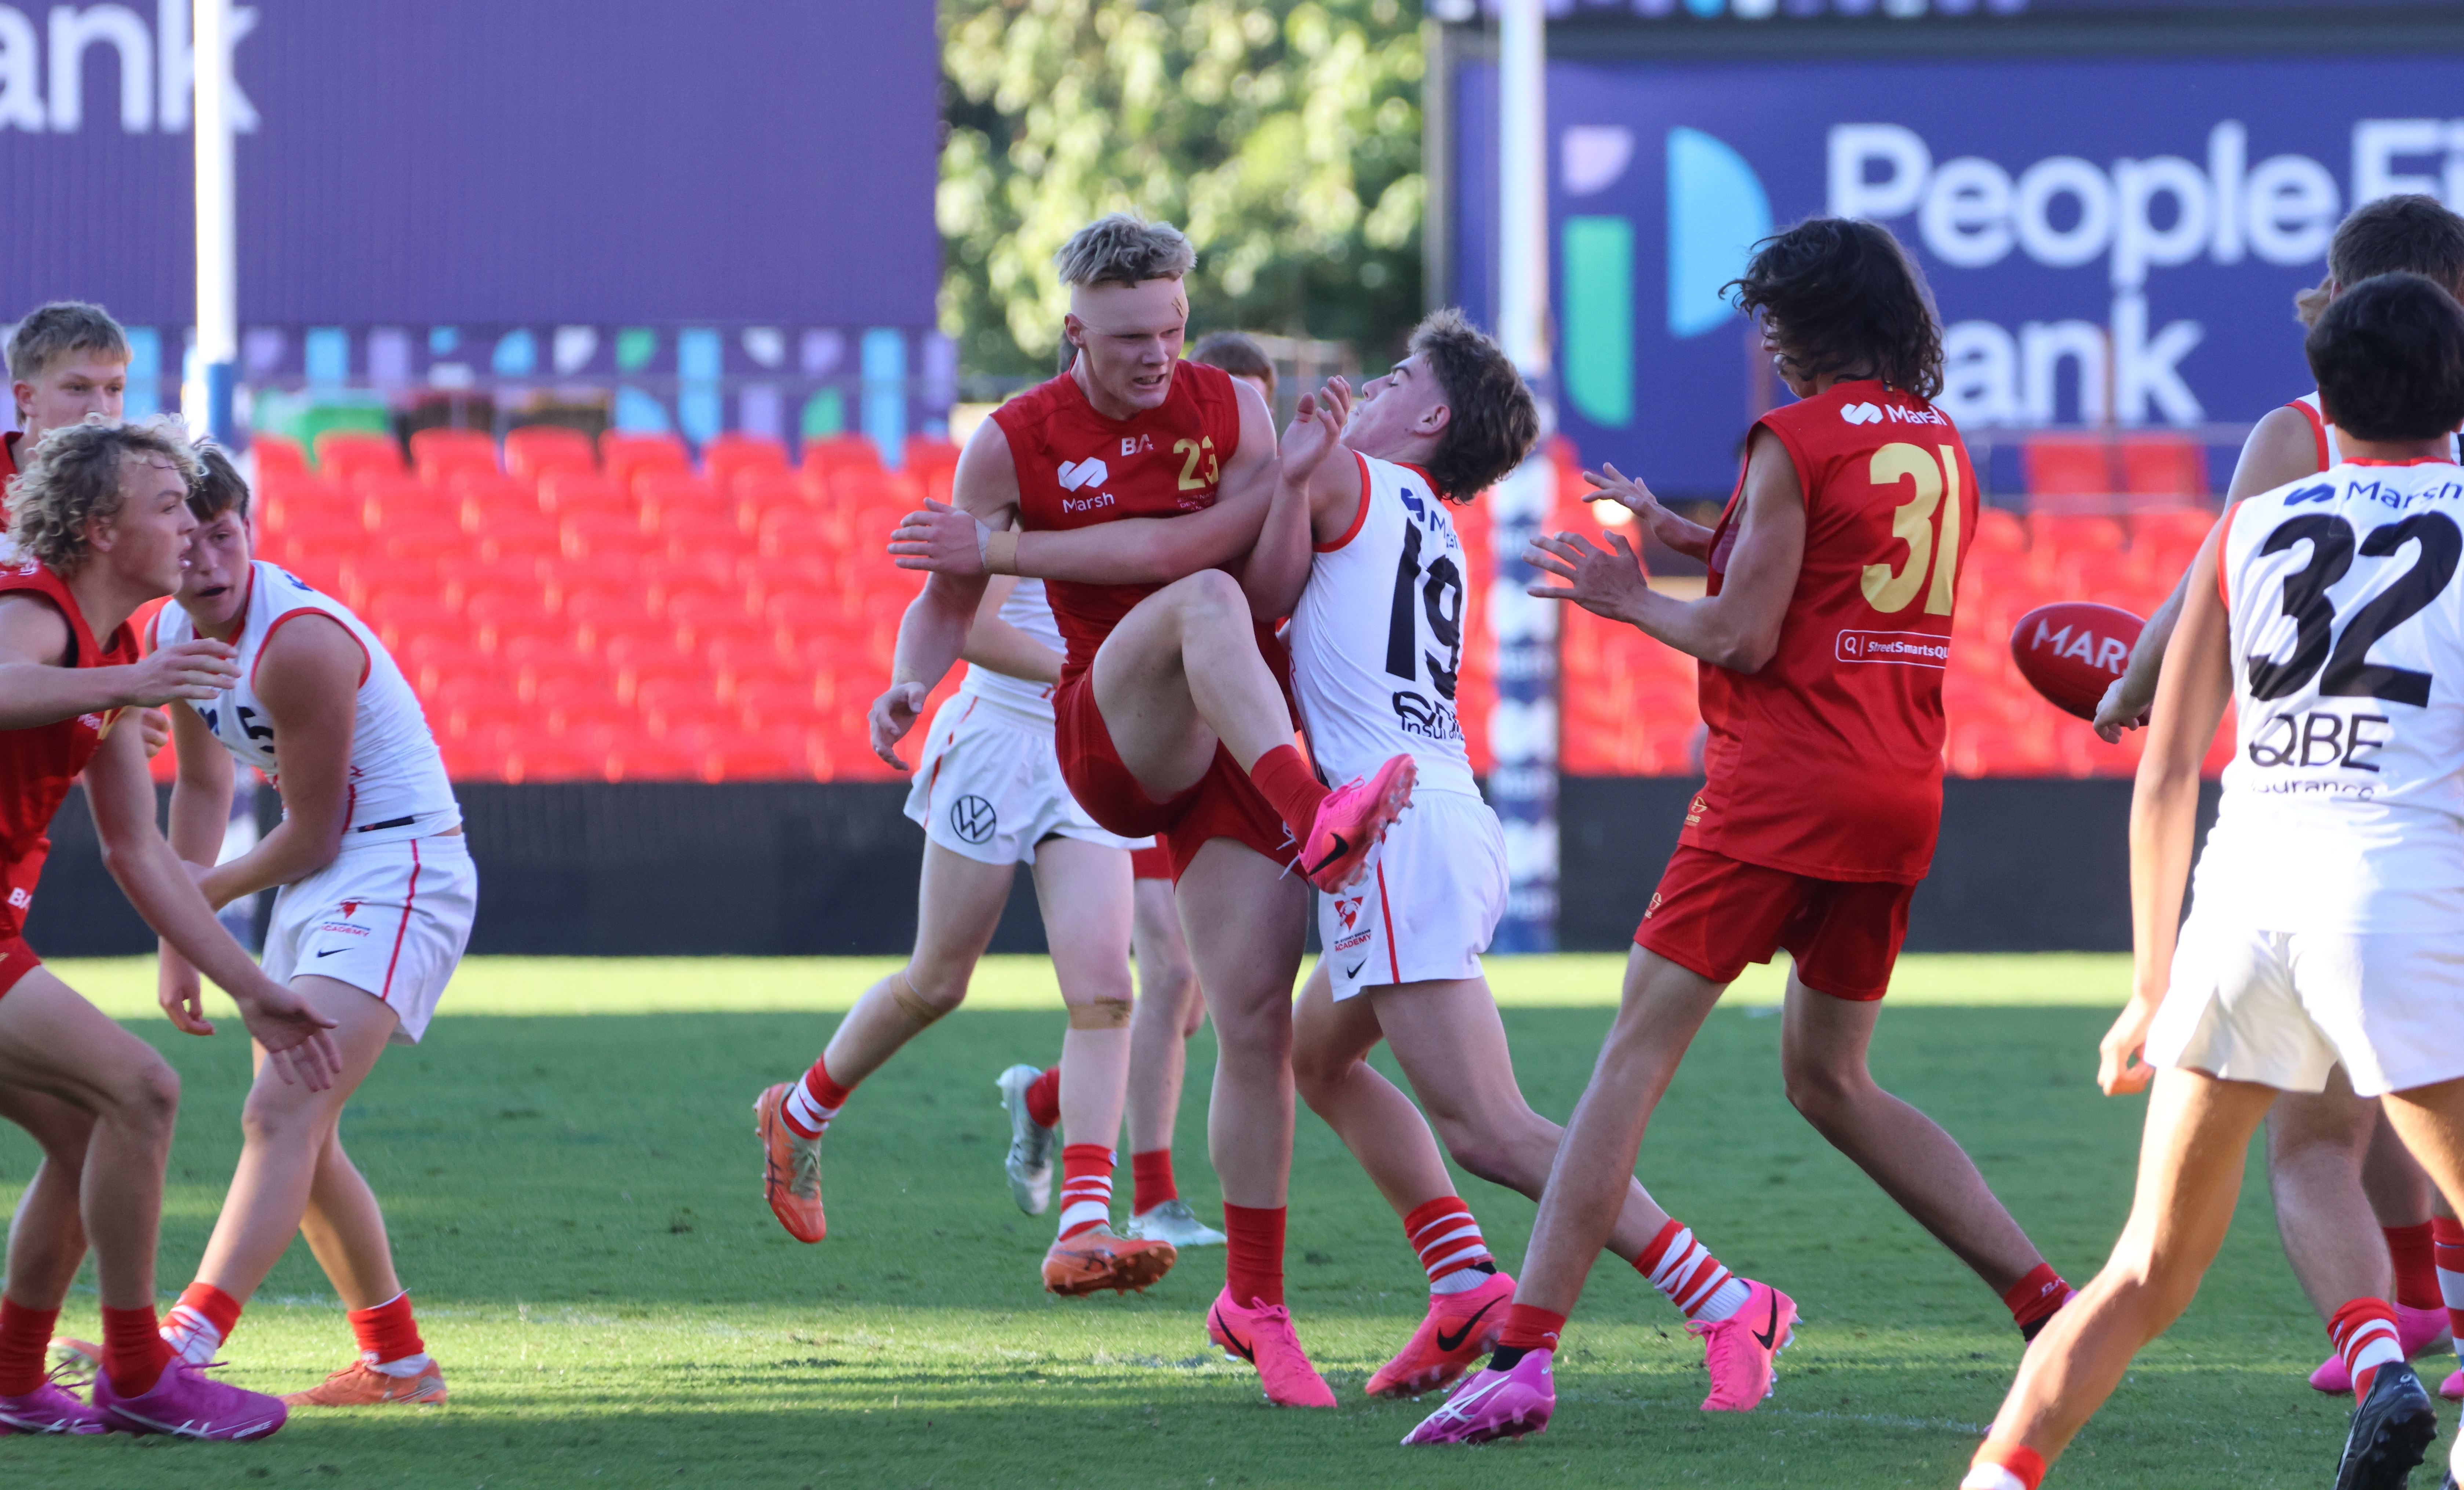
Scouting Notes: 2026 AFL U16s – Suns Academy vs. Swans Academy
THE GOLD Coast Suns Academy continued its winning run at the Under 16 National Championships on Monday, defeating the Sydney Swans Academy by 24 points at People First Stadium. After a cagey opening half, things opened up in term three but the Suns remained ahead at every break and kicked away late to salute by […]
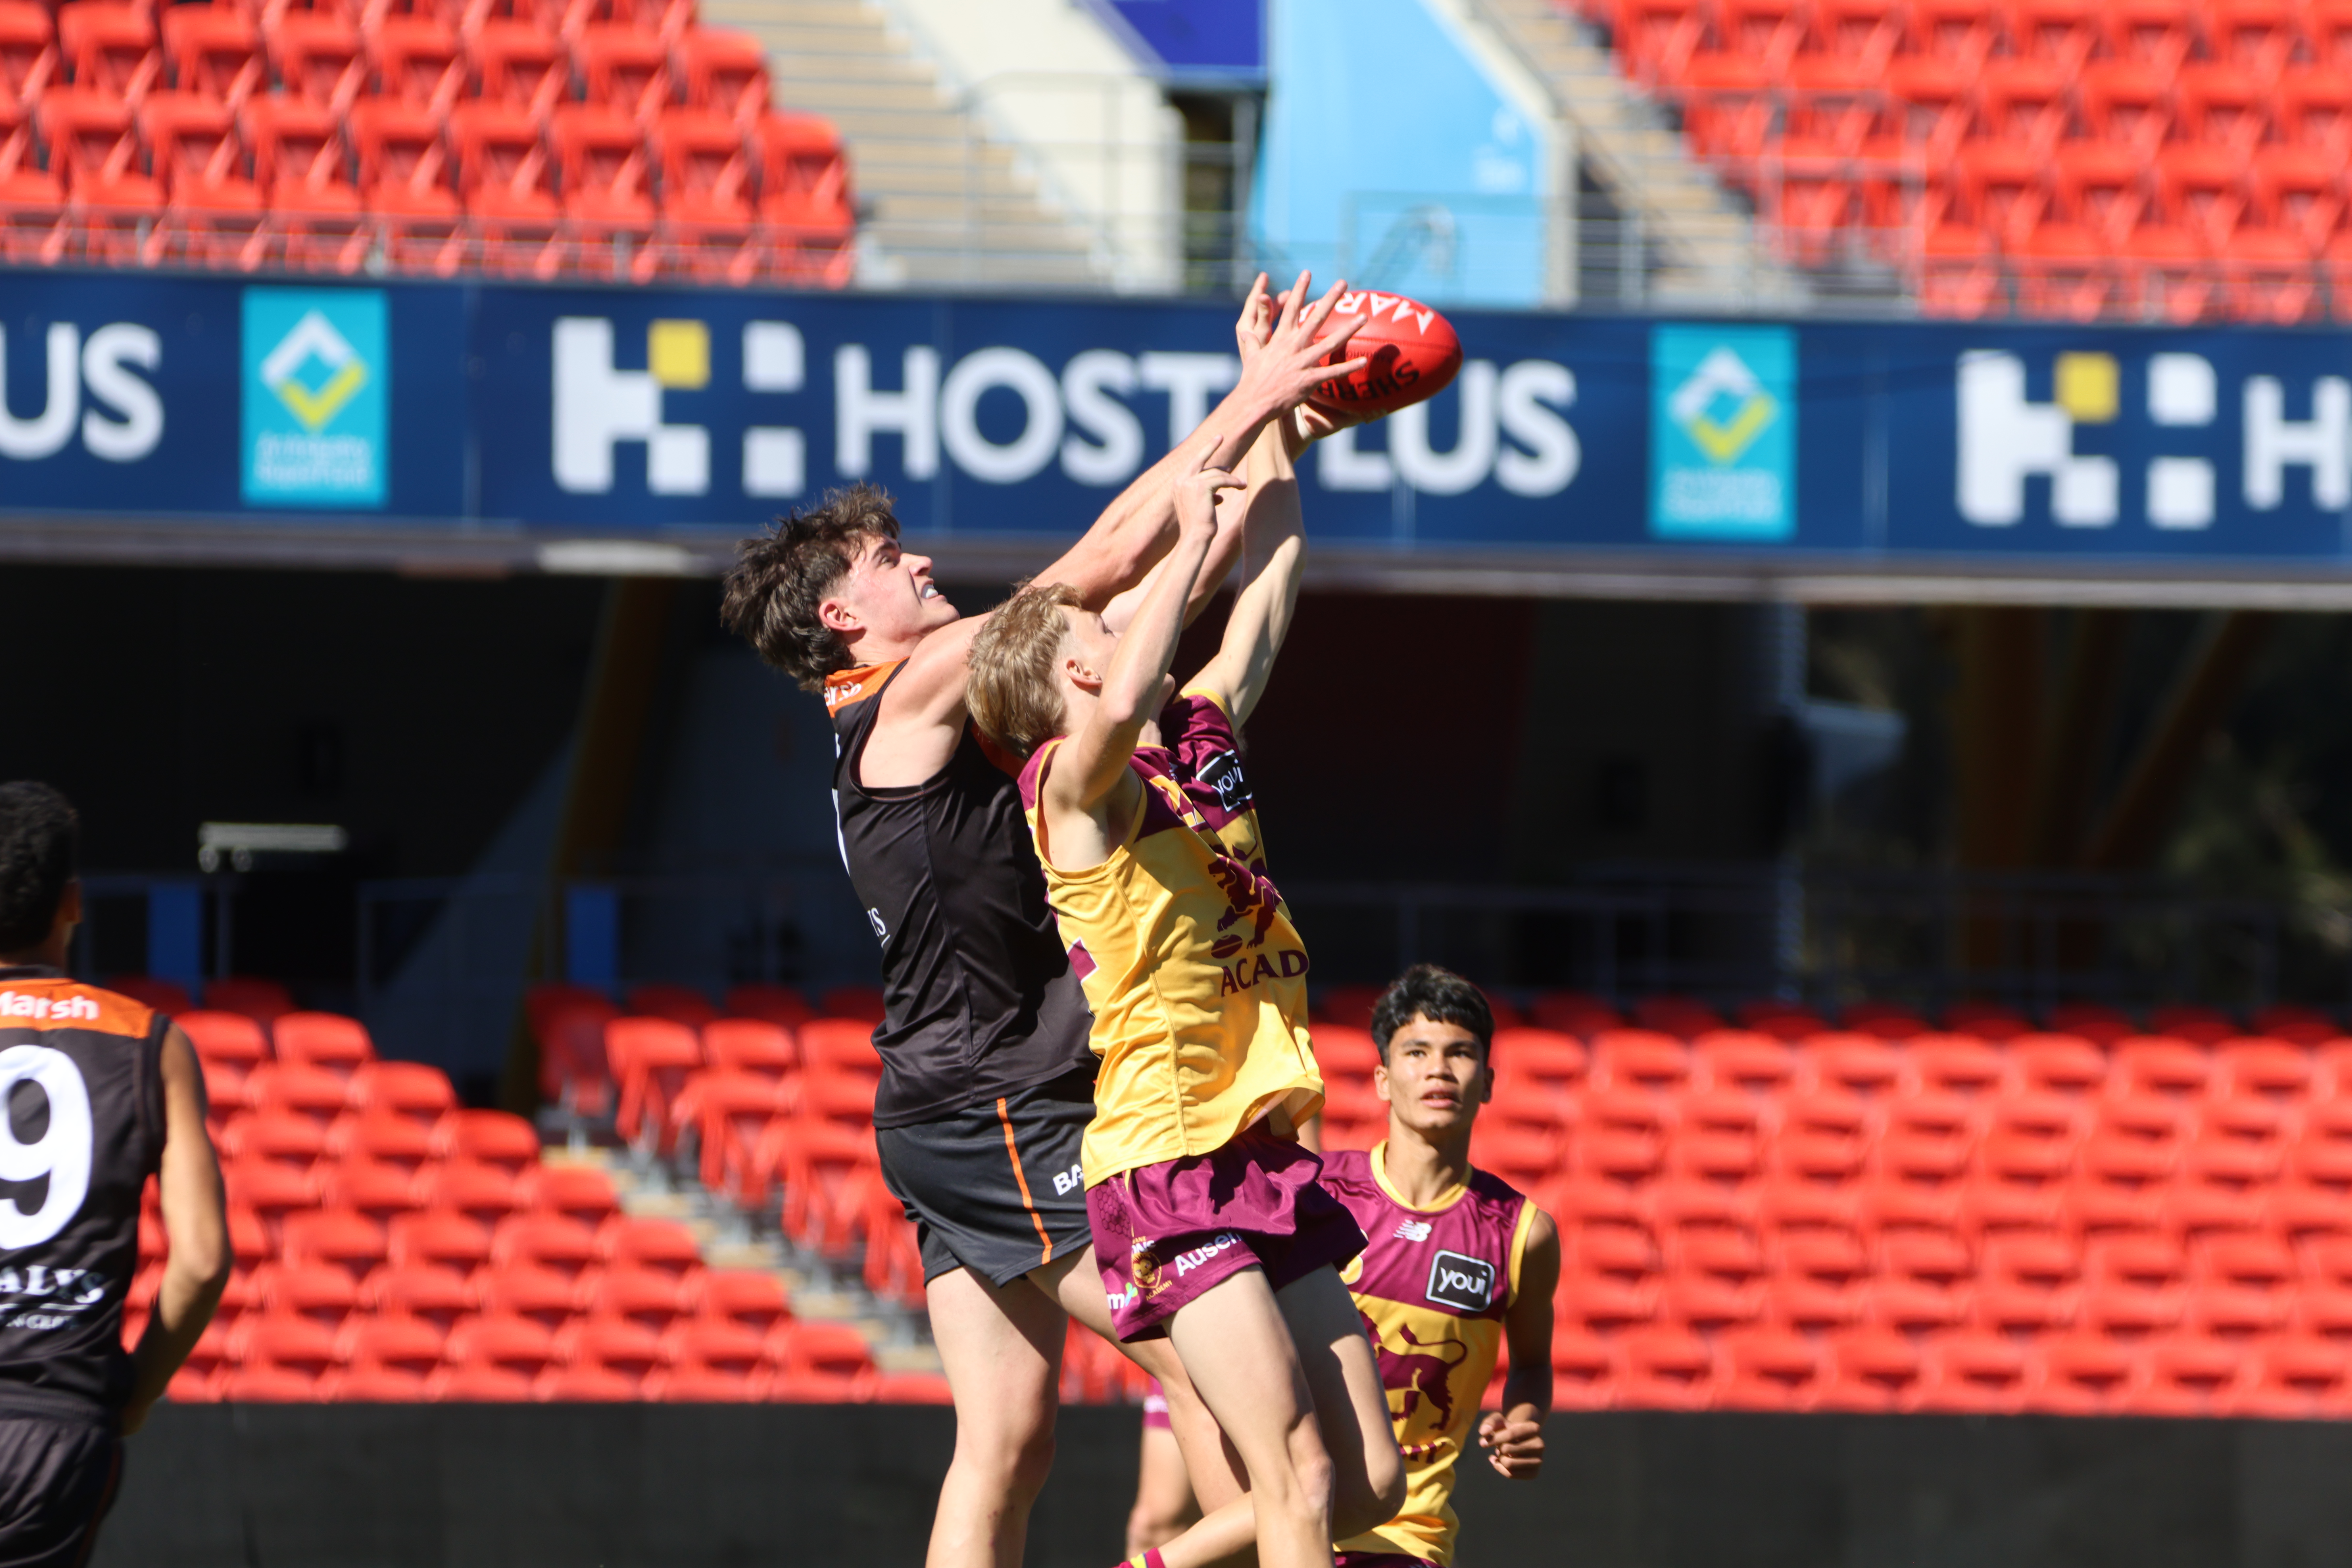
Scouting Notes: 2026 AFL U16s – Northern Territory vs. Lions Academy
A FAST finishing Brisbane Lions Academy ran over the top of a tiring Northern Territory outfit in game two of the triple-header at People First Stadium yesterday. Both sides came in off heavy losses to Gold Coast Suns Academy and Tasmania respectively, but it was the Territory who raced out of the blocks to kick […]
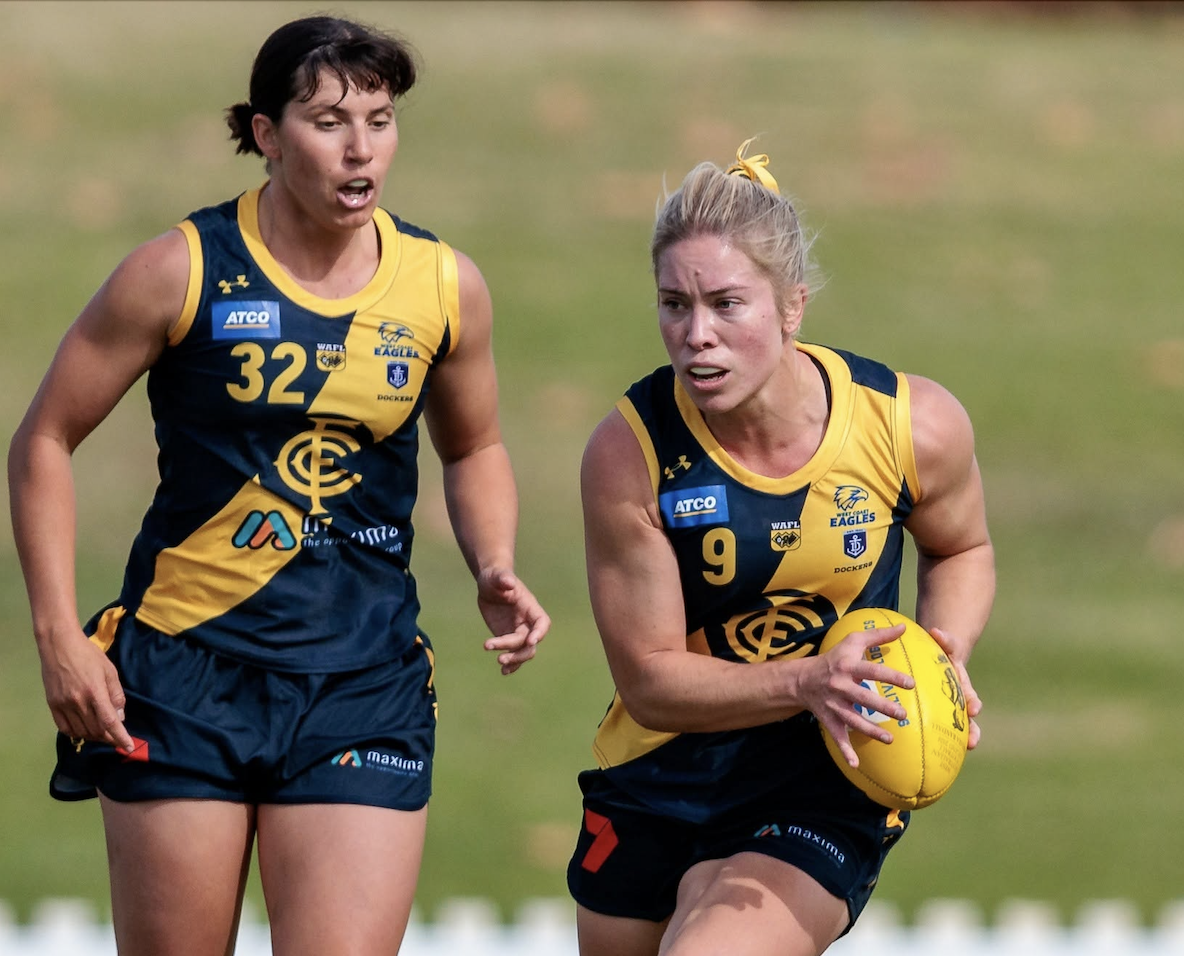
2026 WAFLW Round 15 wrap: Tigers hold off Boorloo in tight finish
A TENSE final quarter saw Claremont edge out Boorloo (Perth) by just three points in a thrilling Round 15 WAFLW clash, with the Tigers overcoming a three-quarter time deficit to secure a crucial 5.6 (36) to 5.3 (33) victory in NAIDOC Week. The Tigers found themselves trailing for much of the afternoon, as Boorloo established […]
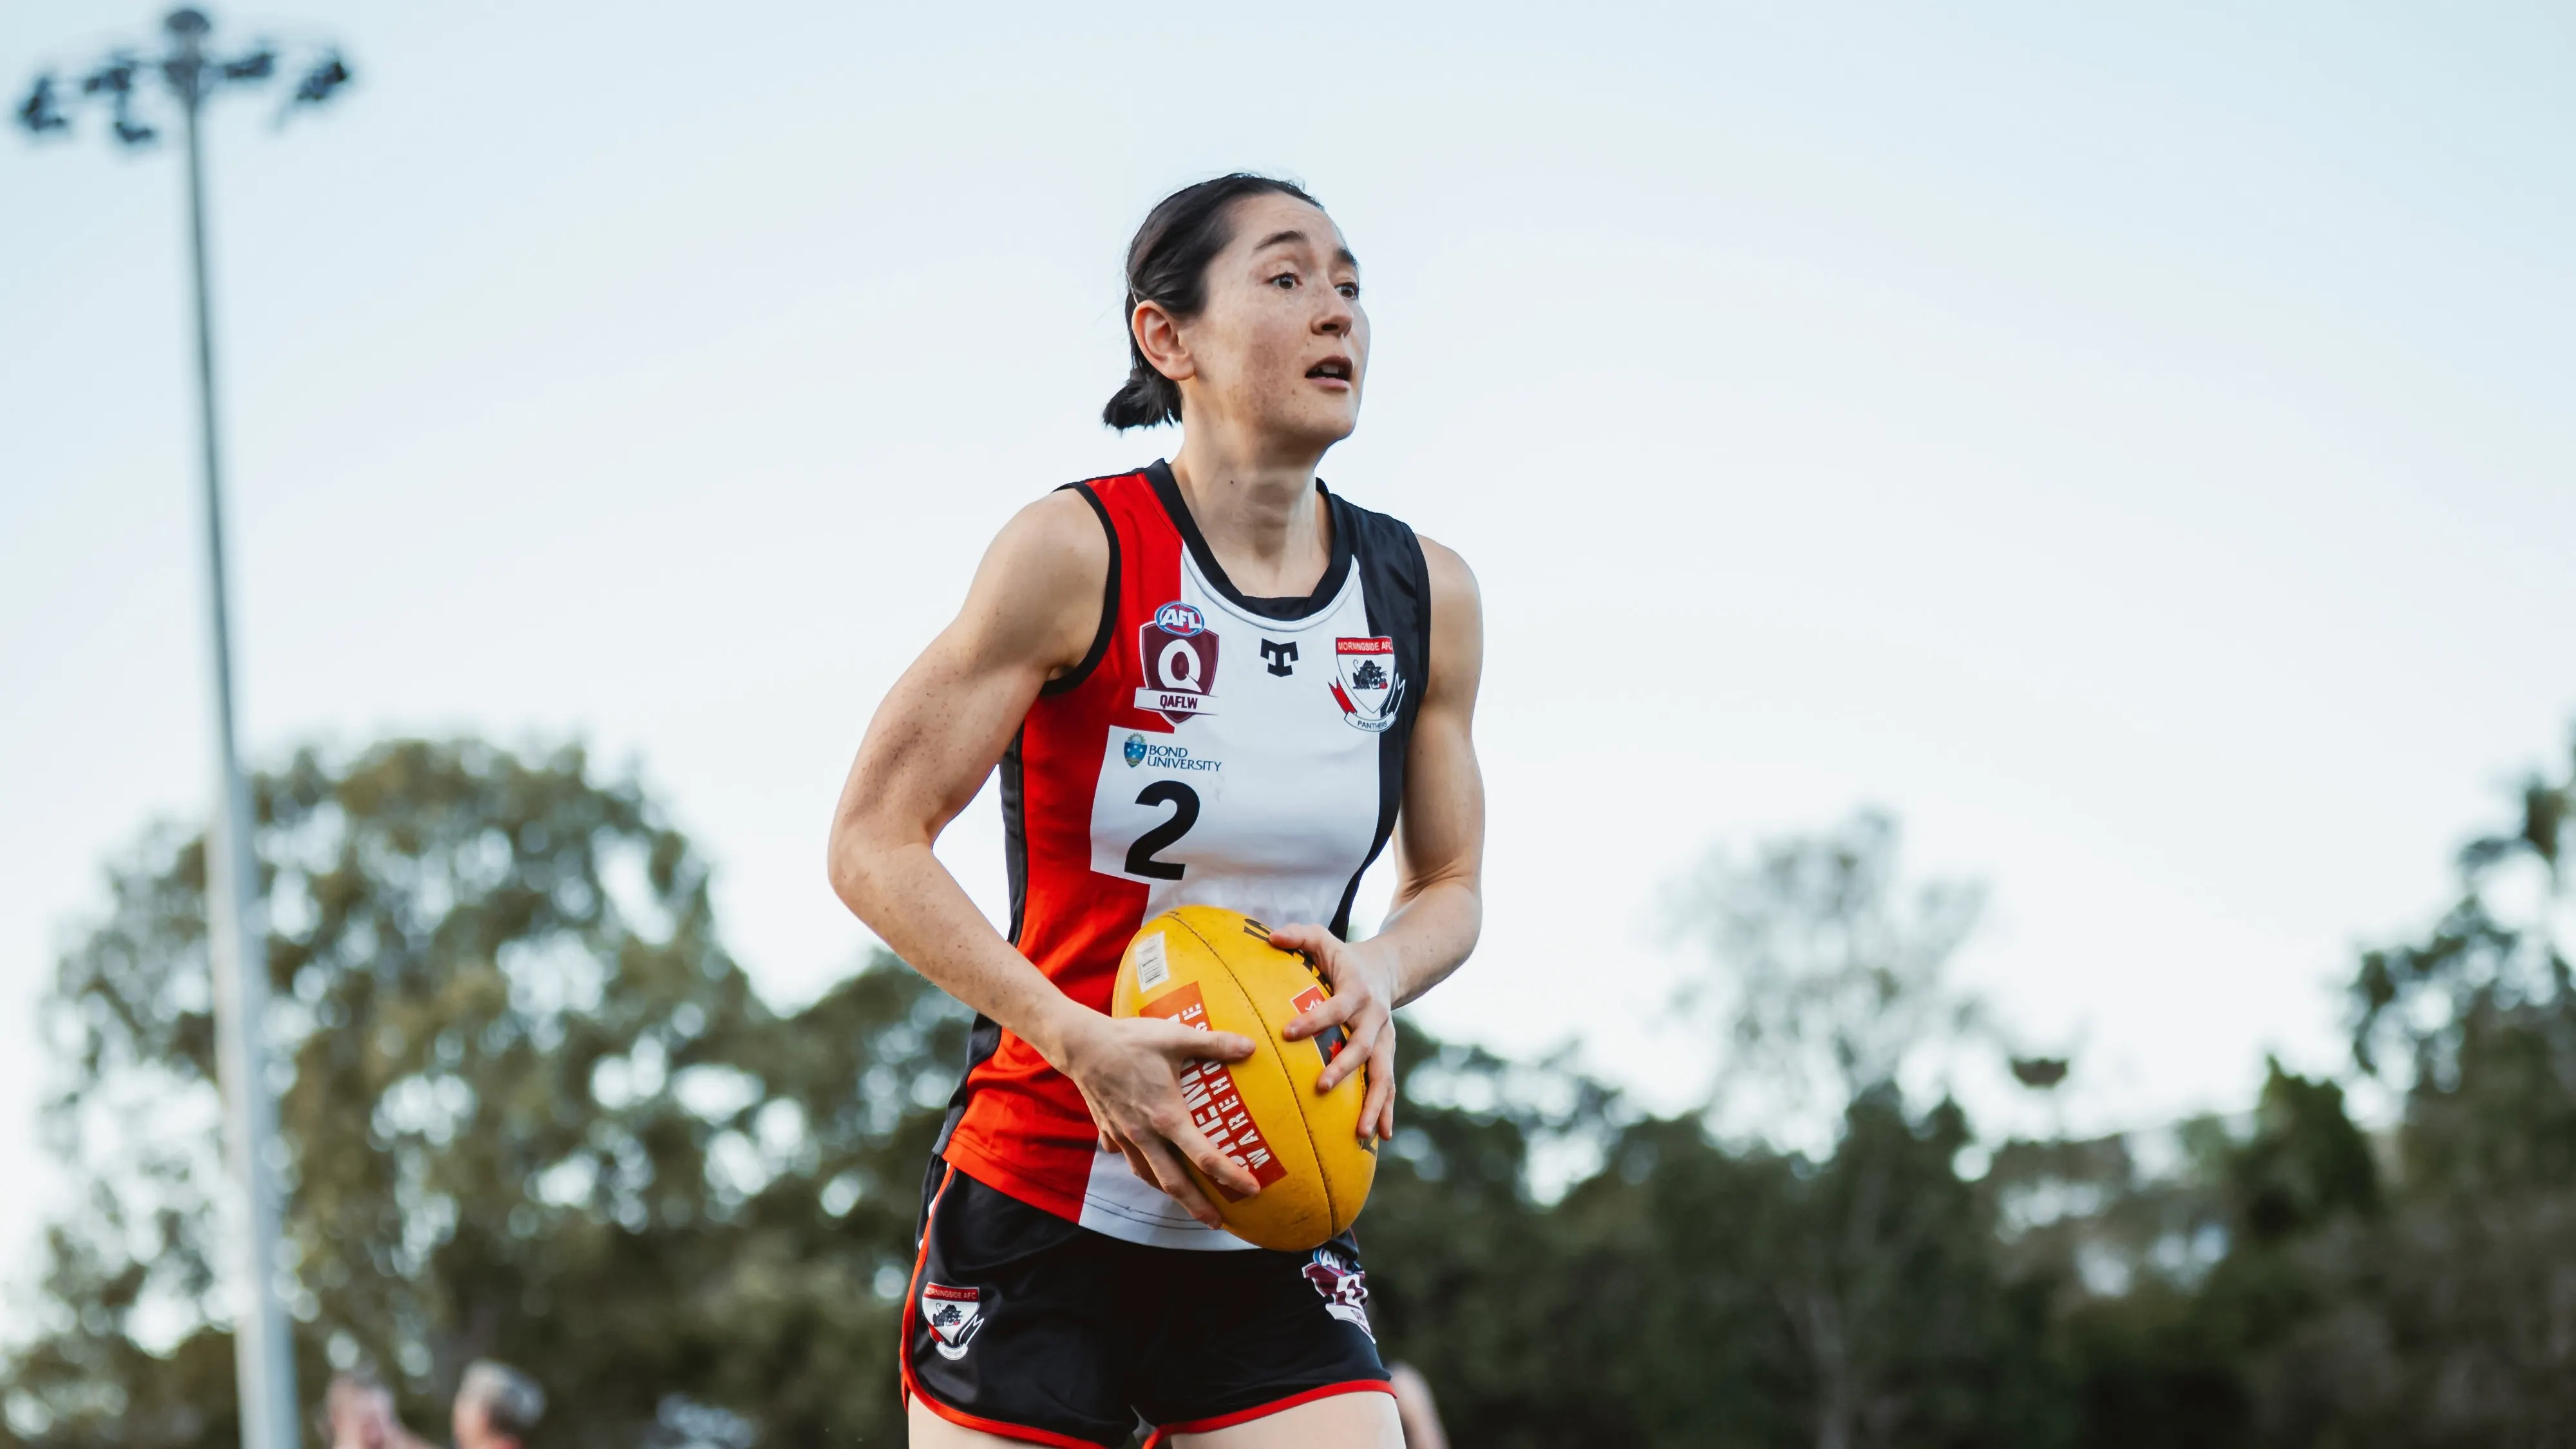
Around the Country: Morningside dethrones Kings again
MORNINGSIDE has kept in touch with the top three after knocking off Coorparoo by 18 points at Giffin Park on Saturday. The reigning grand finalists defeated the previous ladder leaders who are now just four points ahead of the fifth placed Panthers. Here’s how Round 12 of the QAFL Women’s played out over the weekend. […]
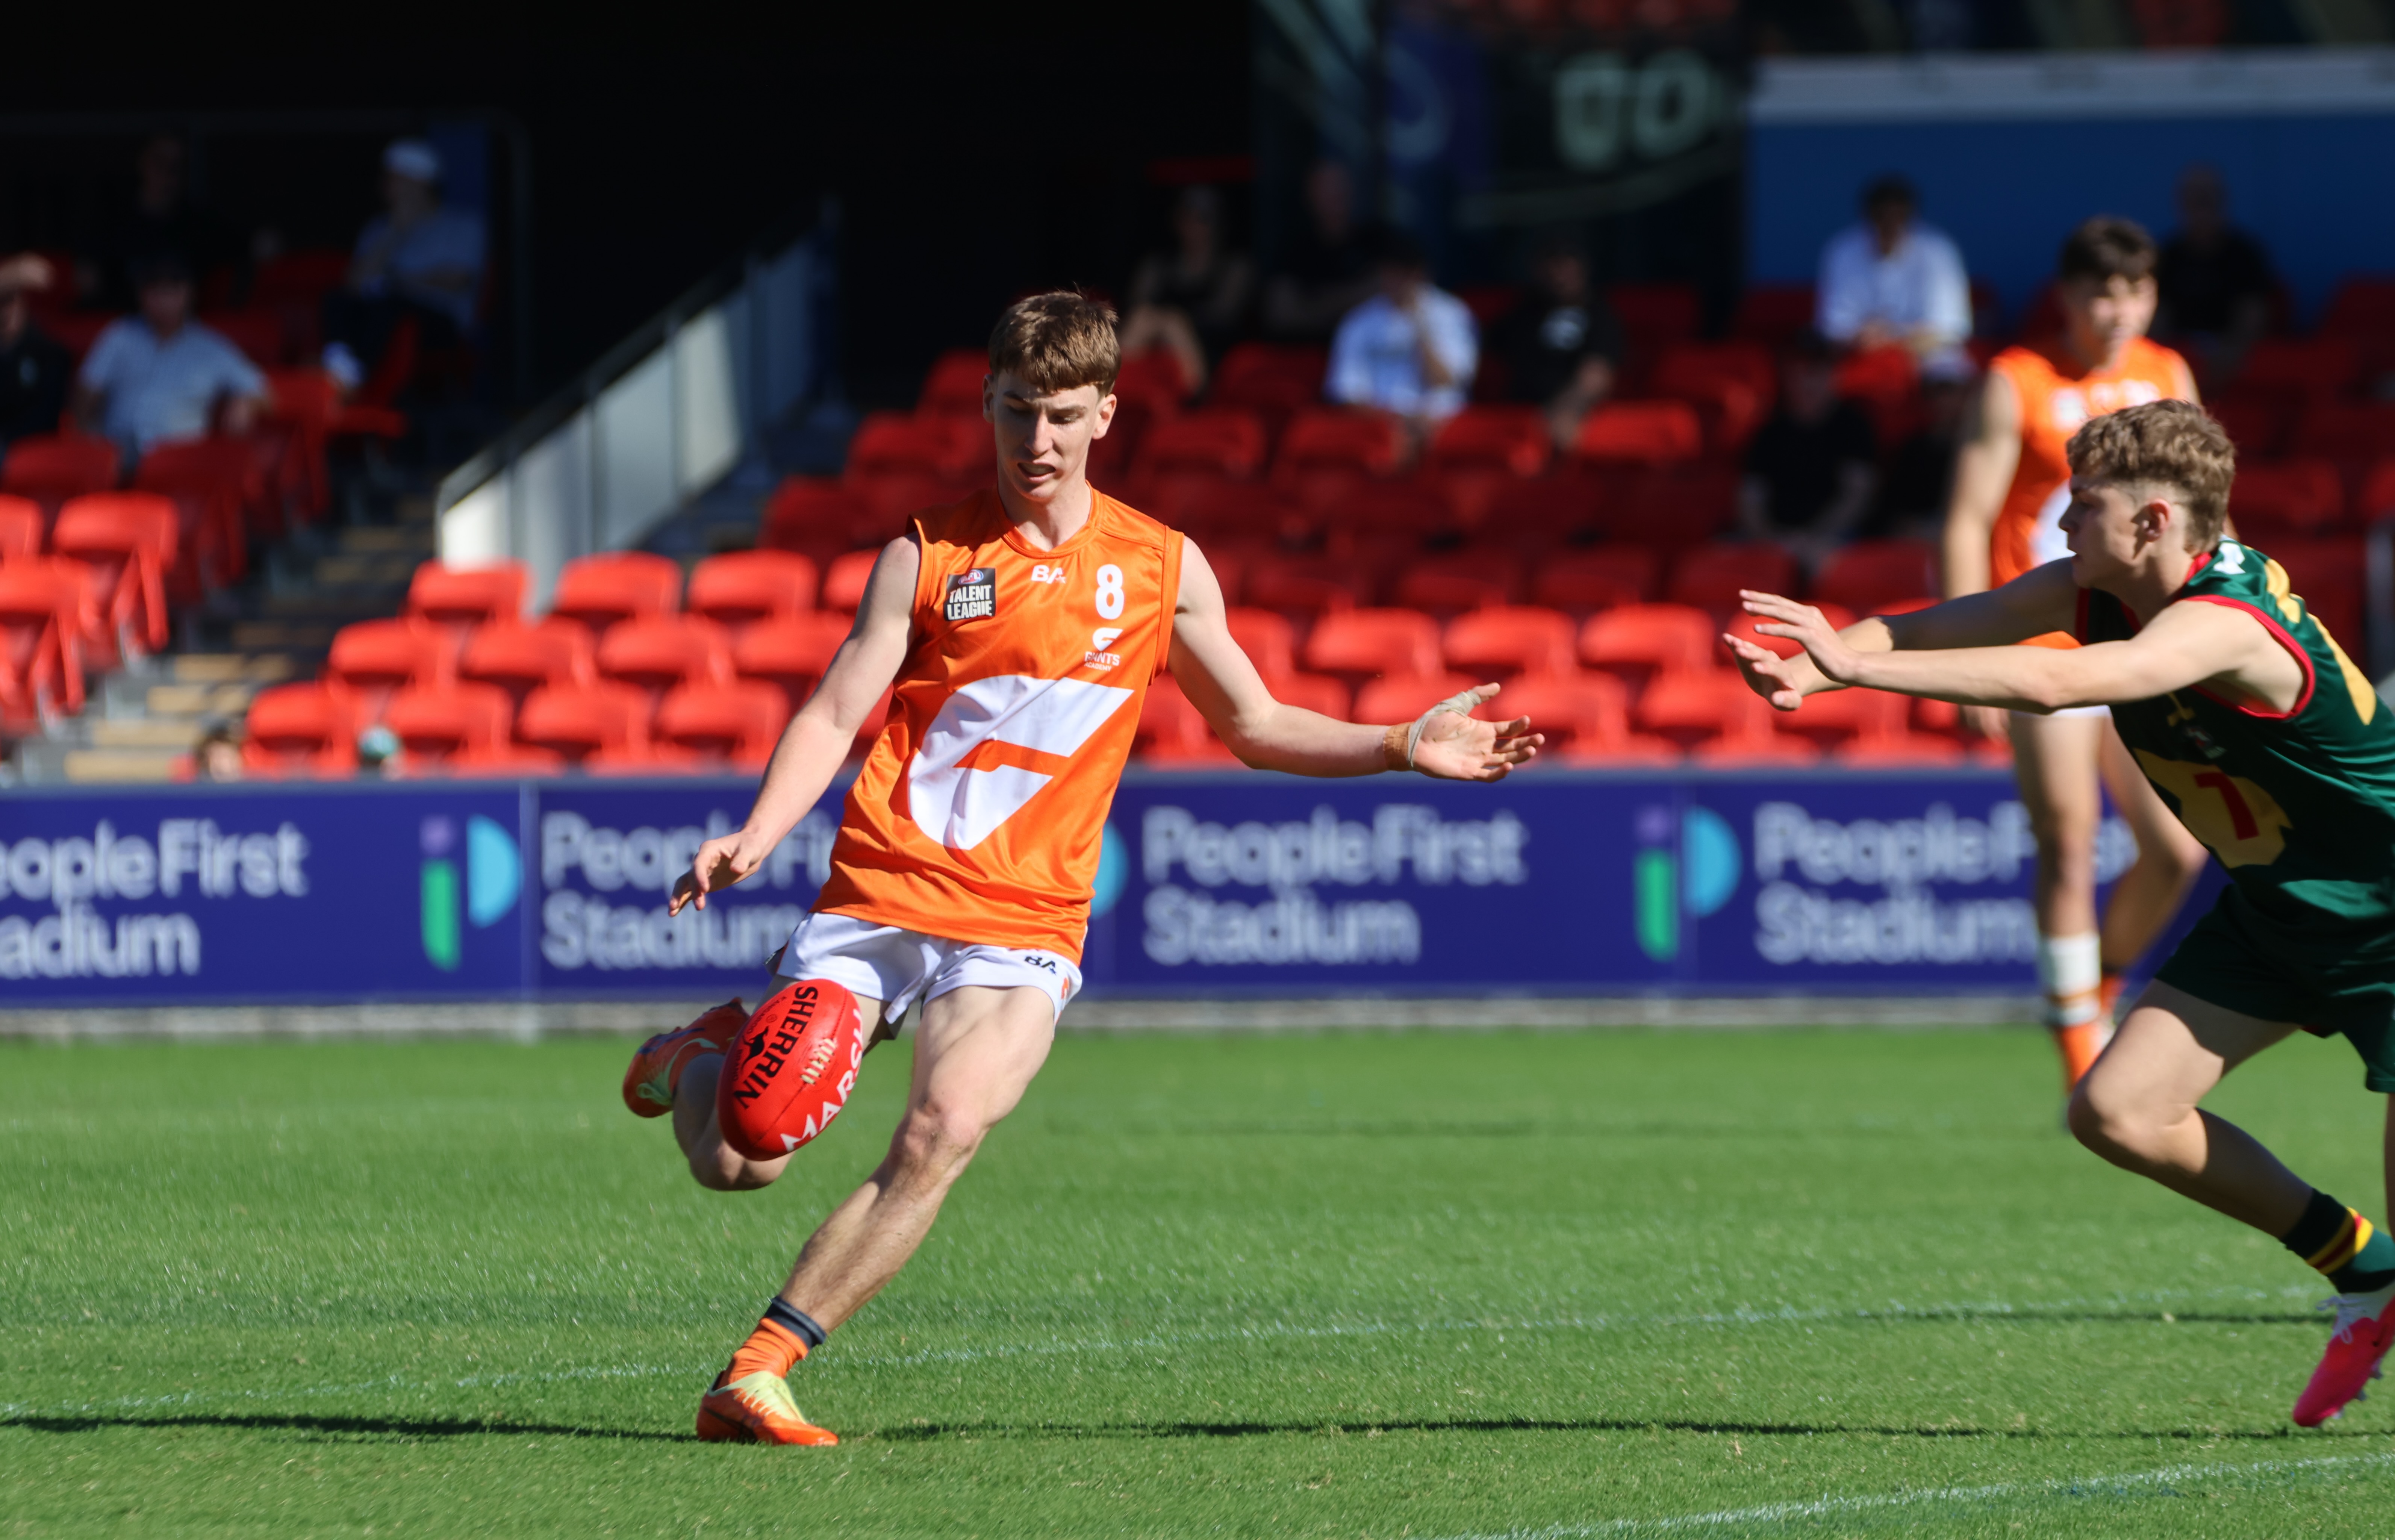
Scouting Notes: 2026 AFL U16s – Giants Academy vs. Tasmania
THE GWS Giants Academy notched up the second win of its Under 16 National Championships campaign, defeating Tasmania to the tune of 43 points at People First Stadium on Monday morning. A dominant first half set the platform for what looked like being a giant victory for the orange team. After kicking out to an […]
Scouting Notes: Bottom-agers star as Ranges pip Cannons
EASTERN Ranges did just enough to notch a third win on the bounce, defeating Calder Cannons by three points in their Round 17 clash at Highgate Recreation Reserve on Saturday. The margin never entered double-digits for either side throughout what was a closely run contest, dominated by bottom-age talent. We took note of the top […]

[…] >> Player Focus: Angus Sheldrick (Claremont) […]