2021 WAFL Colts MOTR: Finals Week 1 – Claremont vs. East Perth
CLAREMONT will face off against WAFL Colts minor premier Swan Districts for the second time in three weeks, after downing East Perth by 41 points in week one of the 2021 finals series. The Tigers were inaccurate early on but found their groove and snared crucial goals at the end of the first two terms to restore leads. A five-goal third quarter then helped Claremont break the contest open, before running out comfortable victors with another four majors in the final stanza. We highlight a few of the top performers from either side in our Scouting Notes with a particular focus on state representatives, before taking a look around the grounds and up the grades.
SCOUTING NOTES: Claremont 13.9 (87) def. East Perth 6.10 (46)
Claremont:
#17 Hugh Davies
His final stats of seven disposals and two marks hardly do justice to the role Davies played in defence, with the bottom-ager making several important plays on the last line. He looked composed in a series of crises, able to work things out across defensive 50 and apply ample pressure on East Perth’s forwards when the ball hit the deck. In the air, he rose for some timely spoils and was desperate enough to keep the play alive with little margin for error.
~
#22 Sam Gilbey
Another bottom-aged defender who hardly garnered massive stats (six disposals, two marks, one goal), Gilbey still managed to show glimpses of his massively promising skillset on Saturday. Both of his marks were lovely intercepts up the ground, which he used to move the ball on quickly heading inside attacking 50. On the first occasion, Gilbey showed off his impressive left-foot kick with a booming goal just before quarter time, seeing Claremont regain the lead. He competed well to turn the ball over and pressed a high line, before being used further afield in the final term and even shaving the post with another shot on goal.
~
#27 Angus Sheldrick
Arguably the best player afield, Sheldrick got to work early and put in an absolute shift out of Claremont’s engine room. While able to win the contested ball with his strength and grit, Sheldrick also displayed a phenomenal work-rate to get his legs pumping with some green ball and find possessions around the ground. He helped drive the Tigers forward and despite lacking a finishing touch at times, put the ball into dangerous spots. He was in the wars during term three with a head knock and big hit from Jye Amiss, but got back to work to finish with a game-high 24 disposals, 12 tackles, and five inside 50s to go with a first term goal.
~
#29 Jahmal Stretch
The crafty small forward is one who has the ability to light up any passage of play, and certainly did that with his 10 disposals, three marks and two goals. An early rush of blood saw him burn a teammate over the top when running into an open goal, but Stretch built into his best work by hitting the ball at speed and springing up for marks inside 50. His first goal came shortly after a set shot fell short, and he added another in term four with a quick snap which showcased his high level goal sense. With terrific pressure acts and sparks of individual brilliance, Stretch continues to be an eye-catching goalsneak.
~
#32 Jacob van Rooyen
He doesn’t need too many chances to make a real impact, and that is exactly what van Rooyen did during a three-goal third quarter. The strong-bodied key forward helped Claremont kick away with majors at the beginning, middle and end of term three after a relatively quiet first half. His fundamental strengths were solid throughout without much opportunity, but came to the fore during said period with a couple of strong pack marks and set shot conversions. While only earning a modest seven disposals, he made them count with four marks and those three majors to go with some imposing pressure acts.
~
#35 Luke Brown
Another bottom-ager who managed to show glimpses of potential, Brown finished up with a couple of really handy goals from his five touches. The 199cm ruck-forward first got his hands on the ball through sheer reach in the ruck, before booting those two majors in the second half. The first was a terrific bit of improvisation, as the bigman volleyed the ball home off a deep spillage. His second goal was also manufactured off a pack, as Brown gathered and quickly snapped the ball through to show great skill for a player of his size.
~
Others:
Claremont had a bunch of solid contributors on each line, starting with the likes of Talon Delacey (19 disposals, five inside 50s) and Kendyll Blurton (15 disposals, five tackles) in midfield. Arthur Jones was again productive on the wing with 17 touches and five inside 50s, while Campbell Rogers played a key hand down back. Speaking of, Sean Williams’ effort to keep leading goalkicker Jye Amiss scoreless was outstanding, as was Peter Coles’ three-goal haul at the other end. In the way of state squad members, Under 17 prospects Edward Allan (wing) and Will Bailey (forward/wing) had their moments, and top-age tall Eric Benning missed with a calf complaint.
~
East Perth:
#4 Ethan Regan
~
The West Coast NGA candidate started in midfield, with the East Perth coaches perhaps looking for him to make an early statement with his size and explosiveness. That did not quite eventuate, but Regan built into the game well from his usual high half-forward post. His kick penetration lead directly to goals on two occasions, as Regan linked East Perth from beyond the attacking arc into more dangerous positions.
~
#7 Jye Amiss
Having built a remarkable streak of kicking multiple goals in all of his previous WAFL Colts and state Under 19 outings, Amiss was finally shut-out on Saturday. The West Australian spearhead was hardly given an inch inside attacking 50 and did not always receive the best delivery in any case. Most of his work was done further afield, where he ventured on searching leads and showed some really nice moments of poise to hit targets on the way back to goal. He later showed signs of a confidence dip with a couple of dropped marks, perhaps the product of perceived pressure having been under the pump all game.
~
#9 Kade Dittmar
A strong figure in the East Perth midfield, Dittmar offered plenty of his usual power and contested ball winning prowess on Saturday. His physicality on the inside was evident, as he looked to bustle through tackles and apply some punishing ones of his own. While Dittmar gained a good amount of distance on his clearances, with eight of his 15 disposals sent inside 50, he tended to dump kick at times and couldn’t quite hit the target with a couple of attempts on goal. Still, his intent matched the finals atmosphere.
~
#11 James Tunstill
Tunstill was one who started the game brightly, producing some eye-catching moments in midfield and rotating forward to snare a first term goal. He was prominent at ground level, collecting the ball cleanly and finding ways to slip or spin to the outer where he could gain a bit more meterage. His goal came from a set shot after marking well overhead, converting the chance well from 40m. Tunstill finished up with 14 disposals and three inside 50s, marking a solid return after his promising opening.
~
#26 Kaden Harbour
Another who was productive in spurts, Harbour brought good intent and effort to the finals contest. He chased up loose balls and worked up the ground for his side, with one play seeing him break at pace with two running bounces before kicking inside 50. The small forward produced another great inside 50 foray in term three which was not finished off, and his closest attempt on goal hit the post with a snap from the pocket.
~
#34 Jedd Busslinger
Hardly overawed by the finals occasion as a bottom-ager, Busslinger saved his side’s blushes several times on the last line of defence. The 195cm prospect proved difficult to beat both aerially and at ground level, showing great composure to mop up under pressure and move the ball on cleanly. He was never rushed despite the heavy pressure at times, and proved his commitment with a goal-saving mark which saw him thud into the goal post. Busslinger was swung forward in term four, and finished with four marks from his nine disposals.
~
Others:
No East Perth player notched over 20 touches on Saturday, but speedy midfielder Jayden Peak was the closest with 18. His run-and-carry proved productive, as did the skills of wingman Oscar Armstrong (13 disposals), who kicked a fantastic long-range goal in term three. Kalani Brooks was another to step up in midfield with 16 disposals and five tackles, while state Under 17 squad member Jordyn Baker showed a bit with nine disposals up on the wing.
AROUND THE GROUNDS:
In the other colts final, East Fremantle advanced in Sunday’s knockout bout against West Perth, downing the Falcons by 29 points after trailing narrowly at the first break. The Sharks, bolstered by an array of quality state squad members, soon clicked into gear and manufactured nearly double the Falcons’ scoring shots (20-11).
It was unsurprising to see Josh Browne top the disposal charts once again, racking up a game-high 32 to go with six inside 50s and a goal. Fellow draft combine invitee Corey Warner and bottom-ager Jed Hagan supported him well, while Melbourne father-son candidate Taj Woewodin also found plenty of the ball. In-form tall Josh Cripps kicked a goal from 19 touches, and Jackson McManus – the nephew of Shaun – snagged a game-high three majors.
A pair of promising bottom-agers fared well for the Falcons, as Kane Bevan notched 31 disposals and six marks, while defender Griff Julian clunked eight grabs among his 23 touches. Luke Michael matched the latter’s marking feats, and Lochlan Paton got his hands dirty with 12 tackles to go with 18 disposals.
There was not as much action to speak of in a draft sense up the grades, but classy midfielder Matthew Johnson caught the eye with a team-high 23 disposals, nine marks and one goal in Subiaco’s finals win over West Perth. At League level, Jesse Motlop bagged a goal from 11 touches as South Fremantle held on in a one-point thriller against Claremont.
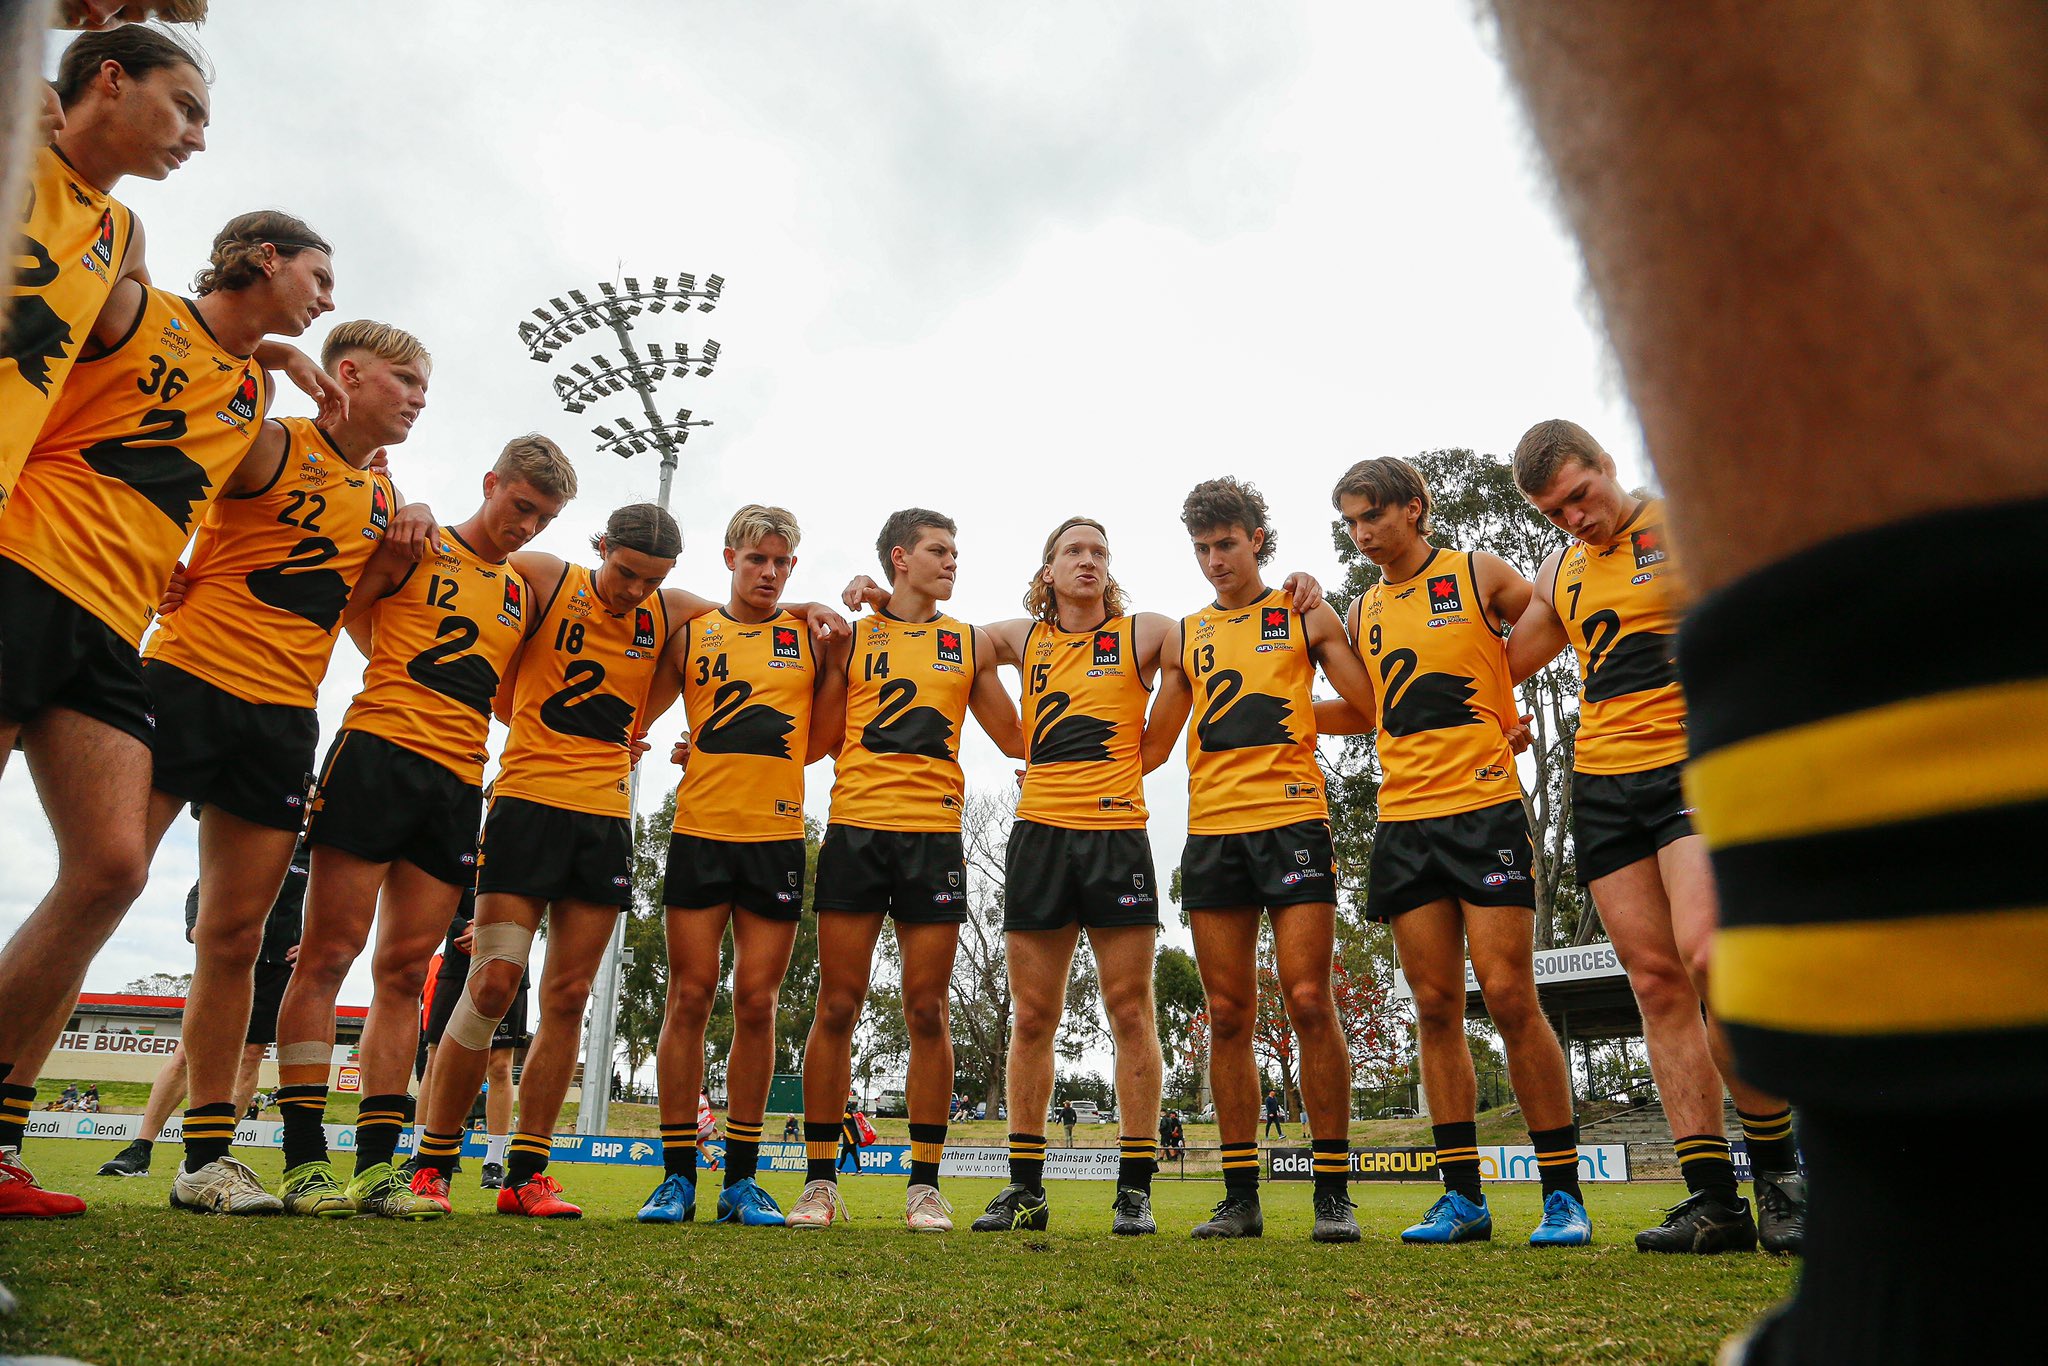
Featured Image: The 2021 WA Under 19s squad huddles before facing SA | Credit: WAFL via Twitter

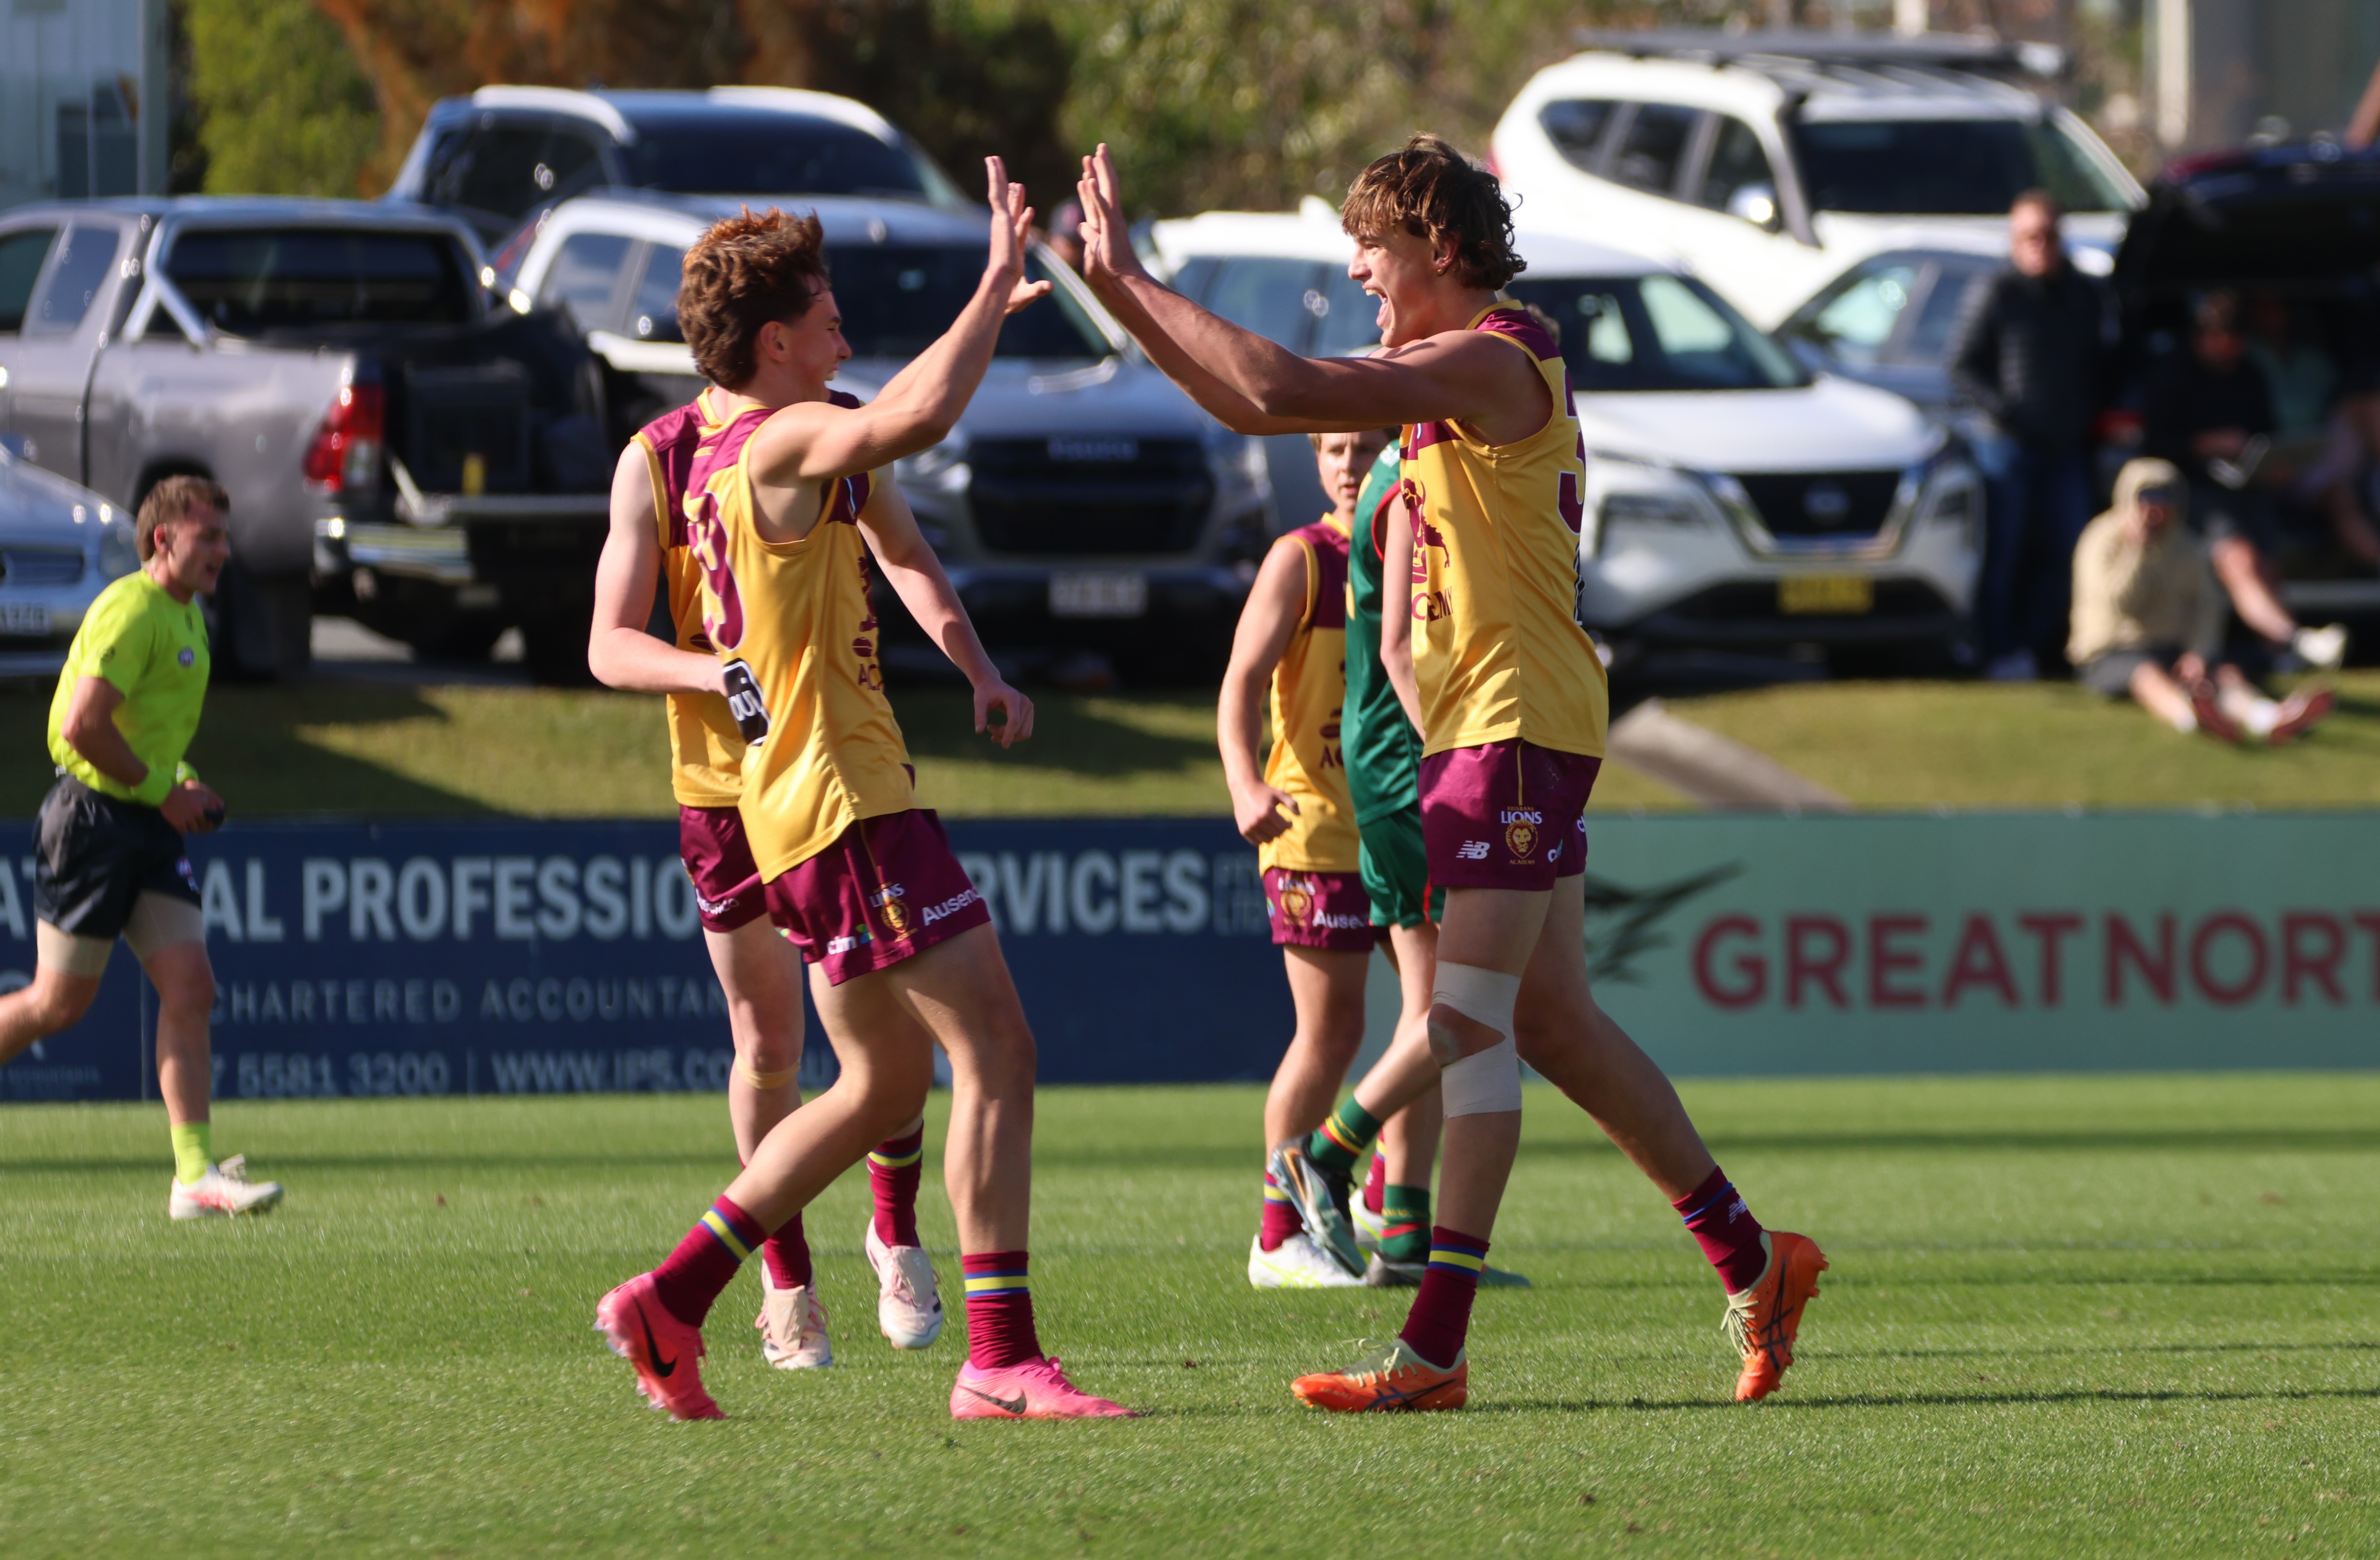
Scouting Notes: 2026 AFL U16s – Lions Academy vs. Tasmania
A THIRD-QUARTER blitz has seen the Brisbane Lions Academy finish the Under 16 Championships with a positive record after defeating Tasmania by 14 points in Southport on Thursday. After heading into the main break all-square, the Lions piled on 5.7 to nil at the scoring end to set up an unassailable lead. Tasmania had its […]
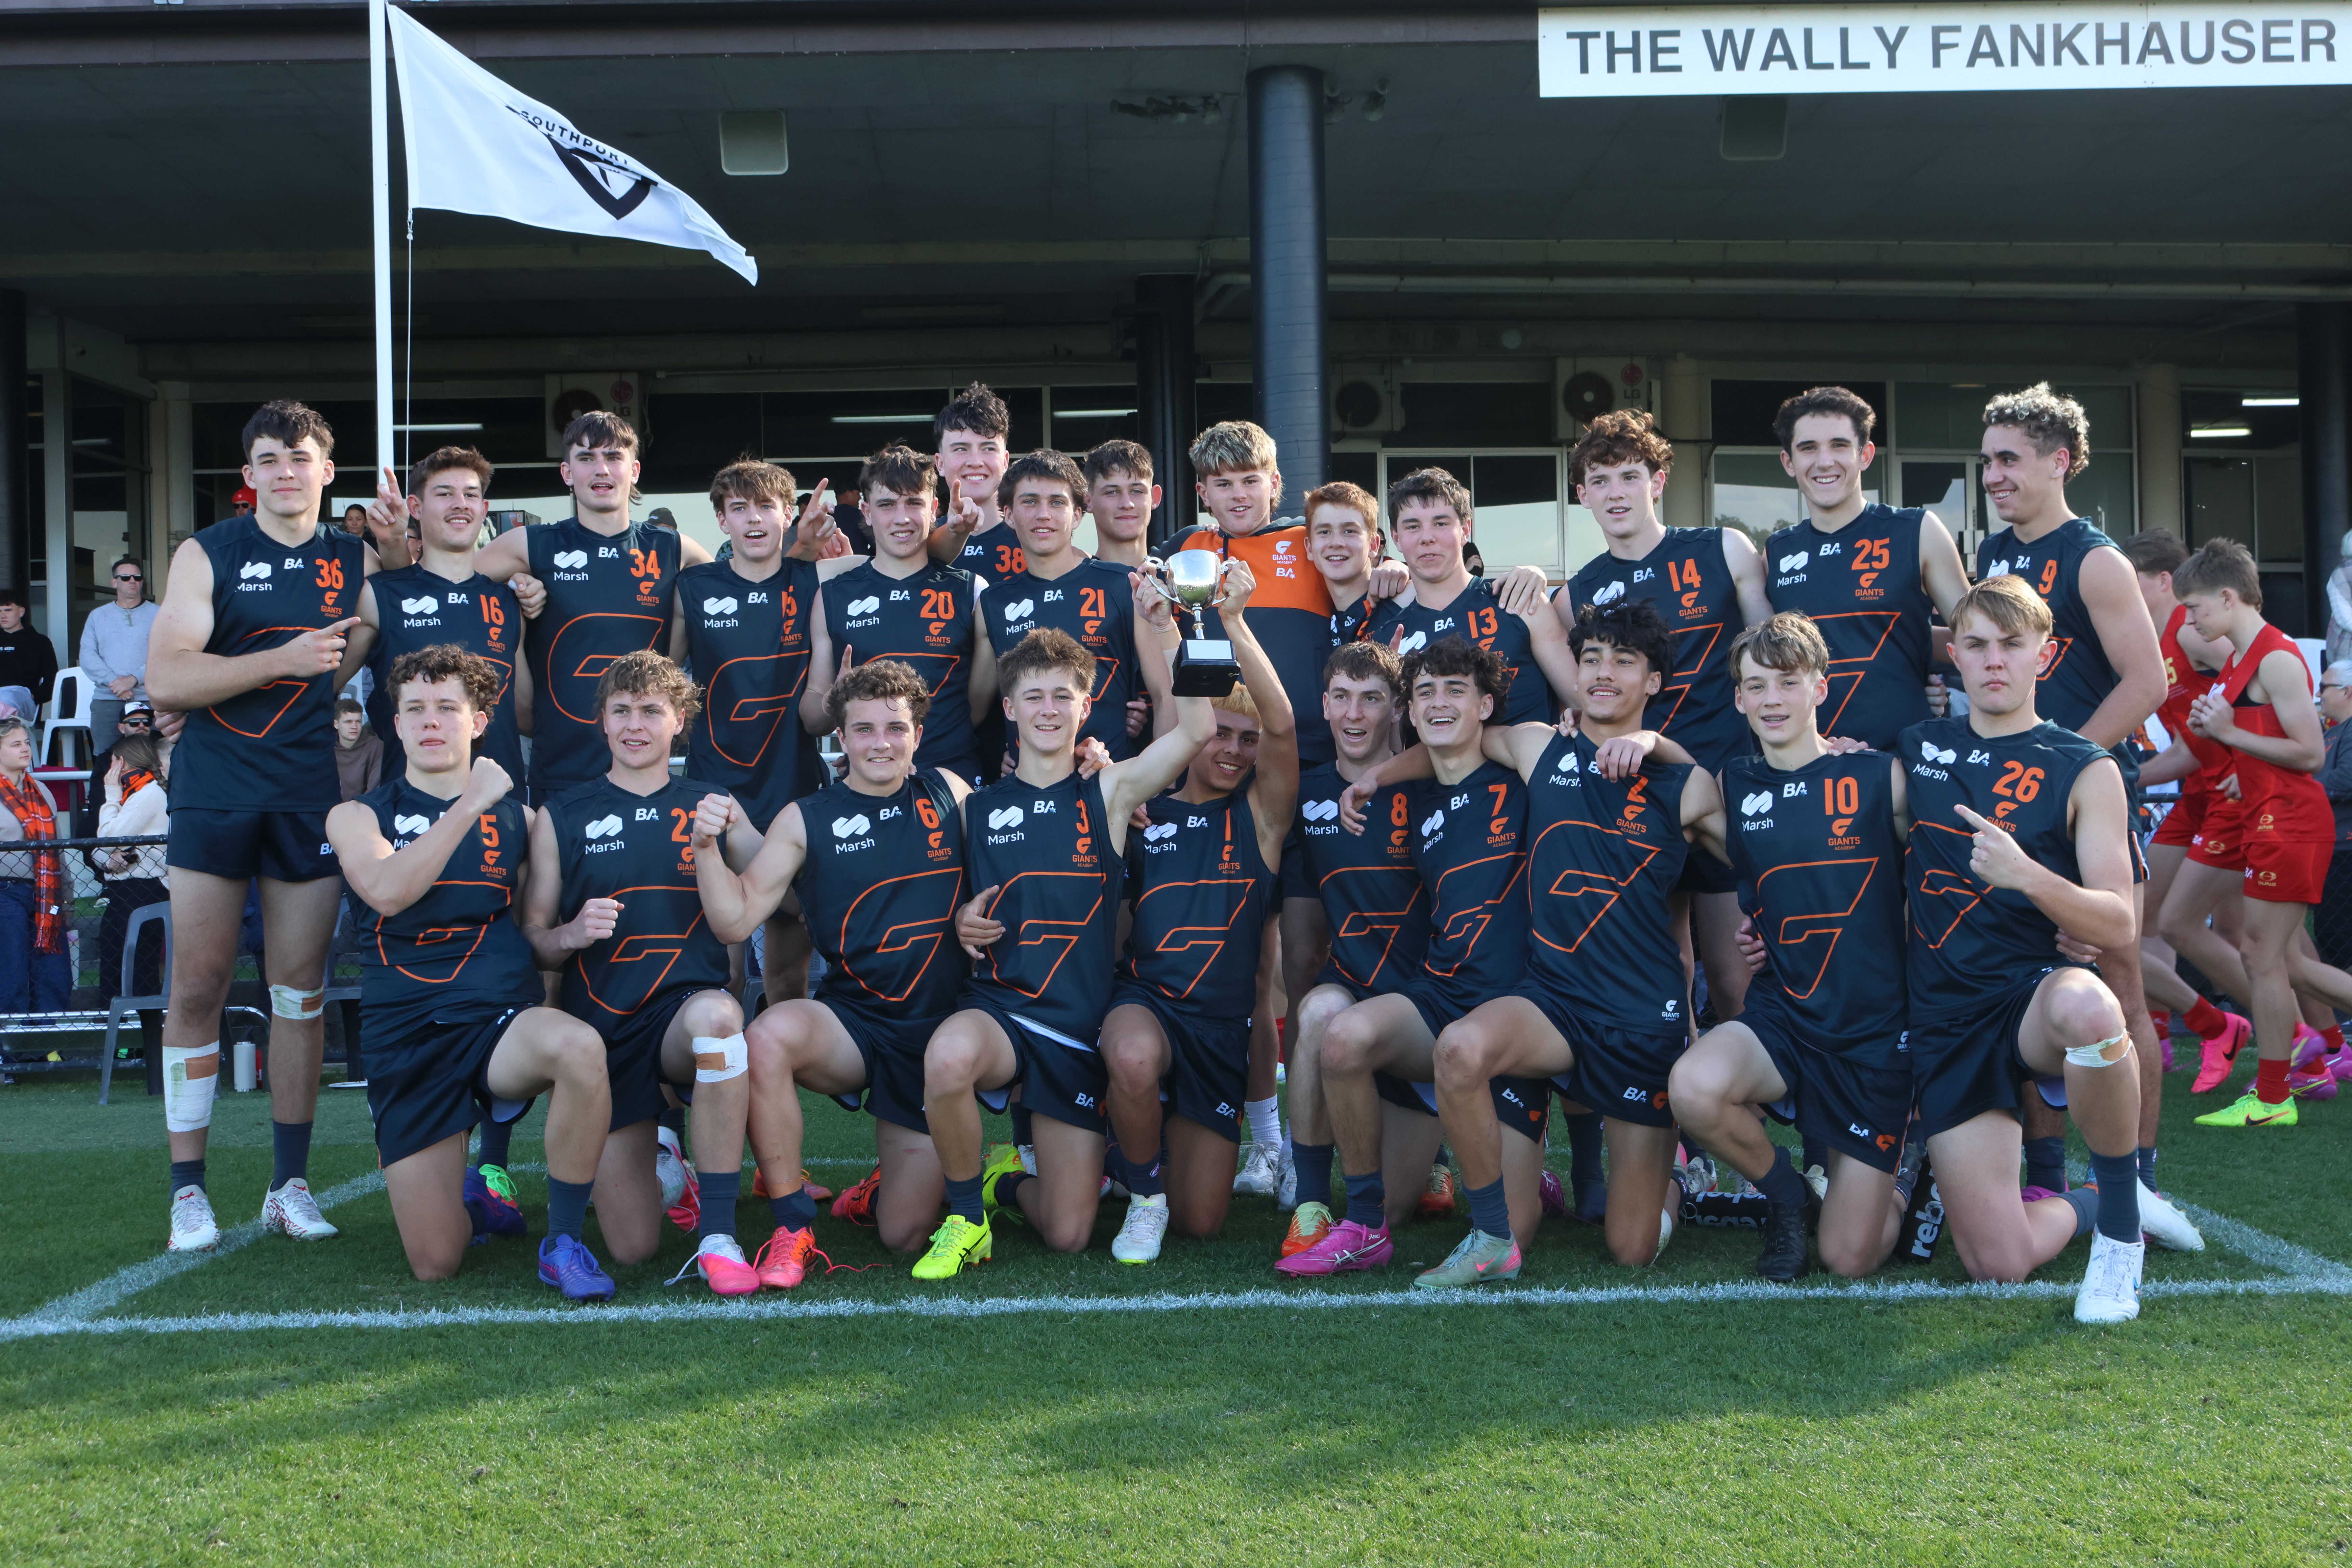
Scouting Notes: 2026 AFL U16s – Suns Academy vs. Giants Academy
AN ORANGE tsunami swept across Southport as the GWS Giants Academy secured the Pool B AFL Under 16 Championships title after defeating the Gold Coast Suns Academy by 15 points. There was a big, big sound as the Giants kicked three goals into the breeze during the third term to maintain an important lead at […]
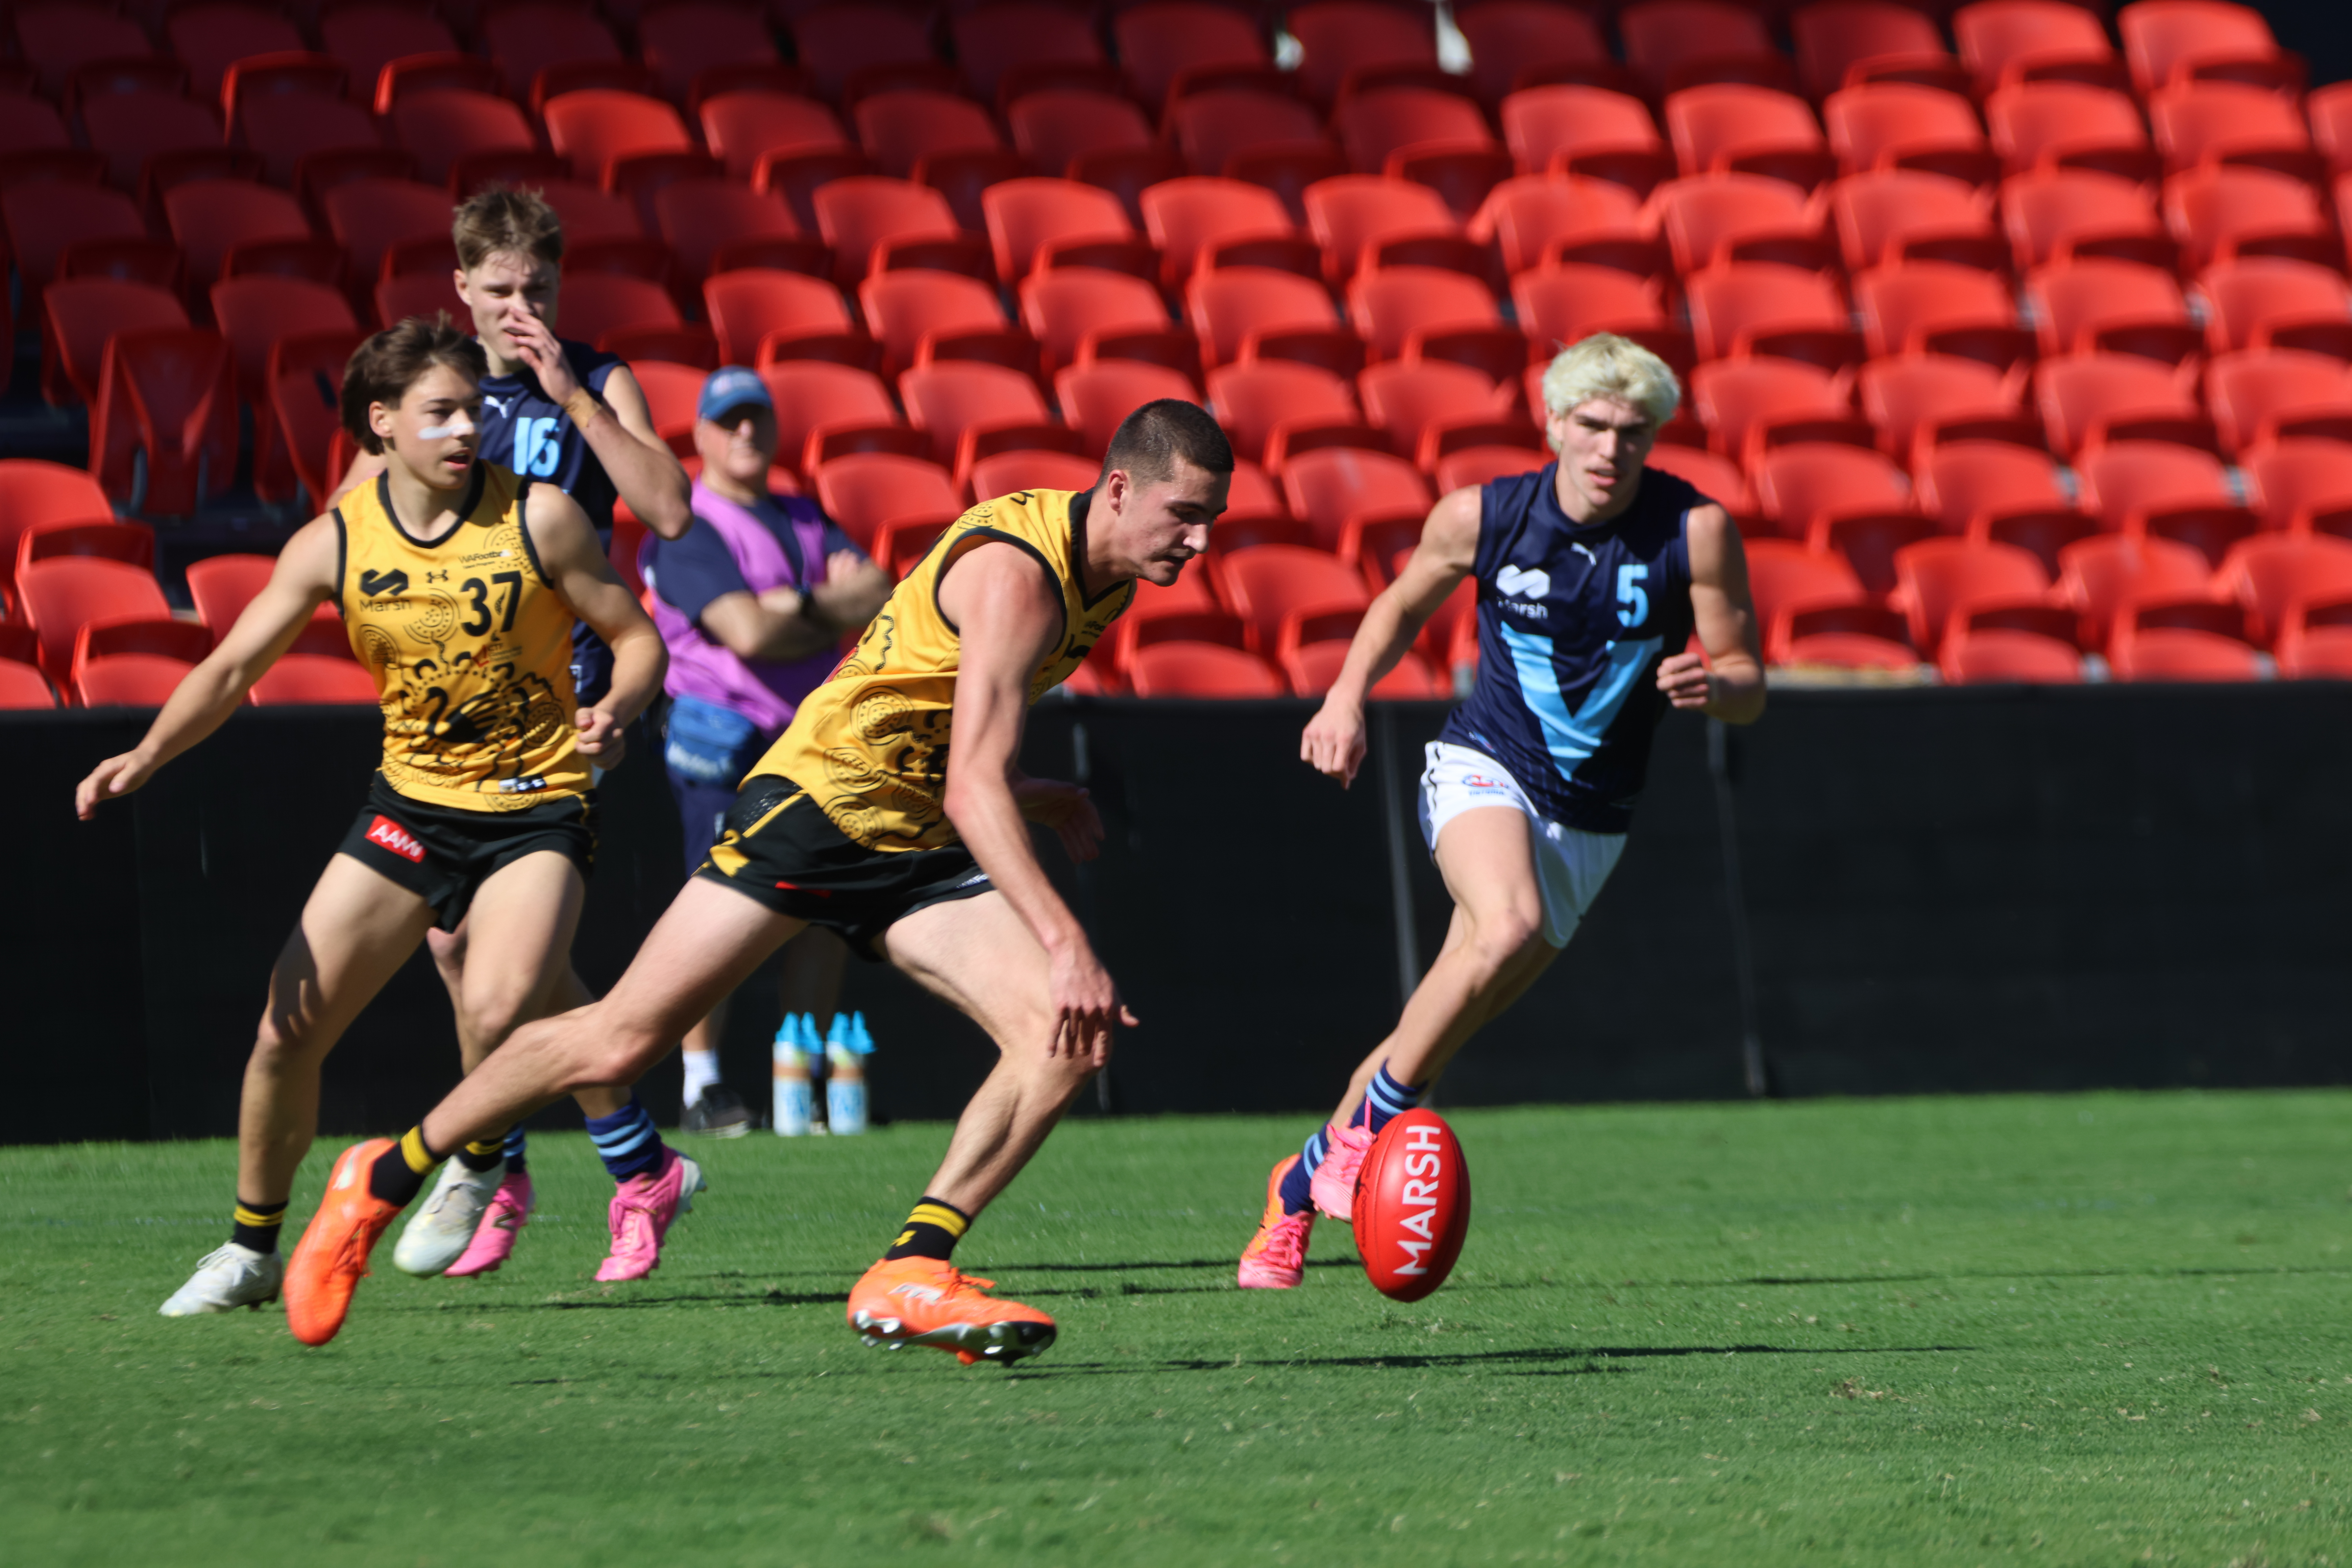
Scouting Notes: 2026 AFL U16s – Vic Metro vs. Western Australia
WESTERN Australia has moved one step closer to claiming the Pool A title after defeating Vic Metro by 27 points in their Under 16 National Championships clash on Tuesday. The Sandgropers posted over 30 scoring shots but were wildly inaccurate in front of goal, with the winning margin not truly reflective of their dominance. Co-captains […]
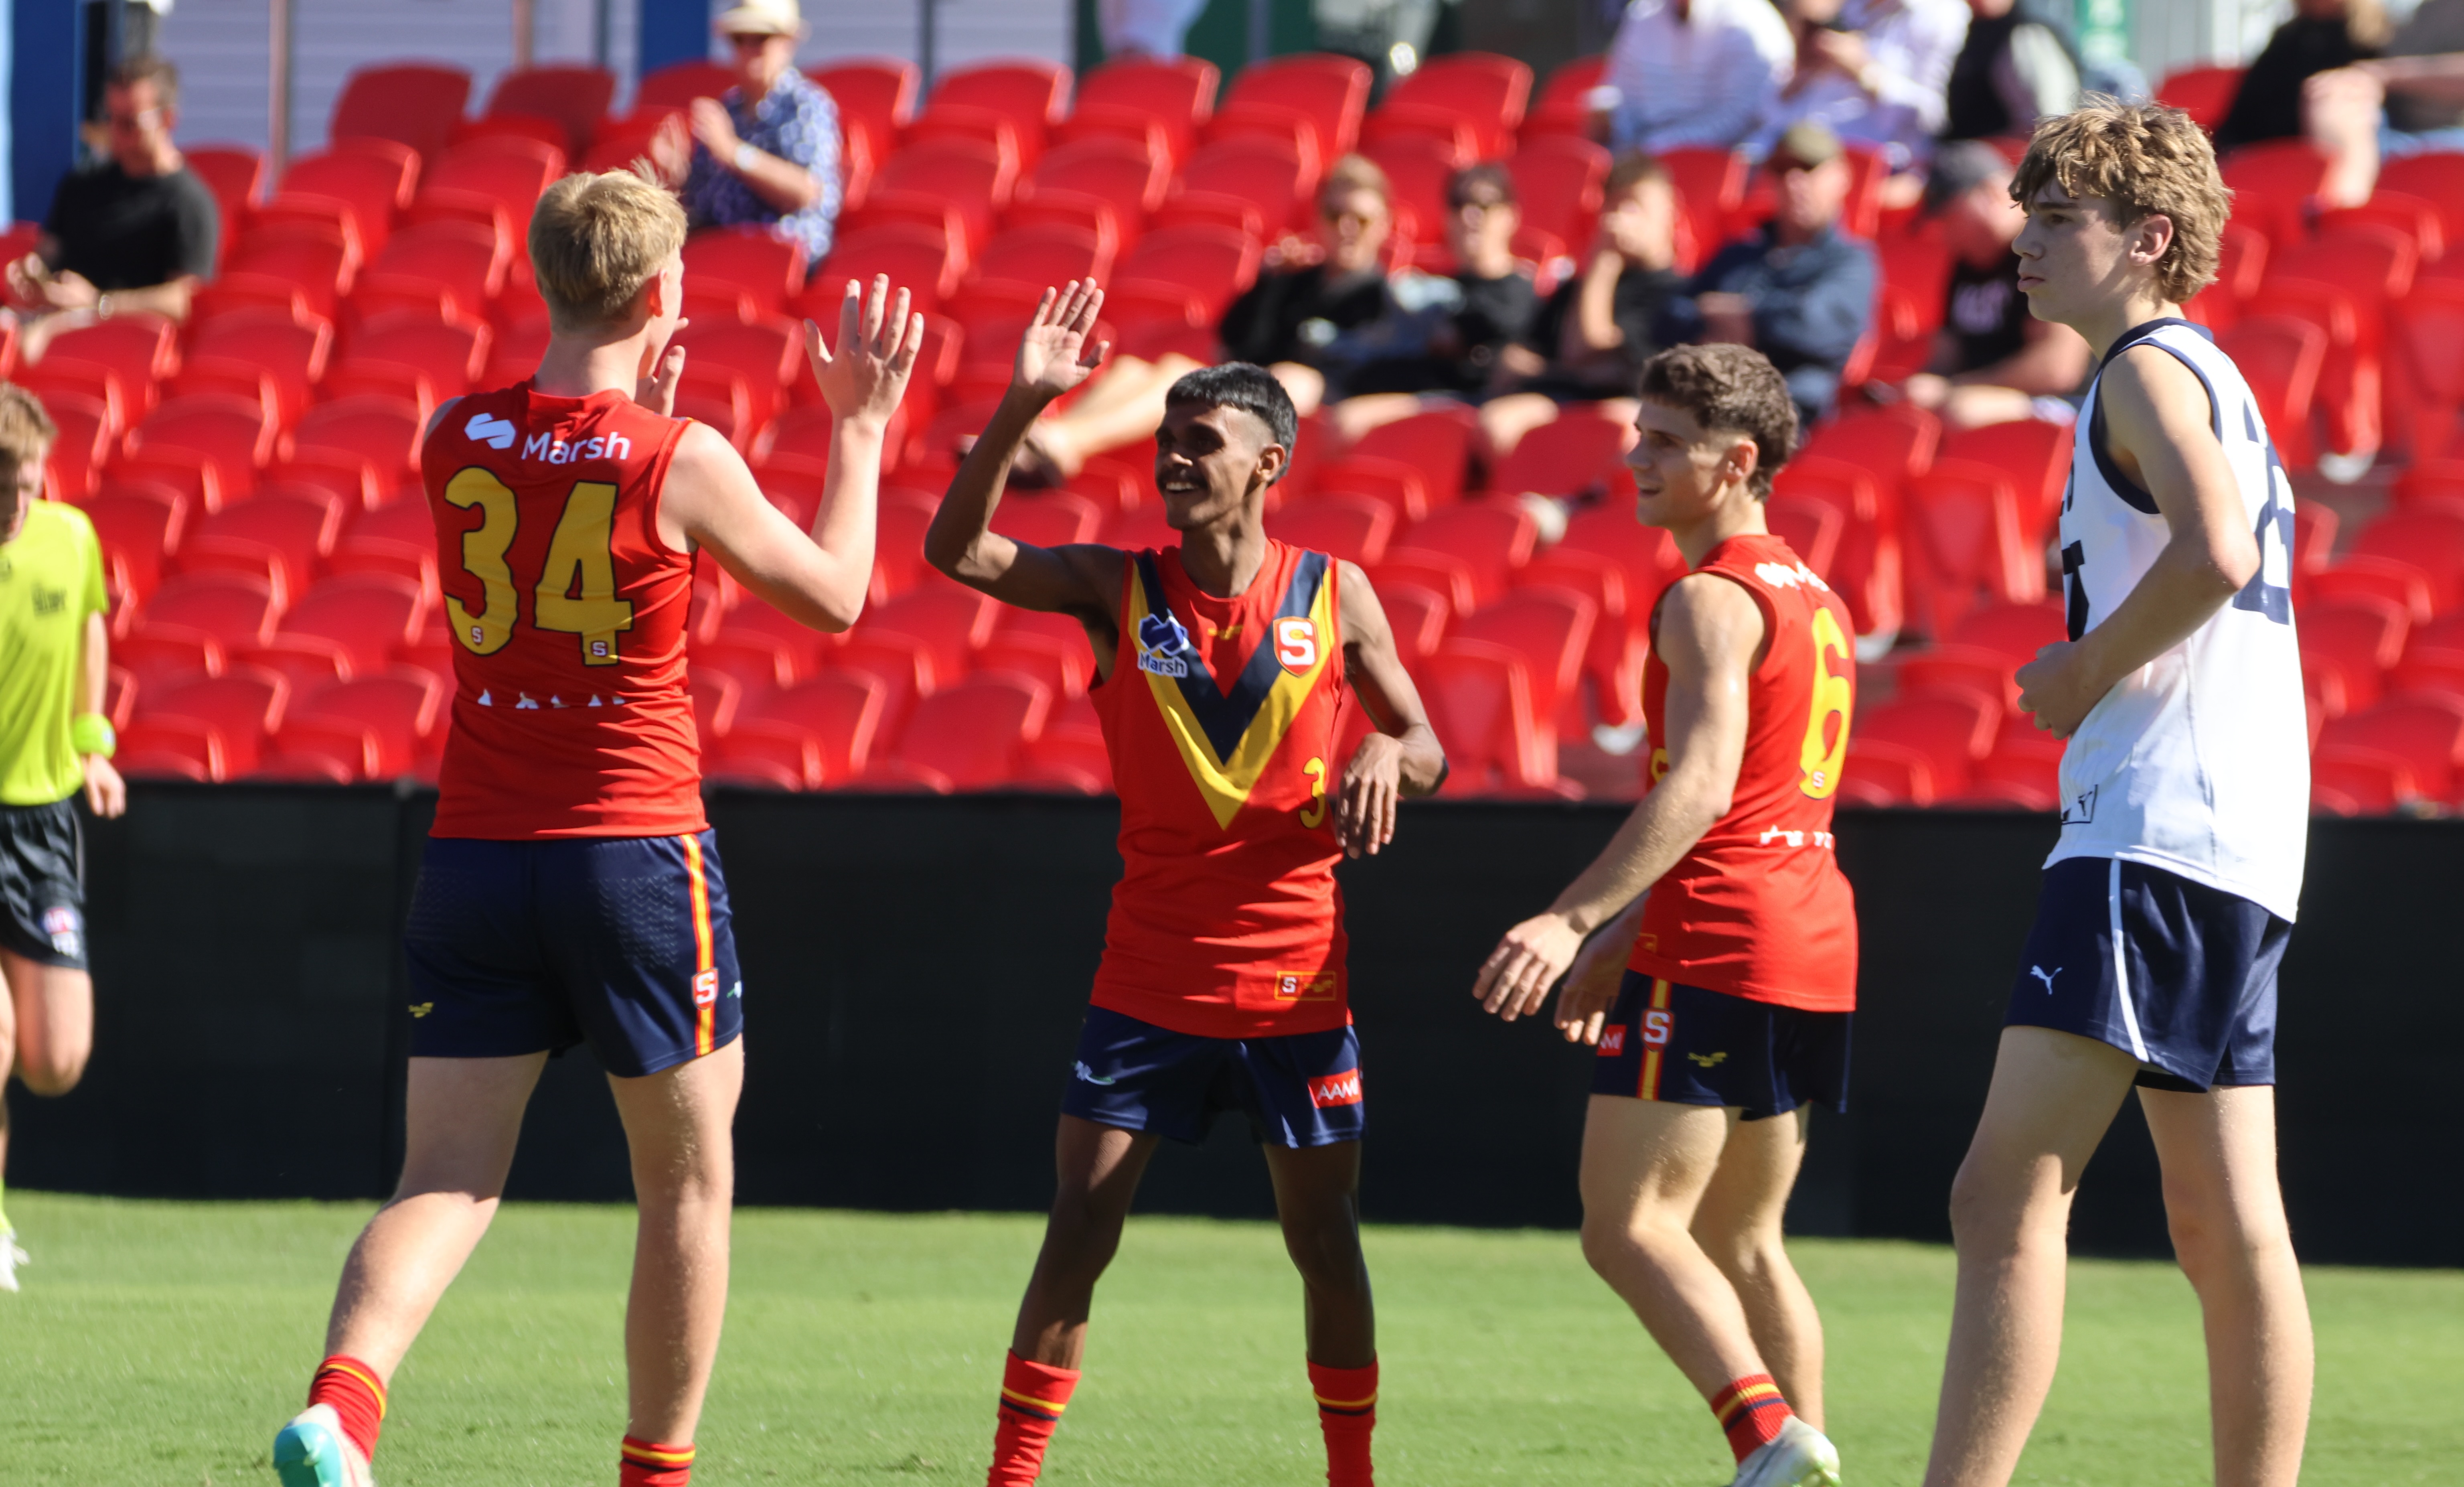
Scouting Notes: 2026 AFL U16s – Vic Country vs. South Australia
SOUTH Australia opened its account at this year’s Under 16 National Championships with a 23-point win over Vic Country at People First Stadium on Tuesday. In what was an enthralling high-scoring shootout, the Croweaters simply had too much firepower and made their opportunities count to notch up a triple-figure score. The win was spearheaded by […]
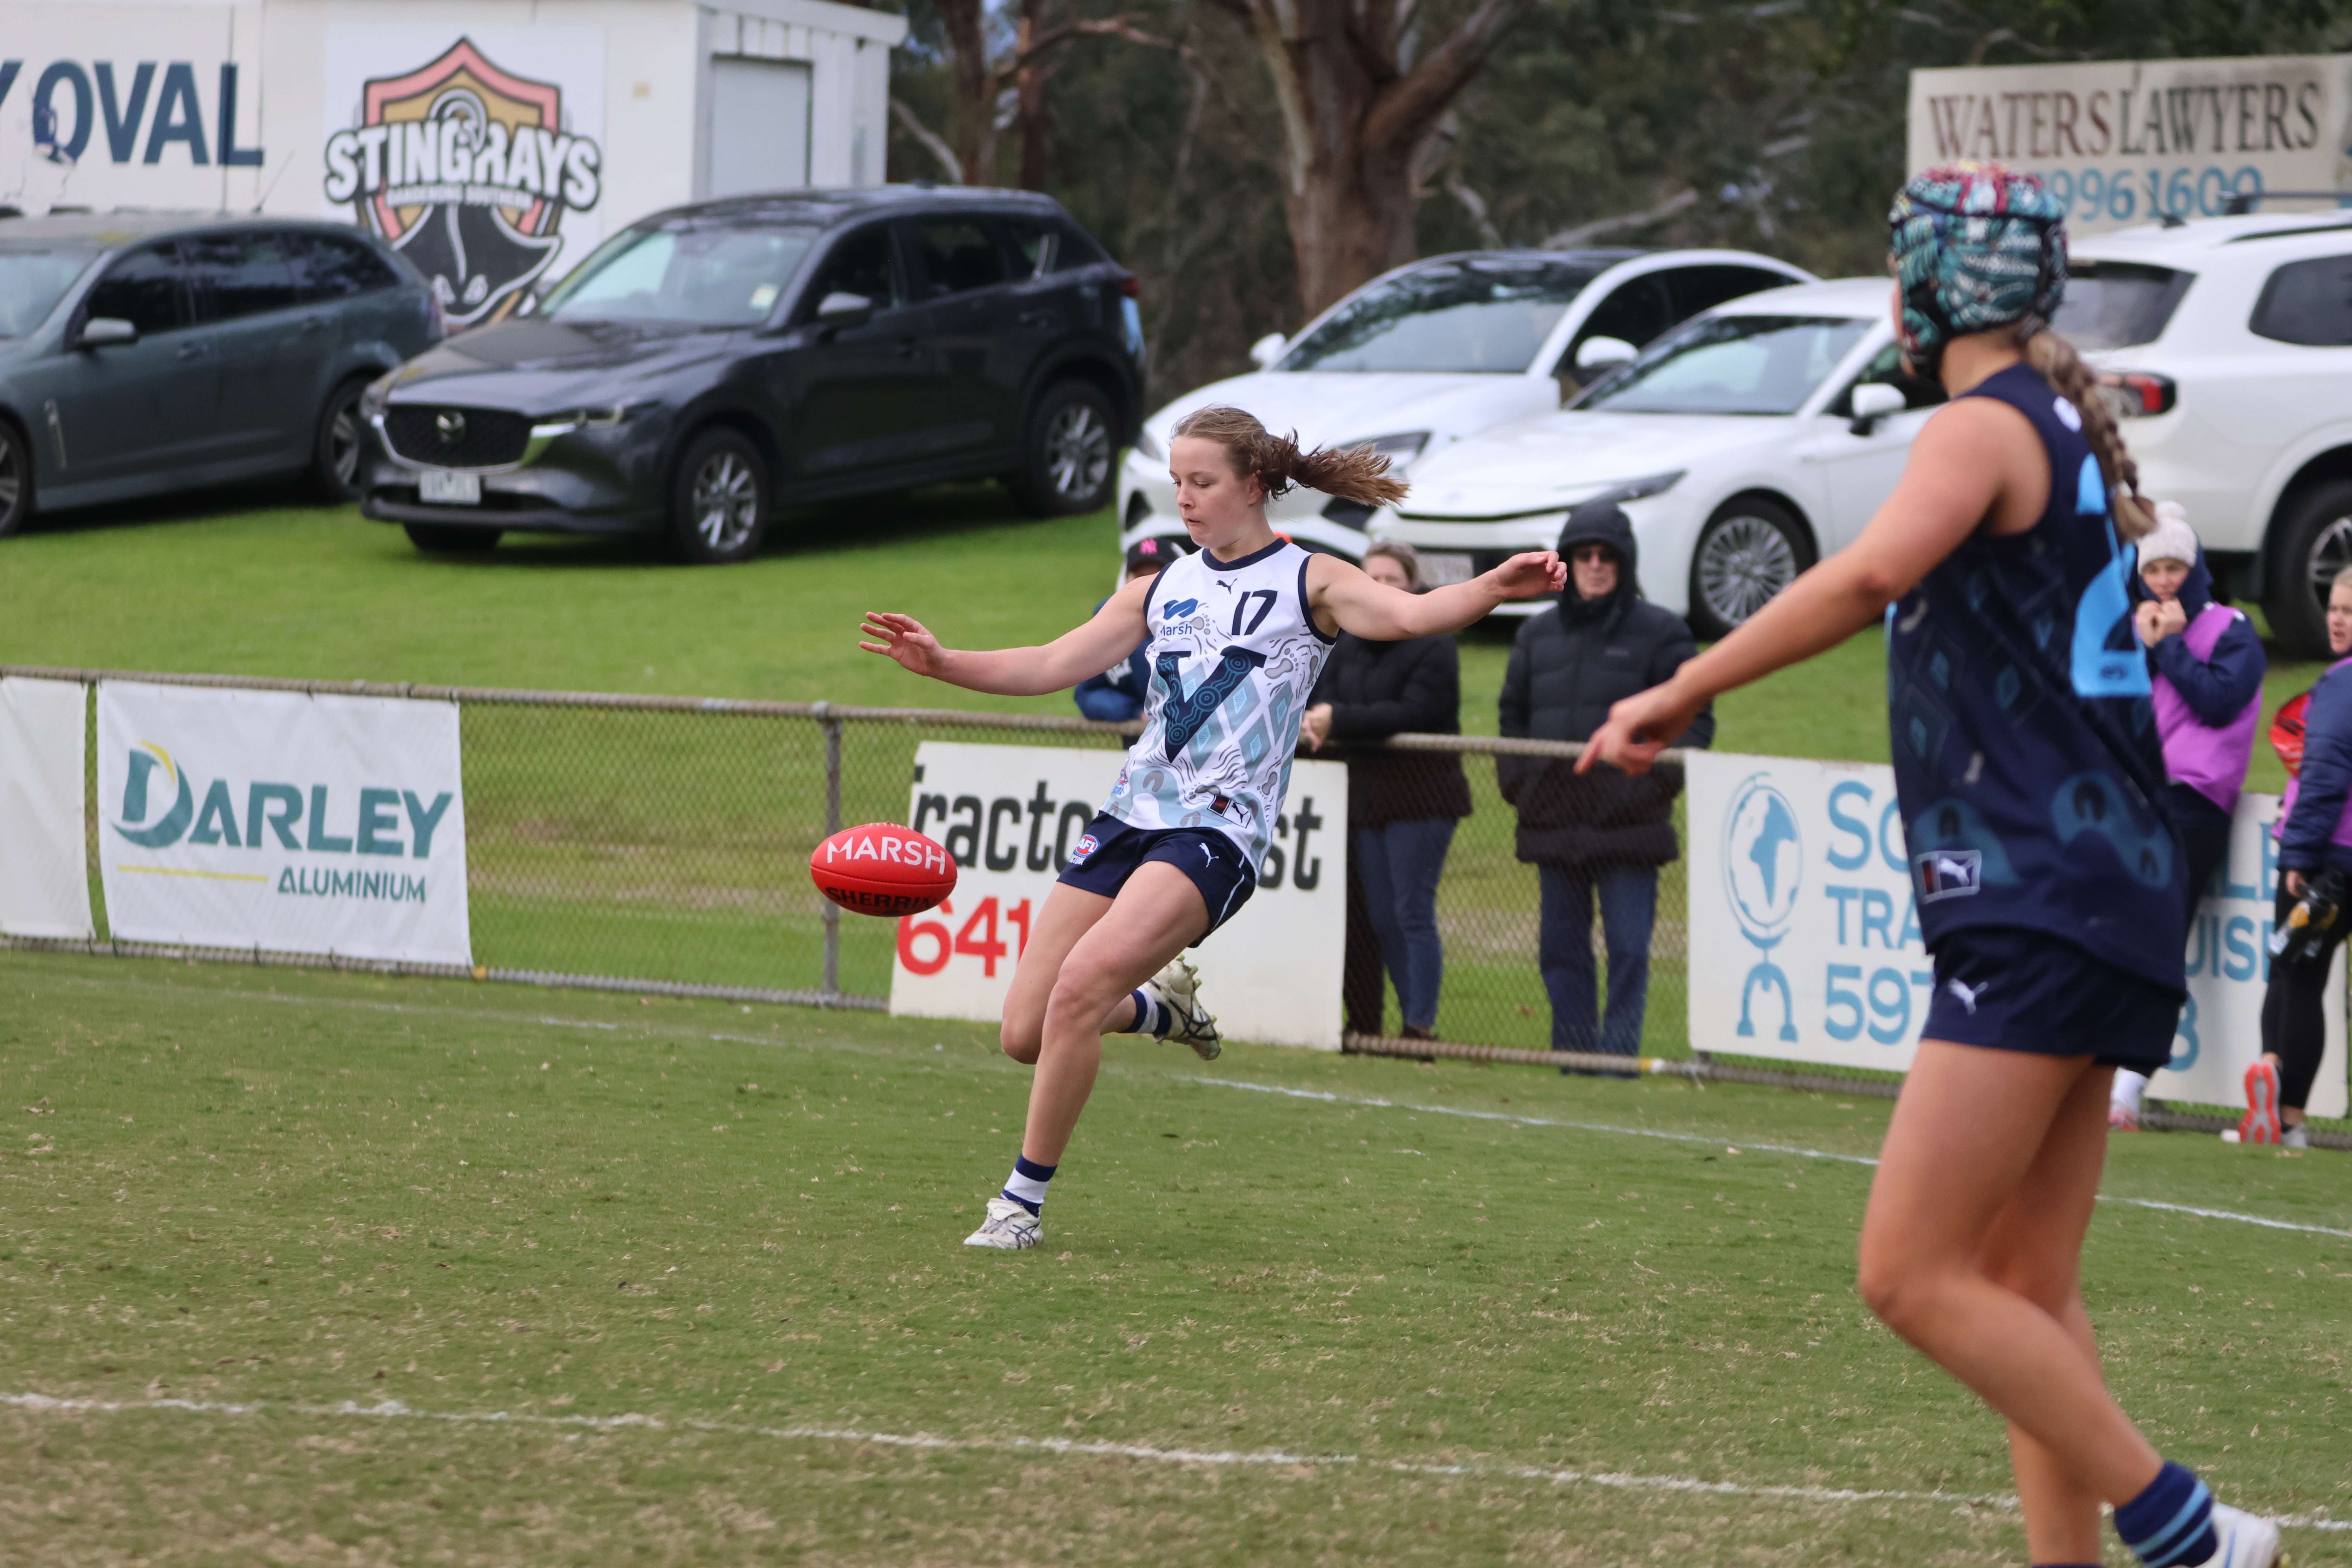
Scouting Notes: 2026 AFLW U18s – Vic Country vs. Vic Metro
VIC COUNTRY avoided a winless national carnival and finished the AFL Women’s Under 18 Championships on a high with an impressive 10-point win over rivals Vic Metro. Country booted four last quarter goals into the breeze which proved the difference, with only one goal a quarter kicked up that end previously in the match. The […]
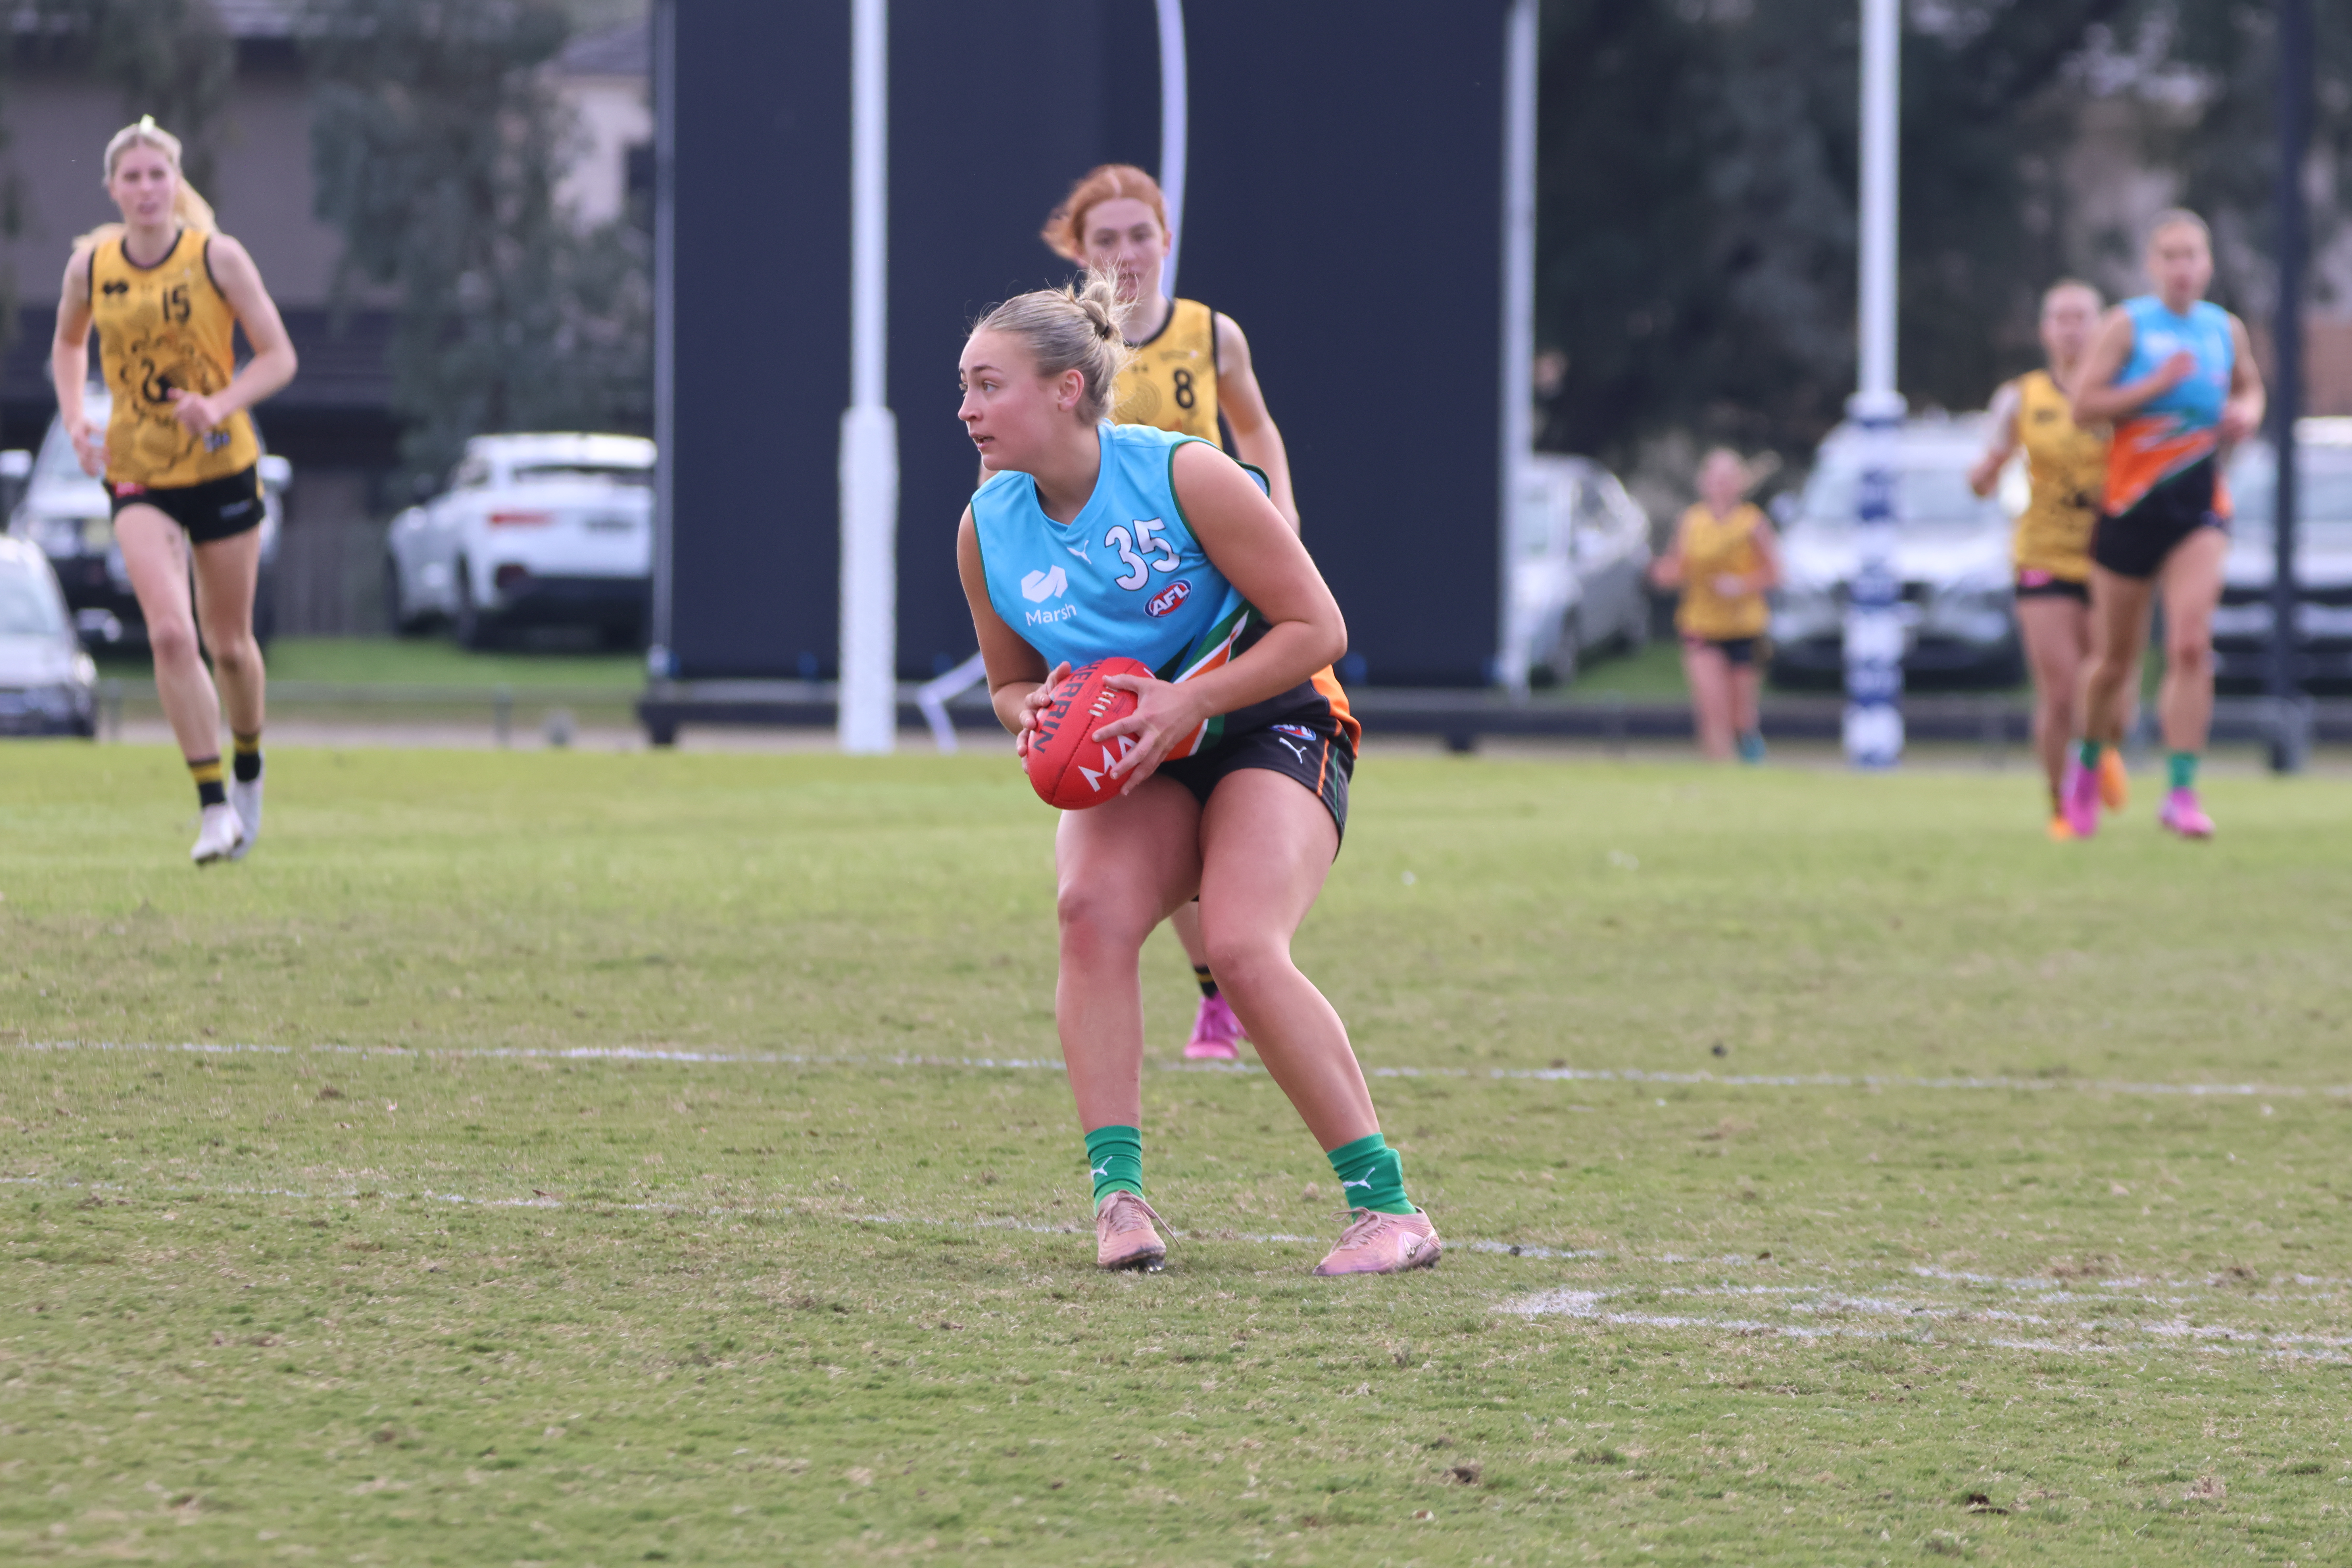
Scouting Notes: 2026 AFLW U18s – Allies vs. Western Australia
AN IMPRESSIVE finish to the 2026 AFL Women’s Under 18 Championships saw the Allies snatch second spot overall with a 29-point victory over Western Australia. In the second game of the last day triple-header at Shepley Oval, the Allies got up 8.12 (60) to 4.7 (31) thanks to six goals to two after quarter time. […]
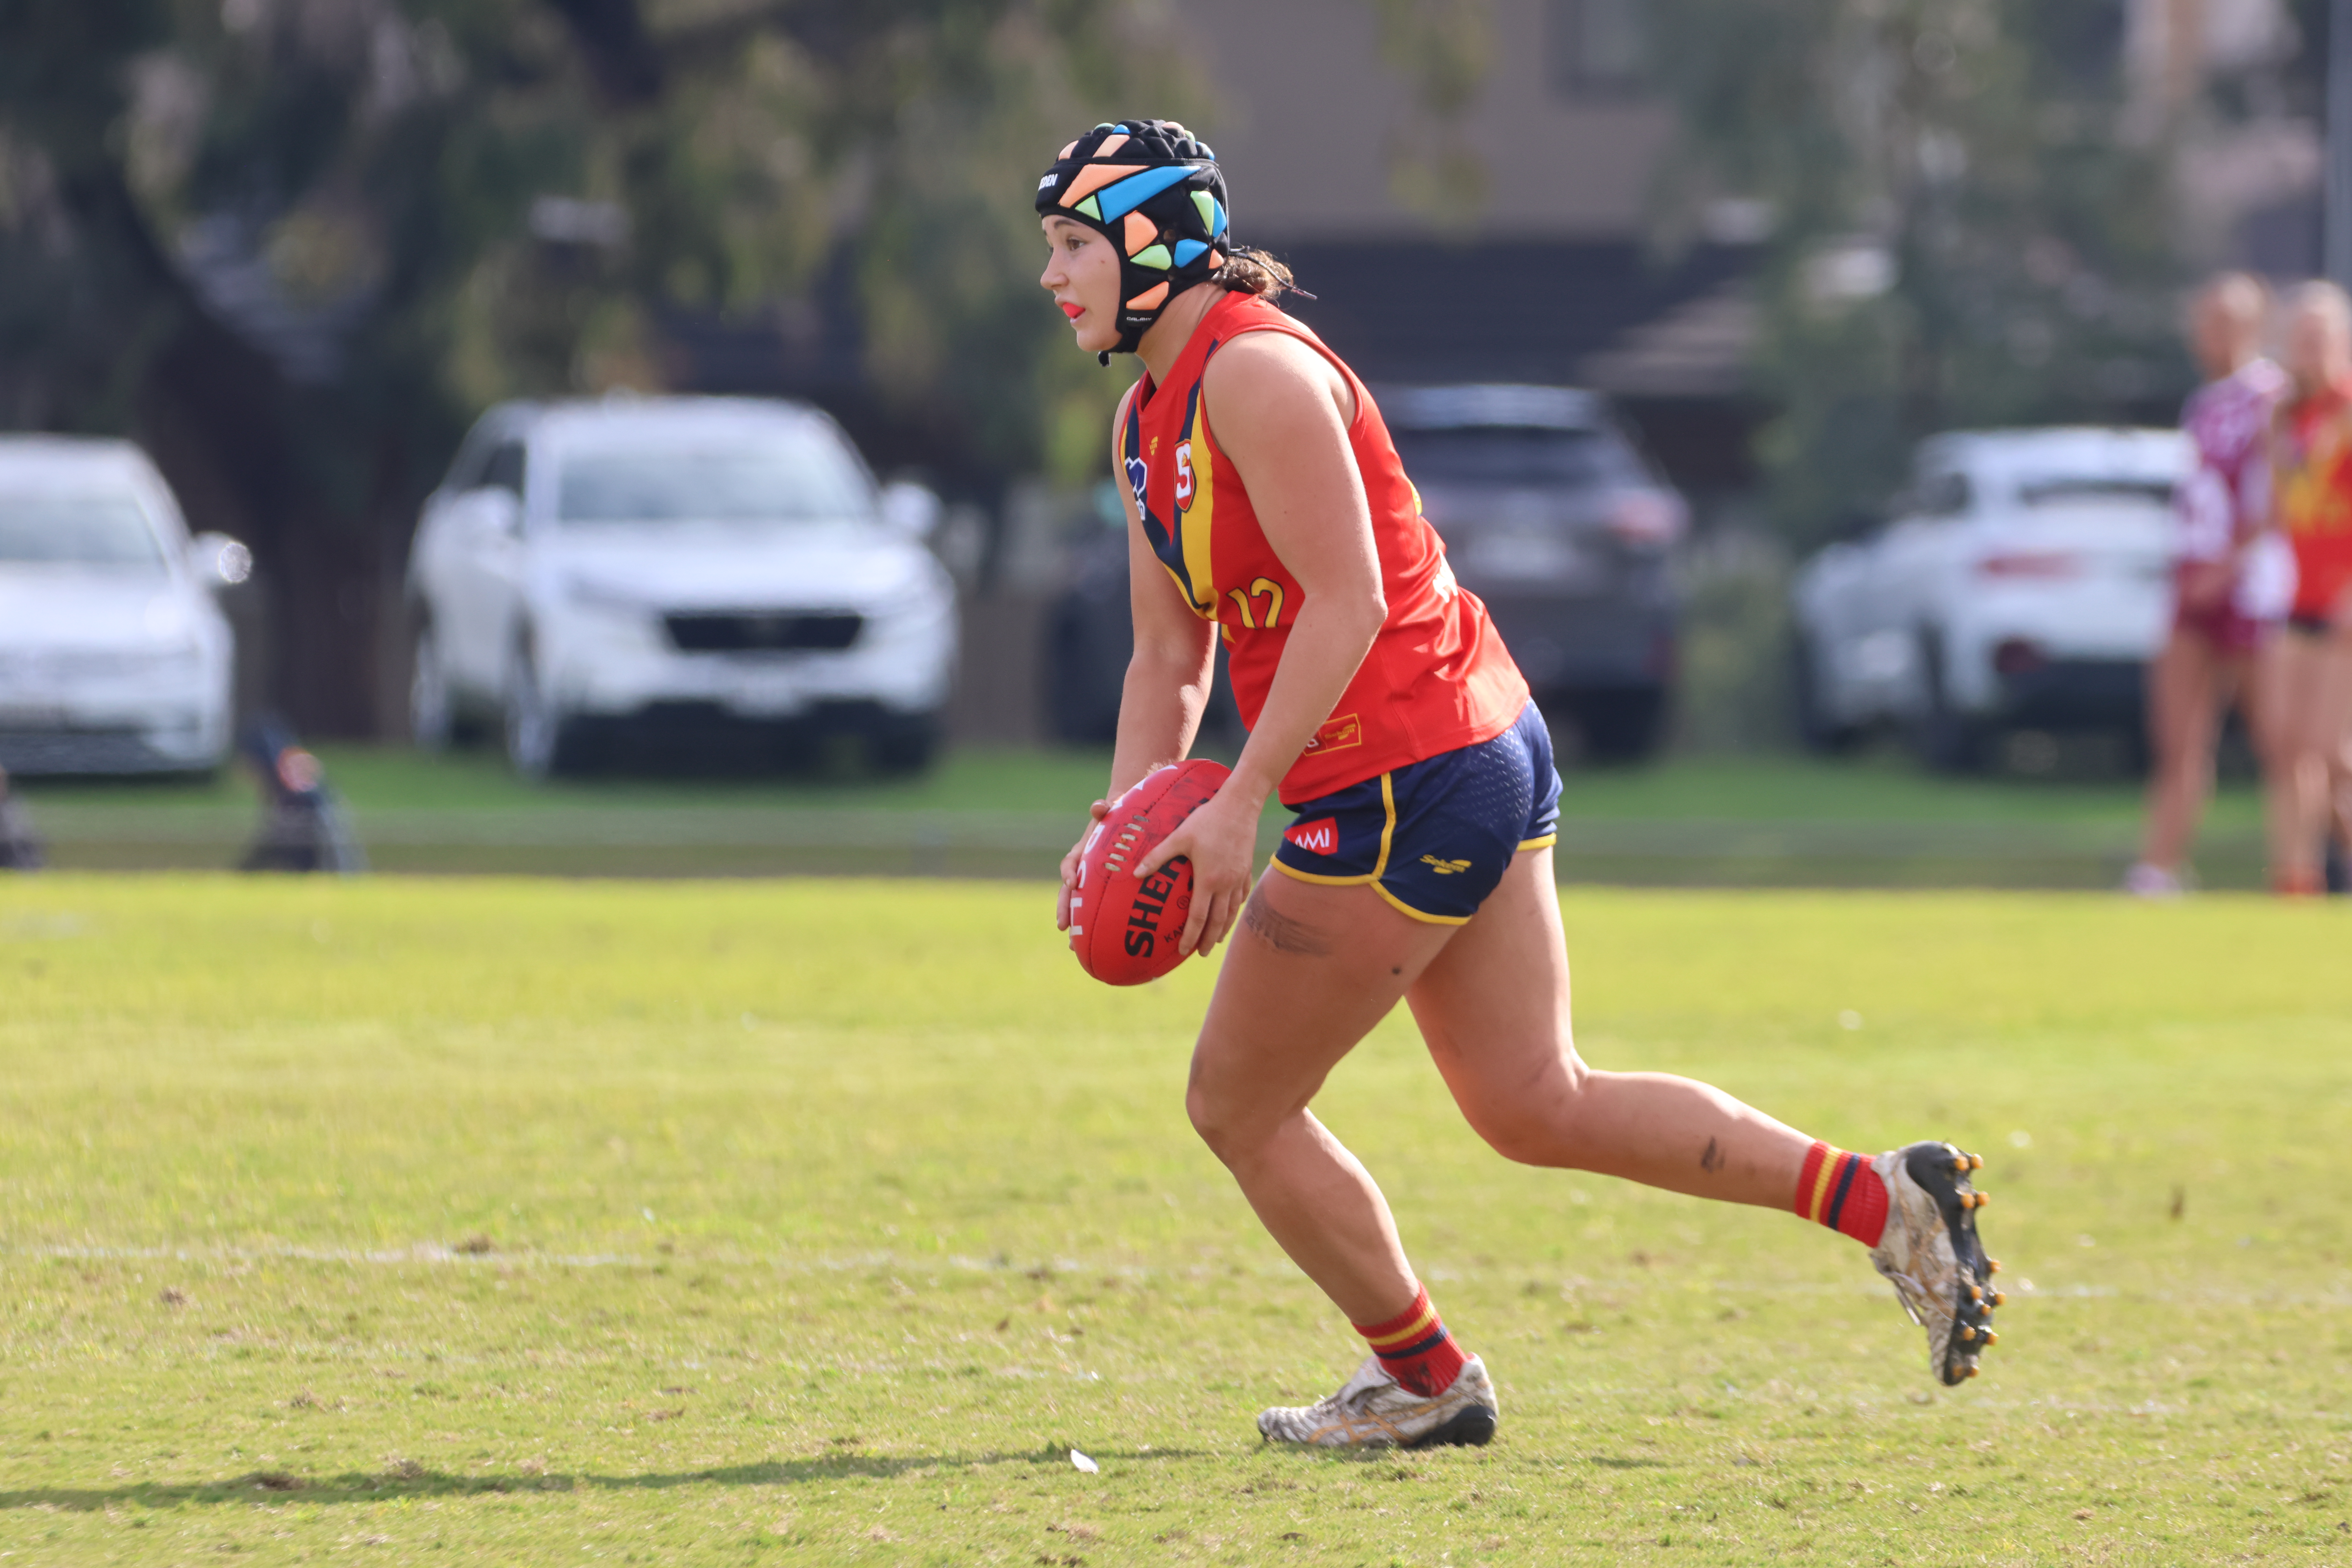
Scouting Notes: 2026 AFLW U18s – South Australia vs. Queensland
SOUTH Australia completed an undefeated run at the 2026 AFL Women’s Under 18 Championships and collected the title with a hard-fought victory over Queensland on the last day of the national carnival. The Croweaters stormed home with the breeze in the final term to kick three unanswered goals and win by seven points at Shepley […]
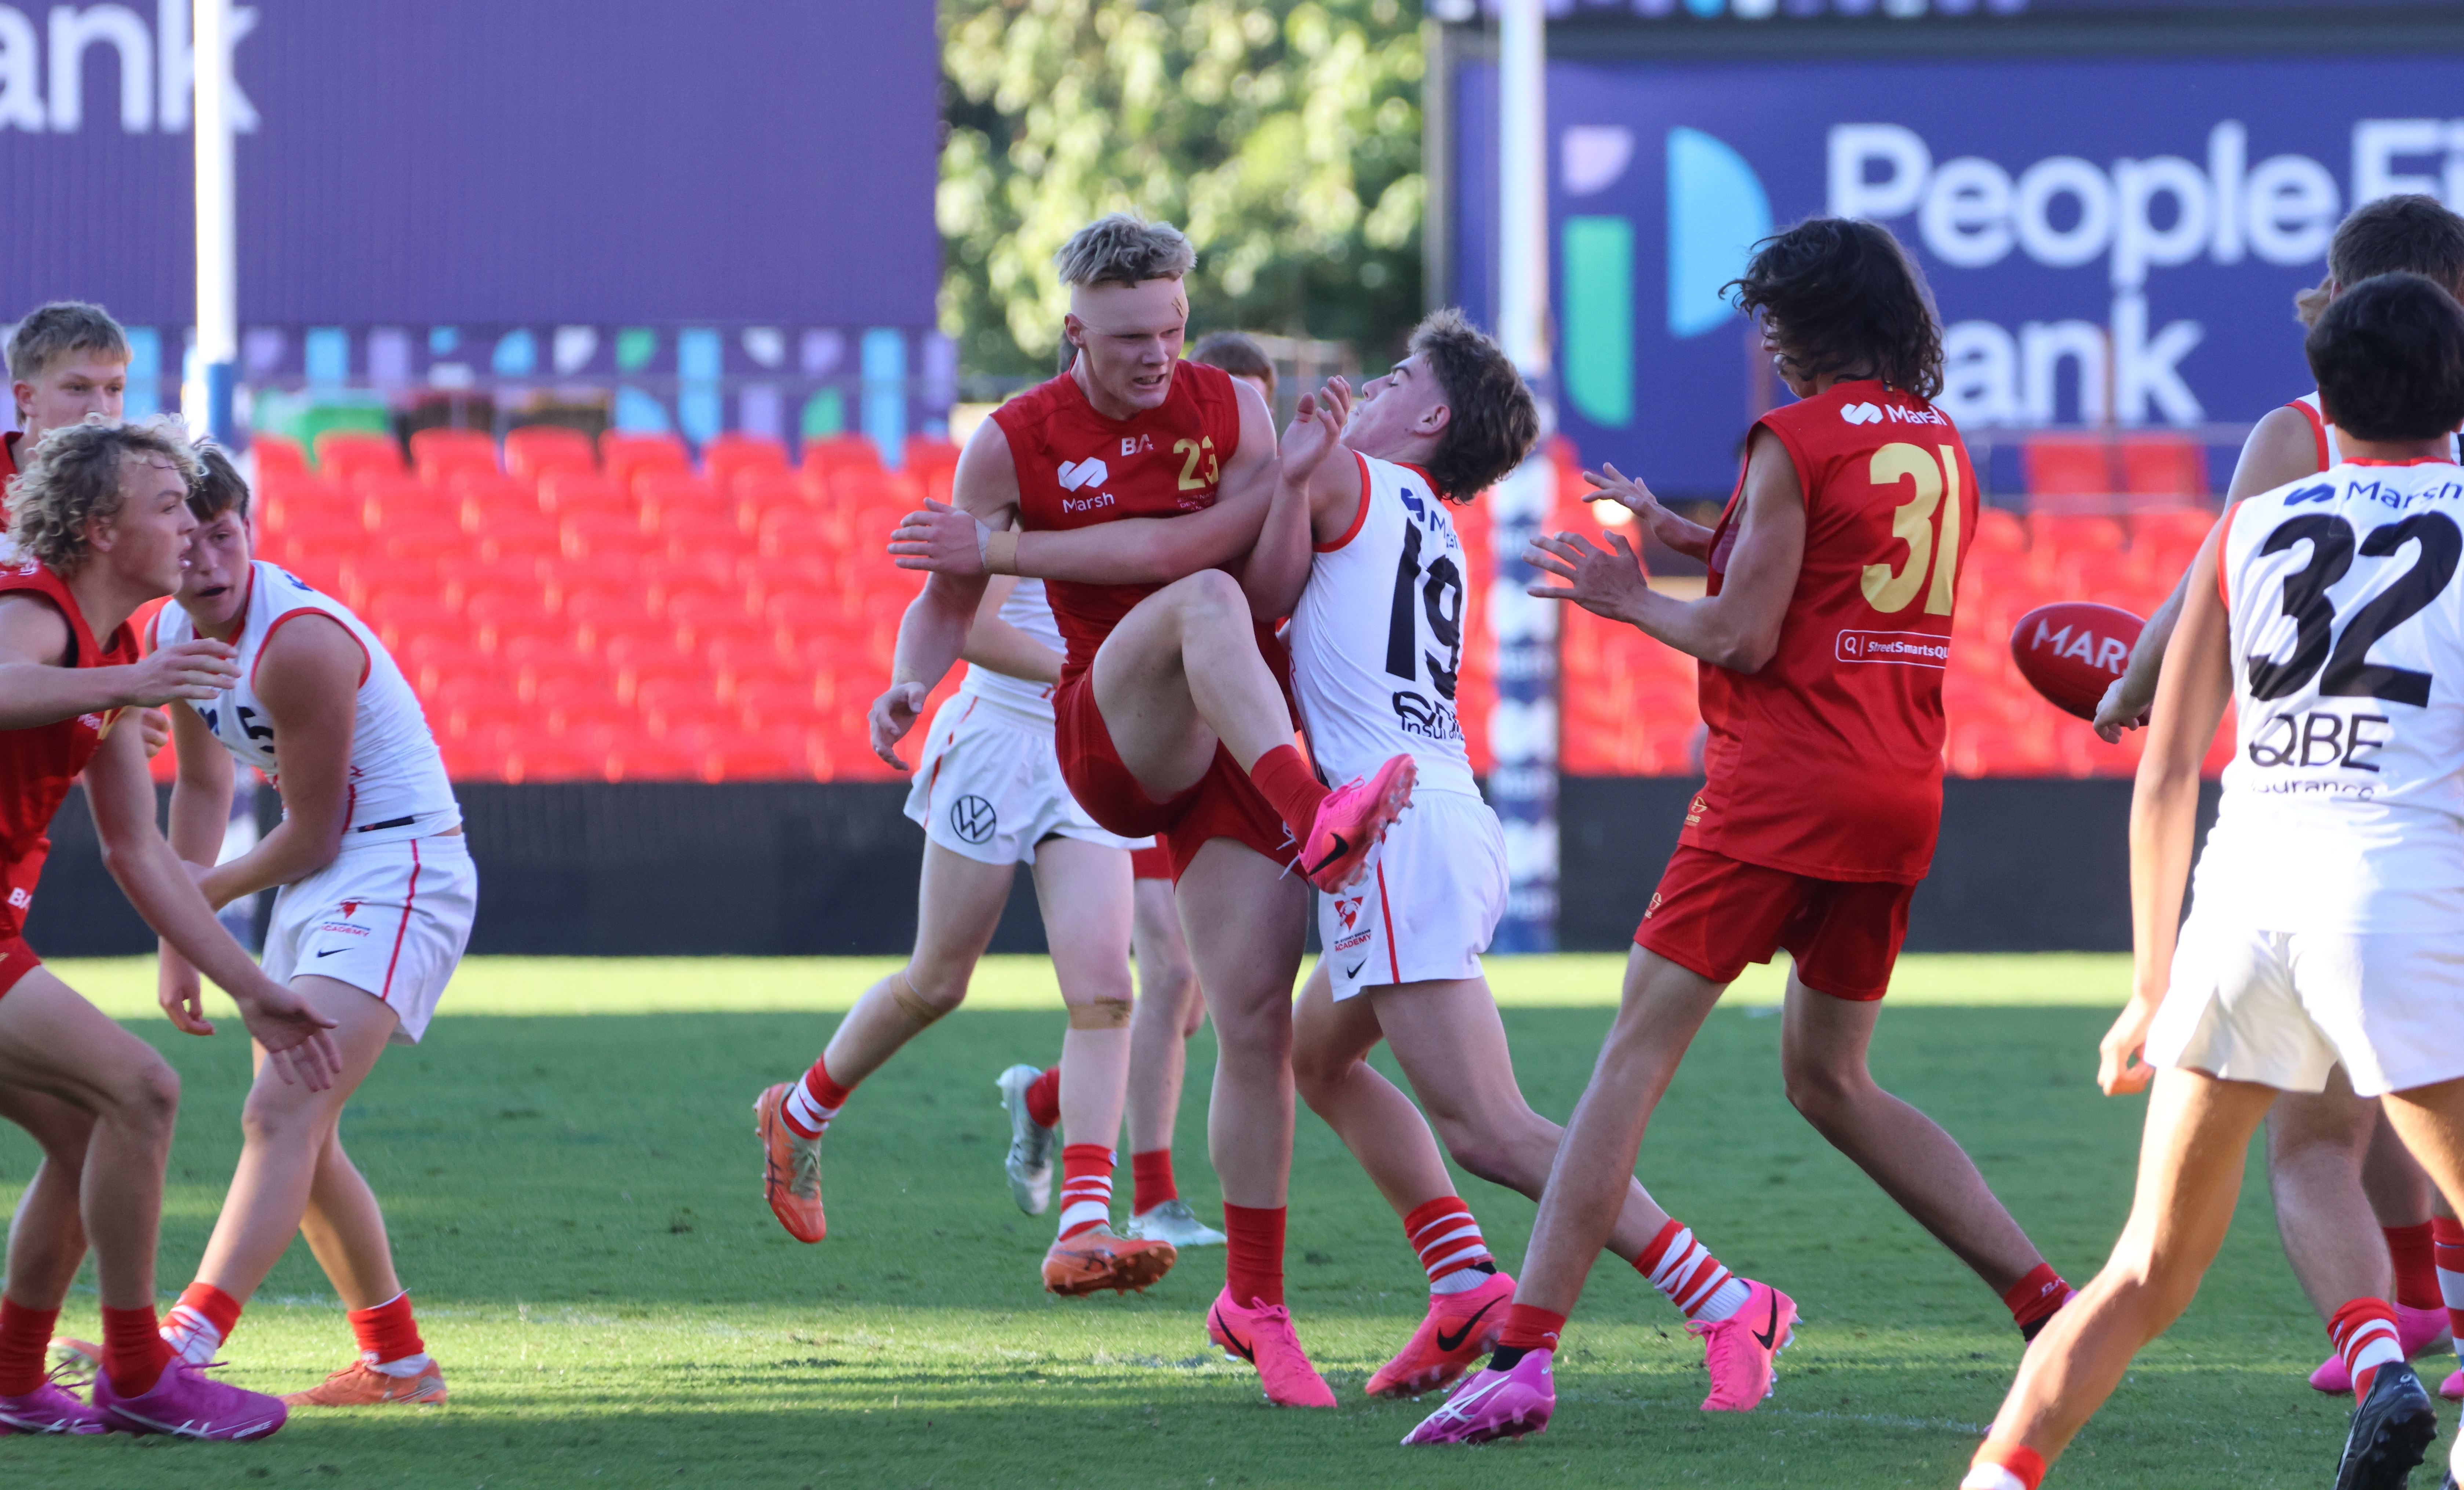
Scouting Notes: 2026 AFL U16s – Suns Academy vs. Swans Academy
THE GOLD Coast Suns Academy continued its winning run at the Under 16 National Championships on Monday, defeating the Sydney Swans Academy by 24 points at People First Stadium. After a cagey opening half, things opened up in term three but the Suns remained ahead at every break and kicked away late to salute by […]
Scouting Notes: 2026 AFL U16s – Northern Territory vs. Lions Academy
A FAST finishing Brisbane Lions Academy ran over the top of a tiring Northern Territory outfit in game two of the triple-header at People First Stadium yesterday. Both sides came in off heavy losses to Gold Coast Suns Academy and Tasmania respectively, but it was the Territory who raced out of the blocks to kick […]
