Scouting Notes: 2025 AFL U18s – South Australia vs. Western Australia
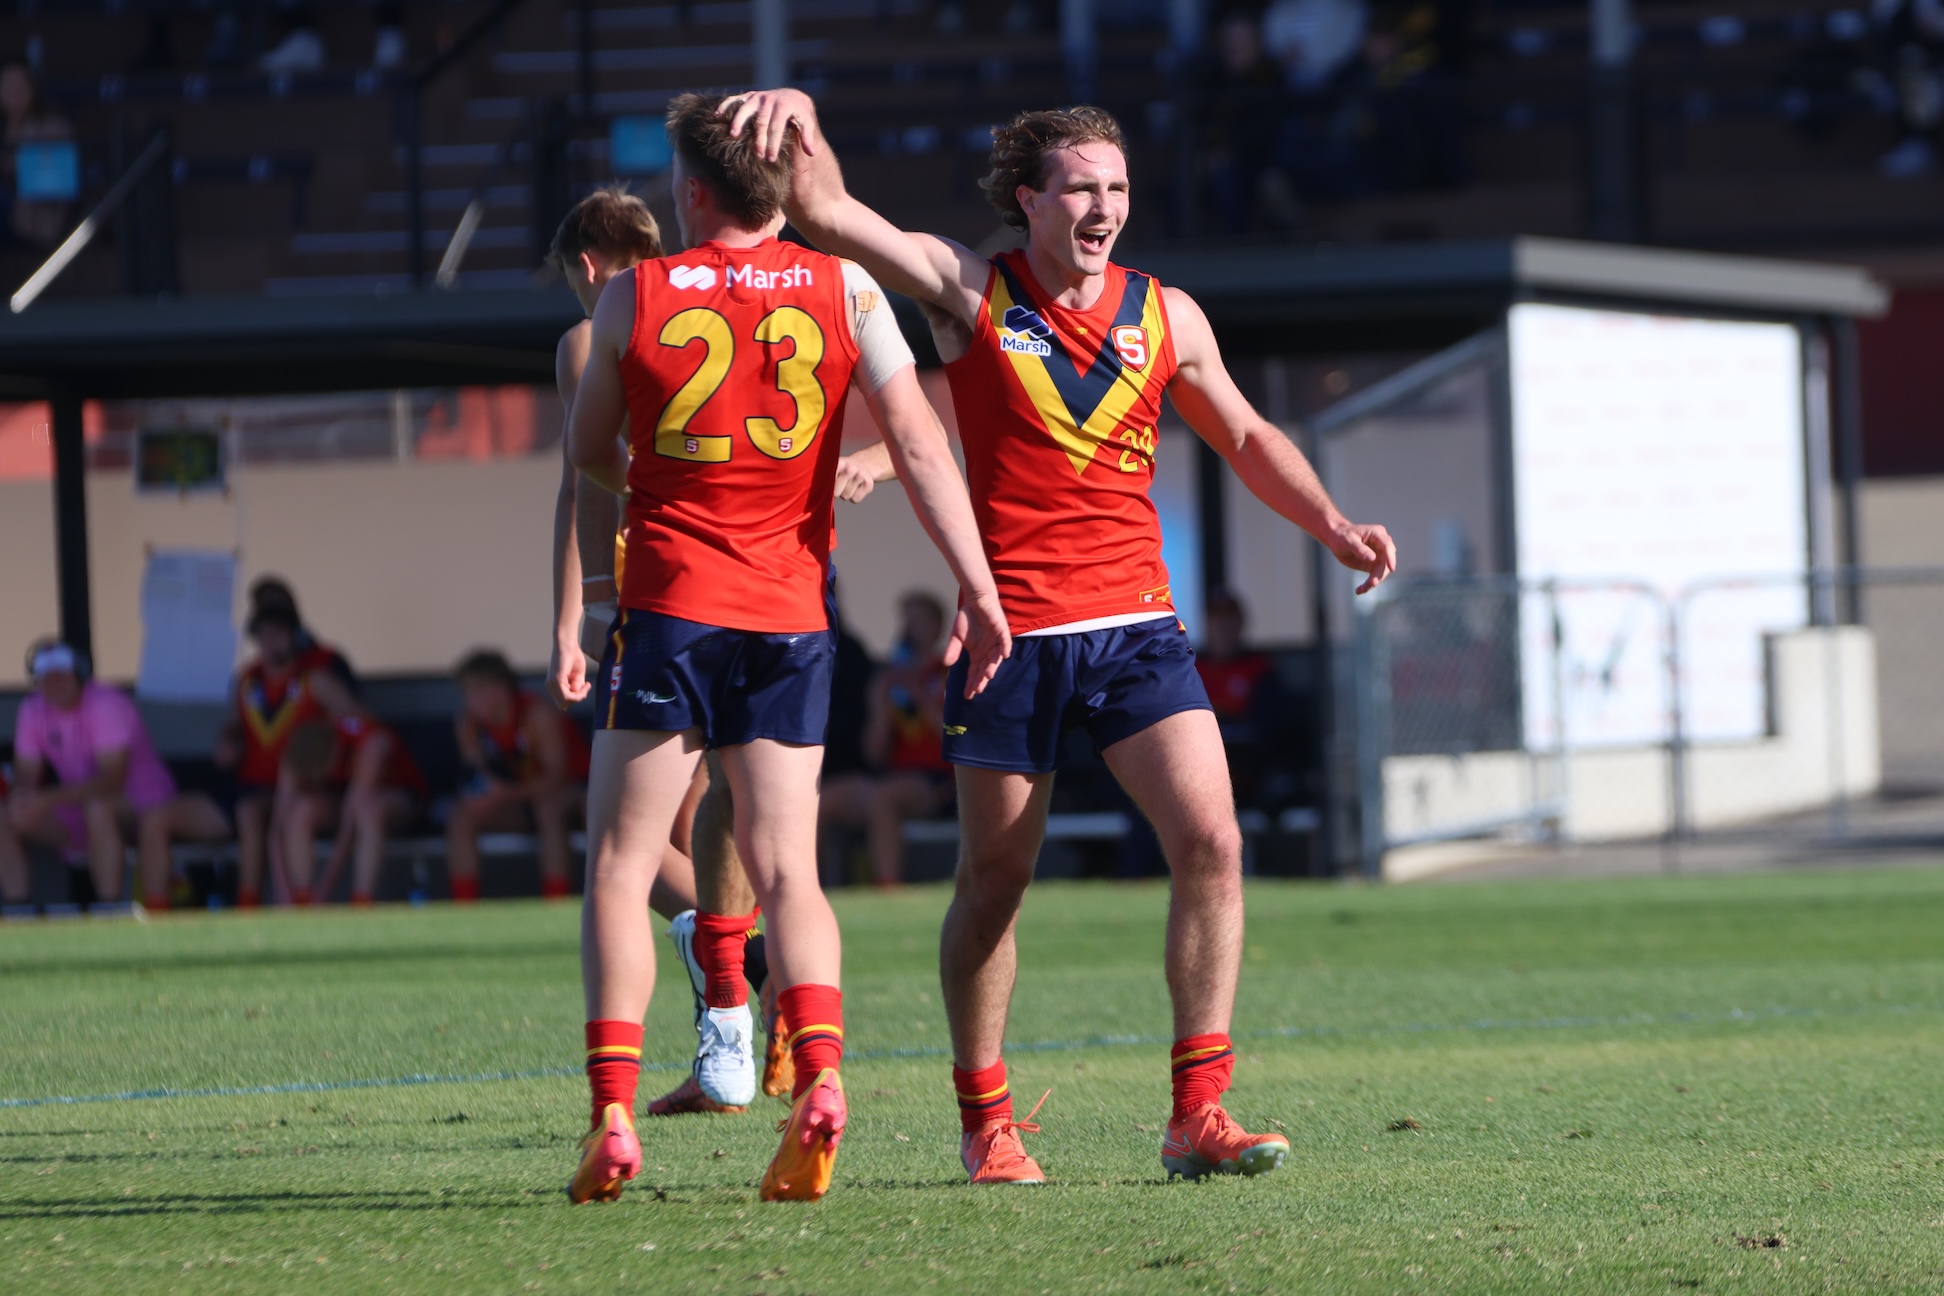
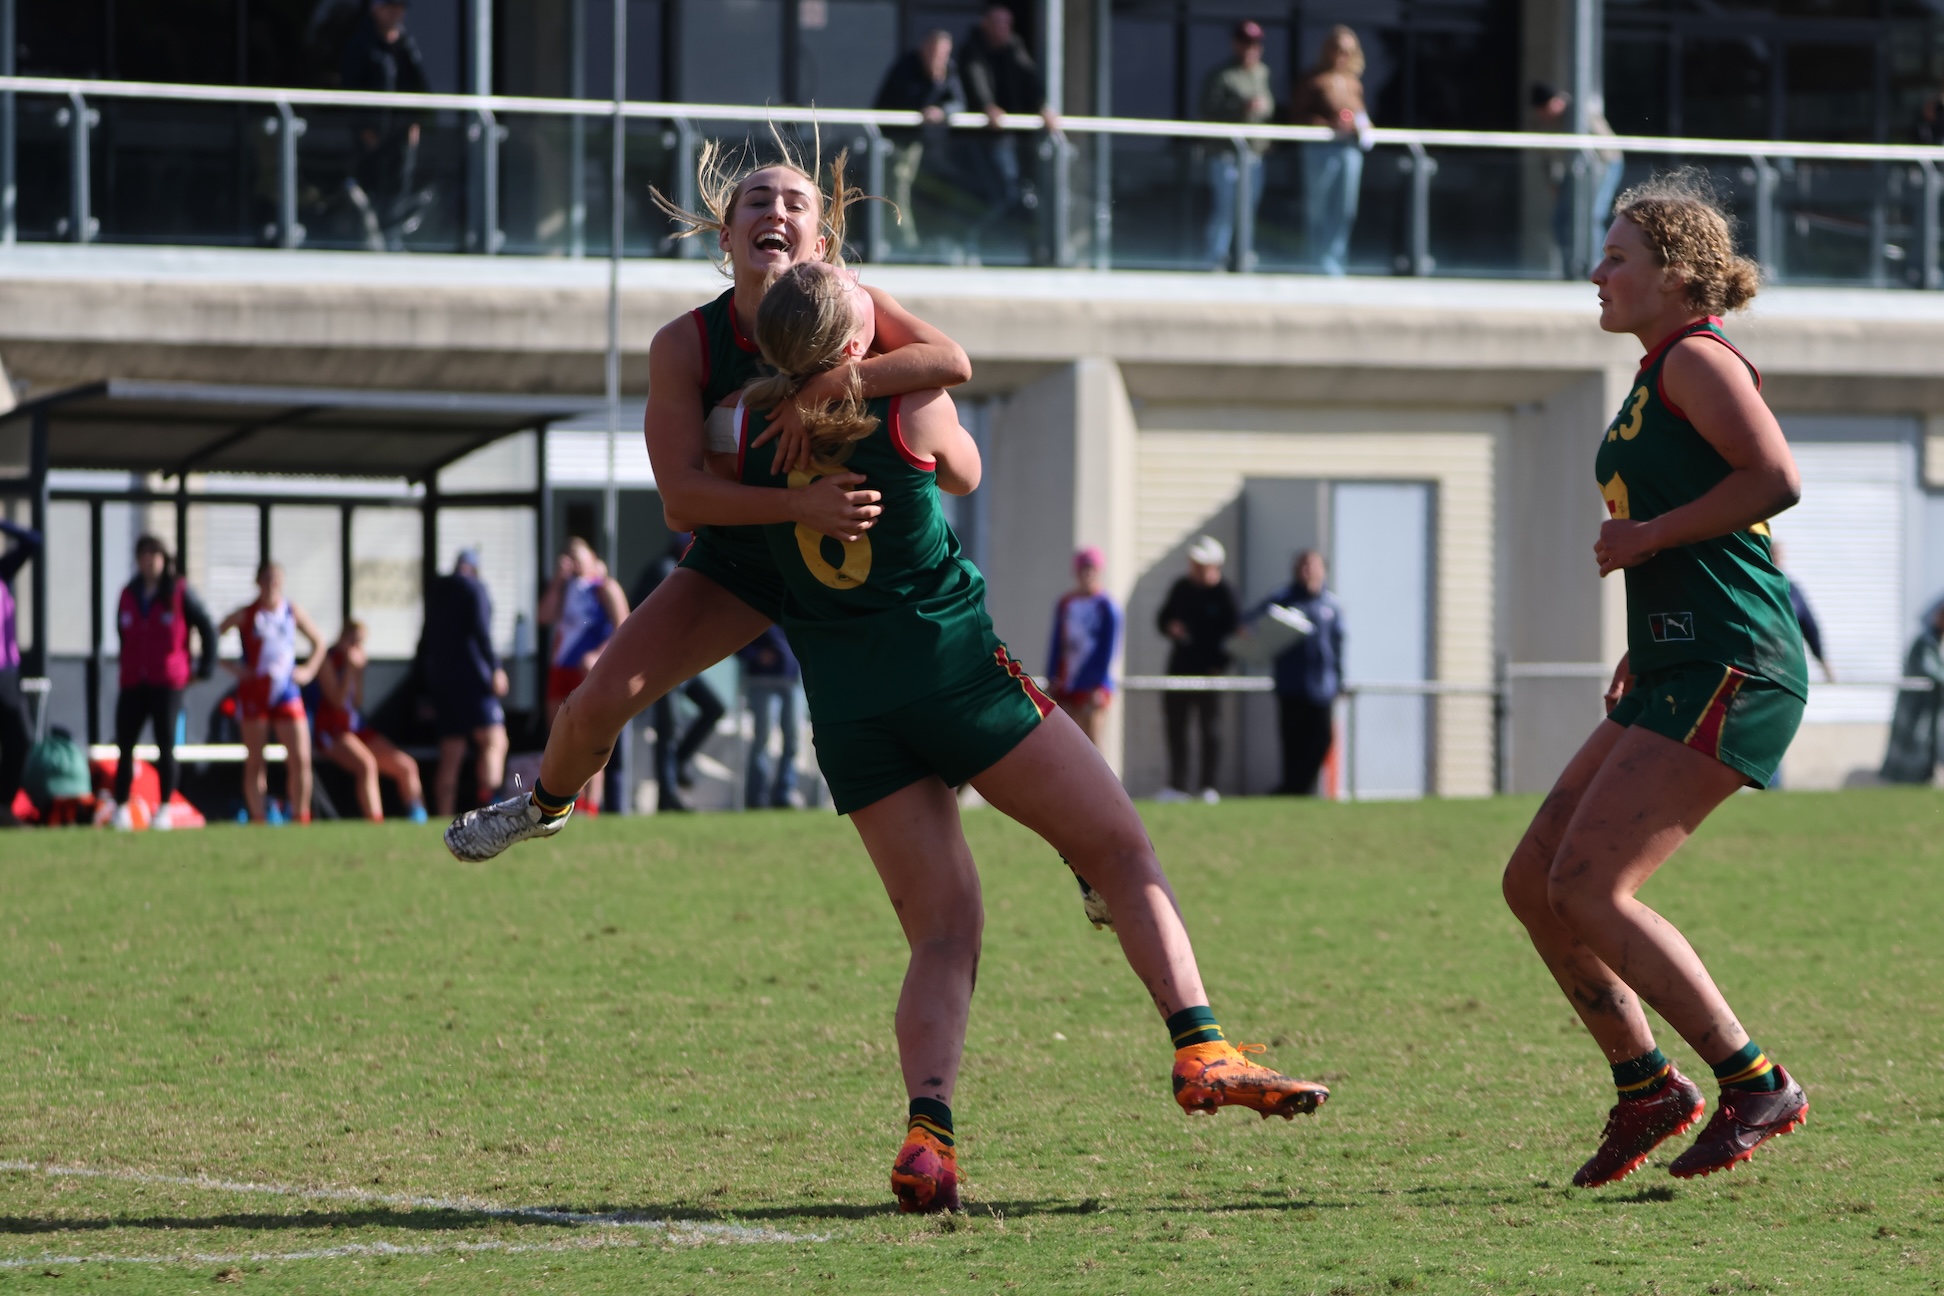
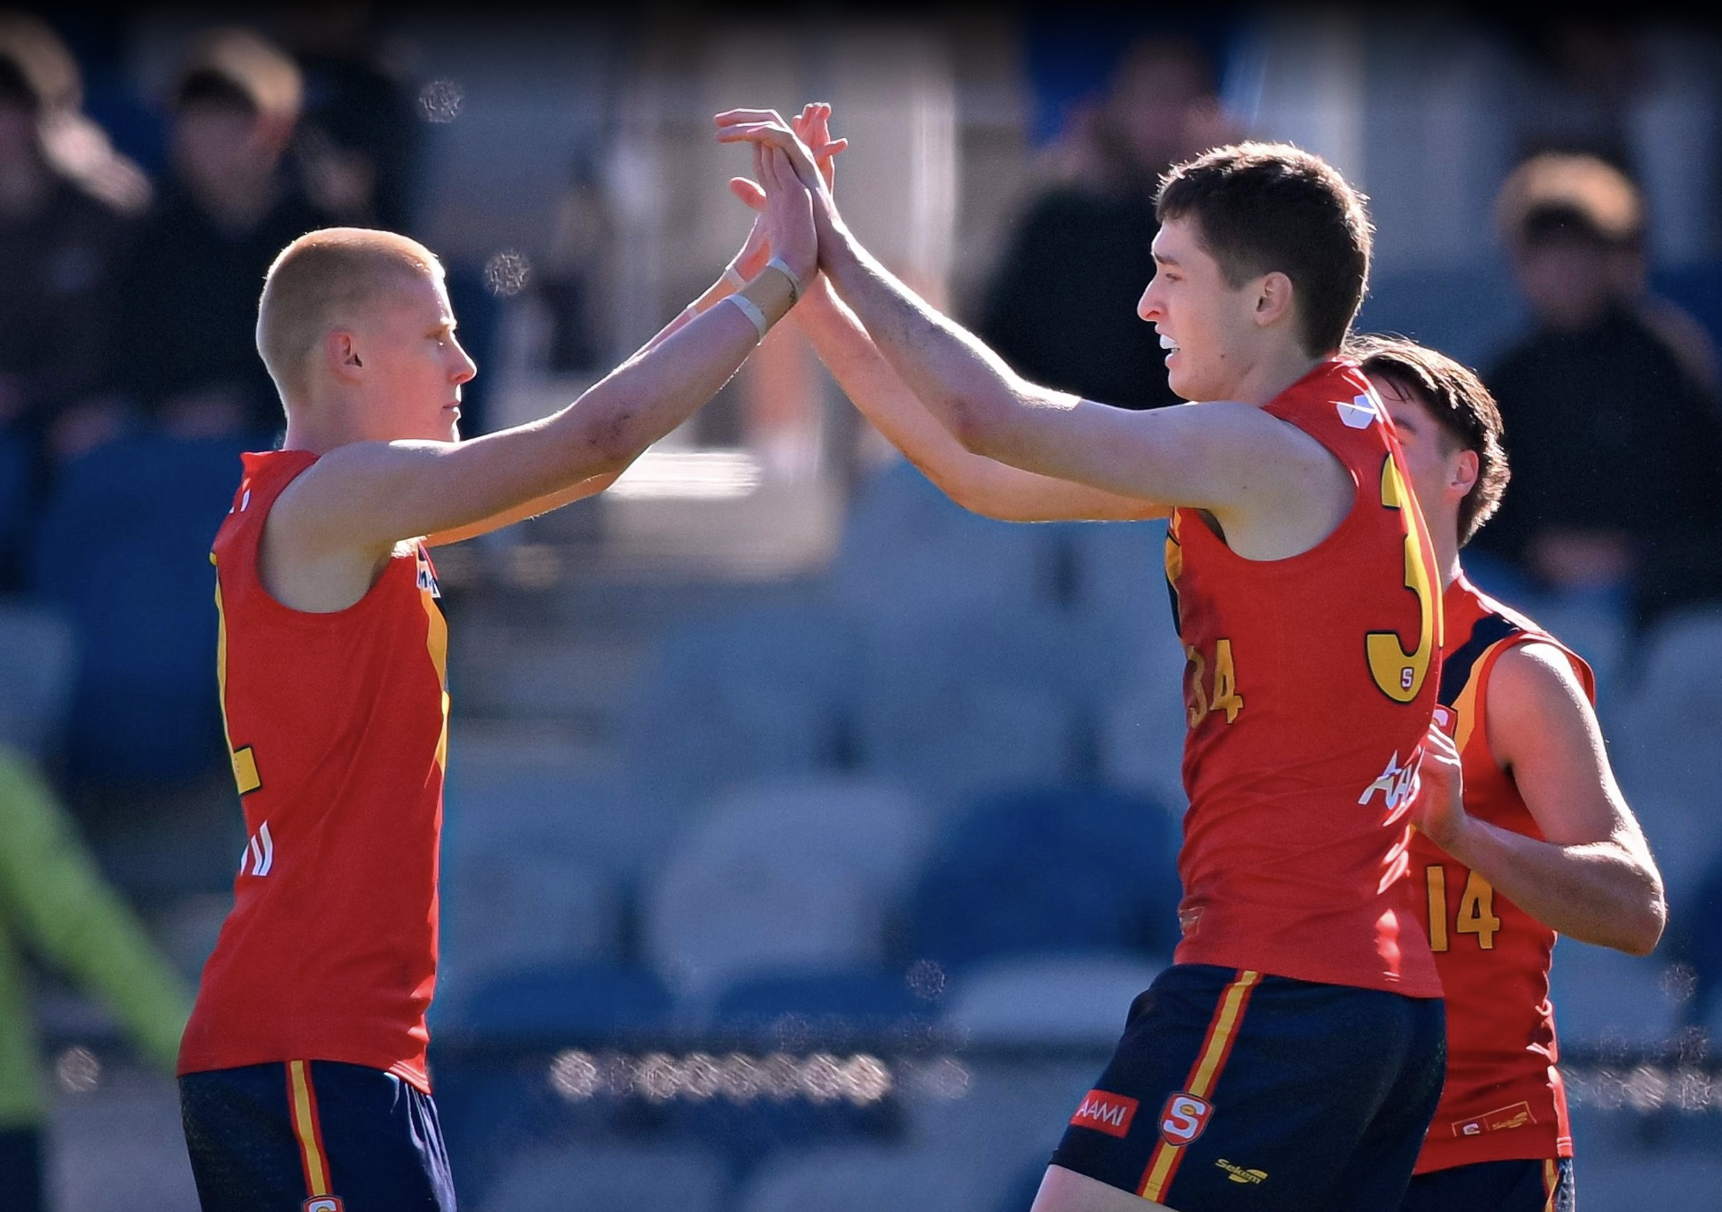
SOUTH Australia moved closer to claiming its first Under 18 title since 2018 after trouncing Western Australia by 76 points at Alberton Oval on Sunday. The Croweaters were spearheaded by seven goals to emerging forward Cameron Nairn, who starred alongside skipper and Centrals teammate Dyson Sharp.
While competitive in patches without having the ability to apply scoreboard pressure, Western Australia suffered some ill discipline early on and petered out after half time. The Sandgropers, now 1-1, conceded seven consecutive goals between the third and fourth quarters to be kicked out of the contest.
SA now only has one remaining fixture, against Vic Country at Marvel Stadium on Sunday June 29. The Vics are the only other side capable of clinching the title, but have to win their last three games. Meanwhile, the Sandgropers’ third game also takes them to Docklands where the Allies await.
SOUTH AUSTRALIA 4.5 | 7.8 | 12.12 | 17.14 (116)
WESTERN AUSTRALIA 1.1 | 3.1 | 4.2 | 6.4 (40)
GOALS:
South Australia: C. Nairn 7, D. Sharp 2, M. Marsh 2, A. Schubert, T. Alver, S. Cumming, S. Ainsworth, J. Nye, Z. Peucker
Western Australia: L. Hallett 2, B. Kelly, H. Walker, T. Williams, C. Watson
BEST:
South Australia: C. Nairn, D. Sharp, H. Barker, A. Schubert, S. Ainsworth, L. Kellaway
Western Australia: F. Rodriguez, B. van Rooyen, J. Farrow, C. Curtin, S. Swadling, L. Hallett
- Team
South Australia
Western Australia
SOUTH AUSTRALIA:
#2 Jack Cook (Woodville-West Torrens)
Midfielder/Defender | 181cm | 02/07/2007
Stats: 19 disposals, 4 marks, 6 clearances
Cook was one of South Australia’s busiest players through midfield, driving to the outside where he could utilise his sharp left-foot kicking. The Eagles prospect was most prominent as a sweeper at the centre stoppages, able to wheel out around the back before driving forward. He also won six clearances of his own and combined well with teammates to work a way through traffic. Cook rode the bumps well too, showing strong tackle technique and holding up to physical pressure.

#7 Louis Kellaway (Sturt)
Midfielder | 180cm | 16/03/2007
Stats: 21 disposals, 5 marks, 3 tackles
Second only to Sharp in the way of disposals, Kellaway operated in a typically no-frills fashion but showed great vision and class with some of his kicking. The Richmond father-son hopeful also went at 100 per cent efficiency by hand and was clean in the clinches when operating on-ball. His ability to change angles by foot opened up the play for SA, but Kellaway also took a more direct approach in term two where he dashed between two opponents before kicking long to set up Mitchell Marsh.

#16 Sam Cumming (North Adelaide)
Midfielder/Forward | 186cm | 27/07/2007
Stats: 15 disposals, 3 marks, 1 goal
Cumming’s stocks continue to rise after another strong showing. He started brightly as part of SA’s on-ball group, competing hard at the coalface before spreading forward well in the attacking phase. The North Adelaide prospect used his quick feet to burn off and evade opponents when exiting traffic, also combining with teammates by hand to do so. Cumming’s kicking was notably more polished and he impacted up forward with a strong contested grab and goal in the third quarter.

#24 Harley Barker (Sturt)
Wing/Forward | 187cm | 02/05/2007
Stats: 19 disposals, 7 marks, 4 inside 50s
It was almost uncanny how many times South Australia forced a turnover, cleared the contest, or rebounded defensive 50 and found Barker all alone. The dashing wingman racked up 16 uncontested possessions and was seemingly always an outlet for his side to transition forward through. Using the ball 13 times by foot, Barker showcased sharp delivery on both sides and wasn’t afraid to use his speed to take on West Australian opponents standing the mark.

#26 Mitchell Marsh (West Adelaide)
Tall Forward | 191cm | 15/02/2007
Stats: 8 disposals, 6 marks, 2 goals
Marsh was up to his usual tricks in attack, providing a mobile marking target and impacting the scoreboard. After managing a single kick in the opening quarter, the athletic tall got going with nimble presentation up the ground and a spring-heeled leap to mark and goal in term two. Marsh utilised his booming left-foot kick to give his fellow forwards quick supply, and to slot a sensational set shot goal from the wrong side in term three. He judged the ball beautifully in flight.

#27 Elliott Duffield (South Adelaide)
Key Defender | 193cm | 20/06/2007
Stats: 13 disposals, 5 marks, 4 rebound 50s
Duffield produced a terrific opening half and was solid throughout the day to be one of South Australia’s defensive rocks. He took a pair of clean intercept marks within quick succession in term one and looked composed with ball in hand, able to contribute to slow play and distribute calmly by foot. Among Duffield’s best acts in the second half was a resolute tackle amid the desperation of a defensive 50 one-on-one, preventing his opponent from scoring in the moment.

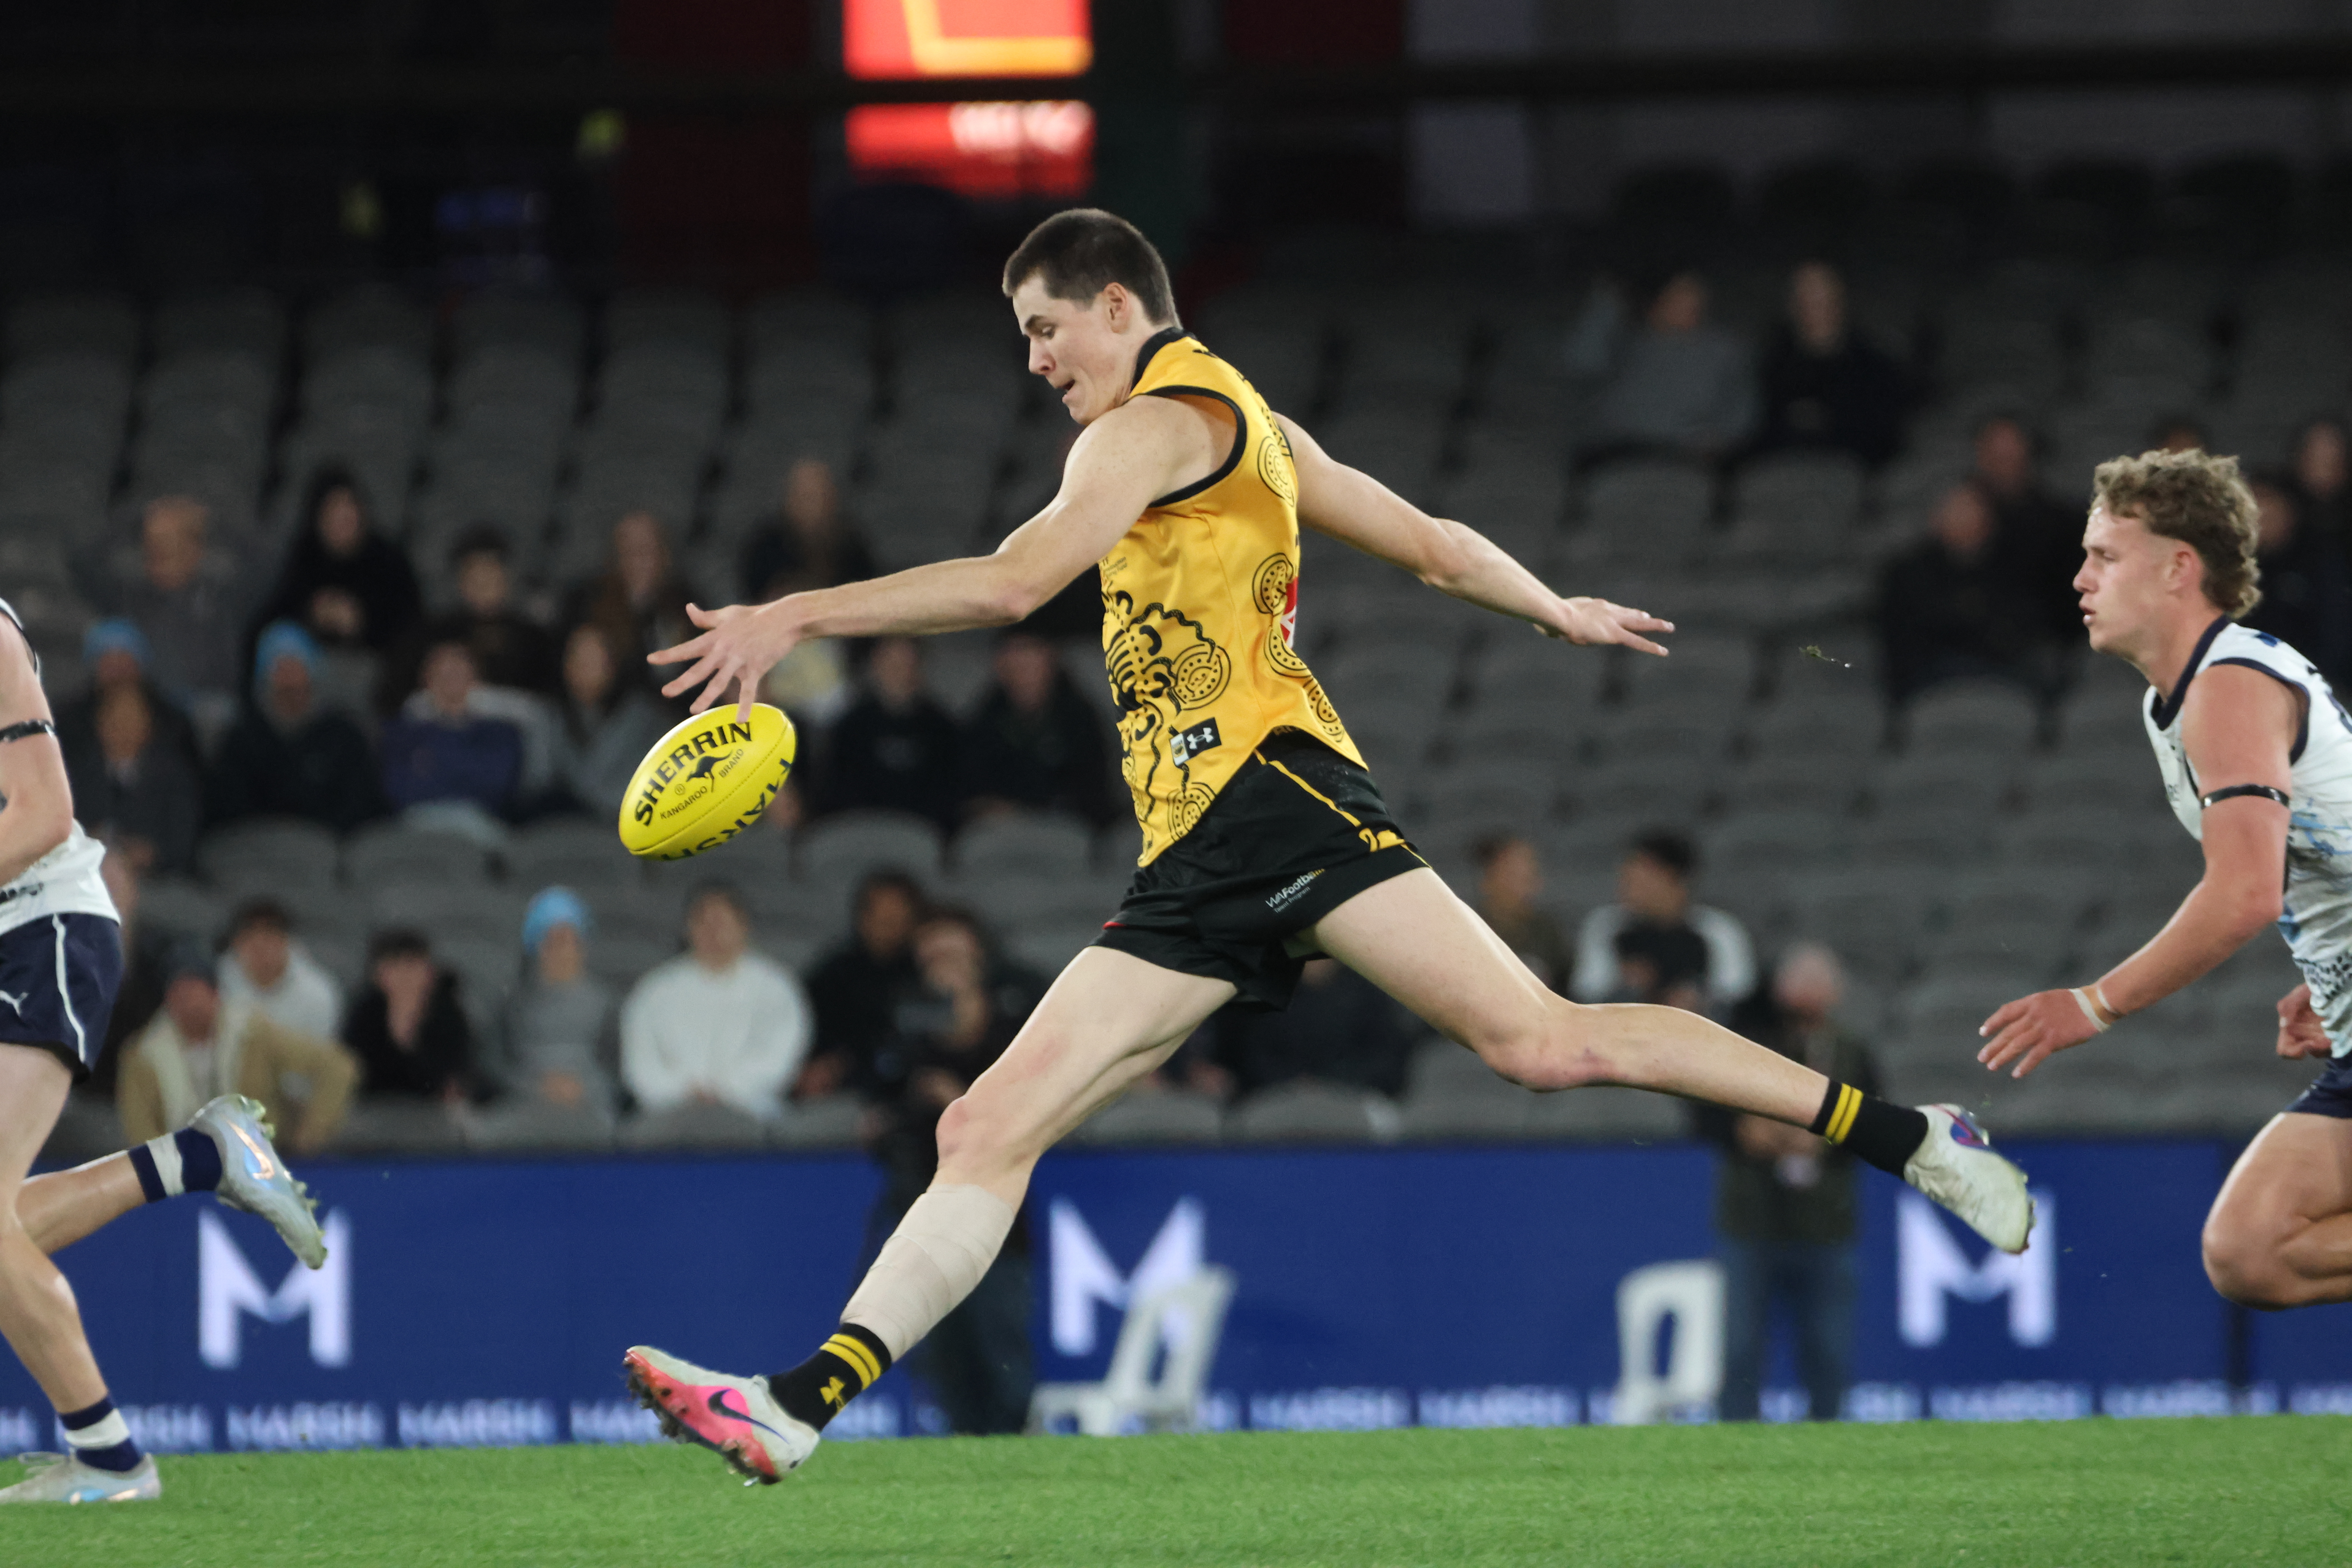
#28 Cameron Nairn (Central District)
Forward | 189cm | 15/10/2007
Stats: 10 disposals, 5 marks, 7 goals
In what was a breakout game in every sense of the phrase, Nairn showcased credentials of a first round prospect. He took little time to make an impact, snaring three goals in the opening quarter with some brave overhead marking and clean set shot conversion. Not that he needed any gifts, but a pair of 50-metre penalties only made his goalkicking clinic easier, with the deadeye forward booting seven straight goals. His ruthless efficiency and SA’s imposing lead meant the side was looking for him at every opportunity in term four with the possibility of hitting double-figures.

#29 Dyson Sharp (Central District)
Midfielder | 187cm | 23/05/2007
Stats: 33 disposals, 7 tackles, 6 clearances, 2 goals
Sharp has long been a strong performer at representative level but seemingly had a point to prove in this match, which was arguably his best ever. The South Australian skipper offered his usual hard edge at the contest, posting equal game-highs for clearances (six) and tackles (seven), but truly raised his level by becoming a threat on the outside. With 22 uncontested possessions and a pair of set shot goals, Sharp put all the pieces together in a well-rounded game befitting of his notoriety. He used the ball efficiently by foot and lifted his running power, dishing the ball out and going again to help South Australia attack in waves. This could be the crowning moment of his year.

#37 Aidan Schubert (Central District)
Key Forward/Ruck | 198cm | 21/12/2007
Stats: 21 disposals, 7 marks, 12 hitouts, 1 goal
Boasting a game-high 12 score involvements, Schubert may have been down on his previous goalkicking output but was one of the most influential players afield. He was on fire in the opening exchanges, clunking four marks before quarter time and booting SA’s opening goal on the end of a 50-metre penalty. Schubert was mobile when working up the ground, showcasing strong hands above his head to provide a key connection piece. He continued to get great extension at the ball but had his marking influence quelled after the first term, while proving hit-or-miss in front of goal. Still, he was competitive when rucking and straightened up to help assist two goals in term four.

#40 Sam Ainsworth (Norwood)
Ruck | 198cm | 12/08/2007
Stats: 13 disposals, 15 hitouts, 1 goal
Ainsworth enjoyed a terrific, competitive battle against WA’s frontline ruck Benji van Rooyen and won the day in terms of hitouts with 15. What set his game apart were three contested marks, rising for his first in the opening term off a South Australian kick-in. The Norwood tall also produced some lovely hits to advantage, rising high at the centre bounces and finding his rovers to showcase fast improving craft. Ainsworth also hunted the ball with repeat follow-up efforts and brought a presence to his late work up forward, where he flew for a mark and goal in the final quarter.

WESTERN AUSTRALIA:
#6 Hudson Walker (Subiaco)
Midfielder/Forward | 179cm | 06/09/2007
Stats: 12 disposals, 4 tackles, 1 goal
Last week’s match-winner looked to provide a spark for his side when it needed lifting, most notably with his running goal to open the third quarter. While wayward at other times by foot, Walker was slick by hand and his energy through the contest was noticeable. That included defensive pressure which was full of intent, closing in to smother opponents or lay strong lock-up tackles.

#9 Fred Rodriguez (South Fremantle)
Midfielder | 184cm | 10/07/2007
Stats: 19 disposals, 4 marks, 3 clearances
Rodriguez was full of run and vigour throughout the four quarters, willing his side forward at all costs. While on one hand that meant he bombed the ball forward under pressure, he also showed he was capable of making good decisions with shorter options. The West Australian skipper topped his side’s metres gained category with 414, indicative of his ability to drive his legs and go long by foot. He was also prominent on the outside with hard run on the spread both up and back.

#17 Sam Swadling (West Perth)
Forward/Midfielder | 187cm | 16/01/2007
Stats: 20 disposals, 4 marks, 3 inside 50s
Swadling was Western Australia’s top disposal getter and provided some impetus to his side’s ball movement, albeit with some questionable delivery on the fly. His smooth movement often chewed up valuable meterage, but sometimes Swadling ran himself into trouble which in turn impacted said ball use. He still managed to carve out some dangerous passages in transition, including one where he got on his bike to hit two passes coming out of defensive 50 and into the corridor.

#24 Jacob Farrow (West Perth)
Midfielder/Defender | 188cm | 21/09/2007
Stats: 17 disposals, 4 marks, 4 rebound 50s
After a promising game one, Farrow again started in Western Australia’s midfield but eventually found his way to defence. The West Perth product looked much more comfortable behind the ball, where he could get into position to intercept, overlap, or distribute the ball in slow play. Farrow’s ability to attack the corridor and gain metres through his run and kicking made him a transitional threat, capable of helping his side move quickly from end-to-end.

#26 Charlie Banfield (Claremont)
Wing/Forward | 191cm | 18/07/2007
Stats: 10 disposals, 4 marks, 3 tackles
Banfield started out on the wing and notched an early win against Barker, taking an overhead mark in their one-on-one contest. He provided a useful link option heading out of defensive 50 and was also there to add to his marking tally down the line. While only credited with three tackles, Banfield offered consistent effort and pressure throughout the day and showed great leadership skills to help calm his teammates down amid a string of ill-disciplined 50-metre penalties.

#27 Matthew Becker (Peel Thunder)
Defender | 191cm | 30/08/2007
Stats: 19 disposals, 2 marks, 5 rebound 50s
The West Australian defence was kept busy throughout the day and Becker was one of its most resolute members when the game was still competitive. He notched up a game-high eight intercept possessions, including an overhead mark in the second quarter where he showcased his strong leap. Becker was also integral to many rebounding passages, taking on some of the kick-in duties and looking to carry the ball off the last line.

#38 Benji van Rooyen (Claremont)
Ruck | 202cm | 17/09/2008
Stats: 14 disposals, 8 hitouts, 6 clearances
Going blow-for-blow in a terrific ruck duel with Ainsworth, van Rooyen got stuck in physically to win an equal game-high six clearances – five of them at the centre bounces. His ploy was to shift his opponent before grabbing the ball out of the air, and while successful he conceded much of the ruck duties to Cody Curtin after half time. van Rooyen only took one mark for the day but it caught the eye, with the bottom-ager setting himself for a strong leap to intercept inside defensive 50.

#40 Cody Curtin (Claremont)
Ruck/Key Forward | 200cm | 18/05/2007
Stats: 12 disposals, 9 hitouts, 3 clearances
After going without a touch in the opening quarter, Curtin began to become a factor aerially and spent plenty of time in the ruck after the main break. With brother Dan watching on, Curtin lifted his level in the third quarter with an imposing holding-the-ball tackle and strong aerial presence around the ground. Though laboured at times, he went for a dash in term four after an audacious baulk.

Scouting Notes: 2026 AFL U18s – Allies vs. Western Australia
THE ALLIES have ended their National Championships campaign on a high after defeating Western Australia by six points in a thrilling encounter at Mars Stadium on Wednesday. The Sandgropers led by as many as 28 points during term three, but were quickly reined in and made to settle for a 2-2 record. A run of […]
Scouting Notes: 2026 AFL U16s – Lions Academy vs. Suns Academy
THE GOLD Coast Suns Academy claimed bragging rights in their opening Under 16 National Championships fixture, defeating the Brisbane Lions Academy by 47 points in a junior Q-Clash. A run of eight unanswered goals in the first half set up the Suns’ dominance at Brighton Homes Arena. Key forward Callum Samuelson helped establish Gold Coast’s […]
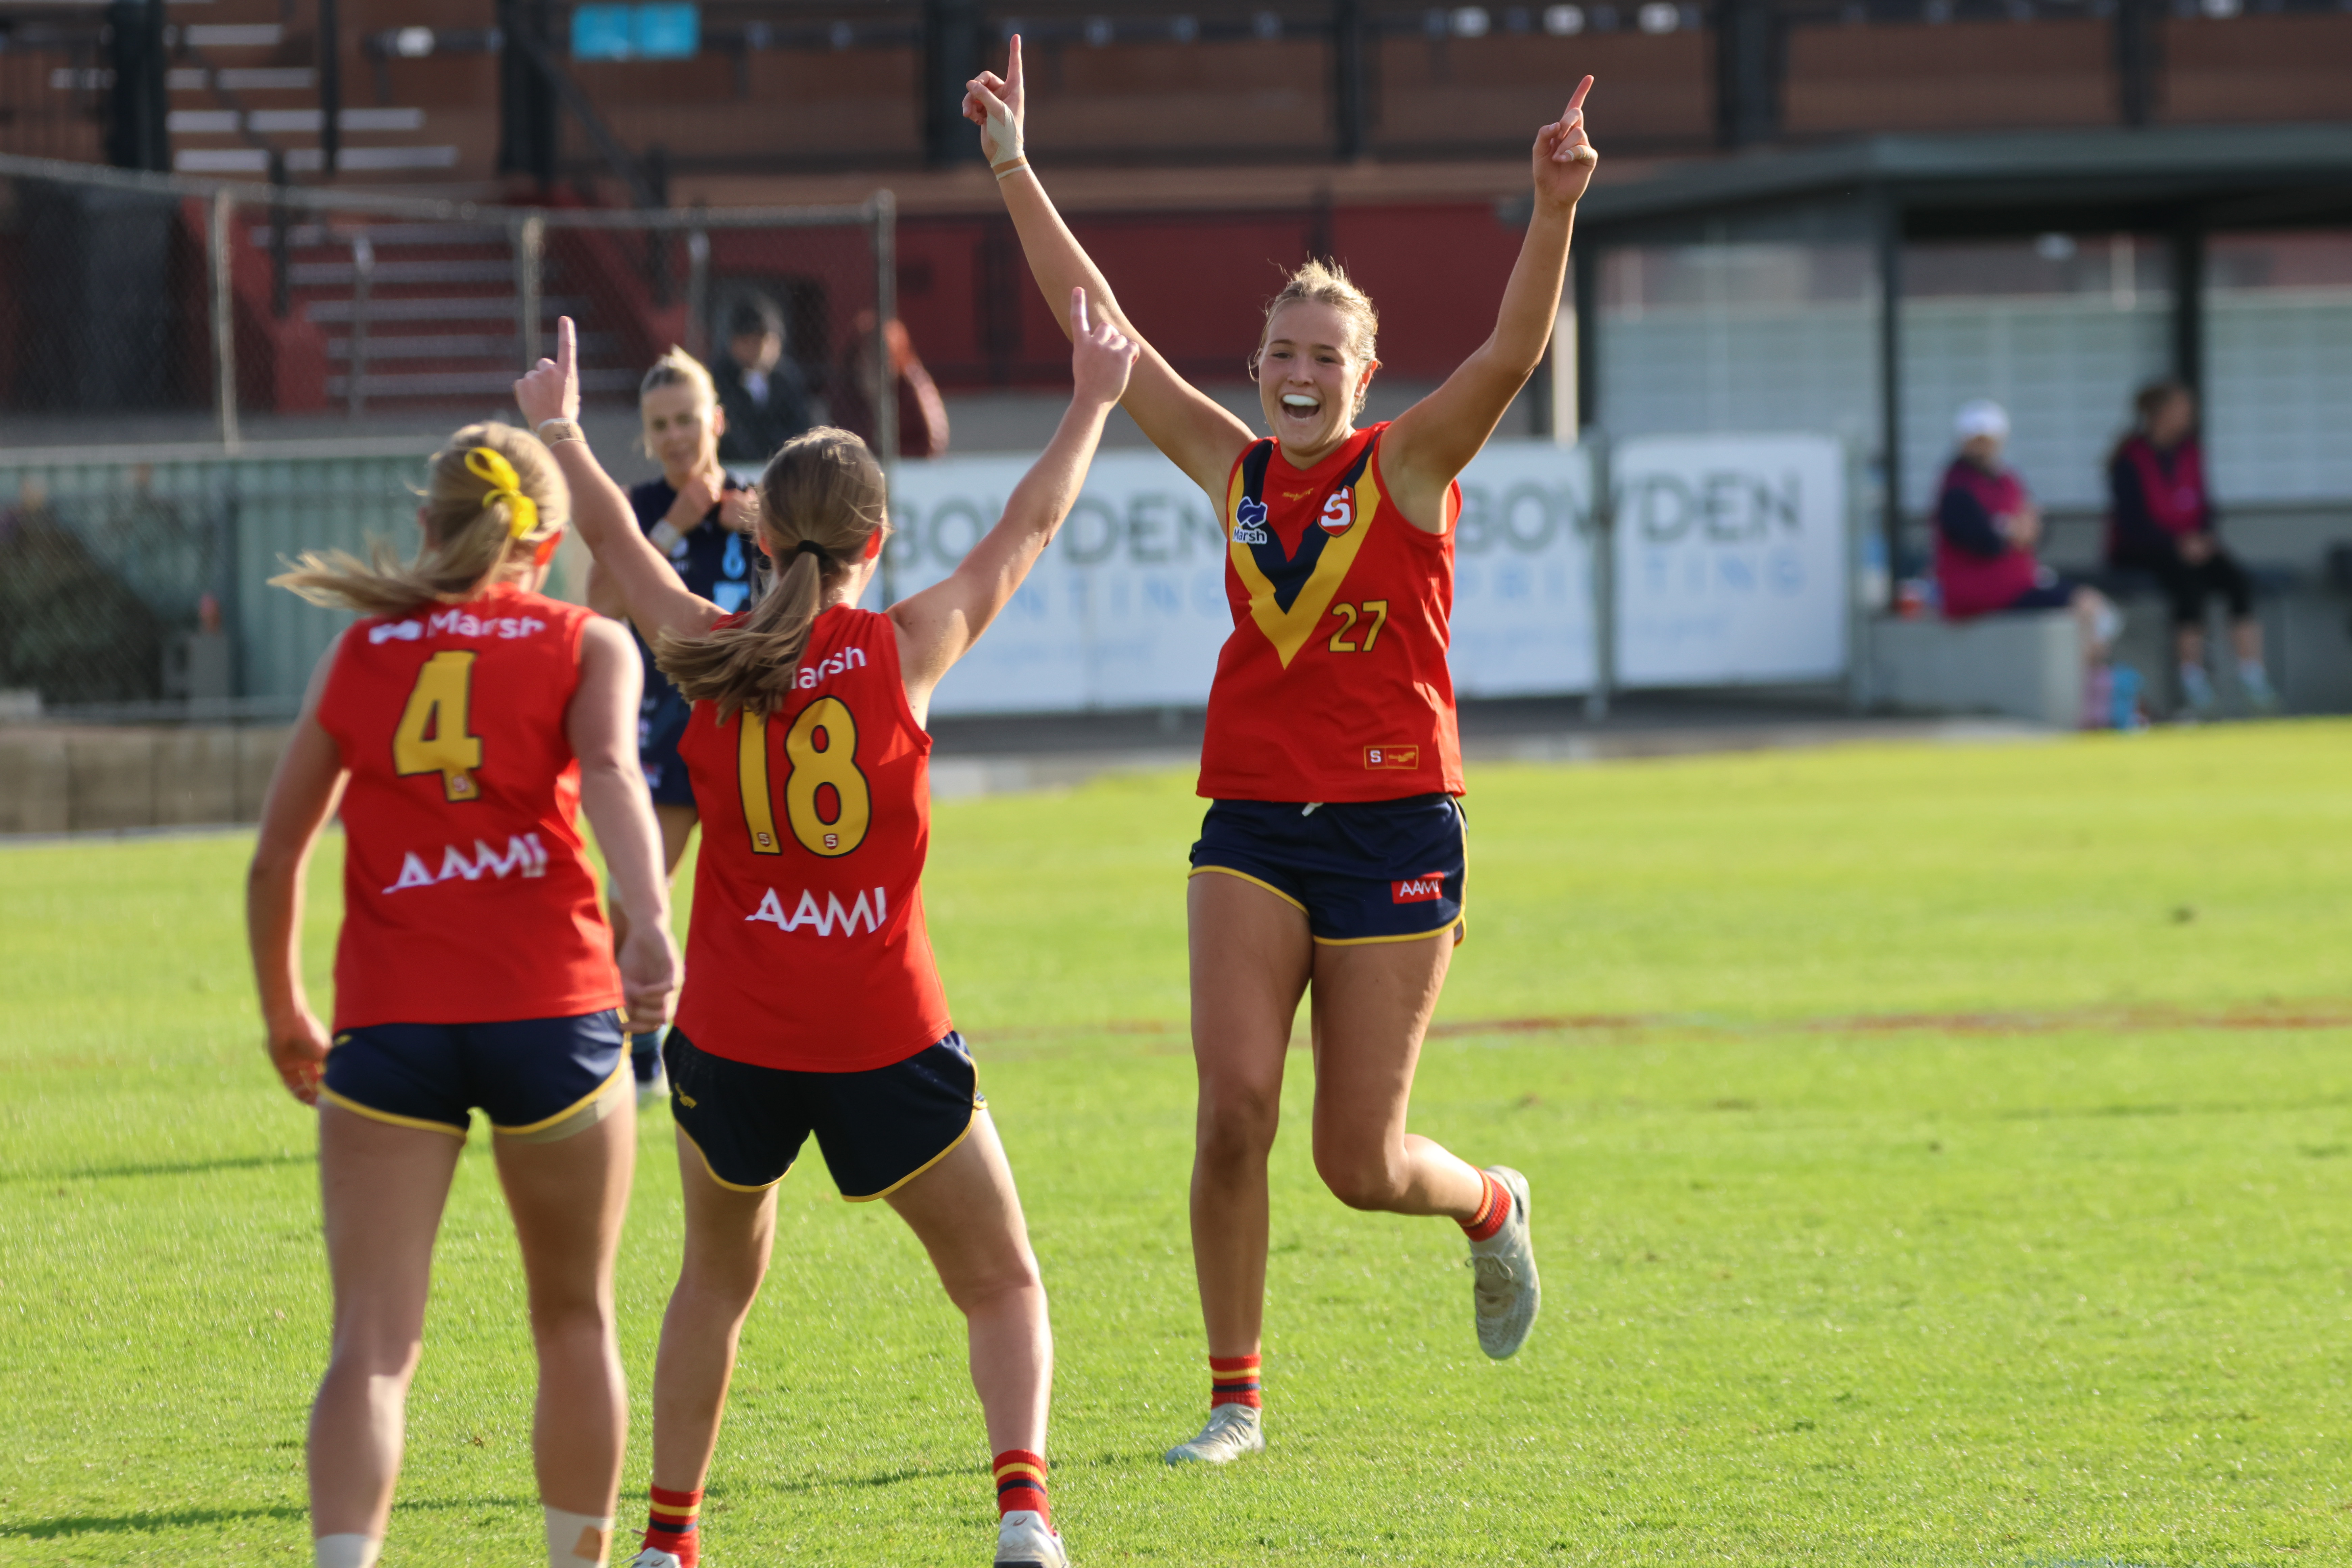
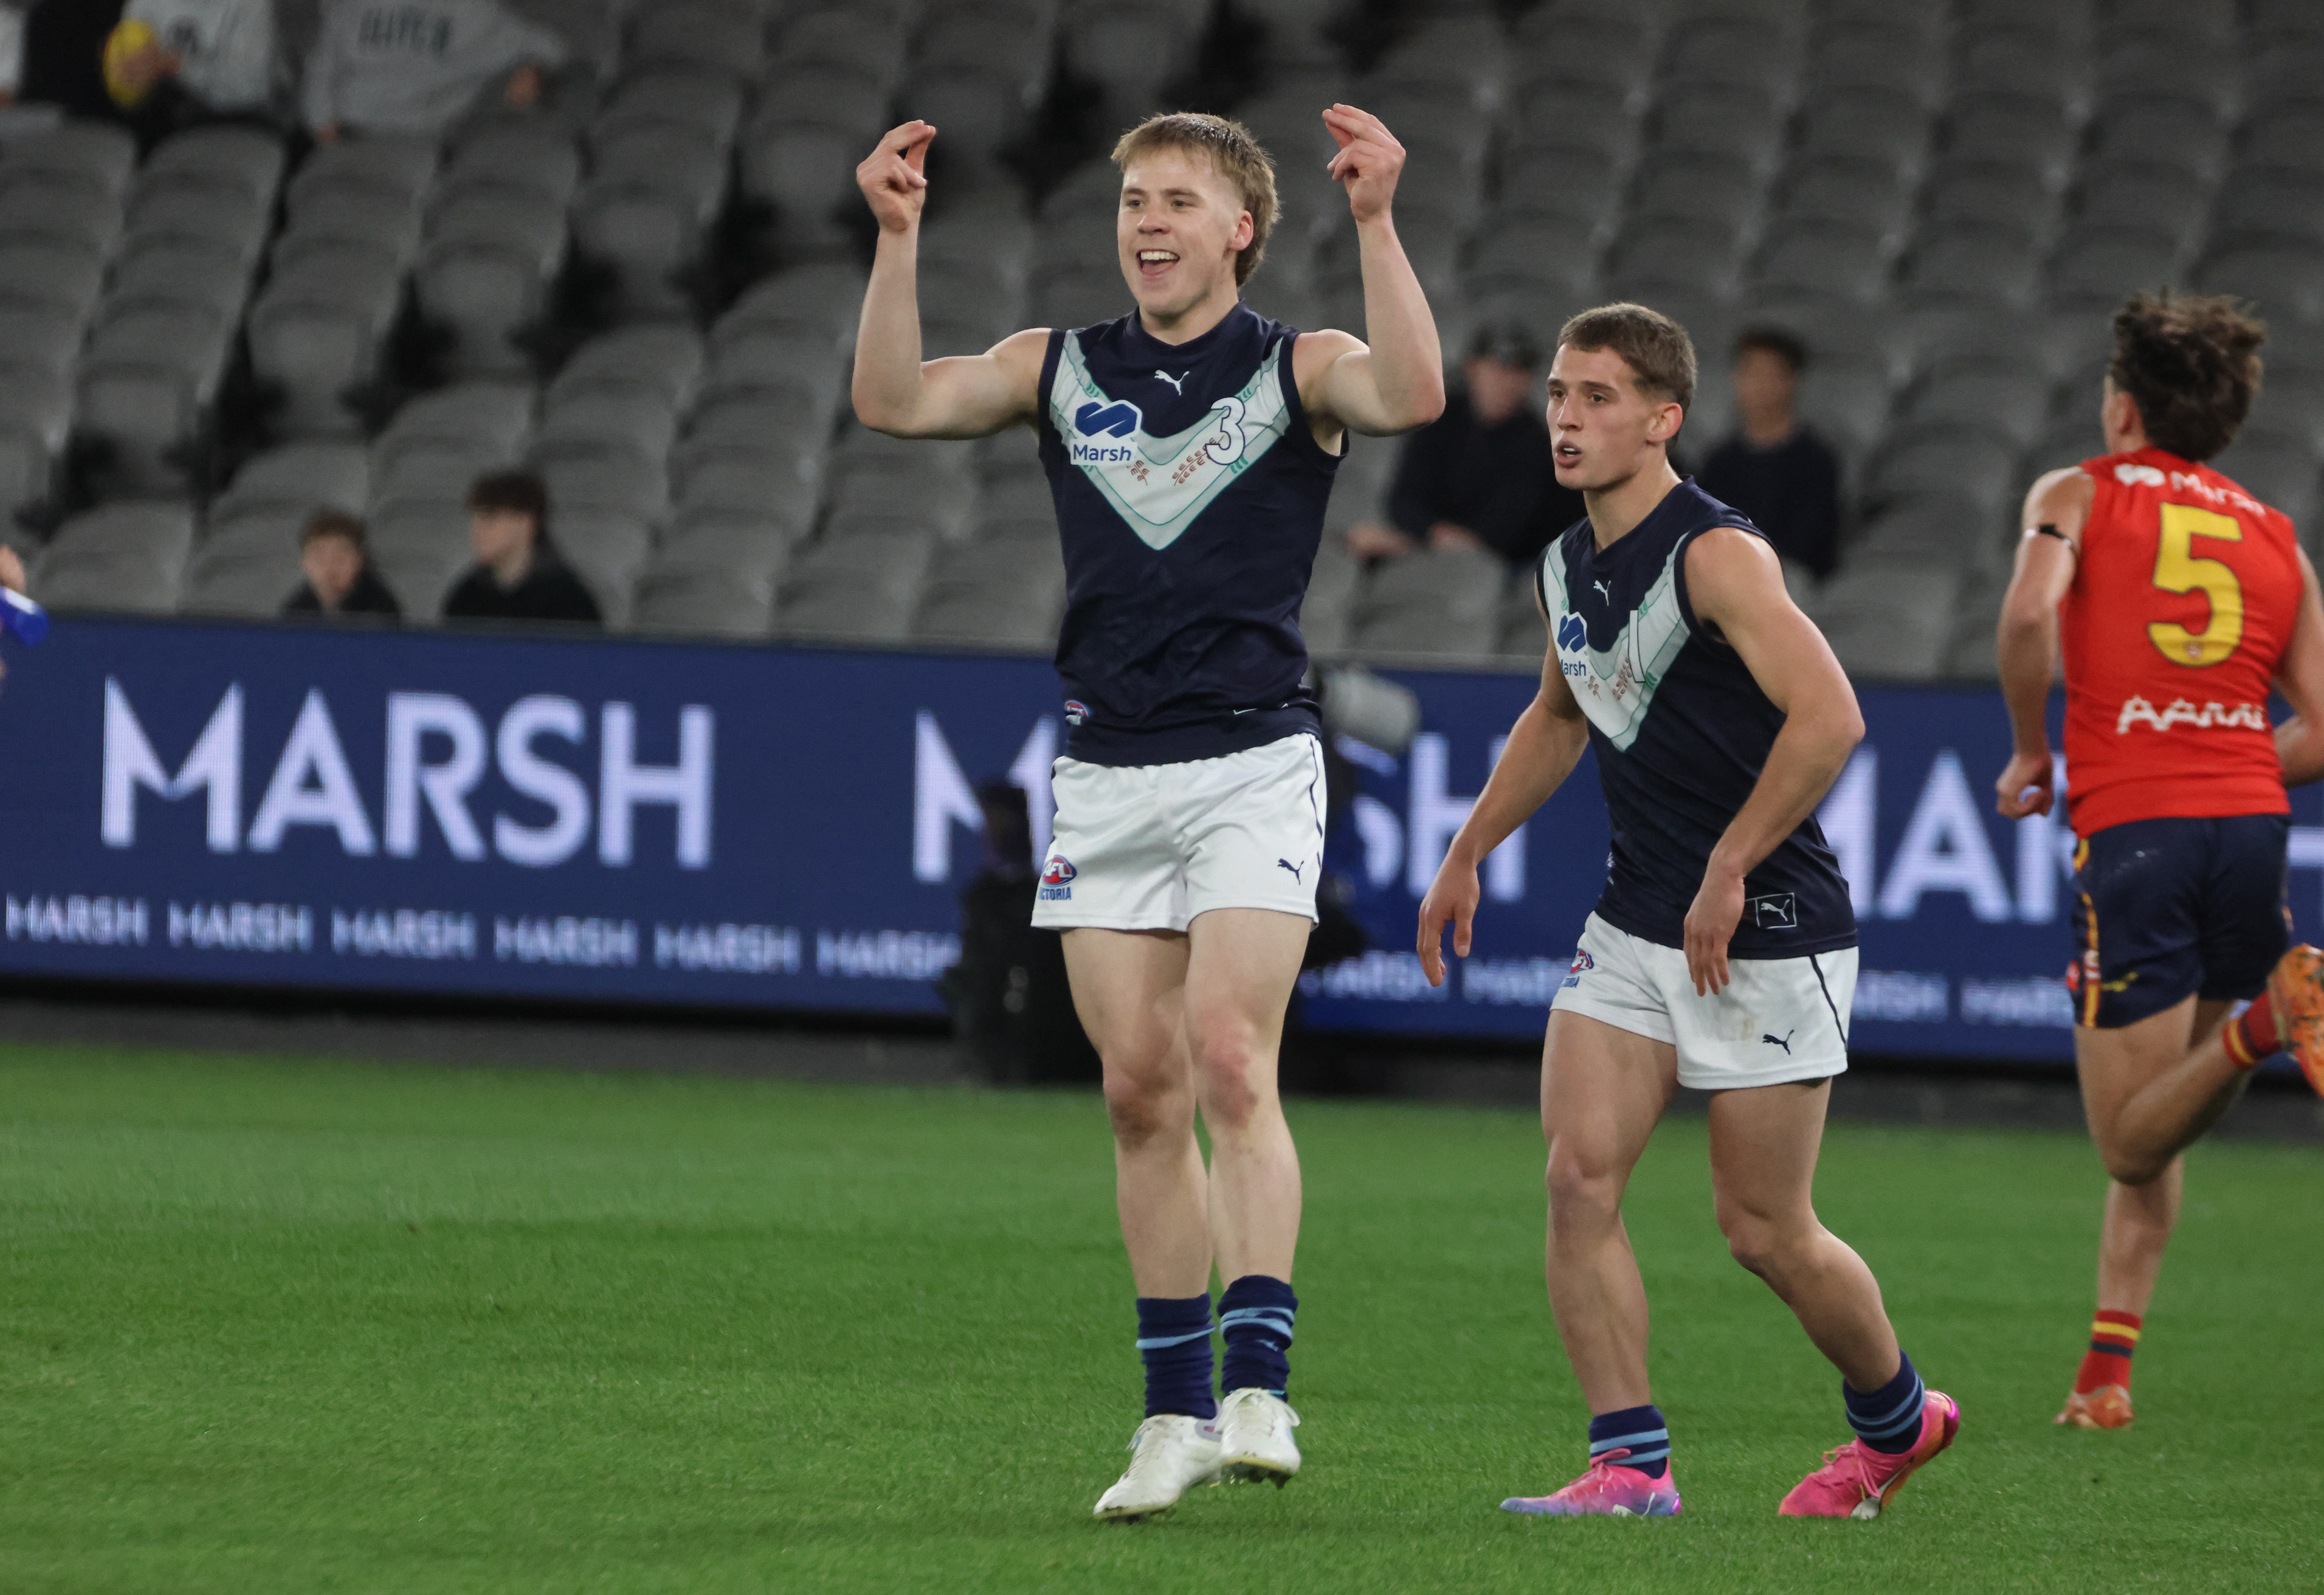
Scouting Notes: 2026 AFL U18s – Vic Country vs. South Australia
SOUTH Australia has ended its Under 18 title defence on a positive note after beating Vic Country by a single point in Ballarat on Wednesday. The Croweaters overcame an inaccurate start and early Victorian onslaught to get over the line via a minor score off the boot of captain Kodah Edwards. After Vic Country’s run […]
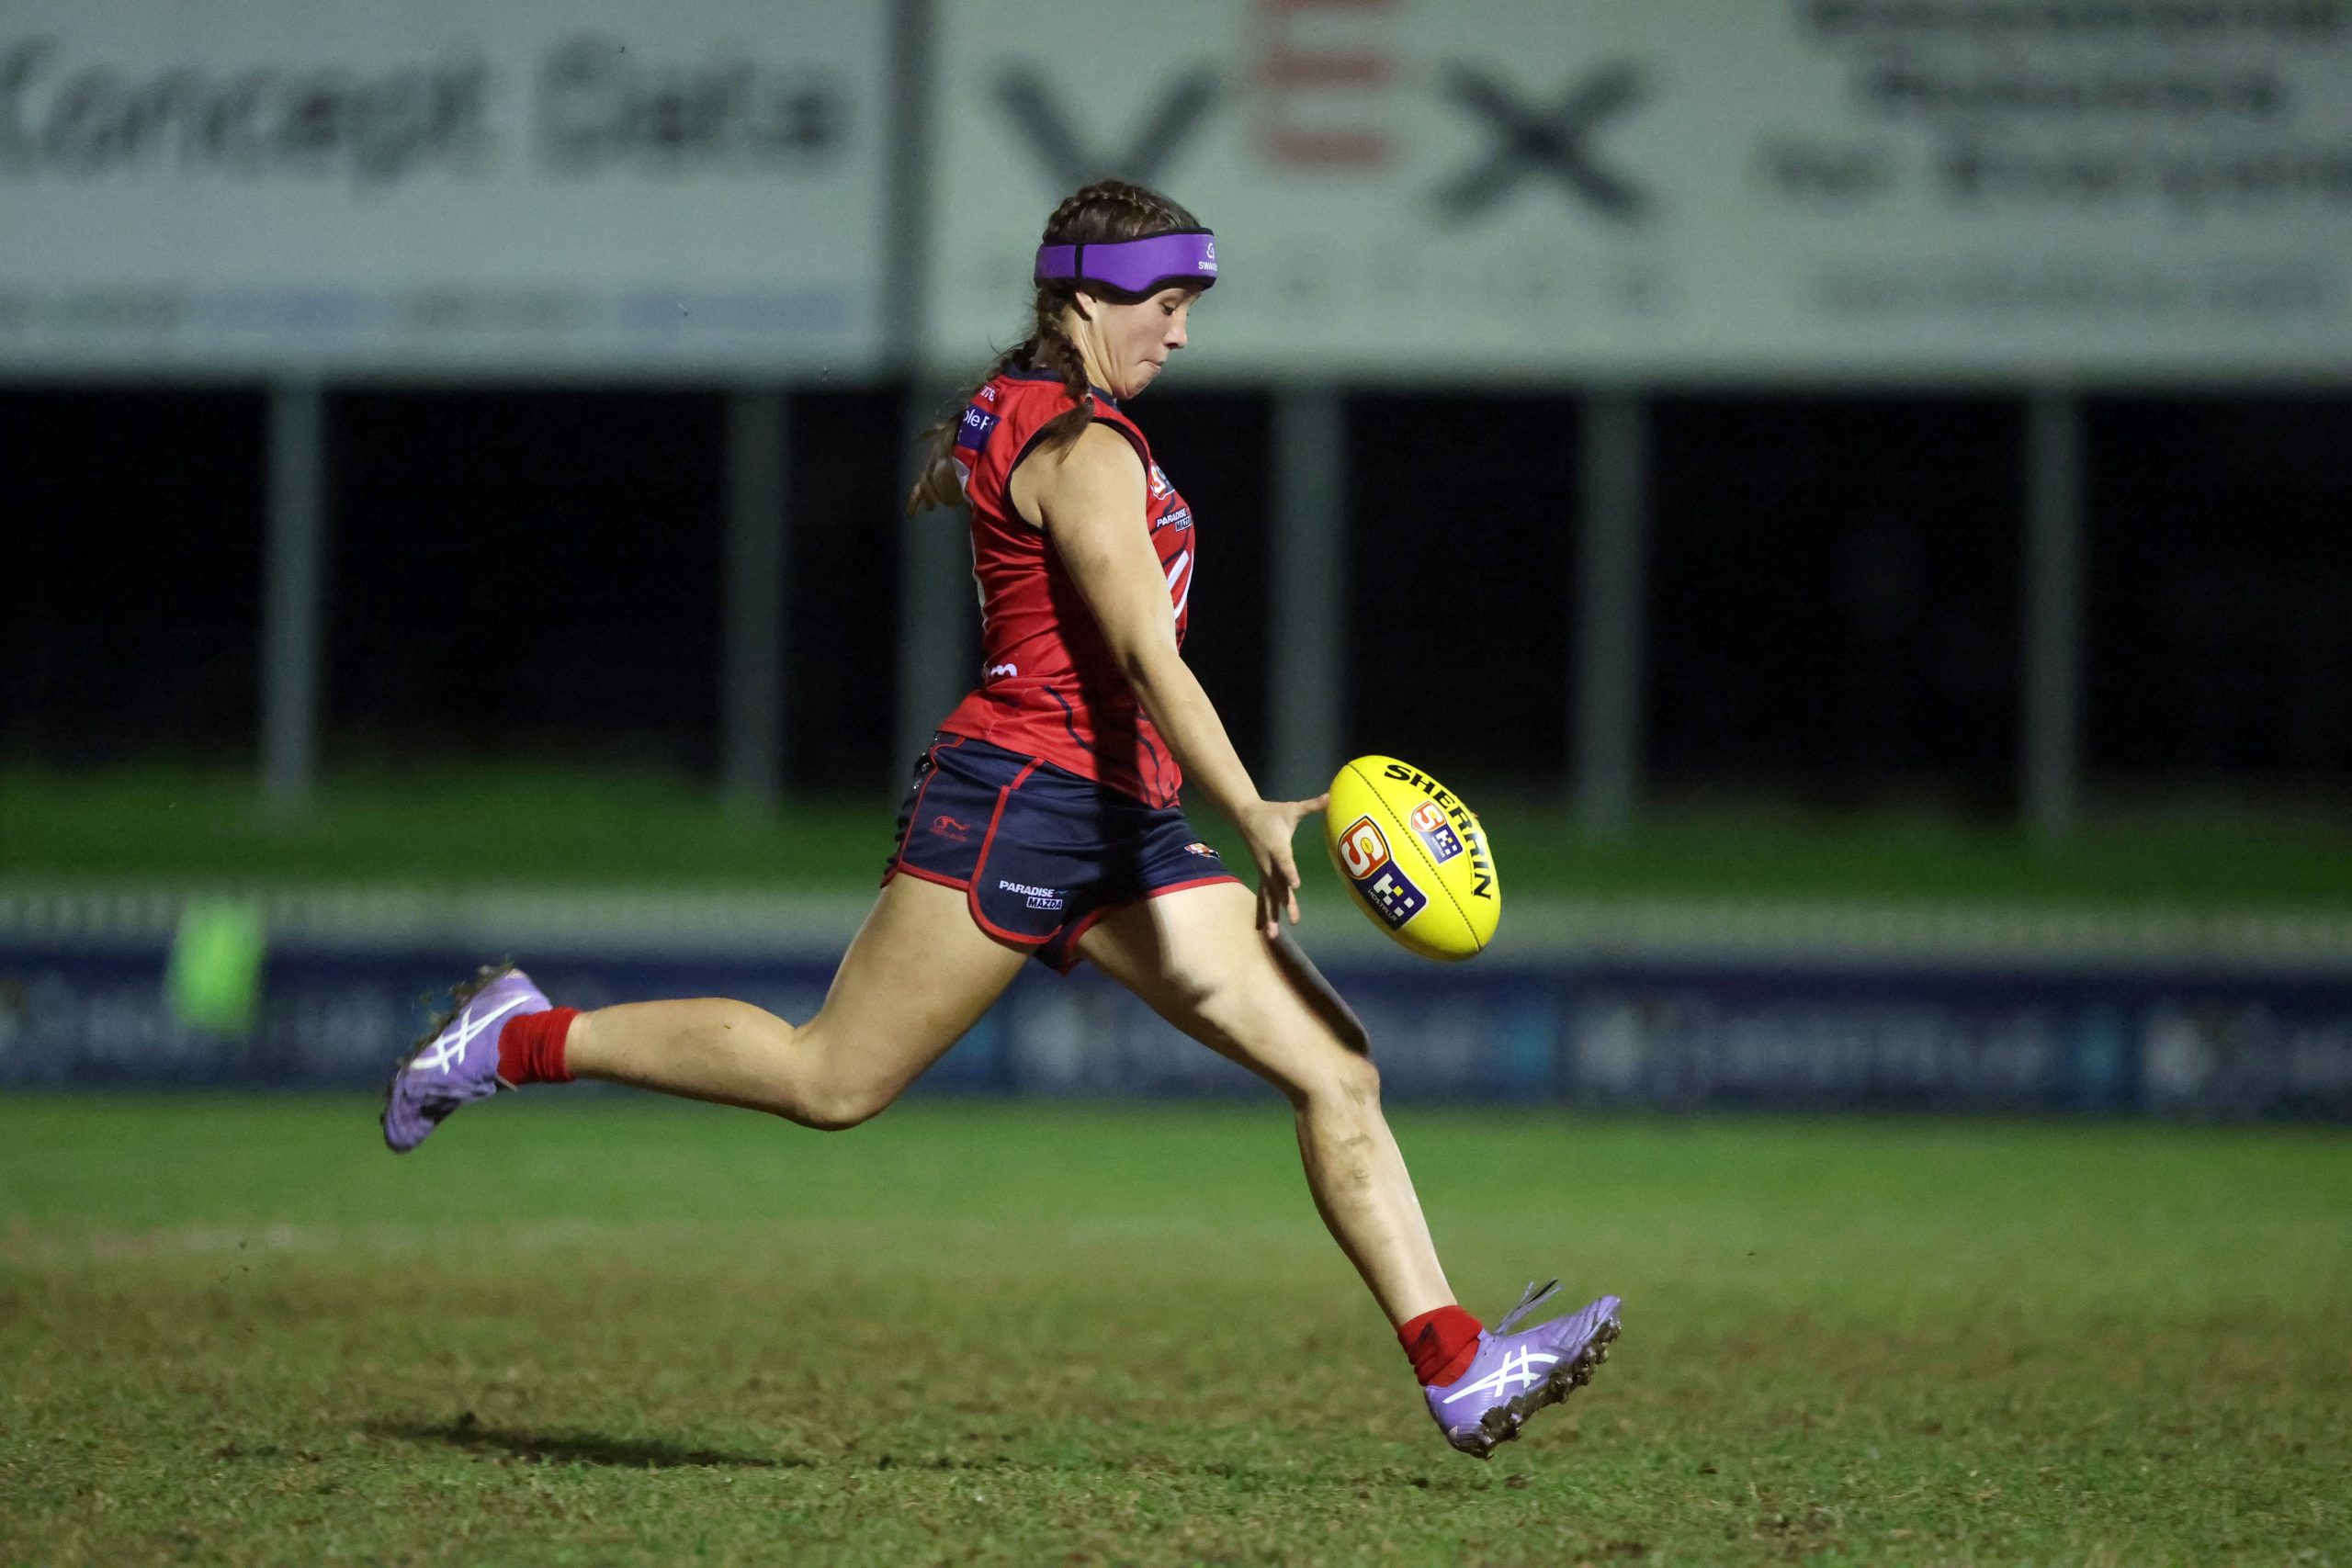
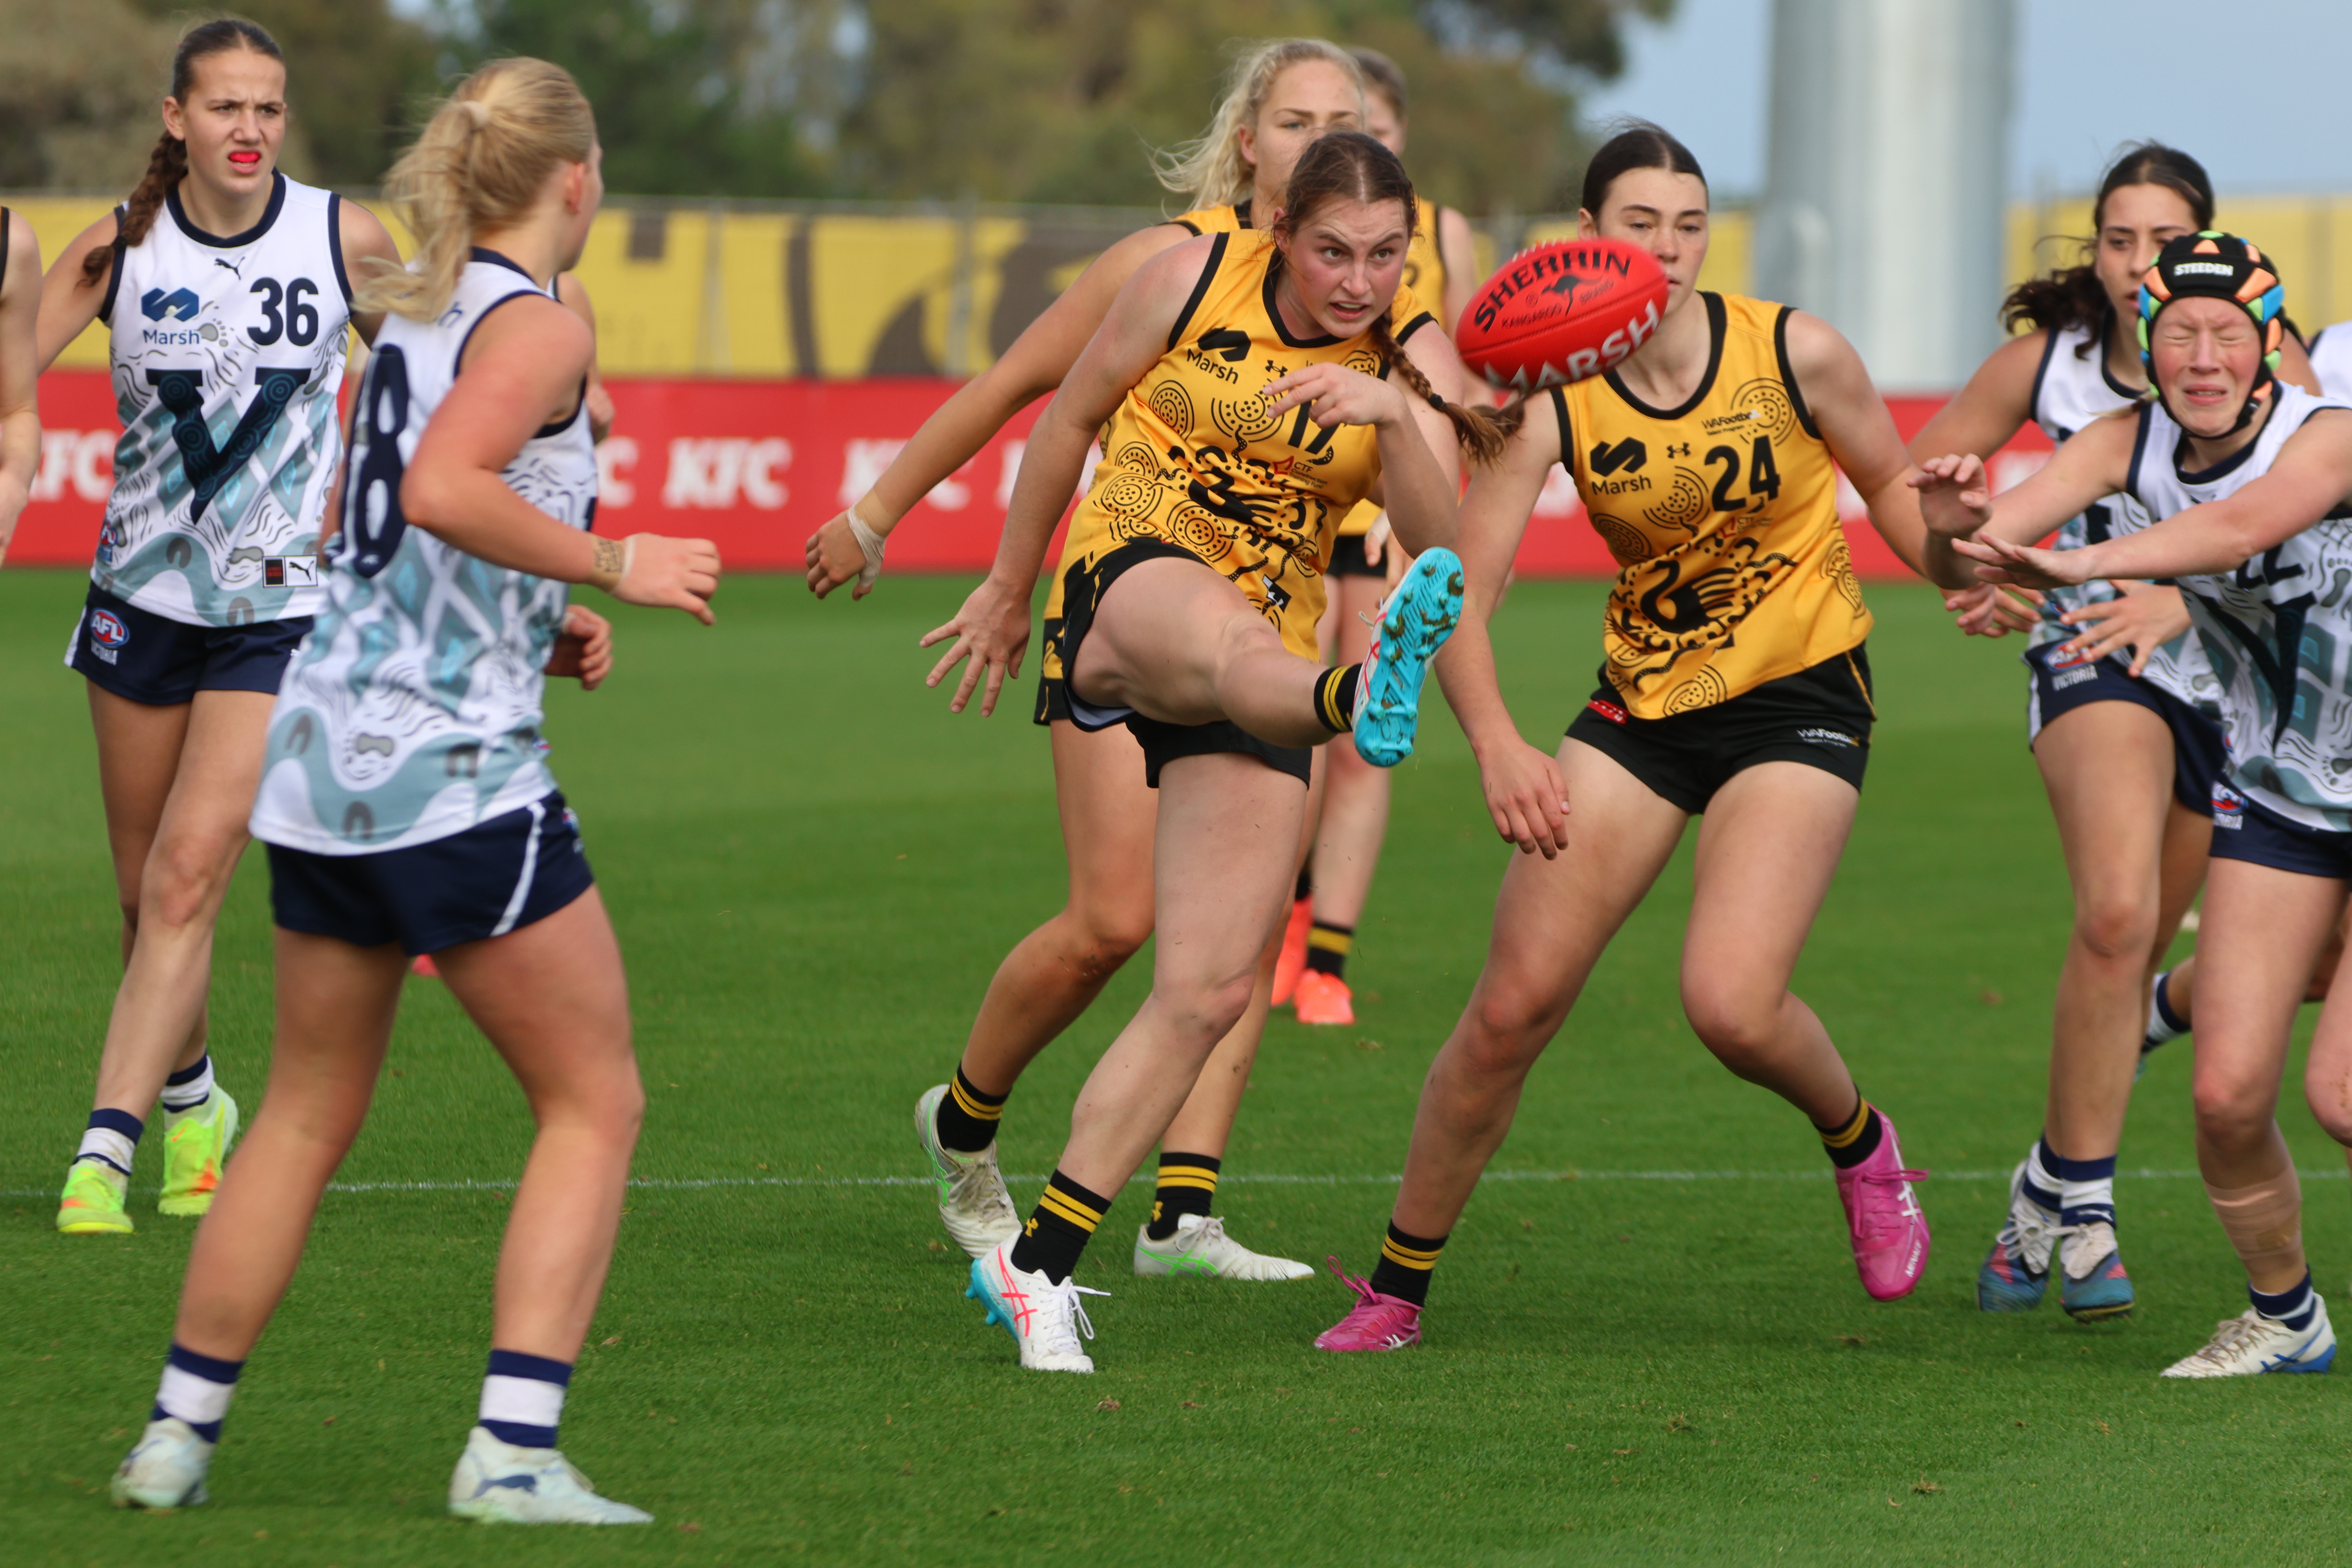
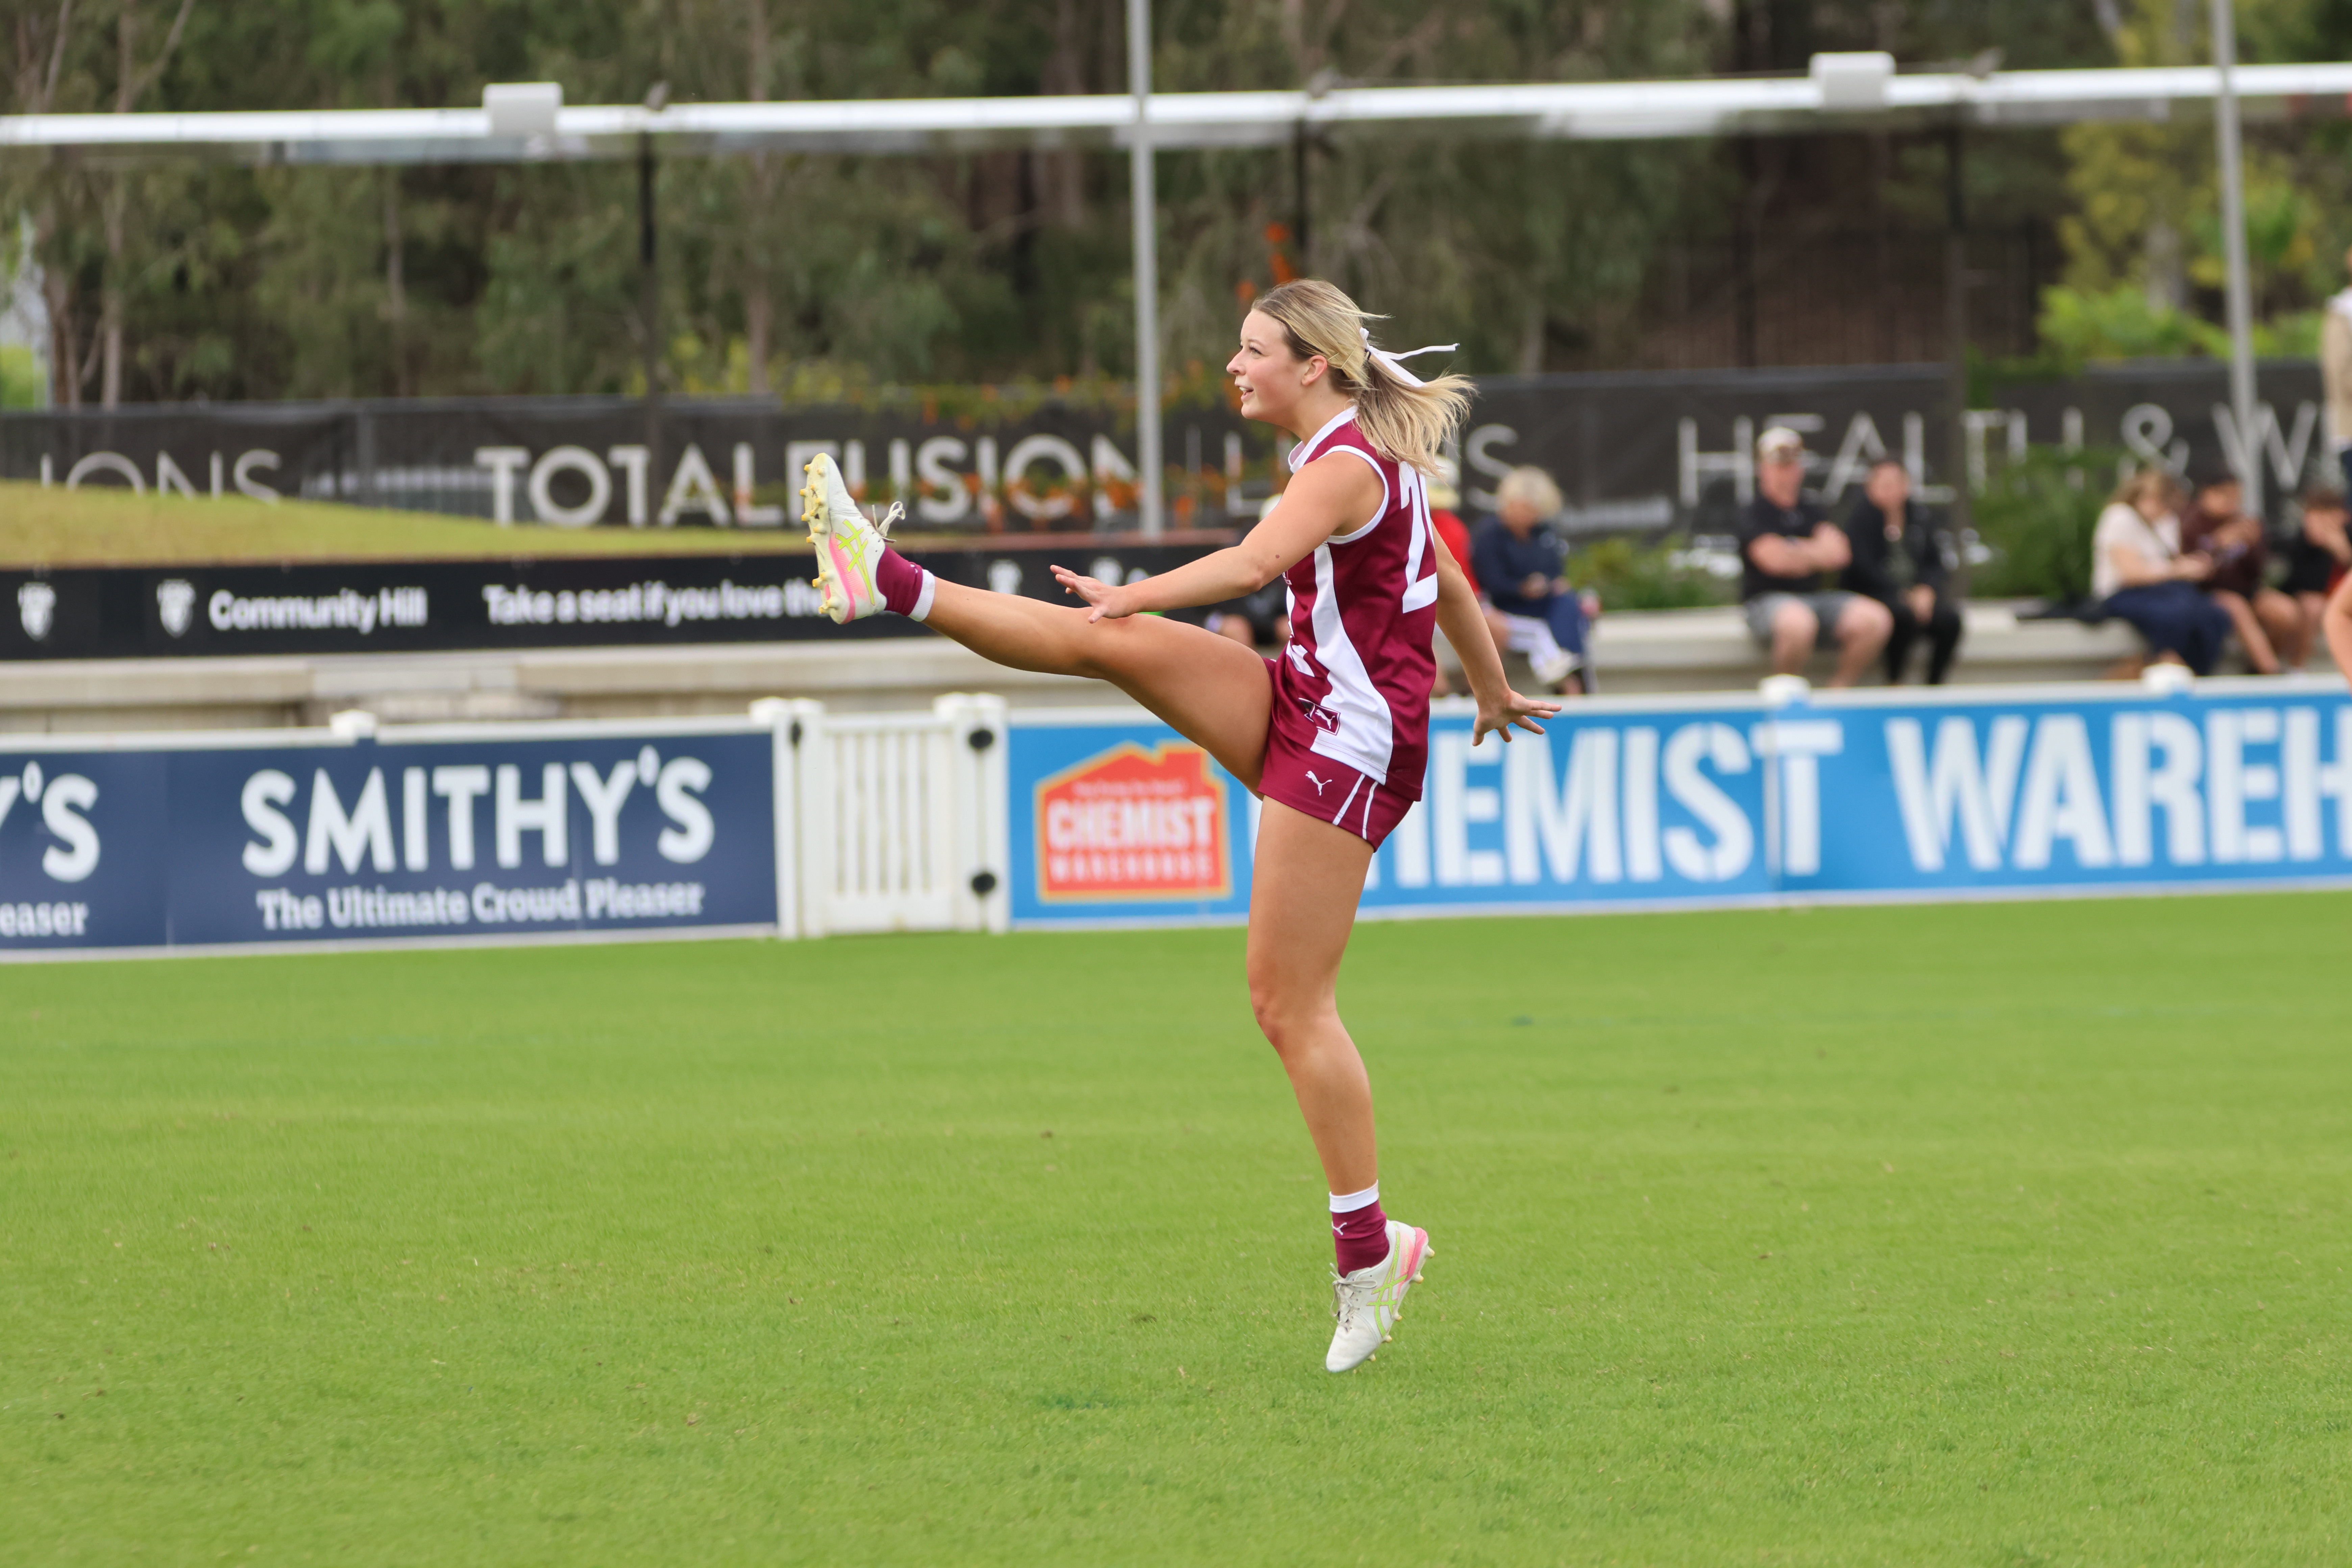
State Academy notes: 2026 SANFLW – Round 10
ROUND 10 of the 2026 SANFL Women’s season saw the return of the State Academy members during a bye from their national carnival duties. Across the four games, South Australia’s brightest prospects reminded the competition of their class and continued to build their draft profiles. We took note of how each of the Academy members […]
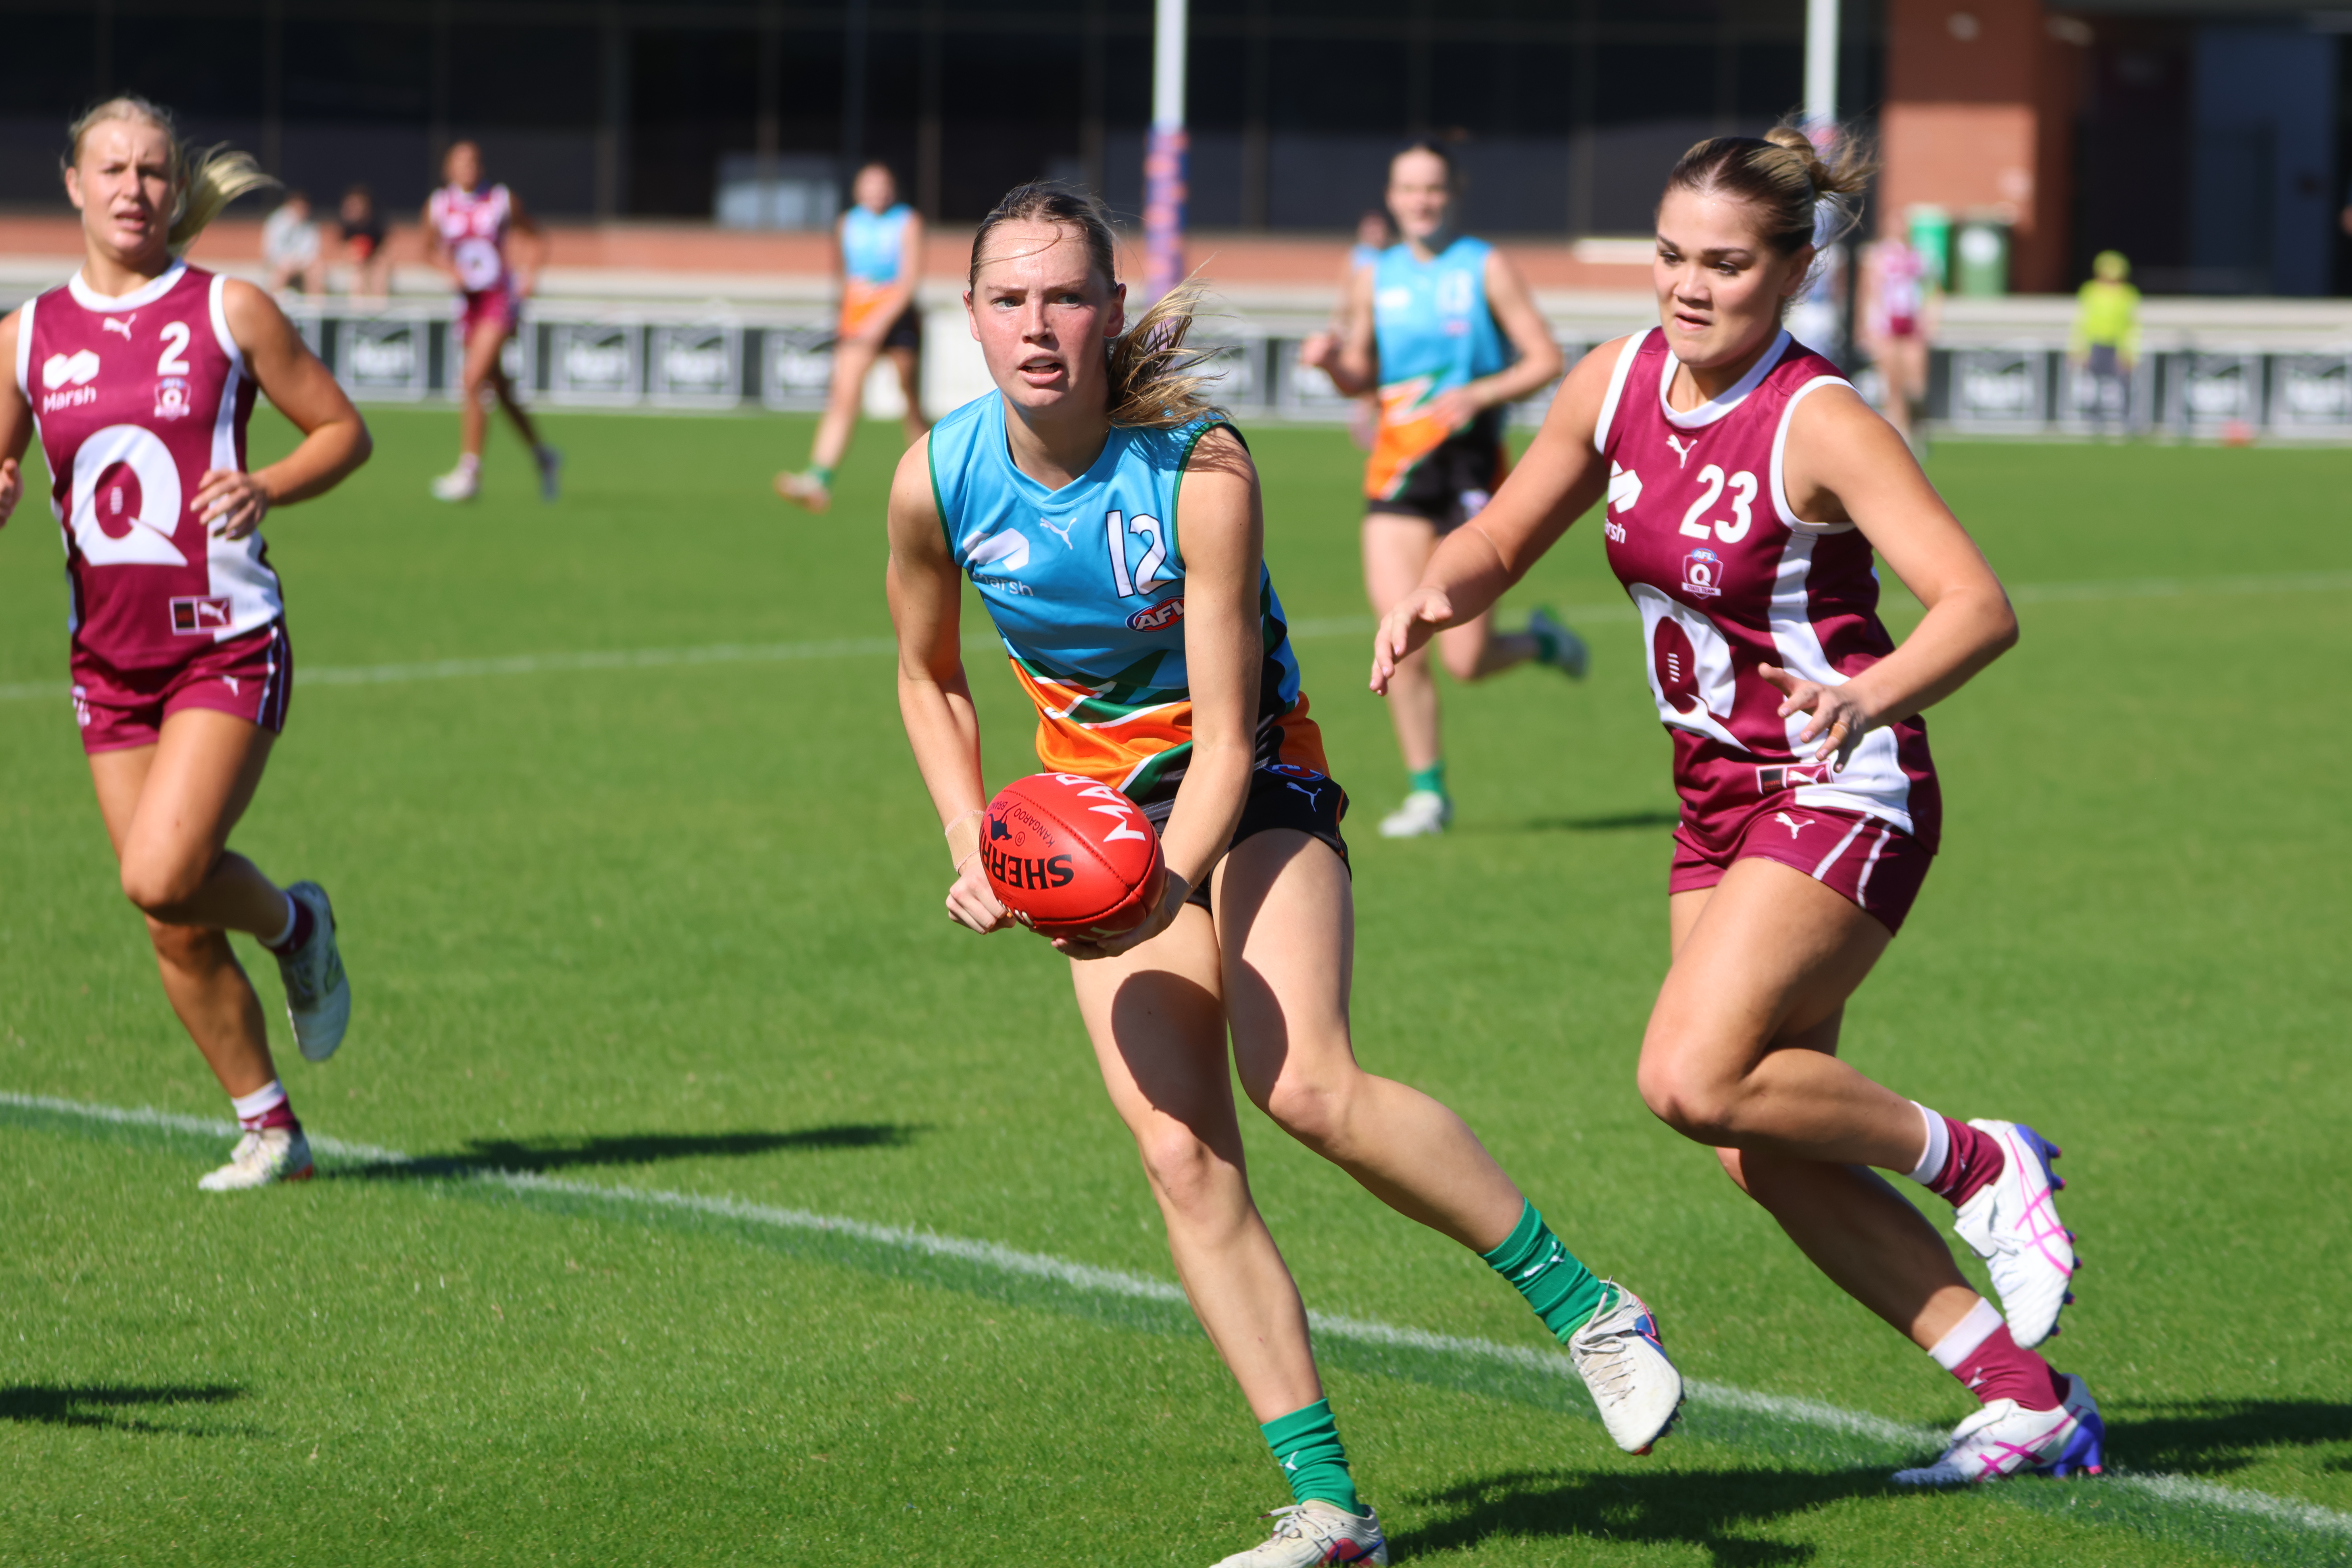
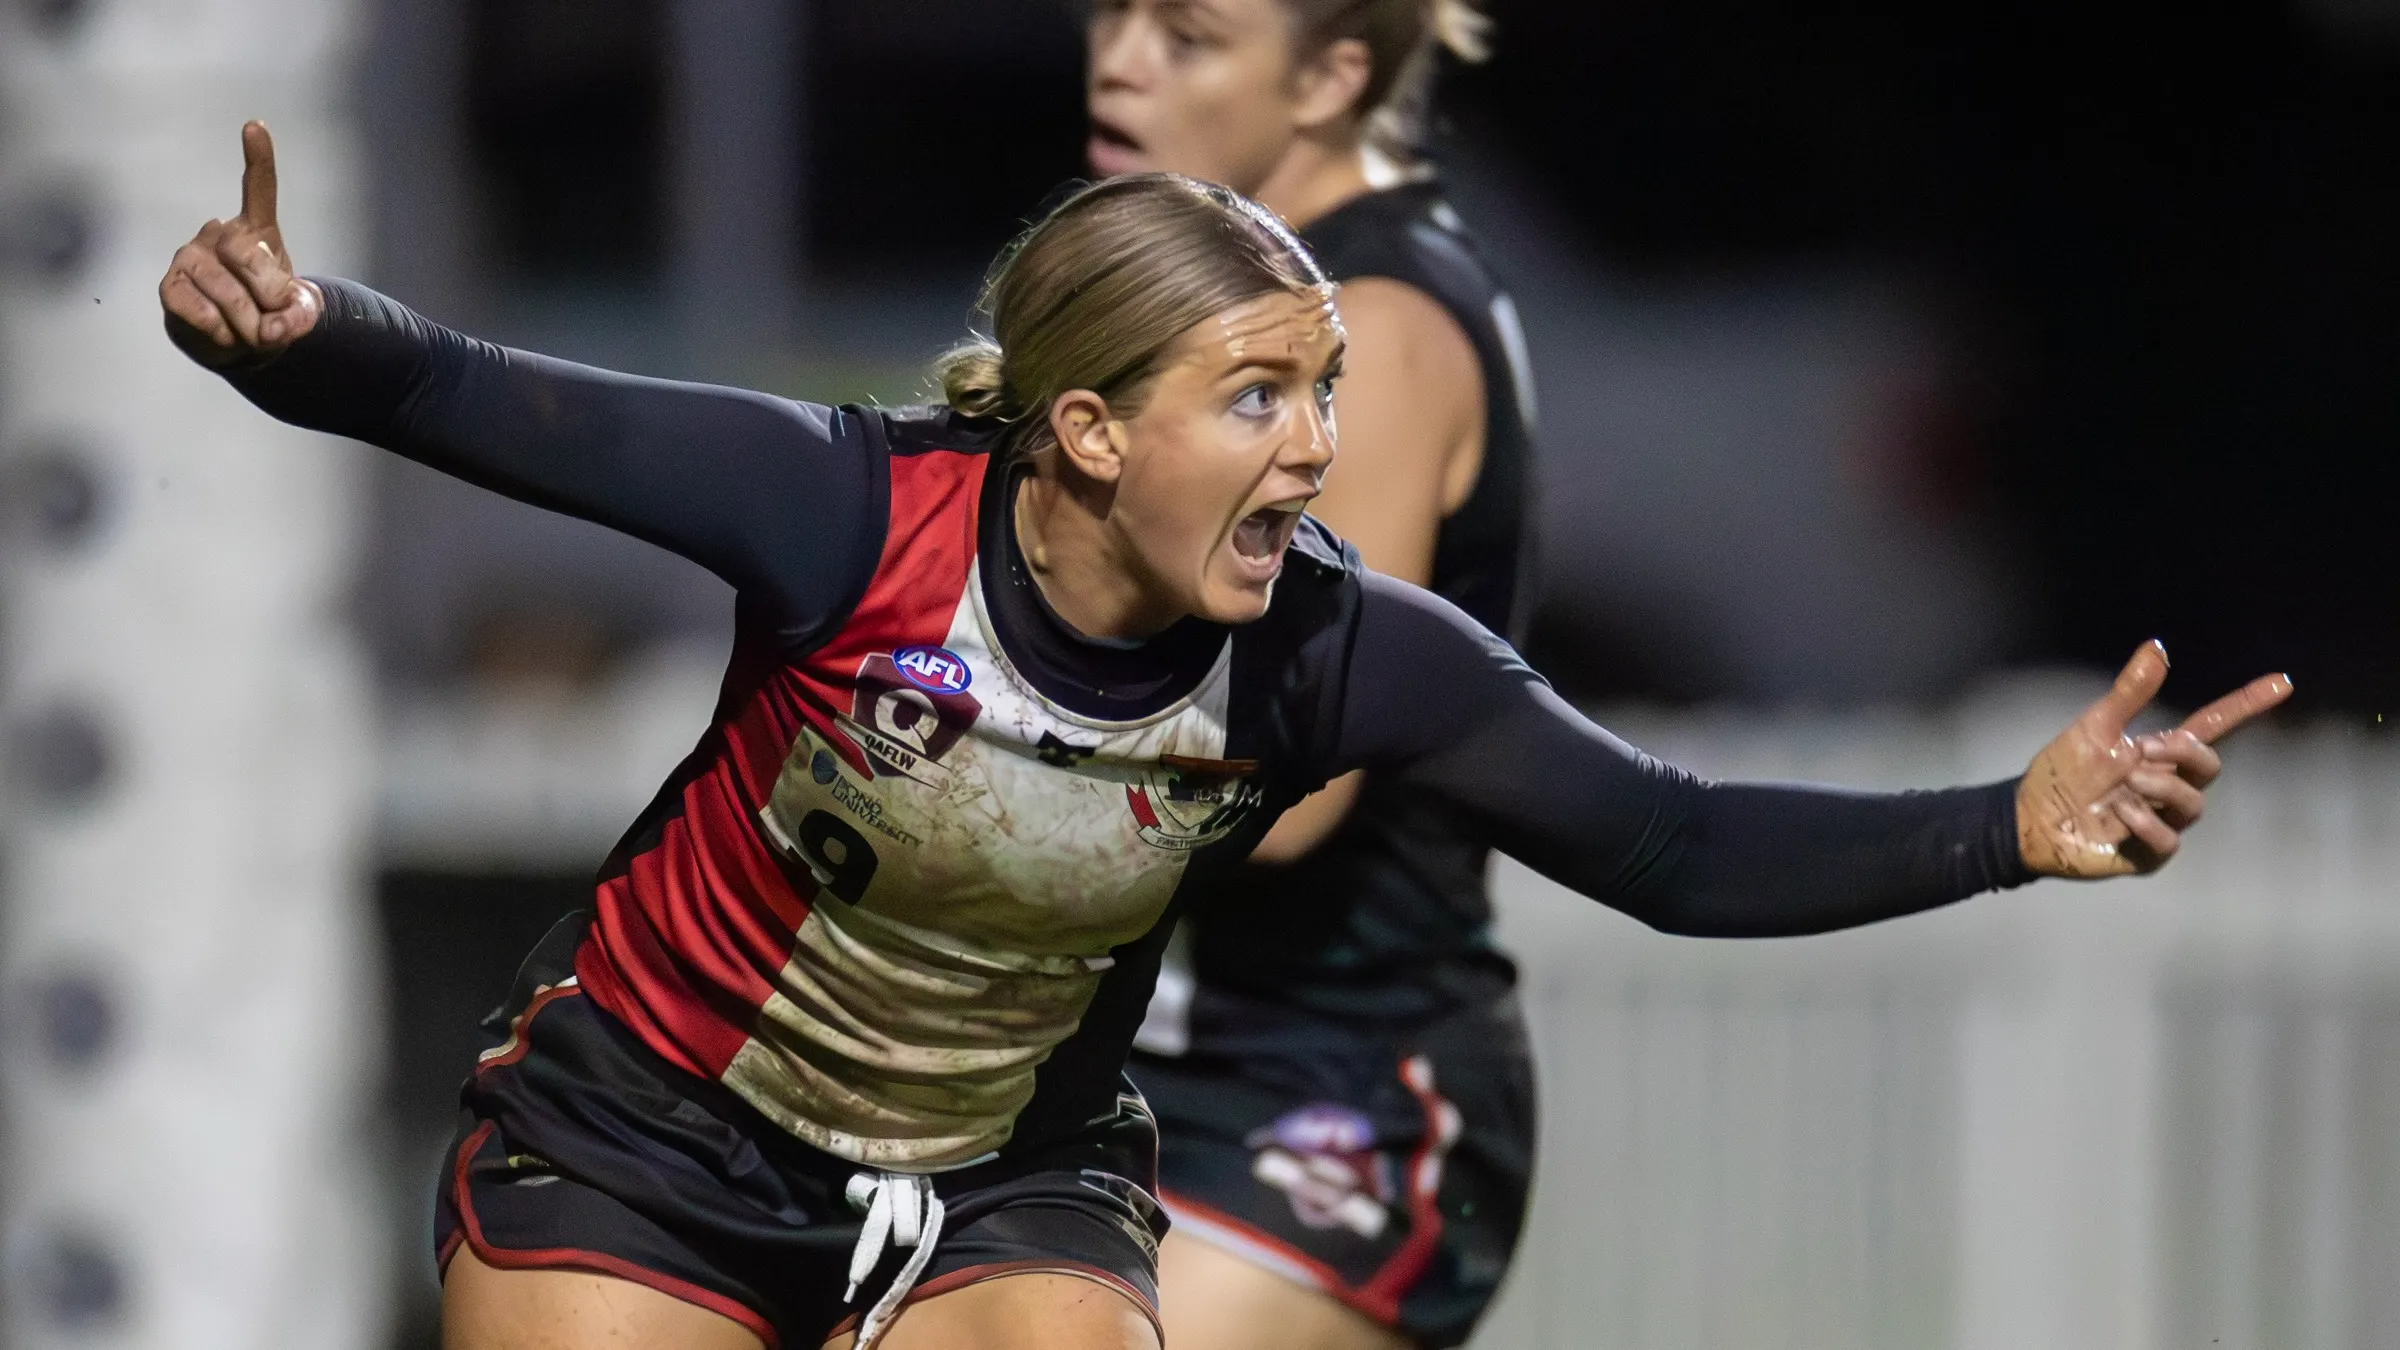
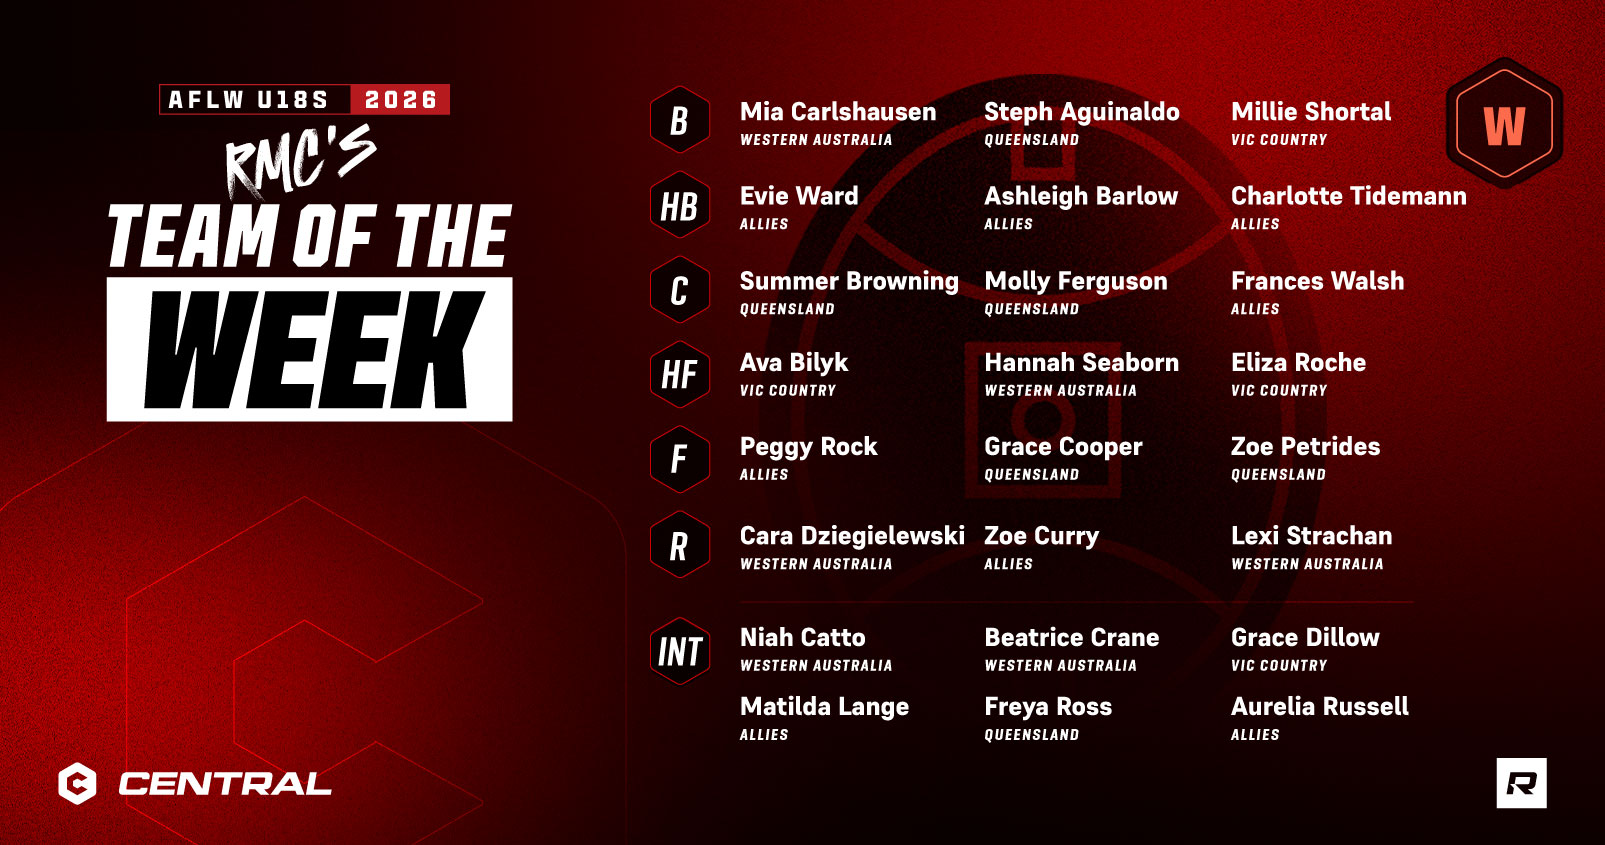
Scouting Notes: 2026 AFLW U18s – Queensland vs. Allies
THE ALLIES spoiled the party for a third straight year at Brighton Homes Arena, toppling Queensland with the last kick of the game. Lolita Savala converted the match-winner moments before thesiren signalling the victory for the combined states side, and denying Queensland the opportunity to play for the title on Saturday. We took note of […]
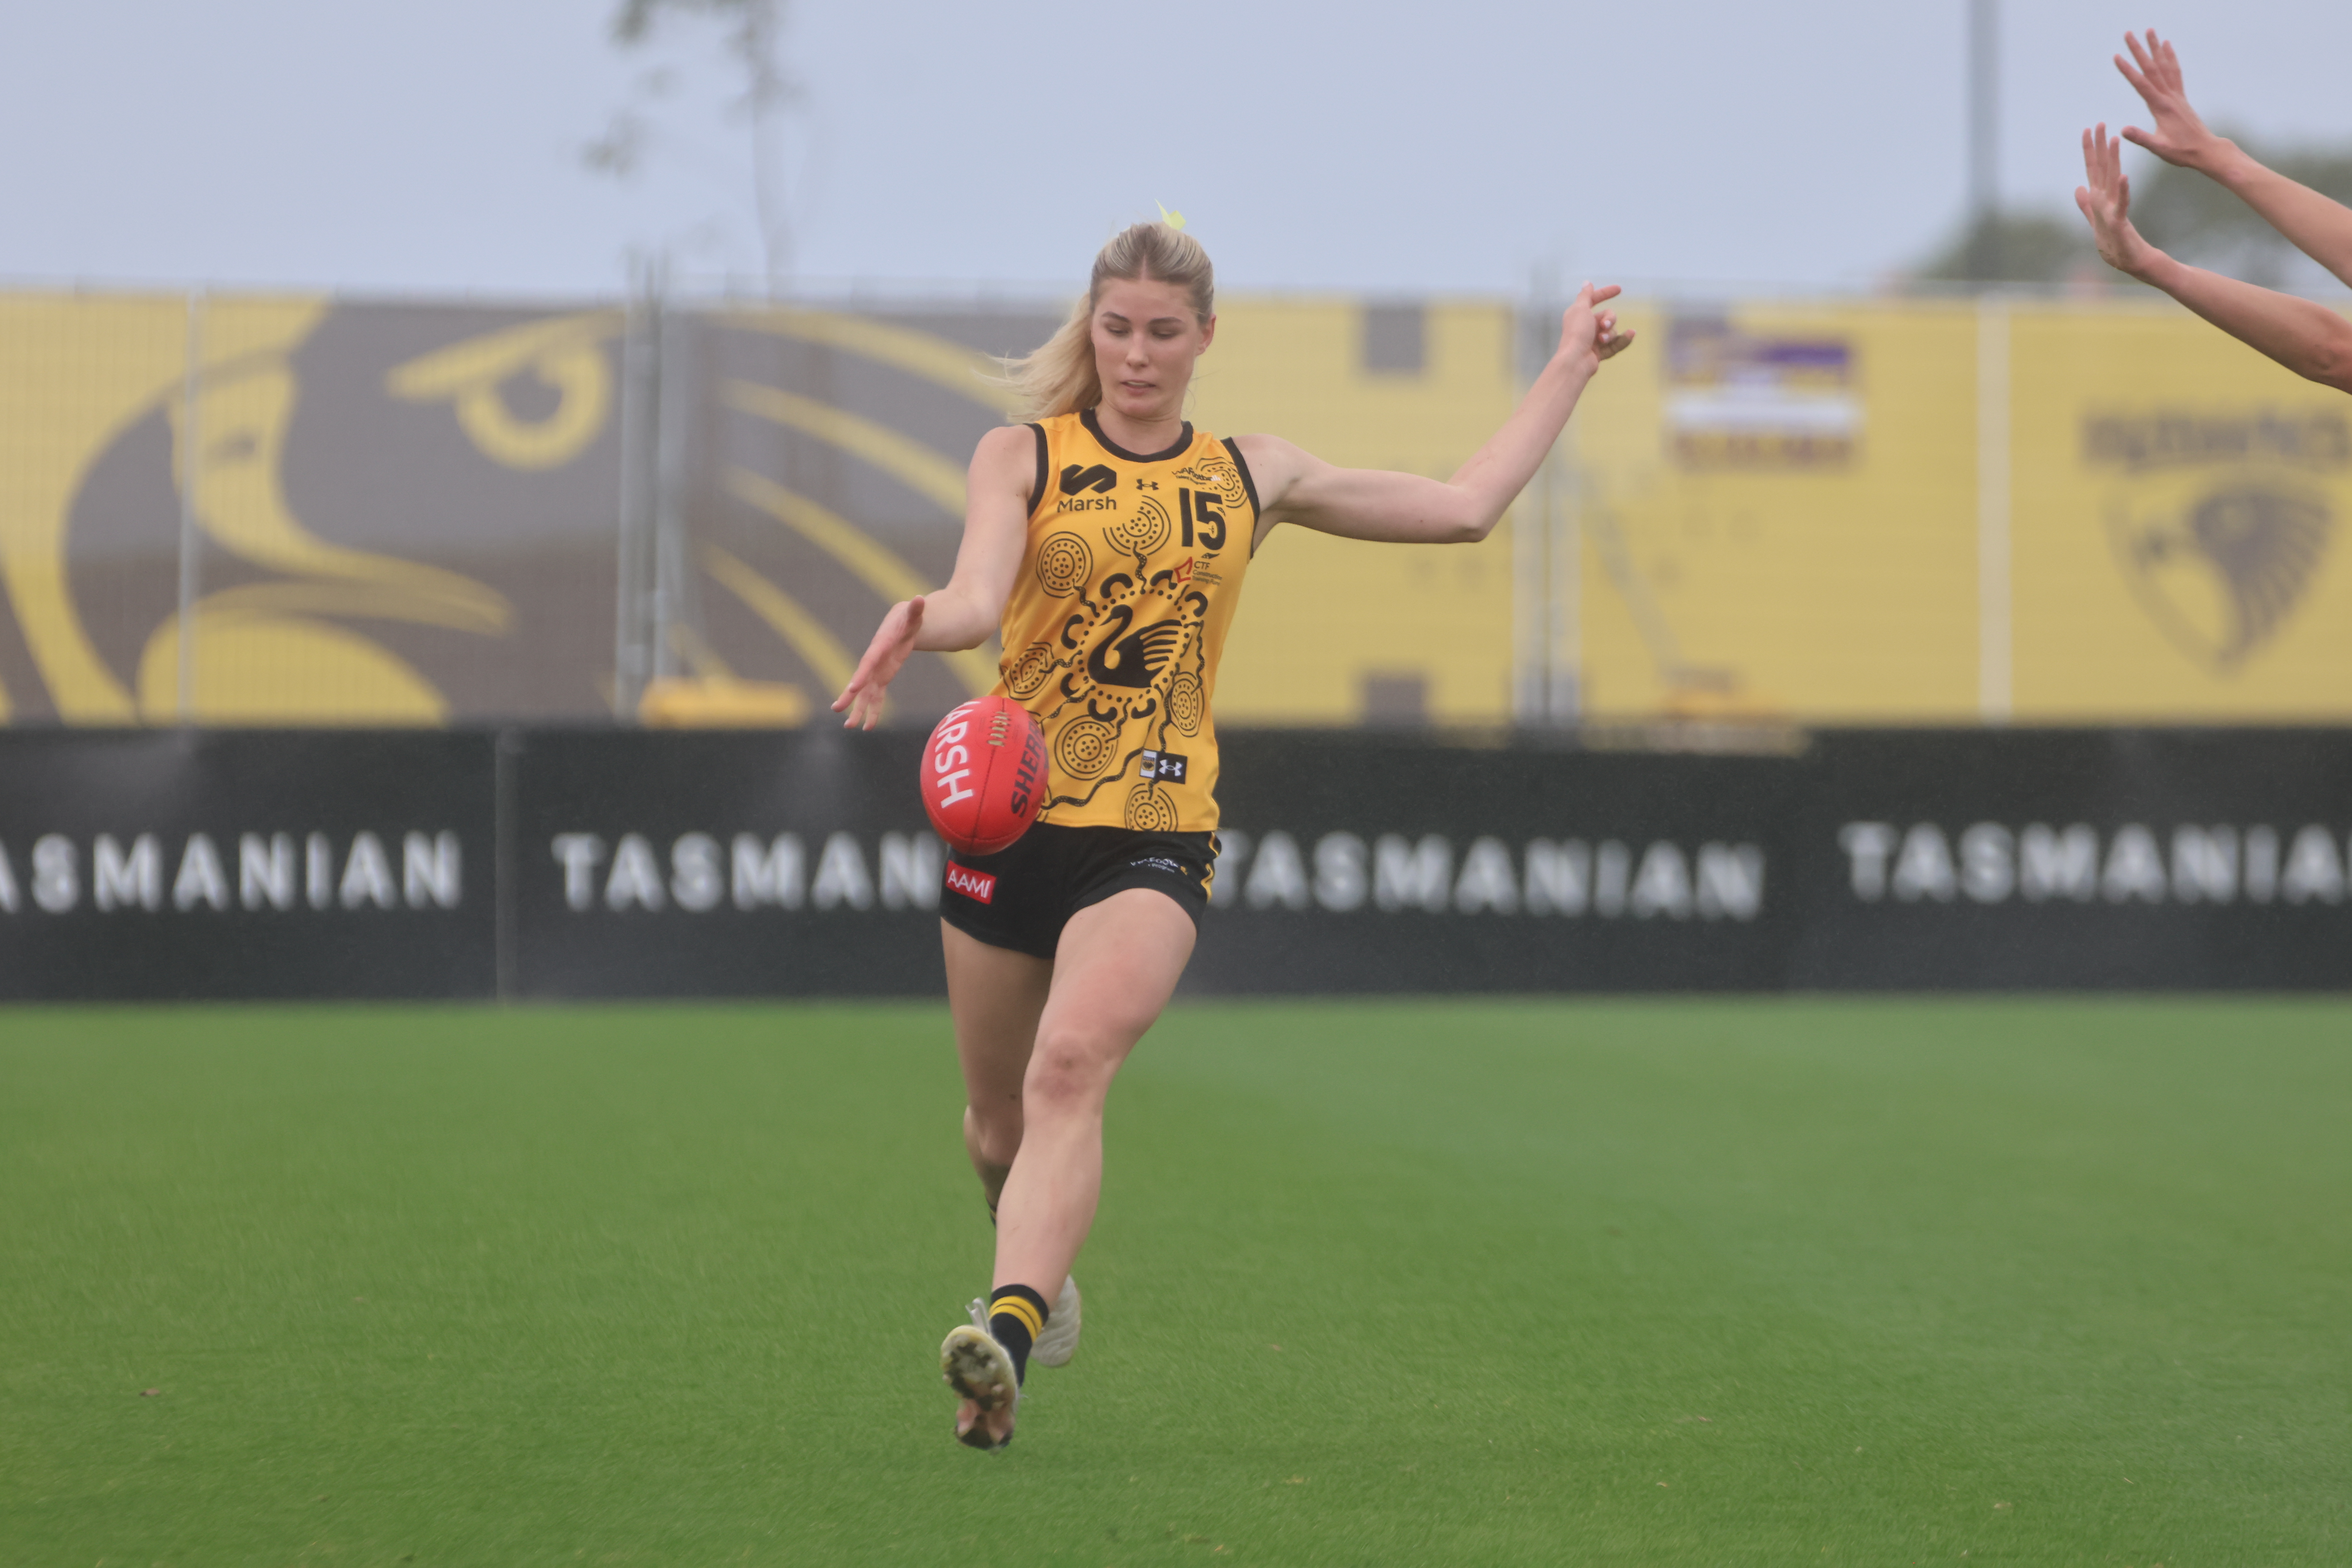
Scouting Notes: 2026 AFLW U18s – Vic Country vs. Western Australia
WESTERN Australia notched up its first win of the AFLW Under 18 Championships, coming back from 16 points down at the final break to run over the top of Vic Country at Kennedy Community Centre in Dingley. The Sandgropers booted four last quarter goals to secure the 6.4 (40) to 5.3 (33) victory on Saturday […]
Scouting Notes: 2026 AFL U18s – Vic Country vs. Western Australia
WESTERN Australia has produced a remarkable turnaround to defeat Vic Country by 16 points at Marvel Stadium on Friday evening. The Sandgropers were restricted to just one goal in the first half and trailed by 33 points early in term three, before piling on nine of the next 11 majors to bag their second win […]
Scouting Notes: 2026 AFL U18s – Vic Metro vs. South Australia
VIC METRO has one hand on the Under 18 National Championships title after defeating South Australia by 46 points at Marvel Stadium on Friday afternoon. After being unable to fully capitalise on their opportunities in the first half, the Vics kicked away during a decisive five-goal to one third term. Tall forwards Sam Gayfer and […]
Scouting Notes: 2026 AFLW U18s – Queensland vs. Vic Country
QUEENSLAND booted six goals in the second term to break the game open against Vic Country and record an AFLW Under 18 Championships victory in Round 3. The Maroons won 7.8 (50) to 5.6 (36) at Brighton Homes Arena, with even contributors across the board. We took note of some of the players who caught […]
