Scouting Notes: 2021 AFL U19 National Championships: South Australia vs. Allies
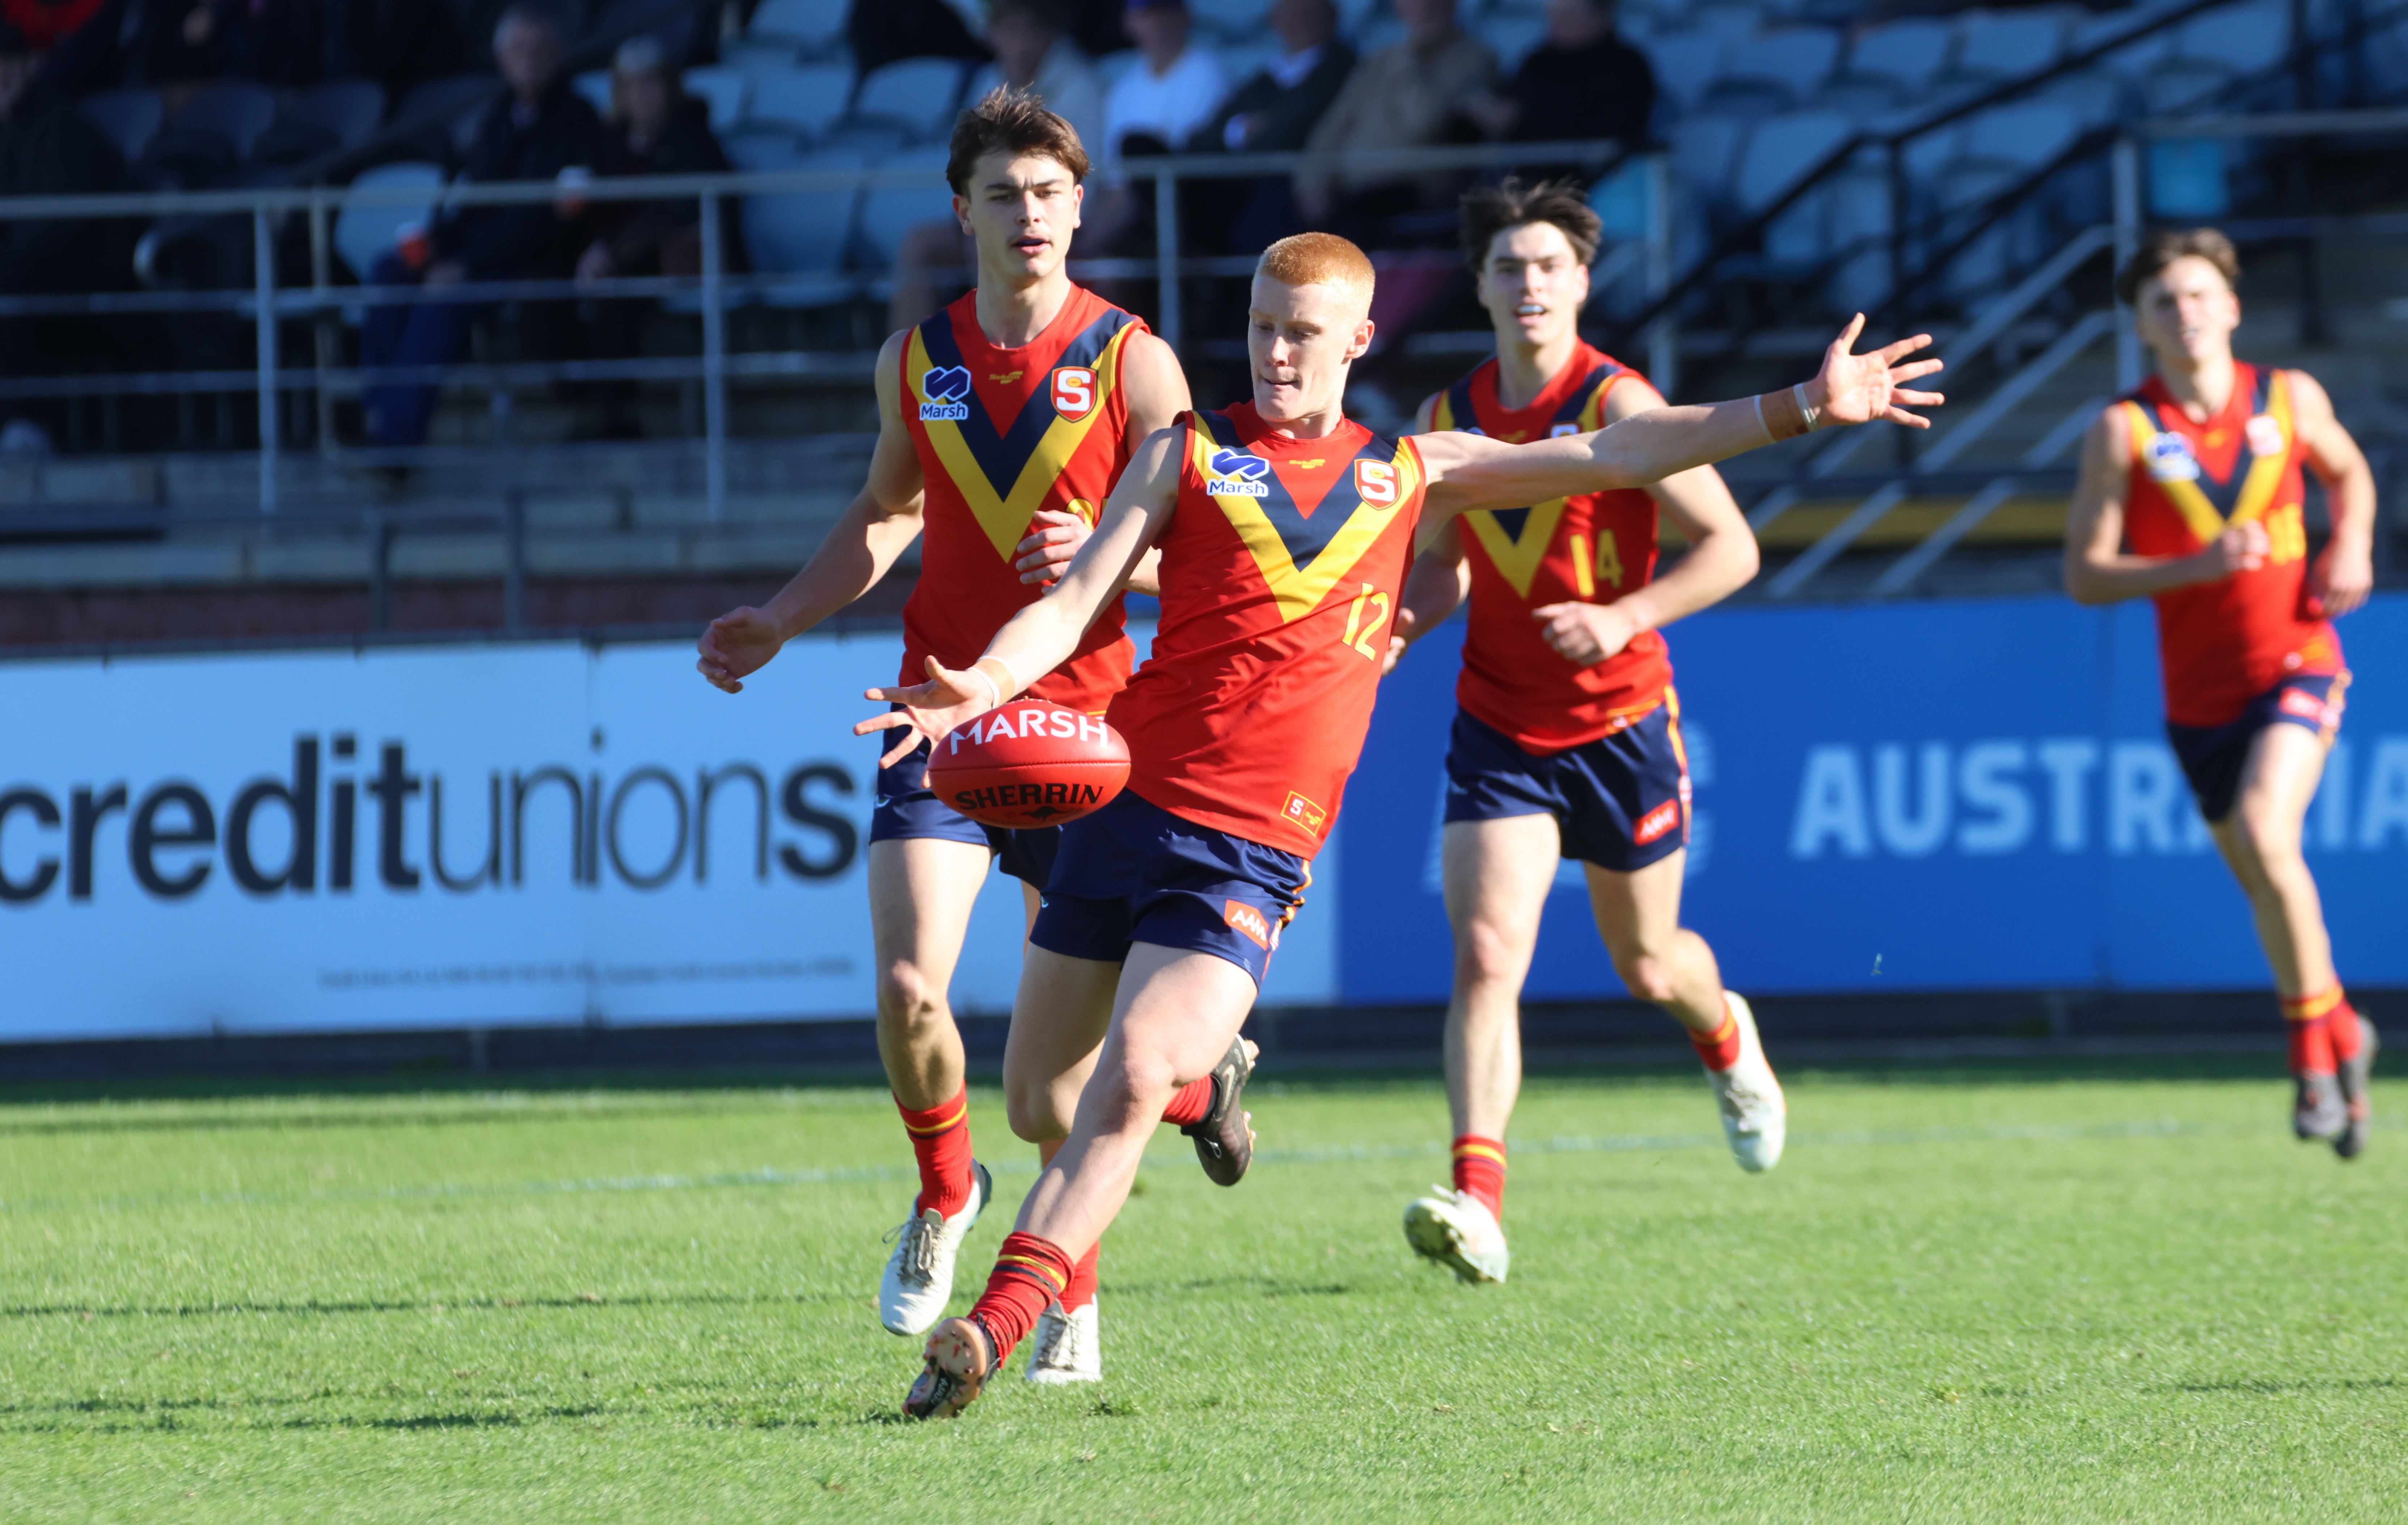
SOUTH Australia opened its account in the 2021 AFL Under 19 National Championships, defeating a makeshift Allies squad by 92 points at Adelaide Oval on Sunday. The Croweaters dominated from the second term onwards, with the Allies made up of a few NSW-ACT prospects, along with a mix of Northern Territory products and local Under 17 top-ups. Still, there were some performances of note from either side, which we highlight in the latest edition of Scouting Notes. >> Match Report: South Australia dominated patched-up Allies
SOUTH AUSTRALIA:
By: Michael Alvaro
#2 Blayne O’Loughlin (North Adelaide)
Best afield for his state last time out, O’Loughlin started brightly again and proved busy in the back half. He worked high up the ground but also got South Australia going on the last line, receiving in space and pumping his legs to initiate rebounds. The Adelaide Next Generation Academy (NGA) prospect took metres from many of his kick-ins, but showed his range by also hitting shorter options. Not one to rest on his laurels, he ventured into attacking areas as SA dominated after half time, likely hunting a goal but instead lowering his eyes well going inside 50.
#5 Jase Burgoyne (Woodville-West Torrens)
A very handy inclusion after missing the last couple of weeks with groin soreness, Burgoyne was thrust back into the action as part of SA’s midfield-forward rotation. The Port Adelaide father-son candidate found a good amount of ball through the middle and his clean skills helped the Croweaters move fluently in transition. Burgoyne missed a few gettable chances on goal during three different terms, but snuck into handy positions when resting forward. He stood up with a couple of nice moments in the fourth quarter; hitting the contest hard to take a strong chest mark inside 50, and also prizing dual centre clearances.
#7 Brayden Calvett (Woodville-West Torrens)
Making the most of his chance in state colours, Calvett was a mainstay out on the wing for South Australia but also snuck forward to hit the scoreboard. He provided spurts of run on the outer and while hit-and-miss with some of his delivery by foot, he proved pretty accurate inside 50. Calvett notched the first score of the day, a behind, before crumbing and snapping a nice goal in the second term. He backed that up in the third by putting his head over the ball to earn a high free kick, converting another major to cap a solid day out.
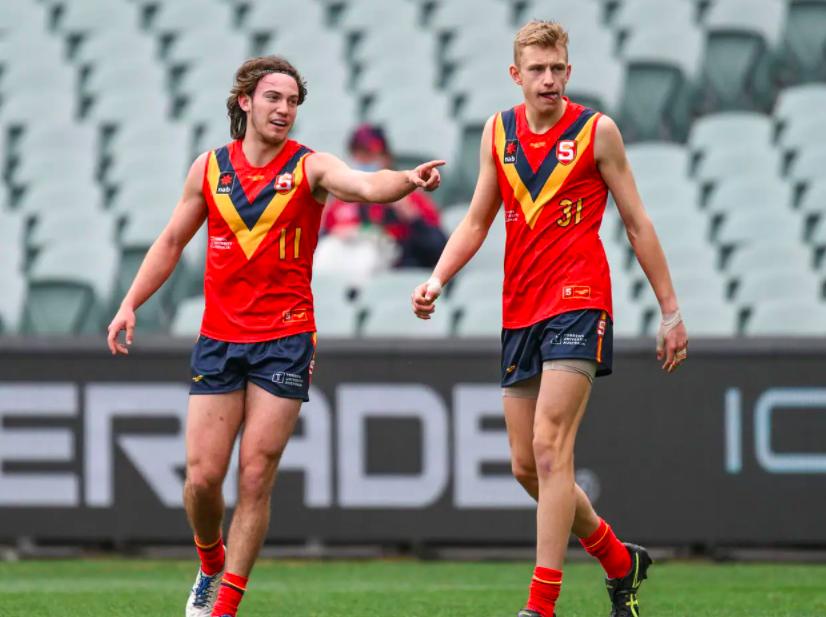
#11 Harvey Harrison (North Adelaide)
He may not have been as prolific as others, but much of what Harrison did at half-forward led to scores for South Australia. The North Adelaide midfielder spent most of his time in the front half, working up the ground where he would link inside 50 with clean handling and skills. He kicked goals in the first and second terms, finishing nicely before going on to create chances for his teammates. His forward carry and efficient play boded well for SA’s attacking dominance.
#17 Hugh Stagg (Glenelg)
After an indifferent first three quarters, Stagg came to life in the final term to kick his second and third goals while setting up plenty more scores. He had rotated through midfield but made more of a mark up forward, where he thrived as SA gained quick entries when the game opened up. His third goal, a lovely dribble finish, was Stagg’s highlight of the day, but he showed great power with a holding the ball tackle and one-two burst at half-forward during term four. That explosiveness is eye-catching and while he was accurate enough to snare three goals, Stagg can tidy up his kicking on the run.
#20 Matthew Roberts (South Adelaide)
Another important inclusion for South Australia, Roberts slotted back into the midfield-forward mix after turning out during South Adelaide’s senior finals campaign. He showed some of the tendencies that have him sliding a touch early on, sacrificing run-and-carry for quick dump kicks out away from stoppages, but went on to contribute cleaner work. Roberts leant on his high-level work rate to break inside 50 in the third term, marking uncontested and slotting a nice goal. He also looked to go quickly inside 50 when his forwards would benefit from it in open play, getting good penetration on his trusty left side.
#21 Adam D’Aloia (Woodville-West Torrens)
Easily the leading ball winner afield, D’Aloia continued his excellent form with 29 disposals and a goal. It was no coincidence that South Australia was so dominant in midfield with the bottom-ager running though there, as he got first hands to the ball several times with one-touch handling. Usually slick by hand, D’Aloia also powered SA forward with long kicks which often breached the attacking arc and caused a bit of chaos there. He also slotted a goal in the second quarter and as a more developed type, will be one to keep an eye on heading into 2022.
#29 Morgan Ferres (Sturt)
Playing particularly well at one end of the ground, Ferres proved a viable target at half-forward during the first and third quarters. He started well by presenting strongly up the ground, marking with clean hands and keeping SA’s attacks going by foot. Ferres’ work rate was seen in his first goal, as he ran hard back inside 50 to crash a pack, where he earned a free kick for the conversion. He added two more majors in term three, both via set shots as SA began to get well on top in midfield to made getting off the leash easier. Ferres also assisted Hugh Jackson’s goal in the third quarter and missed another set shot opportunity in the fourth.
#32 Zac Becker (Sturt)
After plying his trade down back for three quarters, Becker was swung forward in the last and snared three goals to cap off a solid outing. The Sturt defender popped up for some handy intercept marks and notched eight overall, but seemed like he wanted to take a few kick-ins off O’Loughlin to showcase his kicking. He impacted immediately up forward, marking and goaling off the first centre clearance, before adding a couple more as South Australia broke quickly and he found space over the back.
#36 Harry Lemmey (West Adelaide)
Another impressive bottom-ager who will likely be a key figure in state colours next year, Lemmey made his mark with 2.2 from five attempts on goal, and a goal assist. He kicked the opening goal of the game from a free kick, converting nicely with a snap, and linked well with Ferres as the two big targets up forward. He popped up again in the third quarter, spraying a set shot out on the full before converting shortly after from a similar spot. He added two behinds in the fourth term from gettable set shots, but showed clean hands and smart leading patterns as the deepest key forward for SA.
ALLIES:
By: Declan Reeve
#1 Harrison Grintell (GIANTS Academy/NSW-ACT)
Whilst the noted goalkicker didn’t slot any majors against SA, his work up the field was still impressive and gave the Allies a few opportunities to hit the scoreboard with his clean ball use heading inside 50. Grintell was able to hit targets by foot with both sides of his body, generally weighting the ball well for his teammates. He got more of an opportunity through the midfield than he usually does in the second half of the game, and had some good moments with his ability to break away from opponents arounds stoppages.
#2 Andy Moniz-Wakefield (Northern Territory)
Moniz-Wakefield didn’t have the most consistent impact across four quarters but was able to show glimpses of his exciting skillset in the forward half. The Melbourne NGA prospect was a handful at times for his opponents, able to accelerate away from them easily with his speed and agility, collect the ball with a smart lead or ground ball, and then use it well by foot to follow that up. When he moved into the midfield he looked dangerous around stoppages with that same speed, timing his runs well to be used as a handball option from the first possession winners. He also did well to pressure the opposition and work back to assist in the backline.
#5 Tyson Walls (Norwood/South Australia)
One of the South Australian Under 17 call-ups to the Allies squad, Walls was arguably the best player for his side on the day as he impacted around the ground, seemingly involved in every piece of positive play for the Allies. Walls played predominantly through the midfield and was a constant danger with his work rate, running hard to get involved in attacking plays with his speed and ball use, but just as happy to run hard defensively and apply pressure. He caught a few opponents by surprise with his tackling, earning a couple of holding the ball free kicks against bigger opponents and letting them know about it afterwards. What was most impressive about Walls was his acceleration, outrunning everyone trying to chase him down with relative ease, he always managed to hurt the opposition when he got the opportunity to turn on the jets.
#8 Ronald Fejo Jnr (West Adelaide/Northern Territory)
Catching the eye with his movement through traffic, Fejo had a particularly solid first half playing on the wing for the Allies. Fejo did his best to get involved in attacking chains of play thought the centre of the ground, presenting well as a marking option and generally using the ball well when he got it, holding his composure through congestion or when being tackled. Fejo had a few highlight moments through the contest, but one of the best came as he won the ball at the top of the forward 50, where he sold an opponent three times in a row before passing off into the forward pocket.
#15 Josh Green (GIANTS Academy/NSW-ACT)
Green was the prime in-and-under ball winner for the Allies, just throwing himself at every contest he could to try and win the ball. He was often the target for his sides rucks around stoppages, winning first possession and quickly handing out to runners. Green showed good work rate around the ground, looking to push into the backline to assist his defenders, or be a switch option and launch his side into attack.
#17 Kobe Ryan (West Adelaide/South Australia)
Ryan didn’t win as much of the ball as he usually does, but was a consistently damaging player when given the opportunity to play through the midfield. The bottom-ager remained composed even under pressure through the midfield, winning clearances then following up with clean and smart ball use. Ryan slotted the first goal for the Allies, winning a clearance from an inside 50 stoppage, handing off to a teammate but continuing to run with them, then getting it back and kicking well to get them on the board.
#24 Sam Frost (GIANTS Academy/NSW-ACT)
The Allies captain was admirable in defeat, playing on much taller opponents in defence and genuinely troubling them with his one-on-one ability, unfortunately giving away a few free kicks when trying to out-body his opponents. Frost intercepted well in the air and at ground level, where he generally tried to follow up by running the ball out of defensive 50 and kick long, able to regularly get 50-60 metres behind his kicks, quickly getting the Allies around their attacking 50 with one kick. Frost moved into the midfield in the final quarter and provided some zip and toughness they were lacking at times in the first three terms, not afraid to try and burst through opponents with ball in hand.
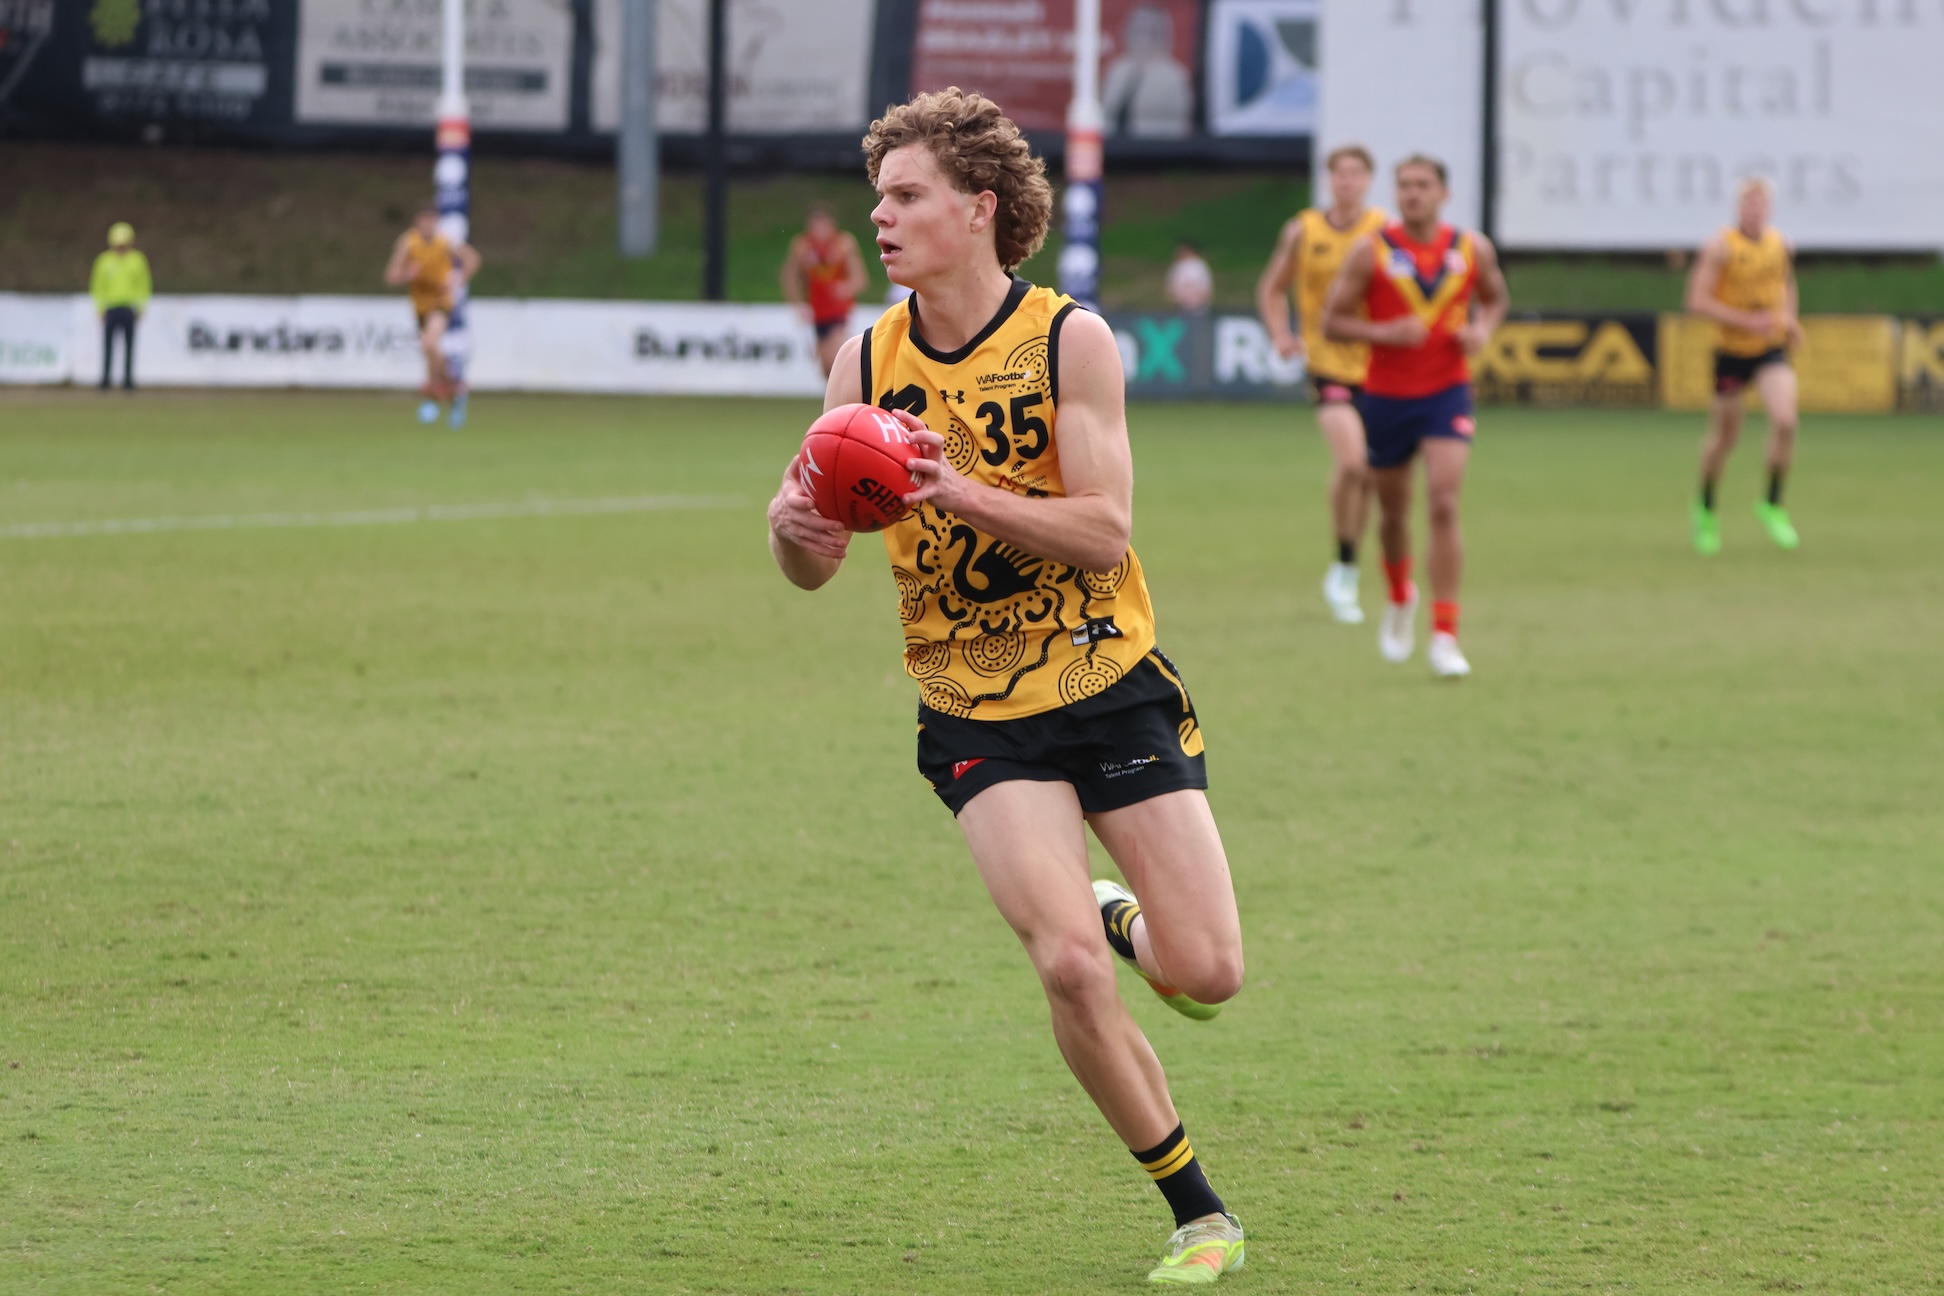
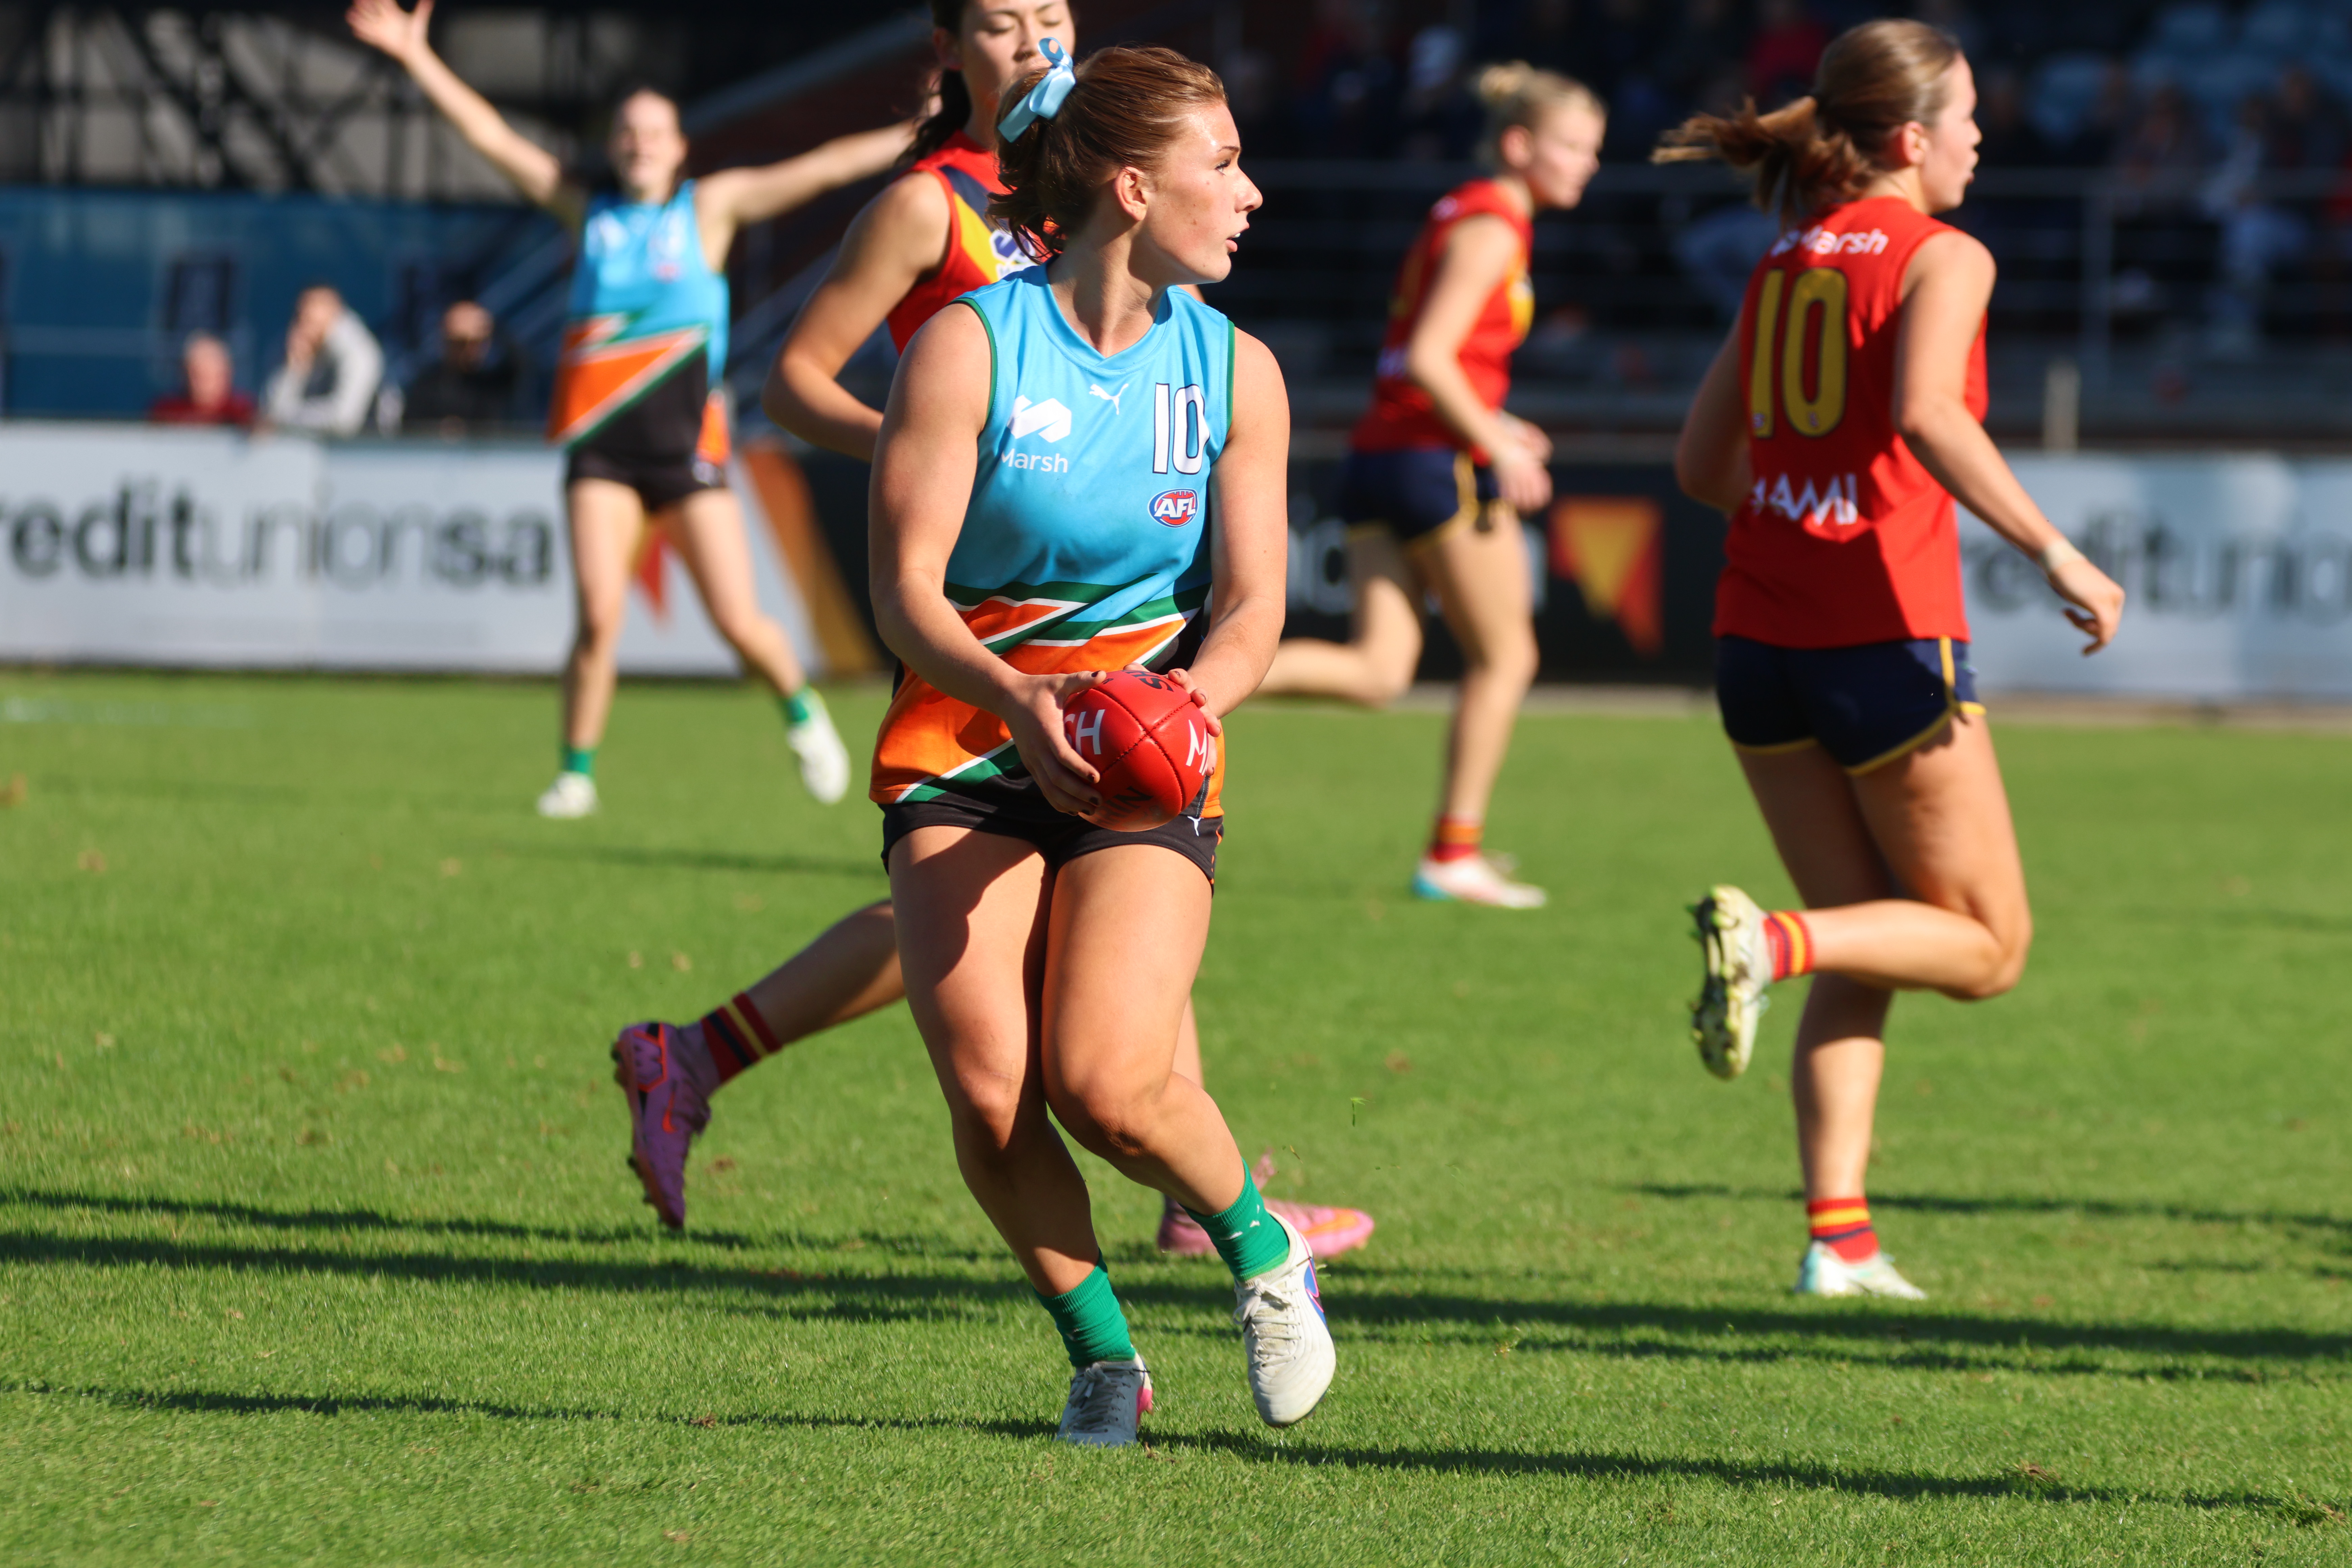
Featured Image: South Australia’s Harvey Harrison after a goal | Credit: Sue McKay/AFL Photos
Scouting Notes: Lions fight off plucky Falcons
SUBIACO has resisted a late West Perth charge to come away four-point victors in their Round 15 clash at Leederville Oval on Saturday. Spearheaded by four goals to Thatcher Simmons, the Lions led all day and held on despite conceding the last three majors, seeing them pegged back to within a kick. With the Under […]
State Academy notes: 2026 SANFLW – Round 11
ROUND 11 of the 2026 SANFL Women’s season saw the State Academy members back in action for a second round since taking out the national title, continuing to build and show their class across the four games. We took note of how each of the Academy members performed in the latest round of action. All […]
Scouting Notes: State stars shine as Bays beat Panthers
GLENELG has flexed its scoring muscle in the second half to remain fixed in the AAMI Talent League top four with a win over South Adelaide in Round 15. The Bays kicked away with six goals to two in the third term at Stratarama Stadium and always seemed to have an answer for the Panthers […]
2026 State Academy notes: WAFLW – Round 16
ROUND 16 of the WAFL Women’s season saw the return of the West Australian Under 18s players following the conclusion of the national championships. With the State Academy members back in club colours, there were plenty of standout performances across the four matches as players looked to finish the season strongly. We took note of […]

2026 Talent League Girls R16 notes: Tasmania Devils vs. Sandringham Dragons
SANDRINGHAM Dragons secured an impressive 7.11 (53) to 5.4 (34) victory over Tasmania Devils on the Apple Isle in Round 16 of the Talent League Girls competition. The Dragons took control of the match by kicking the first four goals of the second half to establish a commanding five-goal lead, before the Devils fought back […]
2026 Talent League Girls R16 notes: Bendigo Pioneers vs. Geelong Falcons
GEELONG Falcons won the battle between two of the single win sides over the weekend, defeating Bendigo Pioneers by 54 points in a comprehensive performance at Queen Elizabeth Oval. Despite missing Vic Country MVP Ava Bilyk and National Academy member Greea McKeegan, the Falcons piled on seven goals to two in the first half and […]
Scouting Notes: Dragons’ late surge downs Devils
SANDRINGHAM Dragons have kicked away to a 41-point victory over Tasmania in their standalone Round 19 fixture on Sunday. The visitors were potent throughout the day and kicked nine goals to two at one end of North Hobart Oval to run out with a comfortable, albeit slightly flattering, winning margin. The Devils regained several of […]
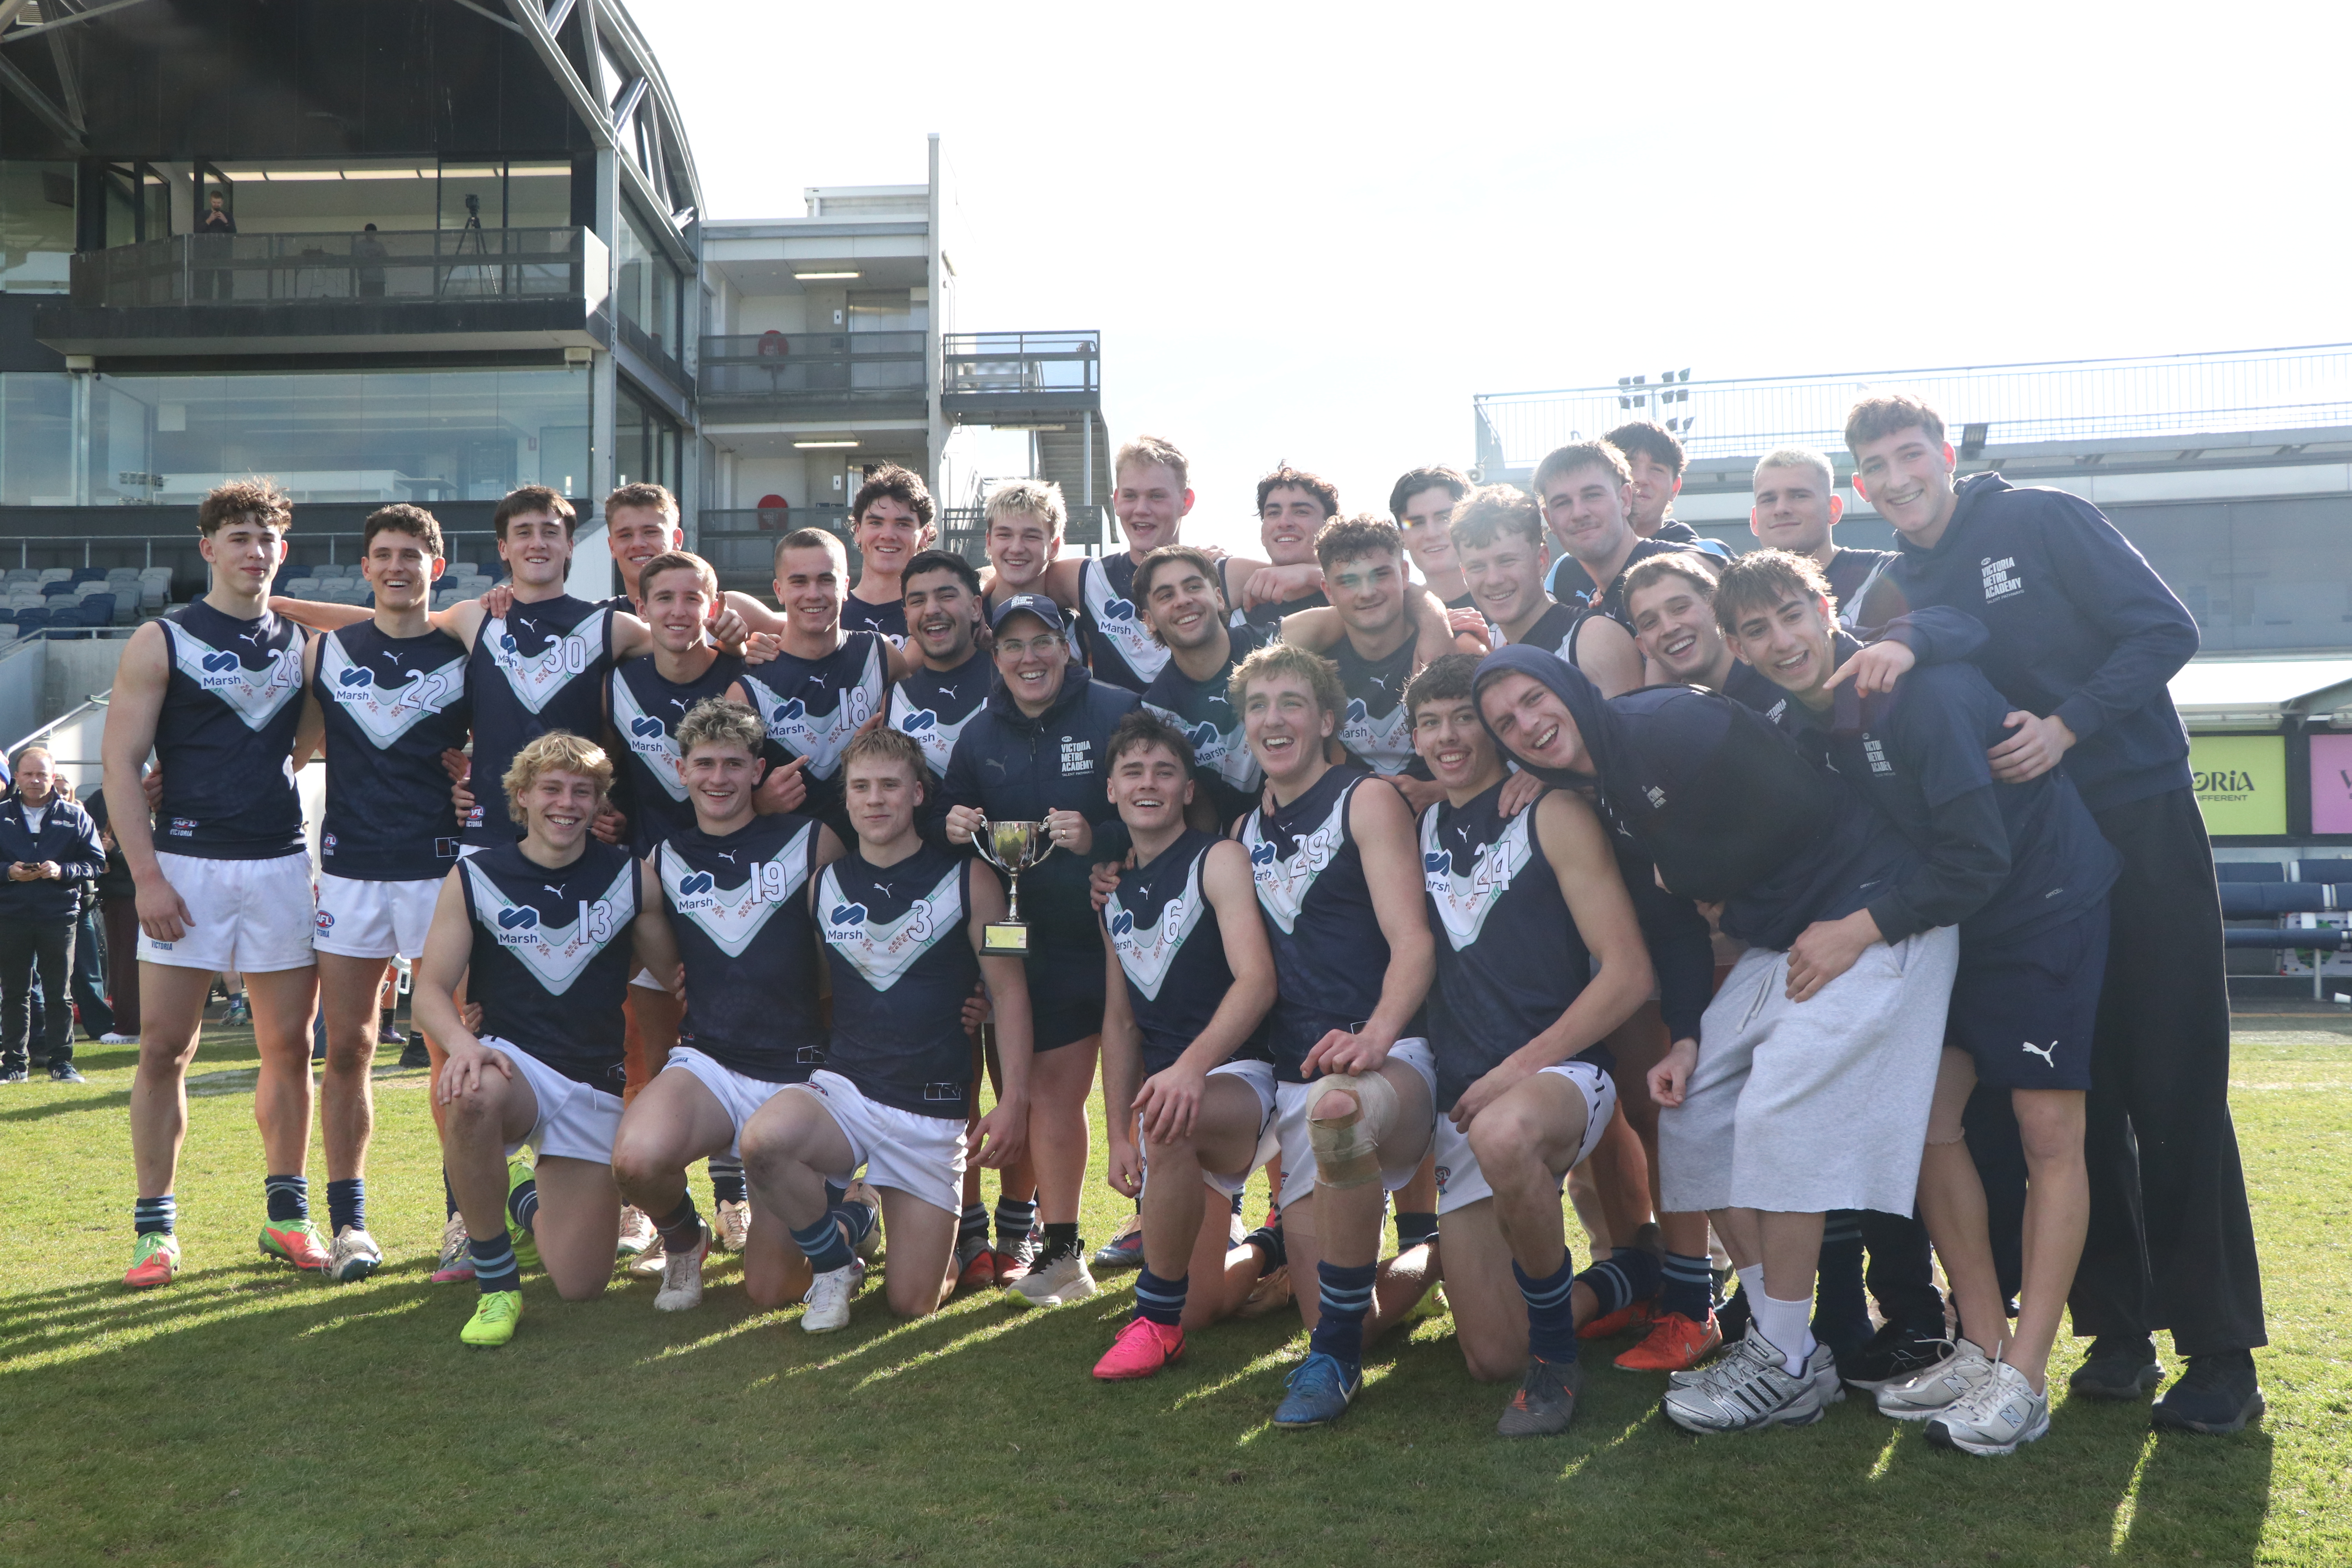
Scouting Notes: 2026 AFL U18s – Vic Country vs. Vic Metro
VIC METRO has completed an undefeated Under 18 National Championships campaign after thumping rivals Vic Country by 92 points at Mars Stadium on Sunday. The newly crowned champions piled on the first 11 goals of the game, setting up their comfortable victory with 13 to one in the opening half. A 35-22 clearance trouncing helped […]
2026 Talent League Girls R16 notes: Calder Cannons vs. Murray Bushrangers
CALDER Cannons continued their season as the top metropolitan team as it stands, producing a 19-point win over Murray Bushrangers in Round 16 of the Talent League Girls season. In a tough day for kicking straight, the Cannons booted six of the nine final term behinds on their way to a 5.13 (43) to 3.6 […]
