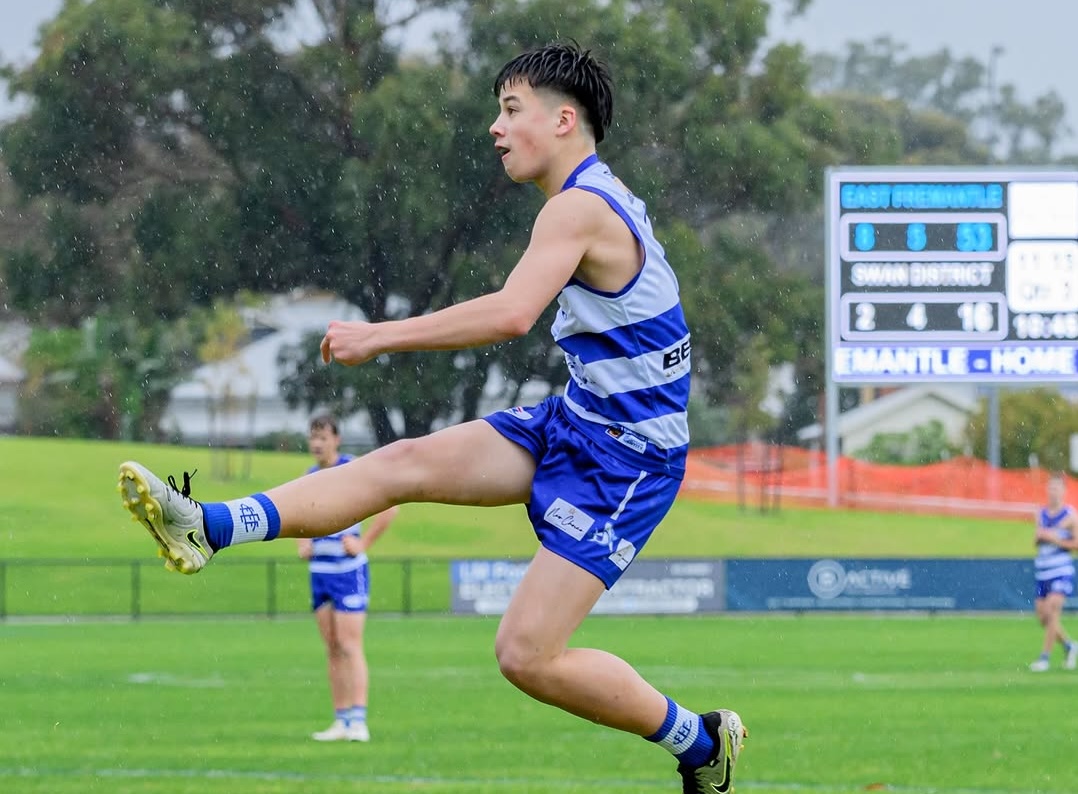
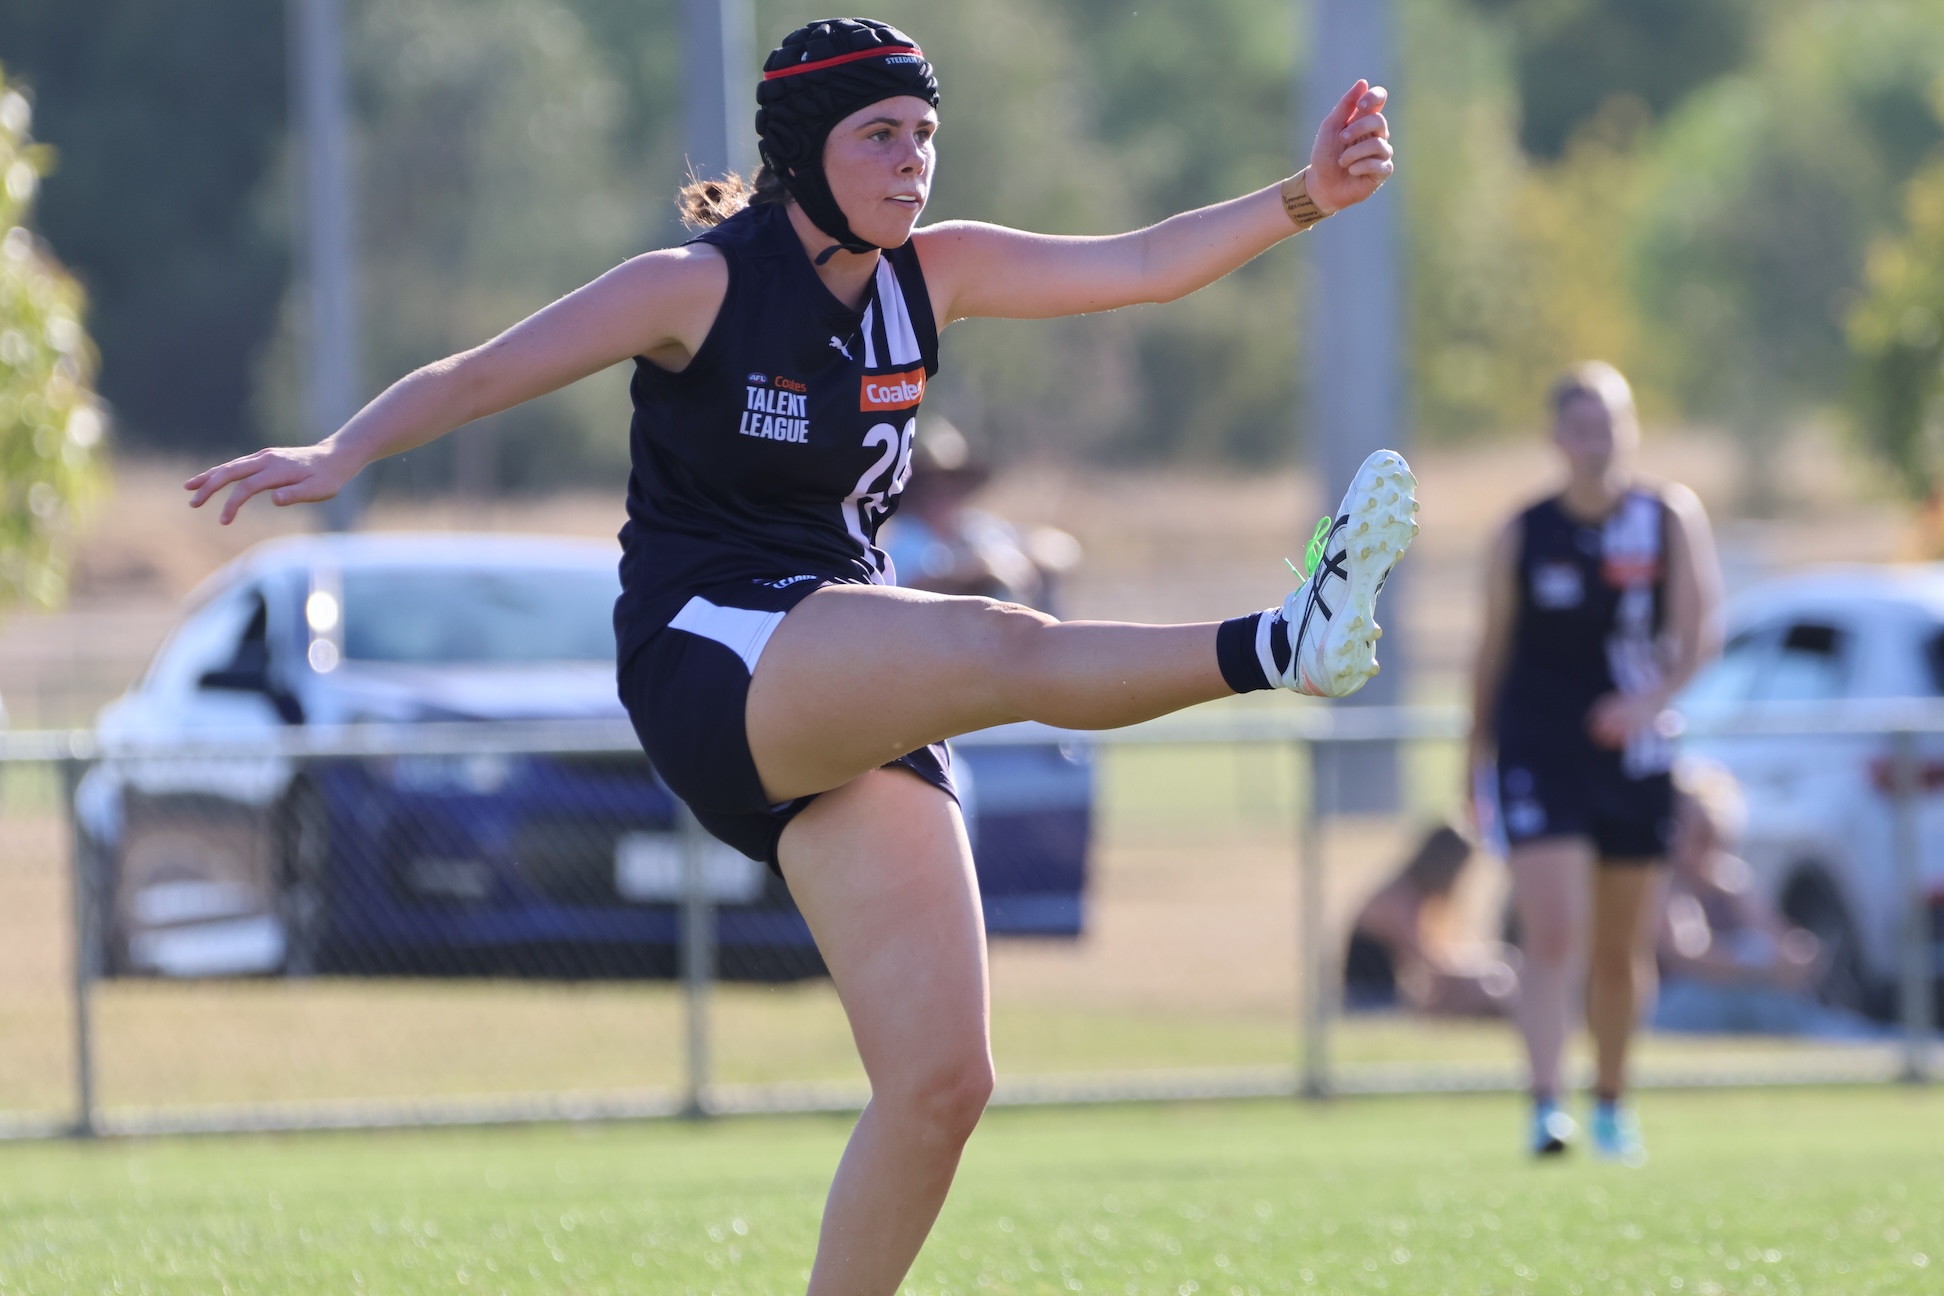
Scouting Notes: 2024 Coates Talent League – Round 12

COUNTRY regions took centre stage in Round 12 of the Coates Talent League, with three fixtures making up the weekend’s action. Ahead of Vic Country’s second Under 18 National Championships fixture, plenty of prospects were out to impress in hopes of donning the ‘Big V’ guernsey.
>> 2024 CTL Round 12: Snapshot | POTW | TOTW | Votes
- Team
Dandenong Stingrays


Bendigo Pioneers
Dandenong Stingrays 14.12 (96) def. Bendigo Pioneers 14.11 (95)
By: Michael Alvaro
DANDENONG STINGRAYS:
#5 Riak Andrew
Tall Defender | 192cm | 17/02/2005
Stats: 13 disposals, 4 hitouts, 3 rebound 50s
It was a tough day for Andrew in Dandenong’s defence as direct opponent Jobe Shanahan booted five goals for the Pioneers. While challenged one-on-one and in the way of defensive craft, the over-ager did his best to compete aerially and displayed his spring-heeled leap. His attack on the ball was strong and he landed well to follow-up or further show his athleticism with rebound run.
#8 Noah Hibbins-Hargreaves
Wing/Forward | 185cm | 16/11/2007
Stats: 18 disposals, 6 marks, 3 goals
Hibbins-Hargreaves hardly wasted any of his 18 touches, contributing neat and tidy work in several smooth passages. The bottom-ager made good decisions and was composed when facing the goals. His finishing ability remained despite spending most of the game on a wing, slotting two set shots and thriving up forward in term four to slot the winning goal on the run.
#10 Ben Hopkins
Midfielder | 190cm | 28/07/2005
Stats: 16 disposals, 3 marks, 4 inside 50s
Opportunity arose for Hopkins with two of the Stingrays’ prime midfield movers being absent. The over-ager remained in the on-ball group and while not overly prolific, provided positive outside run. He swept back to support the defence and help spark transitional play, while also timing his overlaps well and showing class with his agile movement. Hopkins’ foot skills were also quite sharp on the day, especially from a centre clearance in term two.
#22 Jordan Doherty
Ruck/Key Forward | 199cm | 21/02/2005
Stats: 21 disposals, 8 hitouts, 3 goals
Putting in an impressive shift through the ruck, Doherty also made an impact up forward with three goals. The mobile tall scored twice in open play during the opening quarter; first soccering home a ball over the back, and later summing up the situation well to finish on the run. He took a strong mark deep inside 50 in the following term to add a third major. Doherty backed himself to grab the ball out of the ruck, showcasing the ability to keep his hands free in tackles or step past opponents.
BENDIGO PIONEERS:
#11 Connor Evans
Defender | 182cm | 02/06/2006
Stats: 14 disposals, 3 marks, 5 rebound 50s
Evans had his usual moments of class down back; whether it was through aggressive overlap run, booming left-foot kicks, or strong leaps to intercept high balls. He covered the ground smoothly and burst forward off a high line to progress the Pioneers’ end-to-end play, doing everything with polish after an early kicking error. He’s a prospect who’s clean in the air and at ground level.
#12 Jobe Shanahan
Key Forward | 194cm | 02/08/2006
Stats: 11 disposals, 6 marks, 5 goals
Shanahan has been on the precipice of a significant goal haul recently and broke through with five in a losing side on Saturday – his best for the season. The mobile tall wreaked havoc from front position, reacting well to the play with his leading patterns and positioning. He kicked two goals from set shots and judged the aerial ball better than all comers, but also moved exceptionally well to crumb and snap a couple more majors on the run. It was a clinical, all-round display.
#17 Lachlan Hogan
Defender/Midfielder | 177cm | 13/01/2006
Stats: 27 disposals, 7 rebound 50s, 1 goal
Hogan was his productive self on Saturday, racking up an equal game-high 27 disposals alongside midfielder Tom Evans. His game awareness and aggressive decision making came to the fore with his side trailing in the dying stages. Hogan took the kick-in long down the middle, bust a gut to get the ball back, then launched it inside 50 in typically penetrative fashion. Throughout the game, he proved an apt interceptor with gutsy aerial efforts to cut off Dandenong kicks, while also cracking in as usual when the ball was in dispute at ground level.
#42 James Barrat
Tall Defender | 193cm | 23/11/2006
Stats: 18 disposals, 10 marks, 6 rebound 50s
Barrat’s recent move to defence continues to prove fruitful, with the tall swingman recording his second 10-mark game in a row. He read the play superbly and attacked the ball to force several intercepts, alleviating plenty of pressure across defensive 50. While Dandenong’s forwards kept him accountable at times, Barrat owned his space and was quite proactive when moving the ball on, doing so quickly with flat and effective field kicking.
#44 Zaydyn Lockwood
Key Defender/Ruck | 198cm | 25/01/2006
Stats: 13 disposals, 12 hitouts, 1 goal
On of the catalysts for Bendigo’s late charge, Lockwood booted his first goal for the side at an ideal time. The usual key defender, who also rotated through the ruck, snuck inside 50 to level the scores with four minutes left to play via a long-range set shot. Down back, he shut down Tairon Ah-Mu with strong one-on-one craft, splitting contests through a blend of physicality and athleticism. His leap and aerial presnce translated well to the ruck in an overall competitive outing.
- Team
Gippsland Power

Geelong Falcons

Gippsland Power 7.10 (52) def. by Geelong Falcons 18.9 (117)
By: Michael Alvaro
GIPPSLAND POWER:
#3 Xavier Lindsay
Midfielder | 183cm | 03/08/2006
Stats: 19 disposals, 4 inside 50s, 1 goal
Lindsay had another steady game through midfield, looking like his side’s most dangerous player at times while also seeing limited opportunities in his forward rotation. The skipper sharked the opening centre bounce and won the ball at a secondary ball-up, which he has shown a handy knack for. He went on to provide plenty of positive run and drive on the outside, assessing his options nicely to lower his eyes and attempt to hit targets inside 50. A team-lifting goal in the third quarter was Lindsay’s best moment, one full of class with a clean gather and snap in one smooth motion.
#10 Max Donohue
Wing | 180cm | 19/03/2006
Stats: 21 disposals, 6 marks, 5 inside 50s
Donohue is often recognised among Gippsland’s best players and offers the side plenty as a specialist wingman. While most dangerous when carrying the ball in transition and utilising his sharp kicking, the top-ager produced some strong contested acts in the way of overhead marks and clean work to navigate tight spaces. Such contributions complimented his usual productivity and running game between the arcs.
#31 Alix Tauru
Tall Defender | 191cm | 16/11/2006
Stats: 17 disposals, 8 marks, 6 rebound 50s
Tauru has really found his feet at the level and is in line for representative honours after another exceptional game down back. The intercept marking machine got into a groove by attacking the ball with ferocity and more often than not bringing it down with him. He seemed to be everywhere in the first half and even laid a goal-saving tackle. He was a bit quieter after half time having been collected early in term three, but produced exceptional moments and absorbed enormous pressure.
GEELONG FALCONS:
#15 Cooper Ward
Forward | 178cm | 19/05/2006
Ward again had his moments in the high forward role, working hard up the field before looking to hurt Gippsland on the way back. His speed and evasion served him well in those instances, and he capped off the Falcons’ transitional play with dangerous kicking inside 50. Perhaps as reward for effort, Ward was gifted a pair of goals from point-blank range during the final quarter onslaught.
#18 Noah Caracella
Defender | 188cm | 17/06/2006
Stats: 17 disposals, 5 marks, 3 rebound 50s
In the absence of co-captains Lachie Jaques and Brady Hall, Caracella assumed a similar role down back. The Essendon father-son prospect (son of Blake) showed great speed on the overlap and helped advance the play beyond defensive 50. Despite an early error from the kick-in, he went on to move the ball quite well by foot and remained involved in open play with some handy intercept marks – using his length at 188cm.
#27 Liam Kershaw
Wing | 194cm | 17/10/2005
Stats: 16 disposals, 6 marks, 4 inside 50s
Playing to his strengths out on the wing, Kershaw set up well behind the ball and shifted back to support the defence when required. His height (194cm) provided a point of difference as he plucked overhead marks either as an outlet from defensive 50, or to lock the ball into attacking 50. The over-ager also contributed long, sweeping handballs and handled the ball cleanly.
#29 Joe Pike
Ruck | 203cm | 17/05/2005
Stats: 16 disposals, 5 marks, 33 hitouts
Another prominent Geelong over-ager, Pike dominated the ruck battle with 33 hitouts. He leapt high at the centre bounces and was hard to move around the ground, while also imposing himself with five marks. Pike took two of them in the final term to help the Falcons sustain their scoring assault, setting up well behind the ball and being assertive by grabbing the ball out of the ruck.
#50 Josh Lindsay
Defender | 182cm | 07/04/2007
Stats: 21 disposals, 6 marks, 6 rebound 50s
Returning from school football for his first Falcons game since Round 3, Lindsay slotted back in seamlessly down back. The bottom-ager didn’t have much to do in the early stages but got involved via the kick-ins and went on to showcase his tidy fundamentals in open play. Lindsay’s clean hands, sharp decision making and sound distribution suited his role, as he mopped up with great composure across the last line before moving the ball on quickly.
#58 Hugo Mikunda
Midfielder | 179cm | 13/03/2007
Stats: 17 disposals, 5 marks, 10 inside 50s
Mikunda has been a consistent figure for Geelong over the last handful of games, gaining great exposure through midfield as a bottom-ager. He repaid the faith again on Sunday by popping up in spurts, like when he prised back-to-back centre clearances to start the second quarter. He also ran out the game strongly and generated good momentum out of the middle, albeit scrappy at times.
- Team
Murray Bushrangers

GWV Rebels

Murray Bushrangers 9.7 (61) def. by GWV Rebels 11.5 (71)
By: Adrian Dixon
MURRAY BUSHRANGERS:
#1 Joshua Murphy
Forward | 190cm | 28/11/2006
Stats: 19 disposals, 9 marks, 6 goals
After a bit of a slow start, Murphy’s unrelenting work rate and strong marking saw him finish with six goals. His set shot kicking from all distances and angles was exceptional, while he also demonstrated his follow-up work and positioning by creating options for his teammates. The latter was highlighted by a goal in the second term where he executed an excellent play to score in open play from close range. Murphy never stopped trying all day and was dominant aerially, especially in the contest one-on-one or with his presentation on the lead.
#44 Oliver Warburton
Midfielder/Defender | 185cm | 13/06/2006
Stats: 30 disposals, 5 marks, 3 rebound 50s
Warburton was strong in the midfield and off half-back all day. He utilised great running patterns and always followed up in the contest to provide his teammates with an option to receive the ball and provide run and carry. Warburton showed a great ability to read the play with his intercepting ability, while also showing quick hands and at times dropping back to set up the plays out of defence. He has great composure with his left-foot kick which had some power, however at times showed he could improve his reaction times and coordination in receiving the footy.
#46 Max Mahoney
Midfielder | 182cm | 12/06/2006
Stats: 19 disposals, 7 tackles, 6 clearances
Following on from last week’s prolific performance, Mahoney provided plenty of grunt work in the midfield. He thrived around the contest with his strong tackling and pressure, ensuring the ball went out to his teammates to provide their run and carry. Mahoney kicked a nice set shot goal early in the game while also setting up plays constantly. His ball delivery inside 50 was excellent – another factor which compounded his influence on the game.
#50 Zac Harding
Ruck | 199cm | 01/01/2006
Stats: 20 disposals, 6 marks, 5 clearances, 19 hitouts
In what turned out to be an intriguing ruck battle with Flynn Penry, Harding showed his physicality while also proving strong around the ground. His follow-up work from the ruck contest came in the form of tackling and clearances, while also being able to provide a marking option down the line. Harding provided defensive cover down back when needed, and also rotated up forward to give Josh Murphy a chop-out in the air.
GWV REBELS:
#4 Sam Lalor
Midfielder | 187cm | 30/08/2006
Stats: 34 disposals, 8 marks, 7 clearances, 9 inside 50s
Returning from injury, Lalor was prominent all day, winning the clearances early and providing defensive cover when necessary. Such play highlighted his aerobic underpinnings and running power. His tackling pressure was excellent, with Lalor a constant go-to in the midfield and aided by strong support from Harry Lawson. Lalor’s kicking was composed in traffic and his ball delivery inside 50 was dangerous all day, whilst also being clean around the contest.
#8 Jonty Faull
Key Forward | 195cm | 01/02/2006
Stats: 12 disposals, 6 marks, 3 goals
Faull backed up his performance last week to kick three goals again, which included two impressive early majors from snap kicks, and another goal from a long-range set shot. Faull provided a strong work rate up the ground and did his best to become an outlet for his teammates up forward. Faull positioned himself well to get the ball, getting stuck in with great second efforts while also providing talk and direction to his teammates.
#10 Harry Lawson
Midfielder | 181cm | 20/04/2005
Stats: 18 disposals, 7 tackles, 9 clearances
While Lalor was the driving force in the Rebels’ midfield, Lawson played the perfect support act with his ability to win the ball and get it our of the contest. He also provided great defensive pressure around the contest. Like Lalor, Lawson’s ball delivery going forward was dangerous and he had a hand in the first goal, kicking it inside 50 which allowed a teammate to run onto it and score. Lawson made smart choices with the footy, too.
#11 Connor Weidemann
Defender | 192cm | 12/03/2006
Stats: 14 disposals, 4 clearances, 5 rebound 50s
Weidemann provided plenty of rebound and clearing kicks from the defensive stoppages throughout the game. The timing of his spoils was crucial in the contest, along with his intercept marking ability – working well alongside fellow tall Charlie McKinnon in that regard. Although at times his kicking was erratic, it improved as the game went on.
#23 Flynn Penry
Ruck | 201cm | 20/04/2006
Stats: 13 disposals, 8 tackles, 5 clearances, 25 hitouts
Despite being up against a more physical opponent in Harding, Penry did well to give his midfielders first use of the footy with his creative ruckwork and smart positioning. He also showcased his follow-up work with them to provide support at ground level. Penry’s tackling was strong and he presented well up forward, highlighted by his ability to read a play to take a strong mark and kick a set shot goal at a crucial time in the game.
- Team
Sandringham Dragons

Oakleigh Chargers

Sandringham Dragons 13.11 (89) def. Oakleigh Chargers 13.5 (83)
By: Matthew Vella
SANDRINGHAM DRAGONS:
#2 Jack Dalton
Midfielder | 177cm | 05/04/2007
Stats: 20 disposals, 5 marks, 4 inside 50s
A consistent game from the bottom-ager, who made his first appearance of the season after missing the first block through injury. Quick to ground, he has a knack for fast, chaotic handballs, and his hard running between the arcs was vital to Sandringham’s transitions. His agility was notable, skating past opponents with no trouble. A strong return into this strong Sandringham side.
#12 Harry Armstrong
Key Forward | 195cm | 14/06/2006
Stats: 8 disposals, 4 marks, 4 goals
The exciting tall forward kicked the game-winning goal after the siren to claim victory for the Dragons. Armstrong’s low chest marks on the lead were the standout, along with pressure up the ground which put the onus on the Chargers’ defence. He showed great ability to find small pockets of space within a tight forward 50, finishing with four goals.
#14 Ned Maginness
Midfielder | 194cm | 22/04/2005
Stats: 16 disposals, 4 tackles, 5 Inside 50s
Playing in the midfield, Maginness was used as a sweeper at stoppages. His ability to read when and how the ball was coming out was extinctive. Naturally, there were times when the oncoming pressure did affect his decision making, but he held up well otherwise. He showed he has the ability to play against any sized player, but it was his brute strength that really caught the eye, allowing him to brush off opponents who dared try contain him.
#38 Jhett Haeata
Midfielder | 185cm | 25/10/2006
Stats: 15 disposals, 4 marks, 1 goal
Haeata spent the majority of his time in the engine room for the Dragons. He has great pace and surprisingly good size given his athleticism. There were signs of magic, with his fast hands and ankle breaking agility causing trouble for opponents. Haeata’s kicking still needs some more time and work, though he got good penetration on an early shot from long-range. But it was his evasive skills that really popped, and he has the ability to glide past players with minimal effort.
#68 Archie Ludowyke
Key Forward | 195cm | 19/11/2007
Stats: 10 disposals, 5 marks, 3 goals
Continuing his strong goalkicking season, the bottom-ager finished the game with three majors. His ability to lead is absolutely breathtaking, charging towards the kicker and more often than not and nailing the mark. He uses his body well one-on-one and was able to use his free arm to mark even when being held by his jumper. He also has the ability to move further up the ground to create leading opportunities for teammates and displayed solid field kicking.
OAKLEIGH CHARGERS:
#11 Louis Emmett
Ruck | 198cm | 23/03/2007
Stats: 20 disposals, 20 hitouts, 1 goal
After missing out on representative honours this week, the bottom-ager pressed his case for next time. His hitouts fed the hard-working Chargers midfield, and his follow up work was elite. Emmett’s mobility allowed him to move freely against a bigger opponent, and while his kicking and contested marking ability still needs some work, the young running ruck showed plenty of promise.
#20 Zane Cochrane
Midfielder | 187cm | 11/07/2006
Stats: 25 disposals, 3 marks, 8 tackles
Was involved in almost every stoppage in the game. His work rate in and around the contest was exceptional and his tackling was near perfect, hunting the ball and his opponent. His evasive skills were first-class, allowing the team to break towards forward 50 along with his long bursting kick. Cochrane showed he can take the pressure in high-stake moments and bring the team together.
#24 Kane Emery
Midfielder | 173cm | 11/01/2006
Stats: 21 disposals, 3 marks, 5 tackles
Menacing when around the ball, Emery adds great defensive pressure and was electric going forward. He showcased clean hands at stoppages and allowed for some great overlapping runs towards goal. His vision and kicking were excellent, but his ability to execute under pressure was exceptional. Had great timing in his tackles, which allowed Oakleigh to gain some control in midfield.
#27 Waylon Davey-Motlop
Small Forward | 171cm | 26/09/2006
Stats: 12 disposals, 2 marks, 5 goals
Was in the action inside Oakleigh’s forward 50 at all times, dashing by or methodically crumbing at stoppages. He likes to kick with the outside of his right foot, booting three of his goals with the running snap method. His solid build works perfectly with his agility and pace, causing chaos close to goal and creating impressive defensive pressure. His evasiveness and pace also won him two free kick goals, one crucially in the fourth quarter to help swing momentum Oakleigh’s way.
#63 Quinn McKay
Key Forward | 197cm | 31/07/2006
Stats: 6 disposals, 3 marks, 3 goals
It was a relatively quiet game from the tall forward until nearly the 20th minute of the fourth quarter. McKay won a strongly contested mark inside the goalsquare to score his first major, then kicked a perfectly straight drop punt on the right-side boundary only a couple of minutes later to cut the margin to six points. Another two minutes later, he burst full of momentum out of the pack and held strong under intense pressure to kick truly and level the scores. Five minutes of brilliance, but unfortunately it wasn’t enough for Oakleigh.

Scouting Notes: 2026 AFLW U16s – Giants Academy vs. Northern Territory
AFTER a long day of watching others, the local GWS Giants Academy players finally got to celebrate, defeating Northern Territory in the last game of an AFLW Under 16s Championships triple-header at Blacktown yesterday. It was a tight first half, but the Giants Academy just had that extra polish in front of goal along with […]
Scouting Notes: 2026 AFLW U16s – Tasmania vs. Suns Academy
GOLD Coast Suns Academy produced one of the most dominant performances in recent history through the national championships with a 140-point belting of Tasmania in the second game of an AFLW Under 16 Championships triple-header at Blacktown yesterday. It was fairly competitive for a half, before the Suns went full throttle and piled on 15 […]
Scouting Notes: 2026 AFLW U16s – Swans Academy vs. Lions Academy
A DOMINANT first half from Brisbane Lions Academy set the side up for a commanding 44-point AFLW Under 16s Championships win over the Sydney Swans Academy in the first of a triple-header at Blacktown yesterday. Booting the first eight goals of the game before the Swans kicked a couple late, the Lions looked full of […]
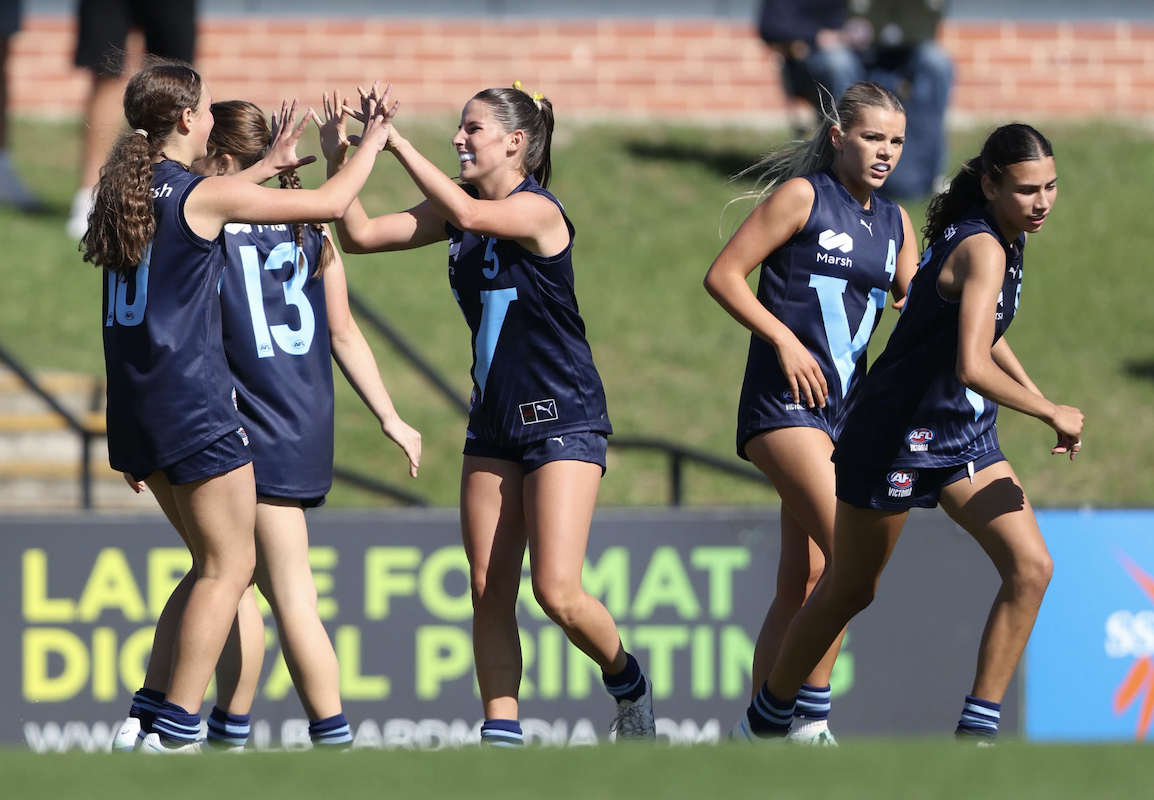
Scouting Notes: 2026 AFLW U16s – Vic Metro vs. Vic Country
VICTORIA Metro survived a late scare to put away Victoria Country in a 19-point AFLW Under 16s Championships win at Trevor Barker Beach Oval today. In blustery conditions making efficiency and goalkicking tough. Country actually had one more scoring shot – and drew level late in the contest – before Metro kicked three goals in […]
2026 State Academy notes: WAFLW – Round 2
JUST one WAFL Women’s team went 2-0 after the second round of action on Good Friday, with the evenness of the competition on display. Perth came into the 2026 season after a Round 1 bye, while Swan Districts has set the tone for the year ahead. We took a look at the West Australian Summer […]
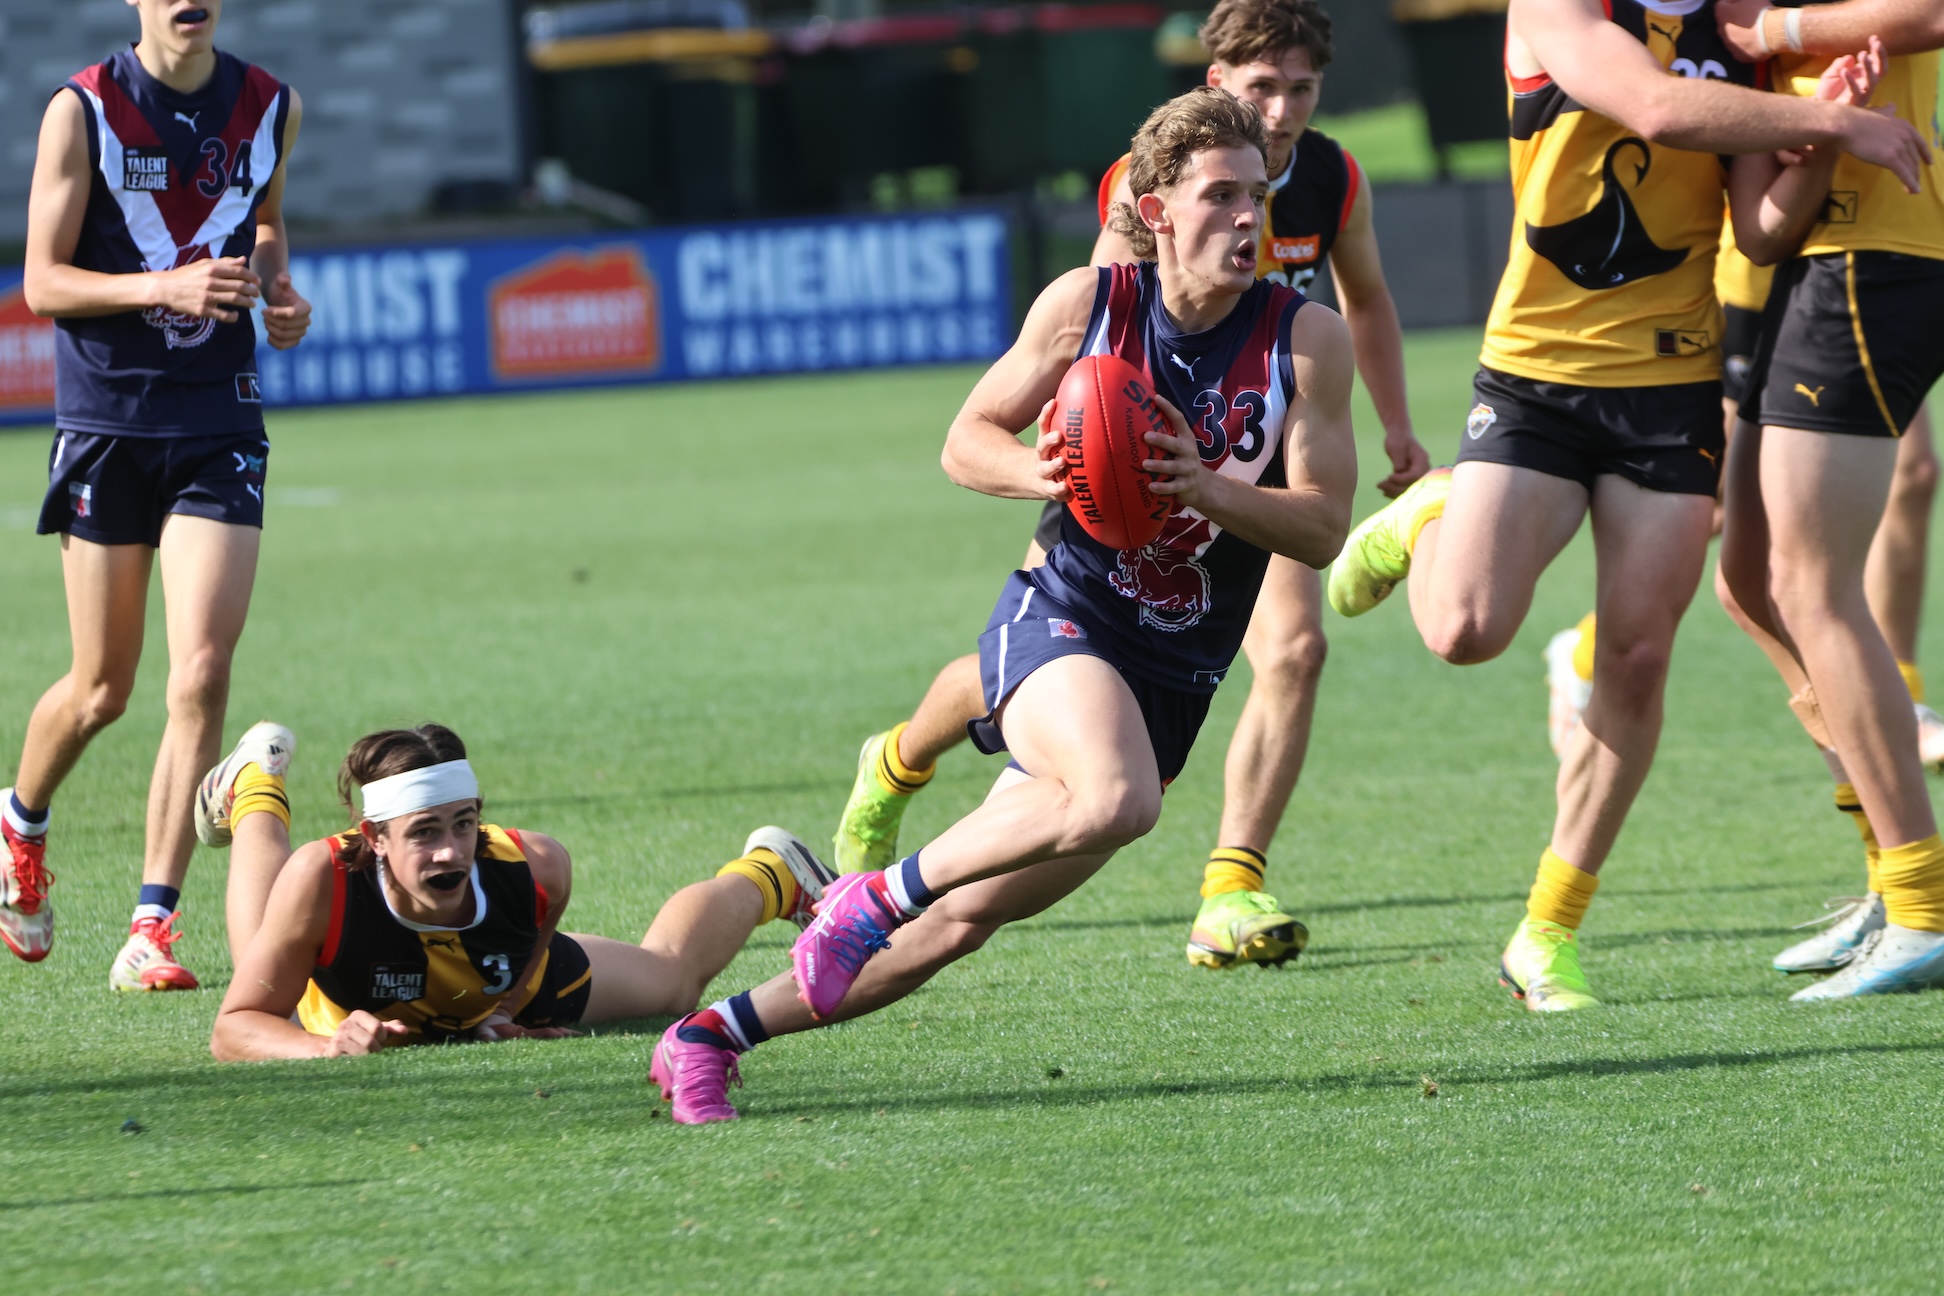
Scouting Notes: 2026 Talent League – Round 3
A BUMPER day of Talent League football saw Good Friday host all six Round 3 fixtures, which in turn threw up some thrilling encounters. Amongst the thrill of a tight finish were prospects pushing for higher honours. We took note of the best talent from each game in our weekly Scouting Notes.
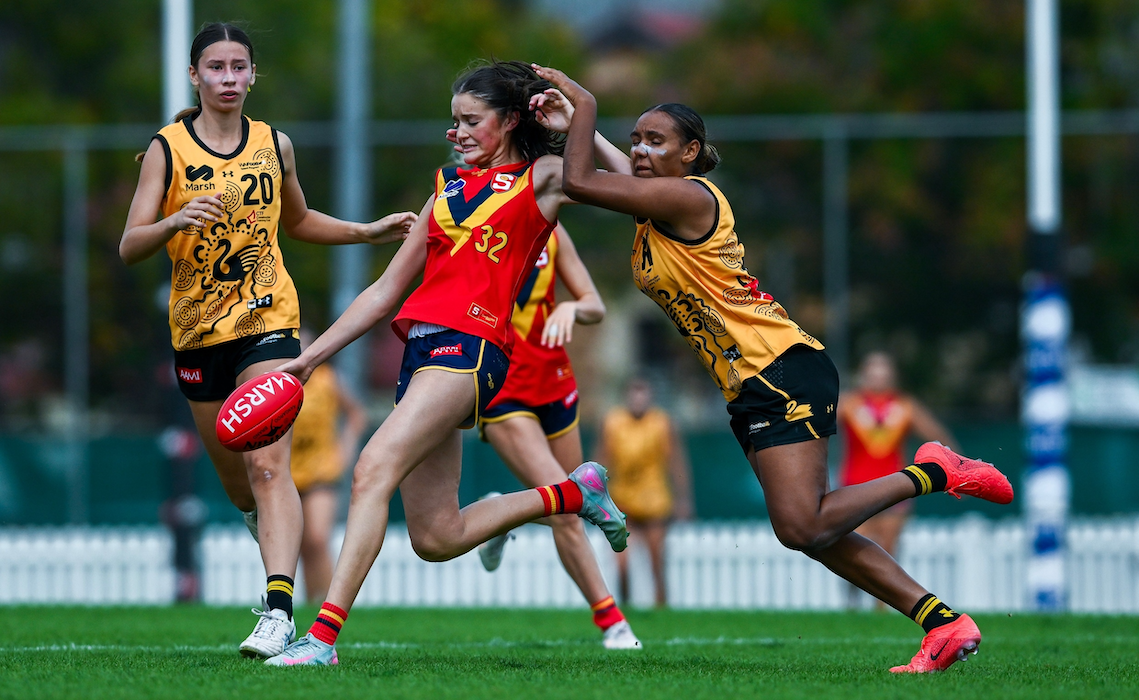
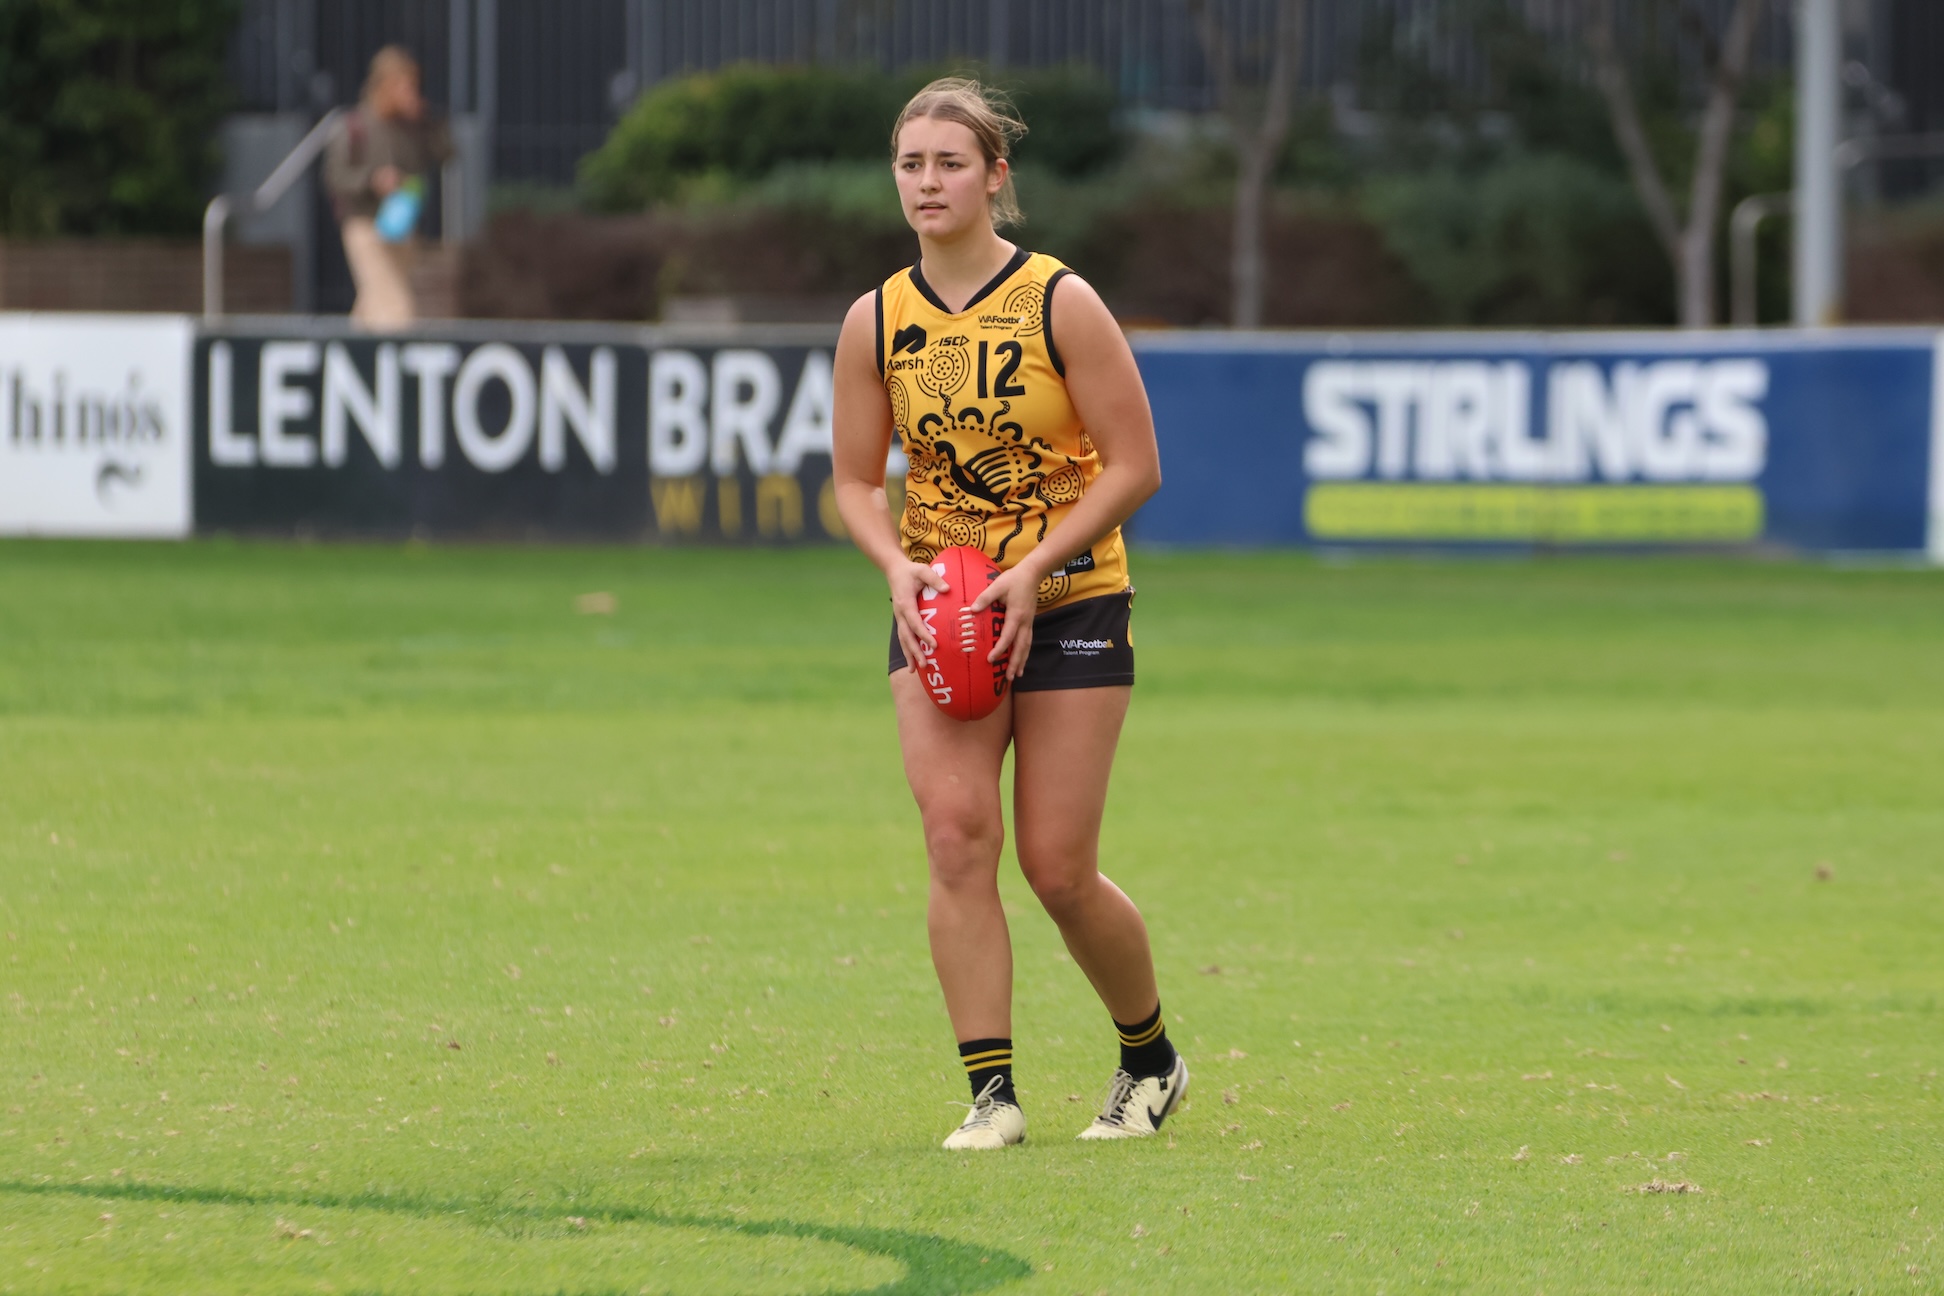
Scouting Notes: 2026 AFLW U16s – South Australia vs. Western Australia
SOUTH Australia’s hopes of a fourth straight Under 16s title at the AFLW National Development Championships moved ever so closer after holding off a gallant Western Australia by five points at Thomas Farms Oval yesterday. The Croweaters looked in control after half-time when booting the only two goals for the first 34 minutes, before back-to-back […]

Scouting Notes: Tigers outlast Falcons in arm-wrestle
CLAREMONT has begun its latest premiership defence with a grinding seven-point win over West Perth in Joondalup on Saturday night. In what was a scrappy, low-scoring encounter to close out Round 1 of the new Colts season, the Tigers and Falcons were separated by no more than one point at each break. We took note […]
Scouting Notes: Sturt rolls Roosters to go 3-0
STURT has maintained its perfect start to the AAMI Talent League season after proving too good for North Adelaide in Round 3. The Double Blues led at every break in the 35-point victory at Thomas Farms Oval, as several state squad members continued to make an impression on the competition. We took note of some […]
