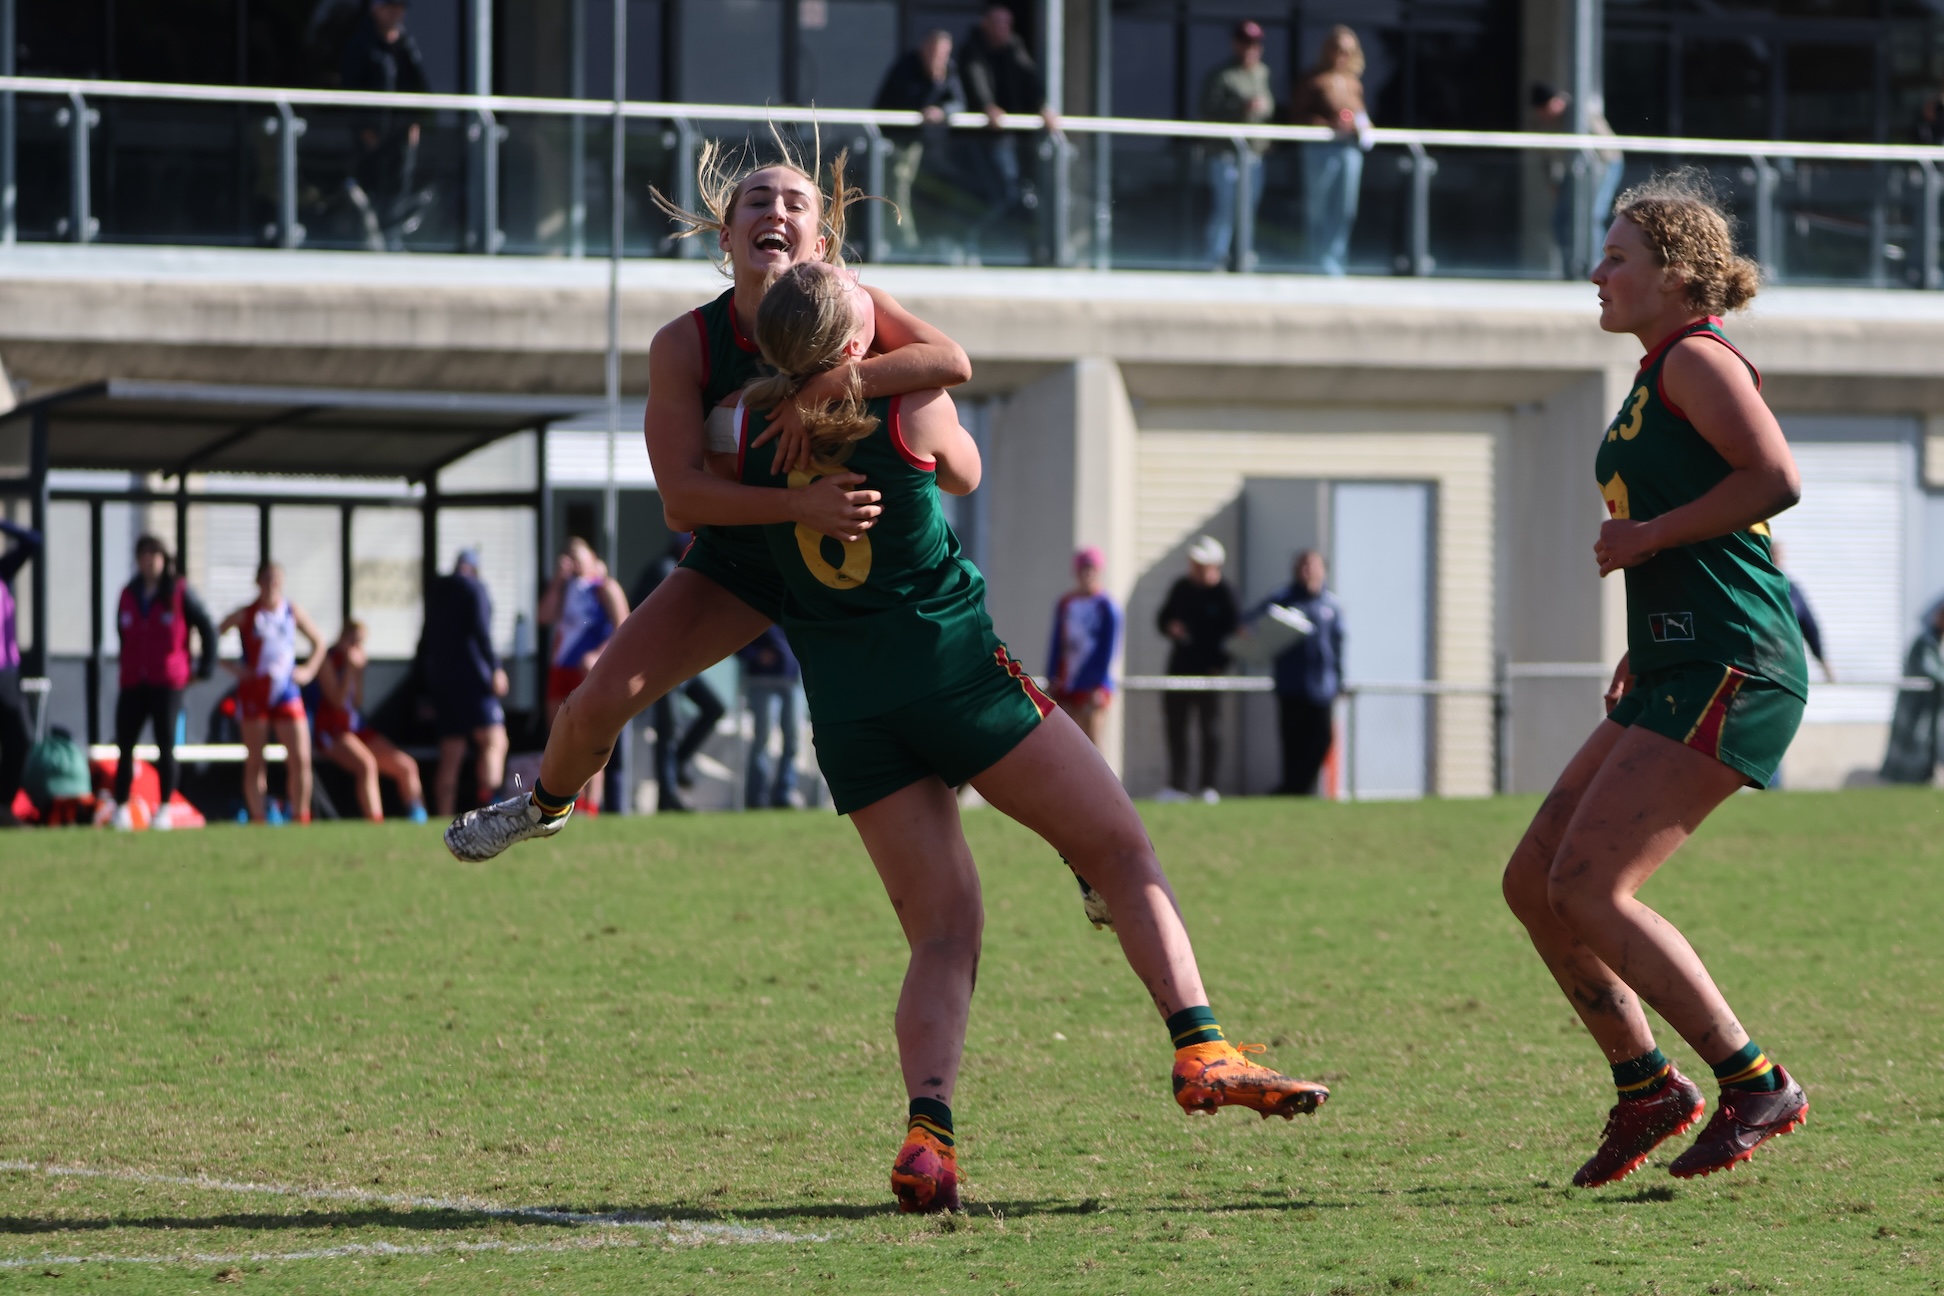
Scouting notes: U16 National Championships – Western Australia vs. South Australia
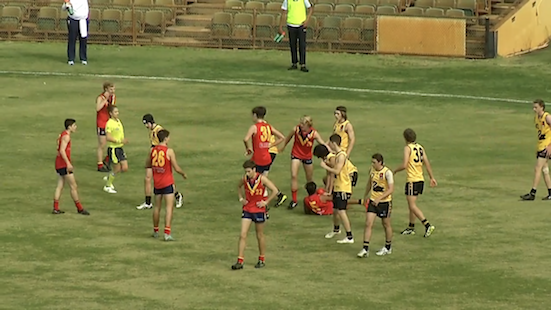
REIGNING Under 16 champions South Australia got their title defence off to a solid start, overcoming Western Australia by 29 points at Subiaco Oval. Below are notes on some of the outstanding players from either side.
Western Australia:
#5 Zach Fliener (West Perth)
Hard to miss under his helmet, Fliener proved a productive part of the WA back six. Looked strong for a smaller player and didn’t shy away from the contest, putting his body in the way to cut off opposition kicks. After showing his solid defensive traits early on, Fliener built the confidence to use his running game to good effect, and often finished with neat use by foot up the ground. Even managed to sneak forward and earn a goal in the final term from a free kick.
#8 Lochlan Paton (West Perth)
Was a pretty permanent fixture in the WA midfield and carried the ball away from congestion well. Got on the end of a couple of neat one-two chains from centre bounces to show good chemistry with his engine room partners, and could have made an even bigger impact with greater kicking penetration. Was still dangerous with his run and carry and accumulated across the day.
#9 Max Chipper (Swan Districts)
A constant on the wing, Chipper looks a really neat and composed user. Often kicked short to high percentage targets and flicked out handballs on the move, seeing a good amount of the ball. Seemed to cover the ground well as he found possession in all areas of the ground, proving an effective link in the chain.
#10 Mitchell Brown (South Fremantle)
Another centre bounce regular, Brown started brightly with the opening clearance of the game. That first bit of play would set the tone for the rest of his game, as the South Fremantle product made most of his impact around the stoppages. Also proved efficient with his long inside 50 entries, finding Luke Taylor in the first term and Lawson Humphries in the second. Brown would go on to find the ball more around the ground as the game wore on, and attacked hard at the contests in wet conditions.
#12 Jake Littleton (East Perth)
Littleton popped up forward of centre with touches in important areas, albeit if they didn’t quite amount to massive scoreboard impact. First caught the eye with a clean pick-up at speed early on, and was one of his side’s main avenues forward with a purple patch of inside 50 entries in the first term. Missed a set shot late in the same quarter on the back of one of WA’s better passages, and had a more quiet end to the game. Looked to be playing off a wing as he found the ball up the ground, but definitely had a greater impact in the front half.
#22 Richard Bartlett (East Fremantle)
One of WA’s more productive forwards despite not finding the goals, Bartlett really impressed with his use by hand – sweeping up spilled balls at half-forward and flicking out to teammates on the move. Does not have a huge frame, but his physicality in the contest was a key part of his style of play, allowing him to position best at the drop of the ball. Bartlett’s highlight for the game was an assist to Matthew Johnson, finding him by hand from a forward 50 stoppage. Also rotated through the midfield in the early stages, but found a home forward of centre.
#27 Matthew Johnson (Subiaco)
A raw midfielder/forward, Johnson was one who showed little flashes of his potential. Is quite tall for a midfielder at his age (187cm) but is still very lean at 65kg, somewhat levelling out his height advantage. Snapped a goal in the second term to set his side on a run of momentum, and later showed good explosive traits with a fend off and burst from congestion.
#31 Luke Taylor (Swan Districts)
The forward target kicked WA’s first goal of the game with a nice set shot finish from the pocket, but missed another chance shortly after. Impressed with his strong hands on the lead on two occasions in the first term, and looked on for a big game. Wasn’t helped by the conditions, but still made an impact by finding his side’s only goal for the third quarter – converting a free kick from a forward 50 stoppage.
#38 Kade Dittmar (East Perth)
Originally a train-on in the WA squad, Dittmar did well to make the most of his opportunity. Has a really solid frame already, and was physical when called upon both in the air and at ground level. Managed to find the ball at both ends, catching the eye in particular with overhead marking in the back half – including two quick ones in the second term. Built into the game well and accumulated across the day, playing the percentages by foot with neat kicking.
#39 Luke Polson (Peel Thunder)
Took on the majority of the ruck duties throughout the day, arguably getting the better of his SA counterparts. Is not the tallest ruck at 194cm, but that didn’t have much of an effect as Polson leapt well and found a way to get first hand on the ball around the ground. Perhaps the best aspect of Polson’s game was his follow-up efforts, finding the ball at ground level and hacking clear for his side. Looks a productive player for his position.
#42 Blake Morris (Subiaco)
A late inclusion to the squad as an over-ager having missed out on selection last year, Morris was arguably WA’s best. The Subiaco product clunked just about everything that came his way in a dominant defensive display. Started with an eye-catching intercept mark in the corridor and never looked back, reeling in a series on overhead grabs from high balls in his defensive 50 to show superior reading of the play. The half-time rain only slowed him slightly, as he came out after the main break with another strong pack mark in the wet. Worked well at ground level too with a goal-saving tackle in the second term, as well as a couple of rebounding attempts. Still looks a raw prospect, and had a bit of a blunder as he marked an Isaiah Dudley shot on his chest just over the goal line, but has great potential.
South Australia:
#2 Zyton Santillo (North Adelaide)
Made a lively start to the game, taking it on with some run and carry from his customary wing position, and even slotting home SA’s second goal of the game with a well converted set shot. Likes to burst past opponents as he gathers the ball, and found it at a good rate throughout the game. Was a little quieter after making his early impression, but remained one of his side’s best.
#3 Jay Watson (Eagles)
Was not initially one who caught the eye, but progressively got better and more involved as time elapsed. Started SA’s late surge in the second term as he announced himself with a set shot goal, and also hit the post in the following term. Was involved in a couple of nice passages for the winners, and got busy in the forward half.
#5 Isaiah Dudley (Central District)
Arguably the best afield, Dudley is full of talent and stands above the rest despite being just 162cm tall. Also caught the eye at last year’s Under 16 carnival with his nous around goal, and produced the same kind of play here with clever touches at ground level and four high quality majors. Looked to make an immediate impact with his first shot coming in the opening minute, but only really started to take over after quarter time. Harassed well inside 50 to give Morgan Ferres his second goal, and played a key part in Harry McInnes’ first with a steal and break through the corridor. Would find the goals himself shortly after with a lovely snap, and made another intercept to slam home a second. Continued on with the first goal of the third term and his fourth in the last, capping off a top-notch display. Has great agility and smarts, definitely one who will garner attention despite his height.
#6 Lachlan Thomas (Sturt)
An effective rebounder from the back half, Thomas swept up well across defensive 50 to accumulate a good amount of ball. Was the designated kicker given his kick-in responsibilities and often looked to take full advantage of being able to play on from them. Showed good composure on the ball and got to the important areas, barely putting a foot wrong throughout the game. Looks to be an important generator of run in a highly competitive SA back six.
#8 Cooper Murley (Norwood)
One of three who most consistently featured at the centre bounces, Murley provided a good point of difference between the midfield trio with some burst and run on the outside. Won an early clearance, but made his first real impact with a goal – collecting the loose ball over the back after initially airing a soccered attempt and converting into an open goal. Went on to win most of his ball on the outer of heavy congestion and moved it forward to good effect.
#10 Jase Burgoyne (Eagles)
A Flying Boomerangs representative last year, Burgoyne is the son of Port Adelaide champion Peter – and looks a mirror imagine of him in his early days. The pacey mover played most of this game in the forward half or on a wing, showing small glimpses of his pedigree. Took a nice one on one mark and moved the ball inside 50 in a lively second quarter, while also missing a casual attempted snap on goal. Was involved early in the third term again with more time forward, and had a particularly impressive pick-up at speed. Showed signs, but not the complete package just yet.
#11 Harry Tunkin (Glenelg)
A tough midfielder/defender, Tunkin looked to have relished the opportunity to get his hands dirty in wet conditions. Attacks the ball hard and remains strong in the contest, while also possessing good breakaway capabilities and a solid core. Really impressed in the second and third terms with his defensive efforts in the back half, while also racking up a good amount of ball and using it well by foot. Showed a good bit of composure in the third term to round two opponents, and also spent some time in the middle.
#14 Arlo Draper (South Adelaide)
Is a tall and lean type, but absolutely threw himself into every contest he could in the back half. Showed great desperation to lock in and win the ball at ground level inside defensive 50, making a heap of contests and helping SA to prize possession back. Also competed well in the air to bring the ball to ground, and was another to show levels of composure with ball in hand.
#17 Matthew Dnistriansky (Norwood)
Had a couple of nice moments during the match, starting with a solid overhead grab in the opening term. Did not have a massive first half, but again showed his worth with a booming kick from defensive wing to find a target forward in the second term. Started to really motor on after half time, staying relevant down back with some solid rebound and by racking up a good amount of ball.
#19 Jason Horne (South Adelaide)
The skipper well and truly led the way from midfield, putting in his fair share of contested work and using the ball well from congestion. Was a regular at the centre bounces, but also rested forward and found a goal in the second term – taking a strong contested mark and converting the resultant shot. Managed to set up Jay Watson’s goal in the same term on the back of a fend-off, but still looked most comfortable in the engine room as his side’s leading ball winner. Horne handed off well to runners tackled hard, working effectively at the stoppages and also proving productive around the ground. Will be a key figure for his side, and is arguably the best of a strong SA midfield core.
#20 Matthew Roberts (South Adelaide)
Back for his second stint in the Under 16 side after impressing last year as an under-ager, Roberts complimented the likes of Horne well in the midfield. The South Adelaide product is another who is strong and wins his fair share of contested ball, but also possesses a decent left foot. Looked particularly good early with an overhead intercept mark forward of the wing, but went on to really shine with his in and under work in the engine room, despite not having huge possession numbers.
#23 Morgan Ferres (Sturt)
Joined Dudley with a game-high four goals, playing deep forward as a slightly undersized lead-up target. Was really dangerous in the opening term, finding a good amount of ball inside 50 and putting through one of his two attempts on goal, reading the ball best off hands. Kicked his second goal in the following term in open play once again, adding two more in the final quarter to seal the game. His third came via another snap, and his fourth was a more conventional set shot. Had a couple of good one on one wins in the air despite his light frame, but was found out a bit more when searching for it up the ground before coming good again when positioned a kick behind the ball on the attacking arc. Definitely looks at home inside forward 50.
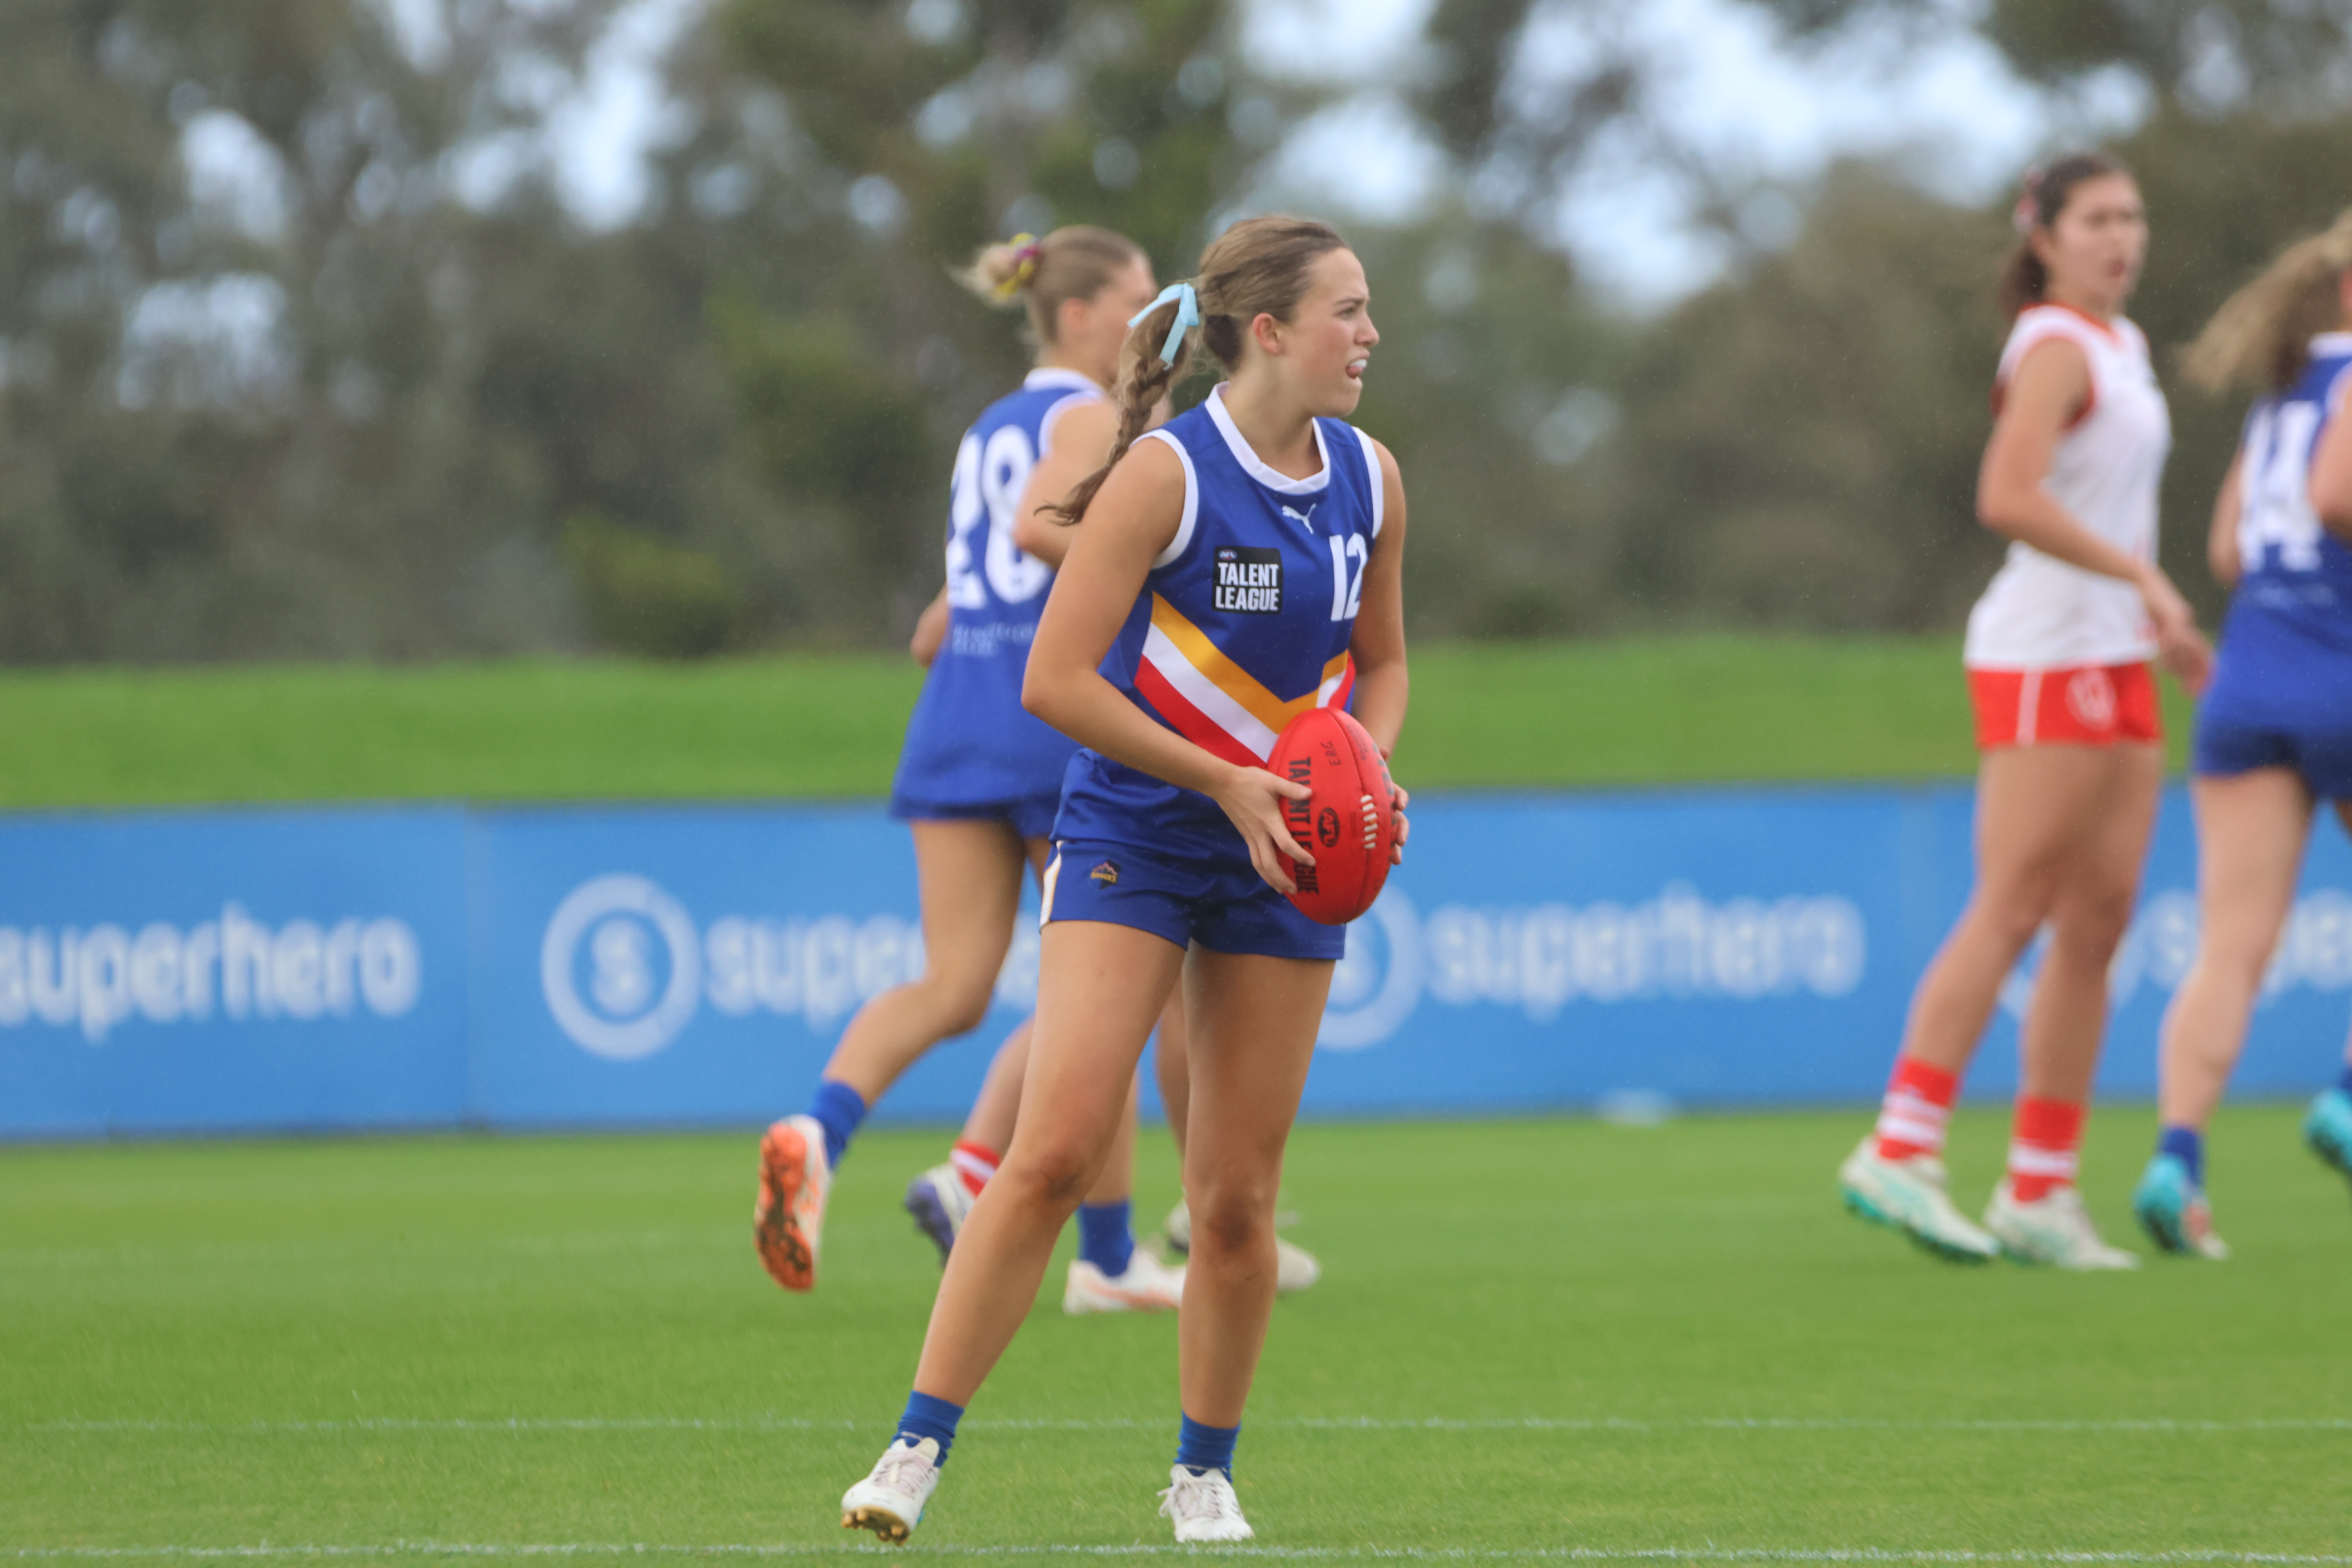
2026 Talent League Girls R17 notes: Tasmania Devils vs. Calder Cannons
TASMANIA Devils secured the all-important 12-point win over Calder Cannons down on the Apple Isle with some key AFLW Draft prospects putting in huge shifts. We took note of some of the players who caught the eye in the 5.9 (39) to 3.9 (27) result with not much between the two sides. All notes are […]
Player Focus: State stars light up League level
IT IS the time of year where an influx of junior talent begins filtering into the senior grades, and that is no exception in Western Australia. A year after elder brother Charlie did so, Harper Banfield made his League debut for West Coast on Saturday, where he is father-son eligible via father Drew‘s 265 AFL […]
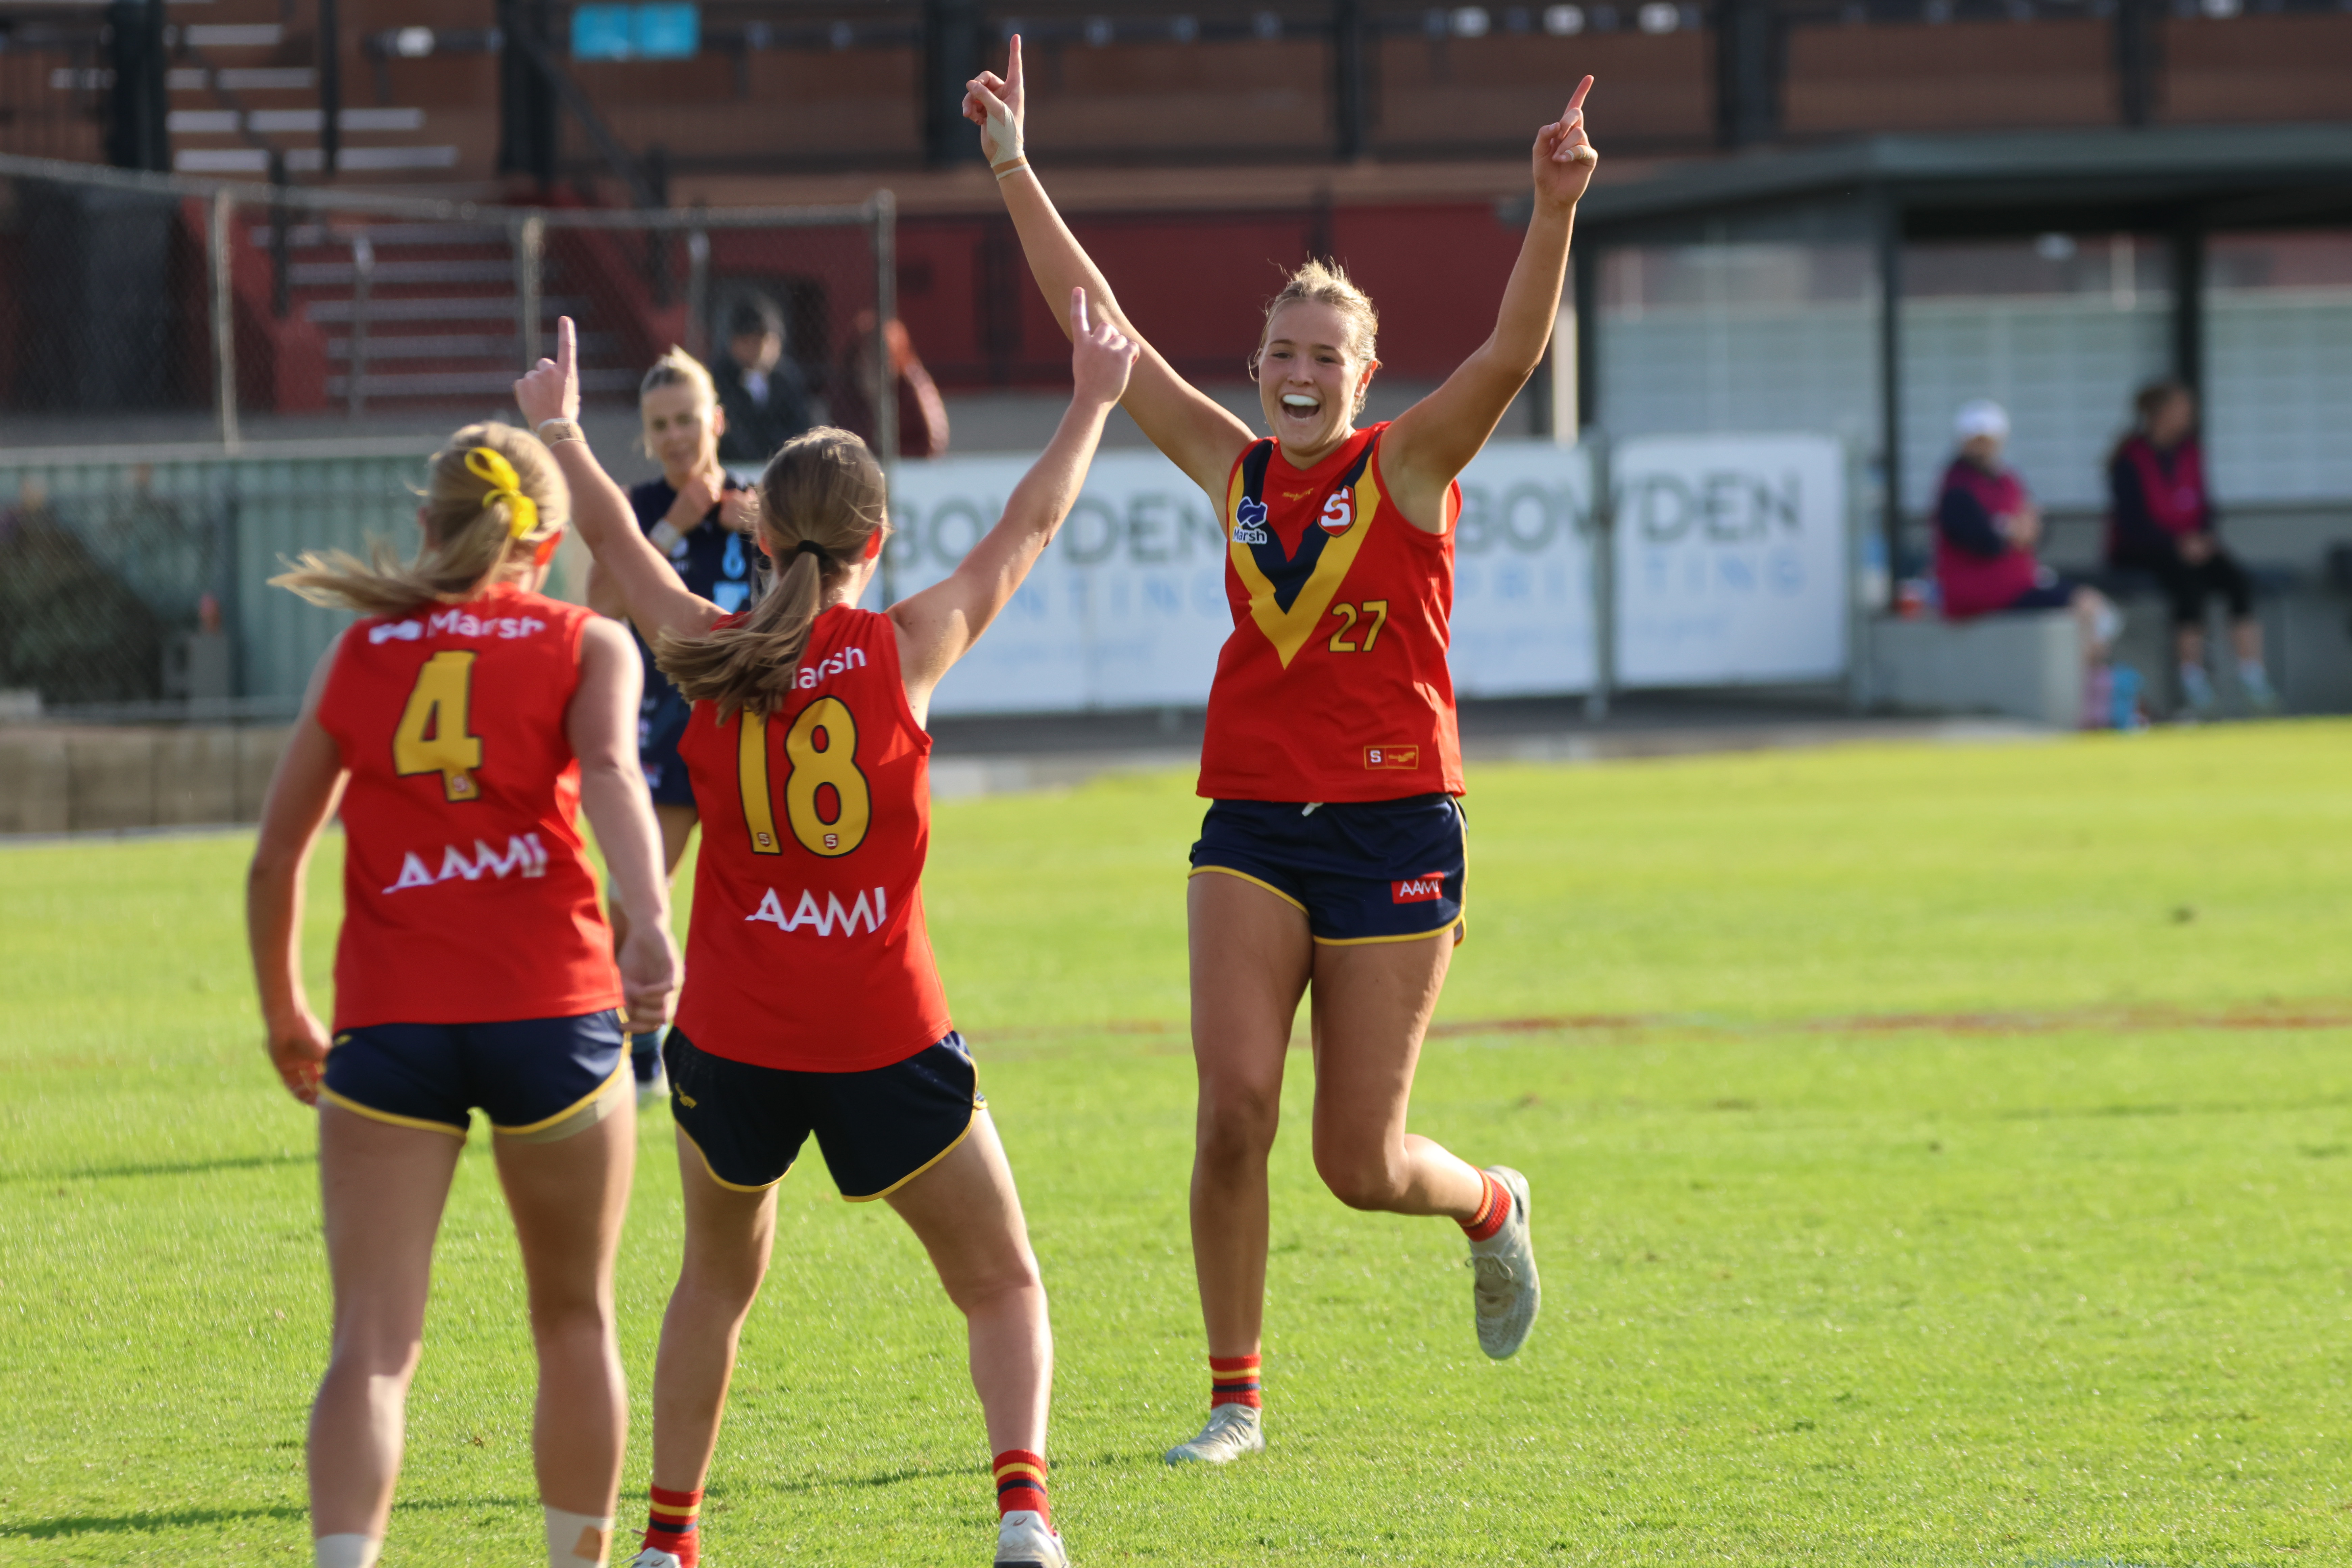
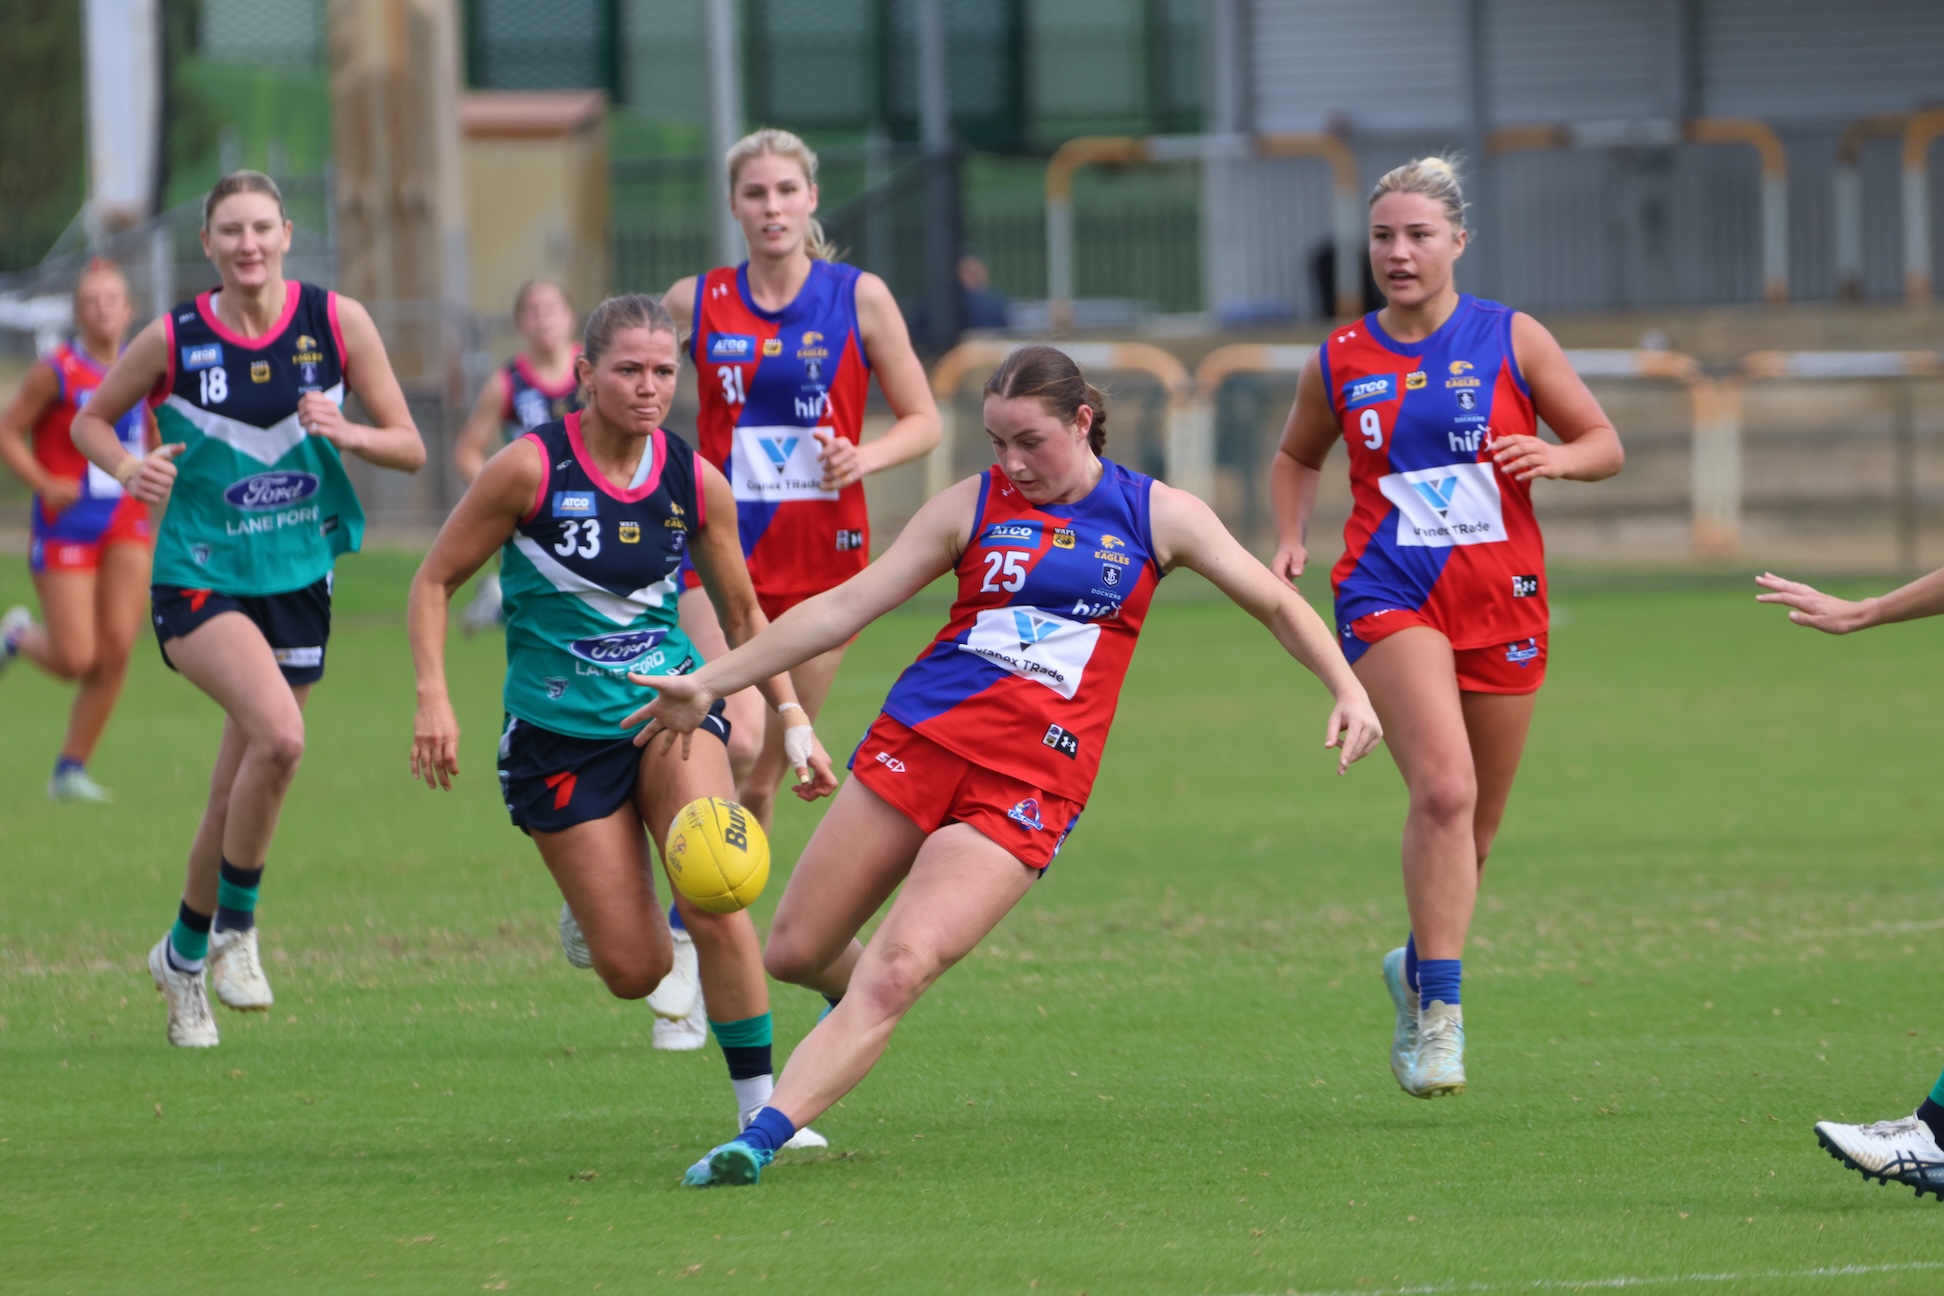
State Academy notes: 2026 SANFLW – Round 12
ROUND 12 of the 2026 SANFL Women’s season produced another absorbing weekend of action, with the State Academy contingent continuing to press their cases. We took note of how each of the Academy members performed across the four games. All notes are the opinion of the individual author.

Player Focus: Eagles-tied prospects clash in Colts
WEST Coast fans and recruiters alike would have had their eyes glued to the WAFL Colts clash between Claremont and East Perth on Saturday. Club aligned prospects Noah Braun (father-son) and Garrison Kenh (Next Generation Academy) lined up for their respective sides, both topping the disposal charts. Braun, the son of 2006 premiership Eagle Michael, […]
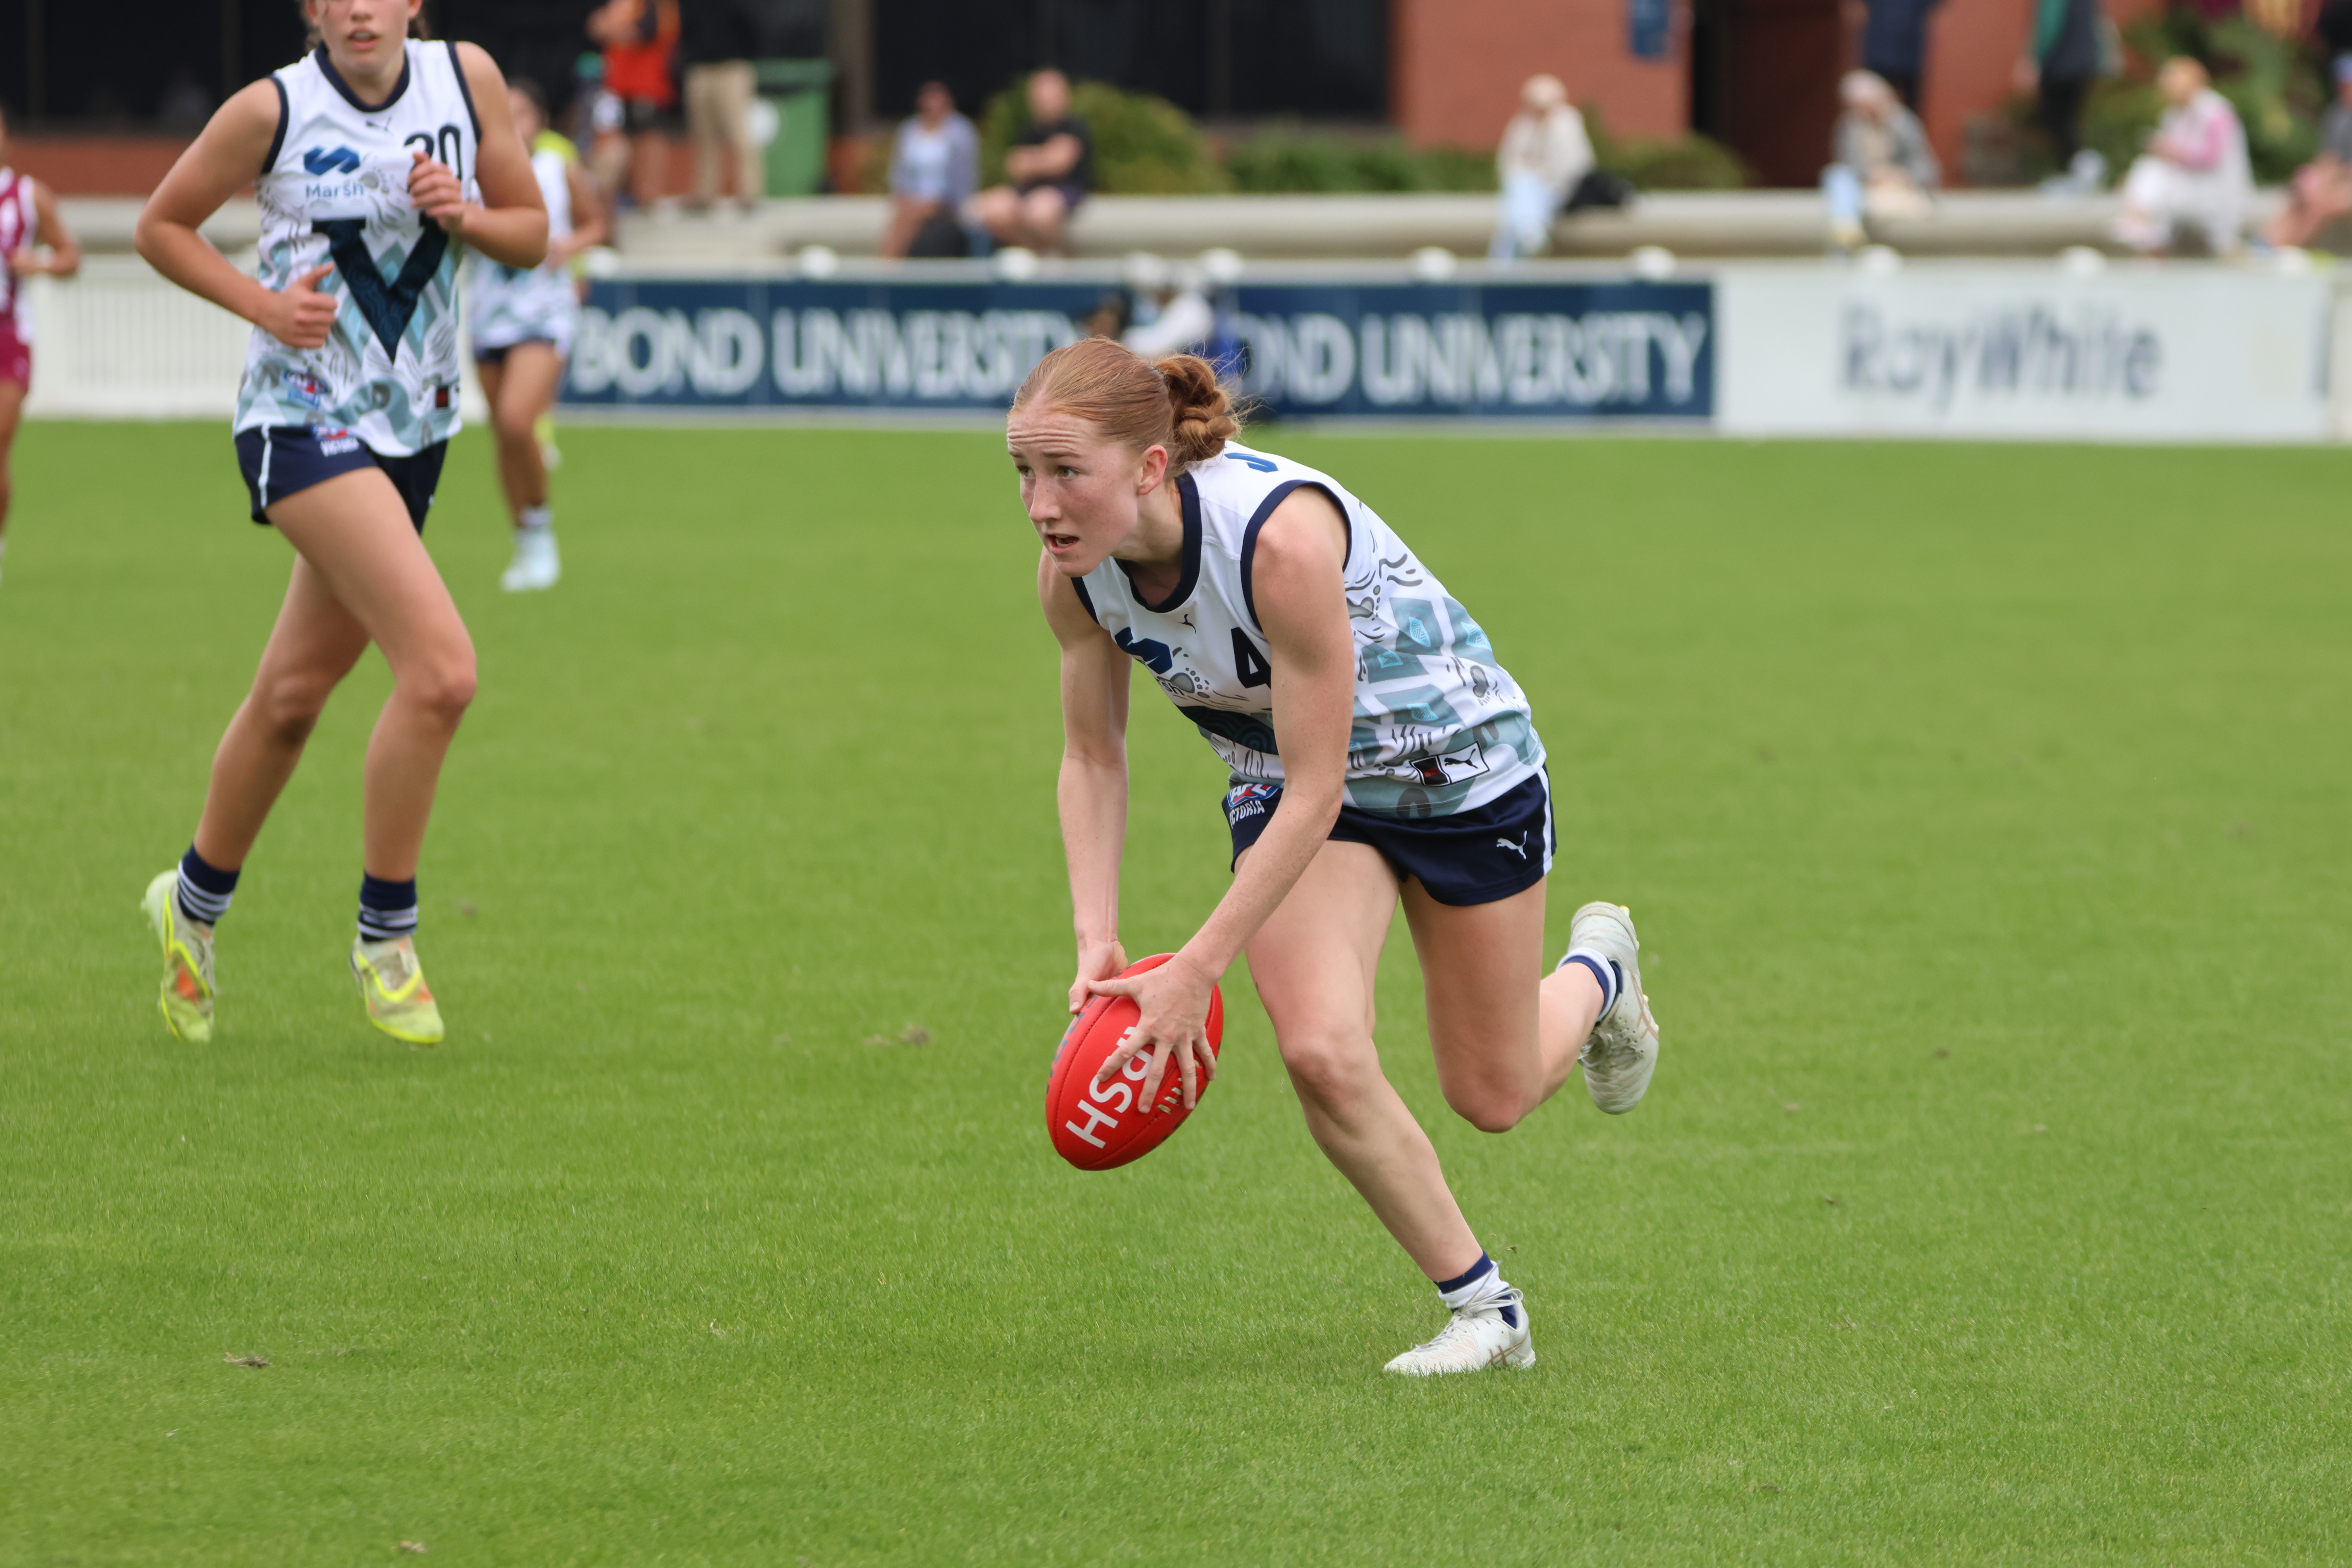
2026 TLG Player Focus: Evie Ward (Tasmania Devils)
TASMANIA Devils captain and National Academy member Evie Ward delivered a commanding performance in Round 17 of the Talent League Girls competition against the Calder Cannons. The versatile top-ager, who has established herself as a genuine utility capable of impacting on any line, spent the majority of the game driving her side out of the […]
2026 Talent League Girls R17 notes: Bendigo Pioneers vs. Eastern Ranges
DESPITE conceding the first goal and trailing at quarter time, the Eastern Ranges’ class shone through at Queen Elizabeth Oval, booting 12 goals to nil after the first break to defeat Bendigo Pioneers by 66 points in Round 17 of the Talent League Girls competition. We took note of some of the players who caught […]
2026 Talent League Girls R17 notes: Murray Bushrangers vs. Northern Knights
BOASTING a host of Vic Country and Allies representatives, Murray Bushrangers got back on the winner’s list with a strong 26-point win over Northern Knights. In what was ultimately a tight clash in Seymour, the Bushrangers booted three goals to nil in the third term to really create some breathing room and run out 9.8 […]
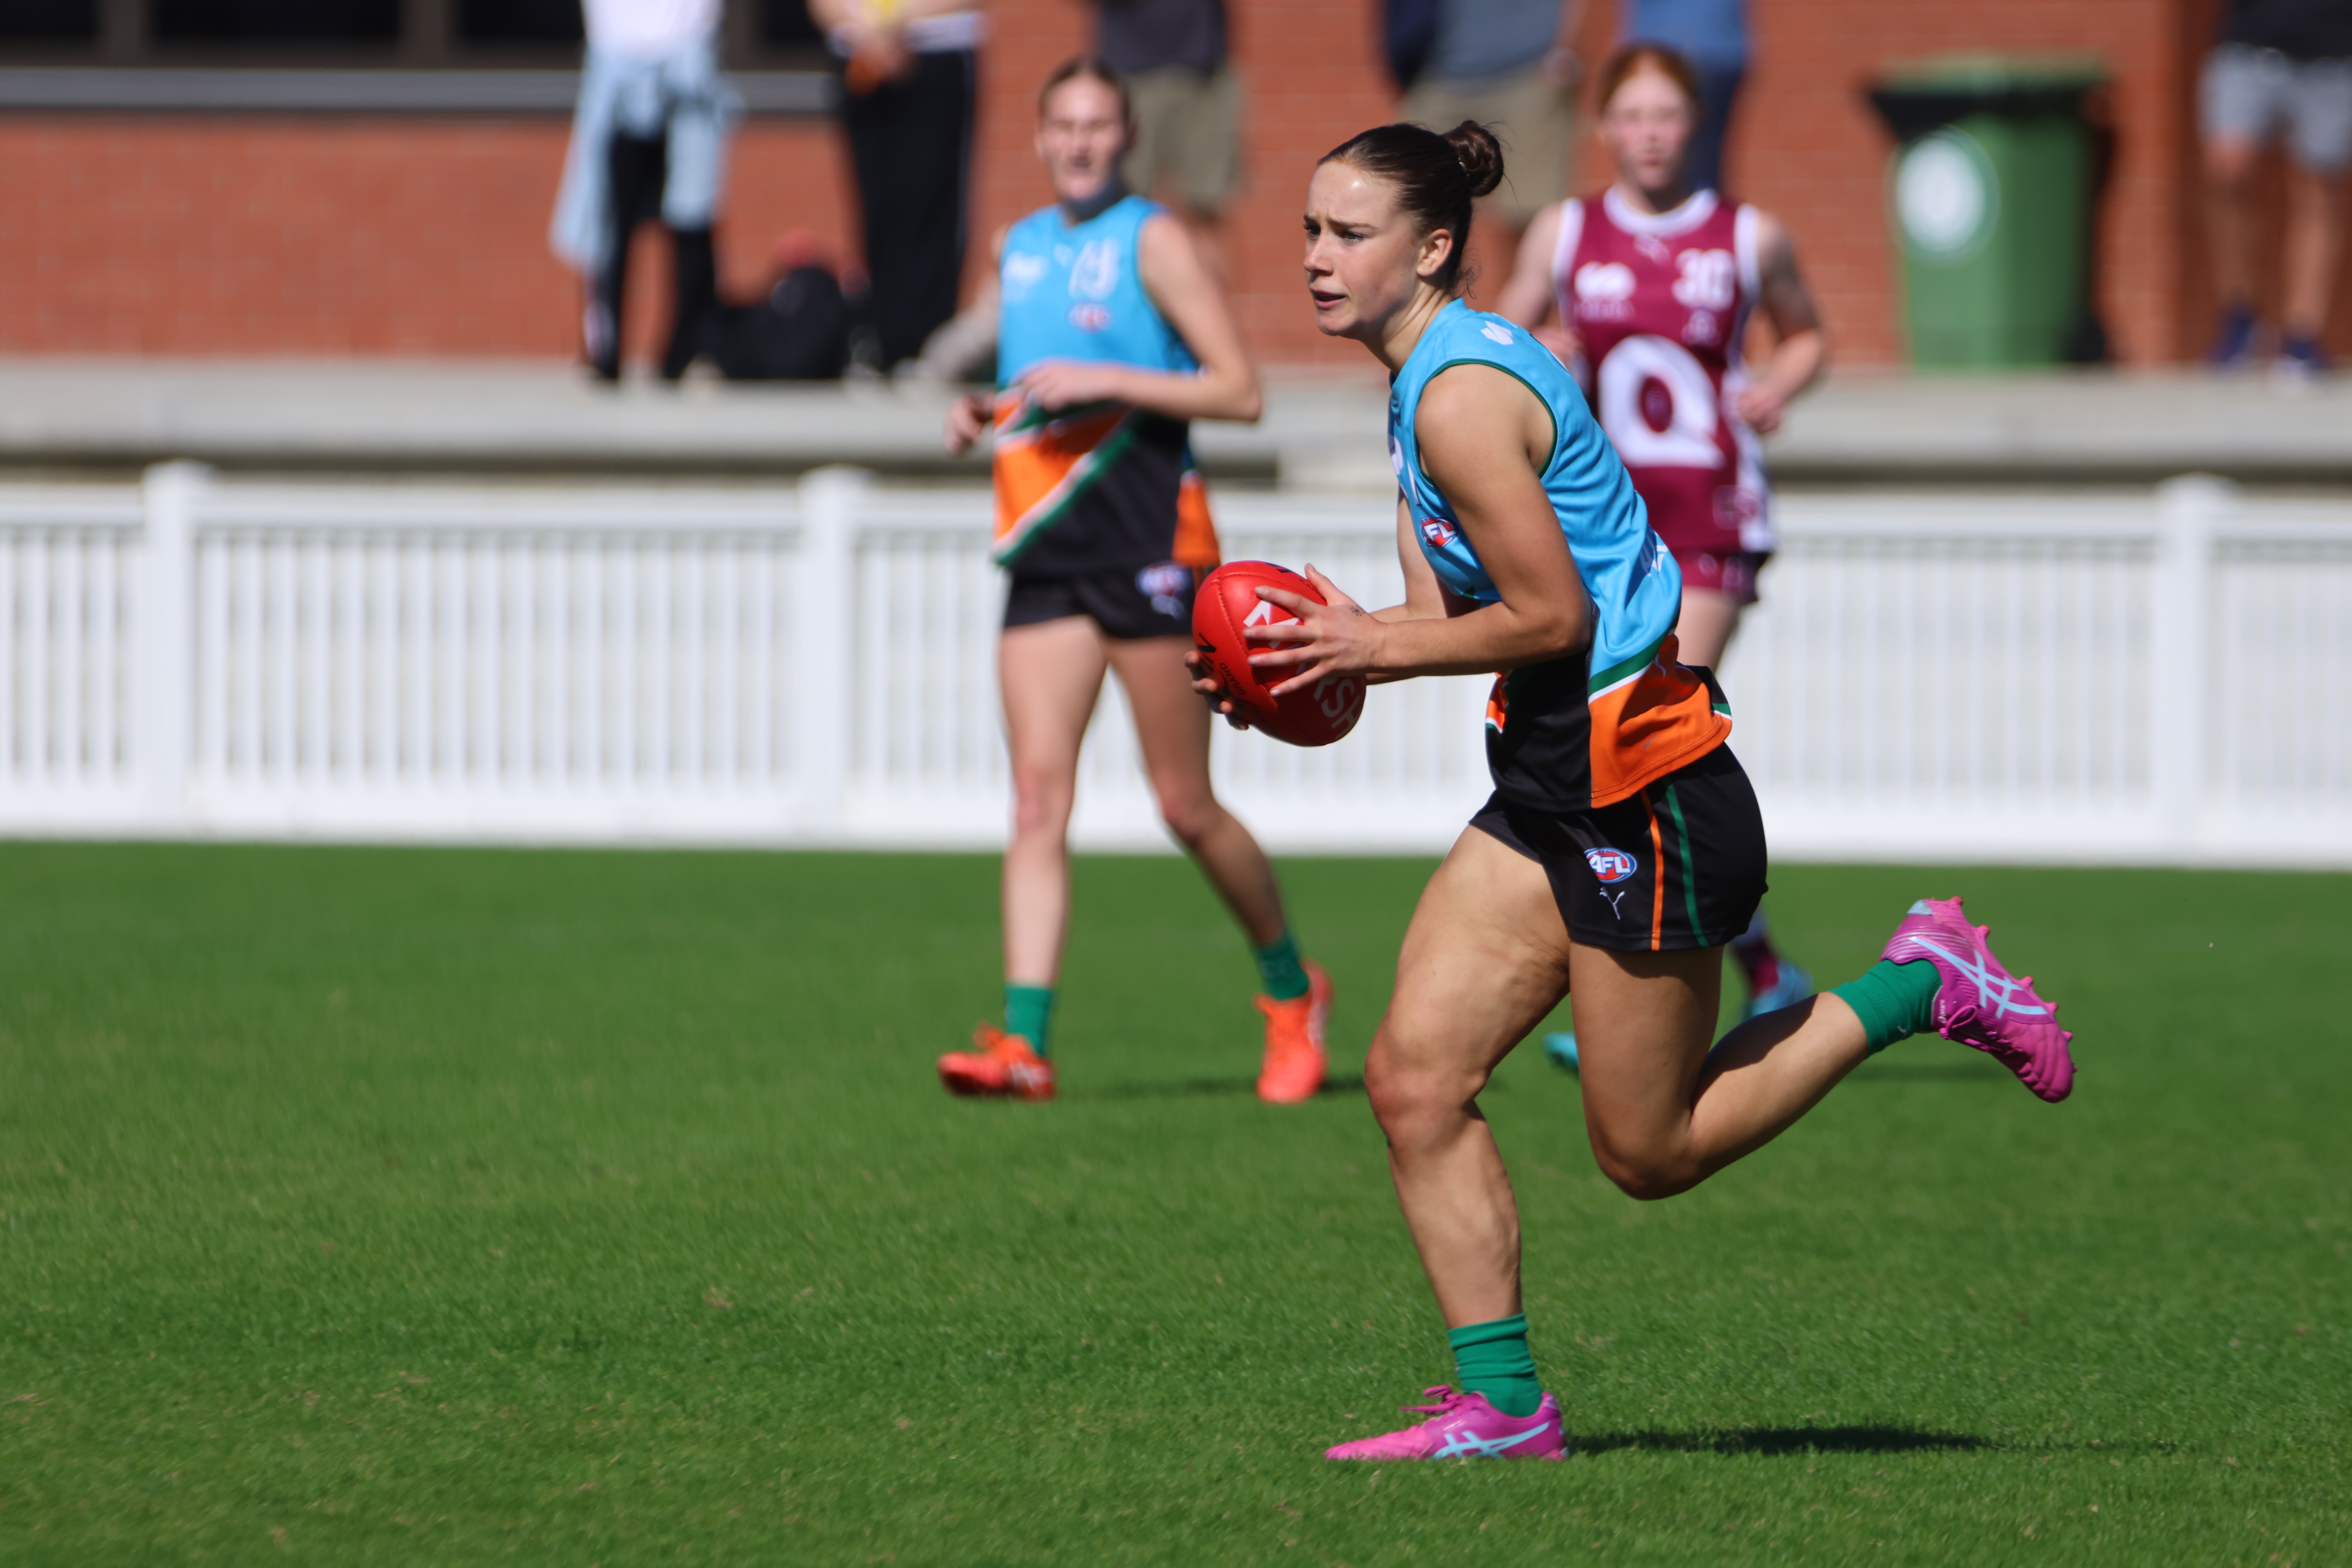
2026 State Academy notes: WAFLW – Round 17
ROUND 17 of the WAFL Women’s season produced some eye-catching individual performances as the competition heads towards its business end. We took note of how the West Australian Summer Squad members fared across each game. All notes are the opinion of the individual author.
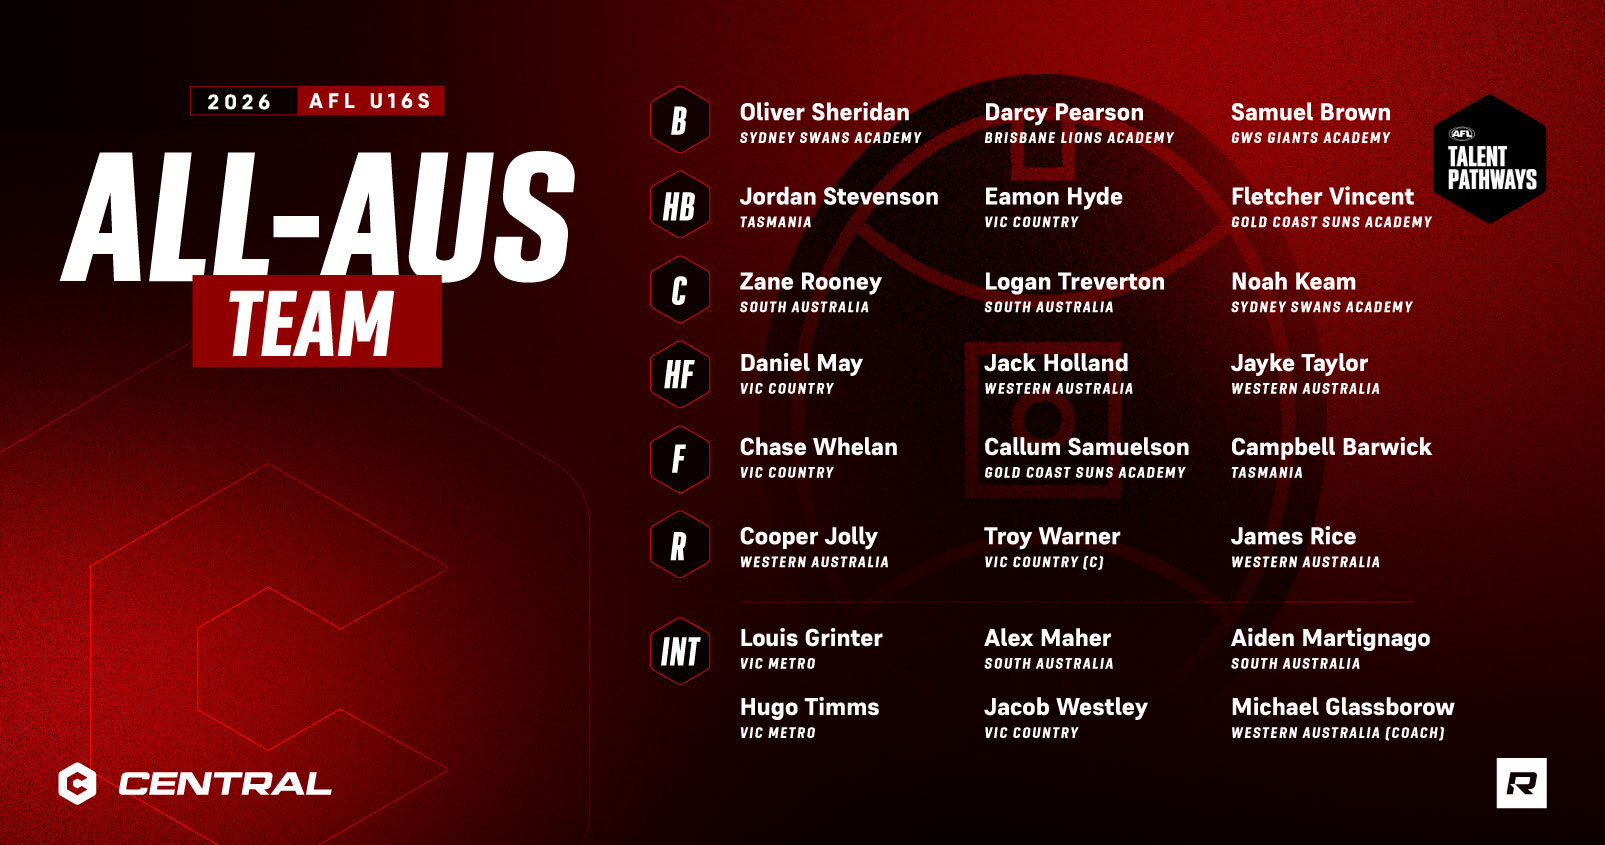
Warner captains Under 16 All-Australian team
WEST Australian co-captain and Kevin Sheehan Medallist Troy Warner has been named captain of the Under 16 All-Australian team. Alan McLean Medallist James Rice also features in the 23-player lineup, next to Warner and South Australian MVP Logan Treverton in midfield. >> RECAP: 2026 AFL Under 16 National Championships Warner was one of four West […]
