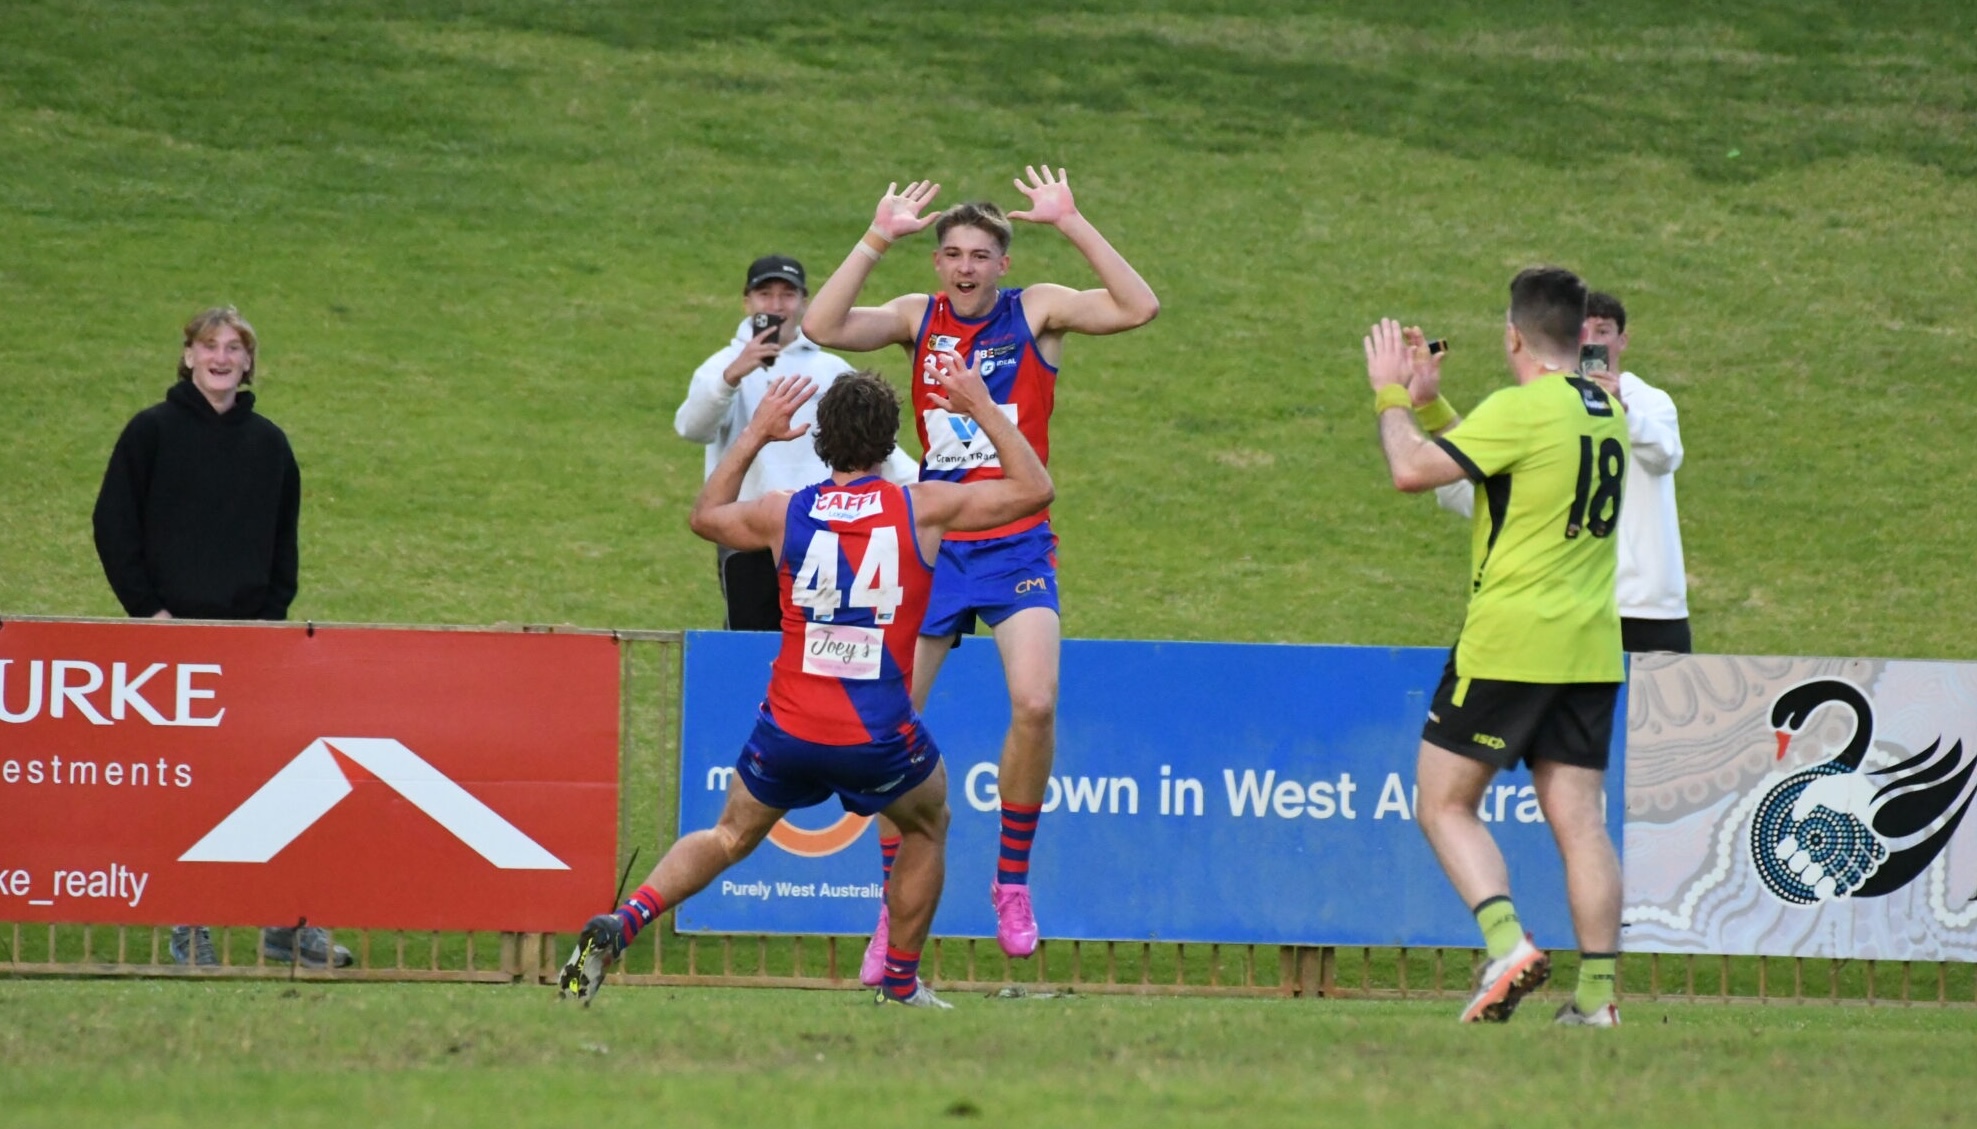
Scouting Notes: Vic Metro vs. Western Australia
VIC METRO produced another brutal third term to kick away to its second win in this year’s Under 18 National Championships, downing Western Australia by 27 points at Princes Park. The home side was missing a couple of key midfielders, but was strong enough over four quarters against the gallant Black Ducks. We noted some of the top performers from either side.
All notes are the opinion of the author.
>> MATCH REPORT: Vic Metro 16.5 (101) def. Western Australia 10.14 (74)
- Team
Vic Metro

Western Australia
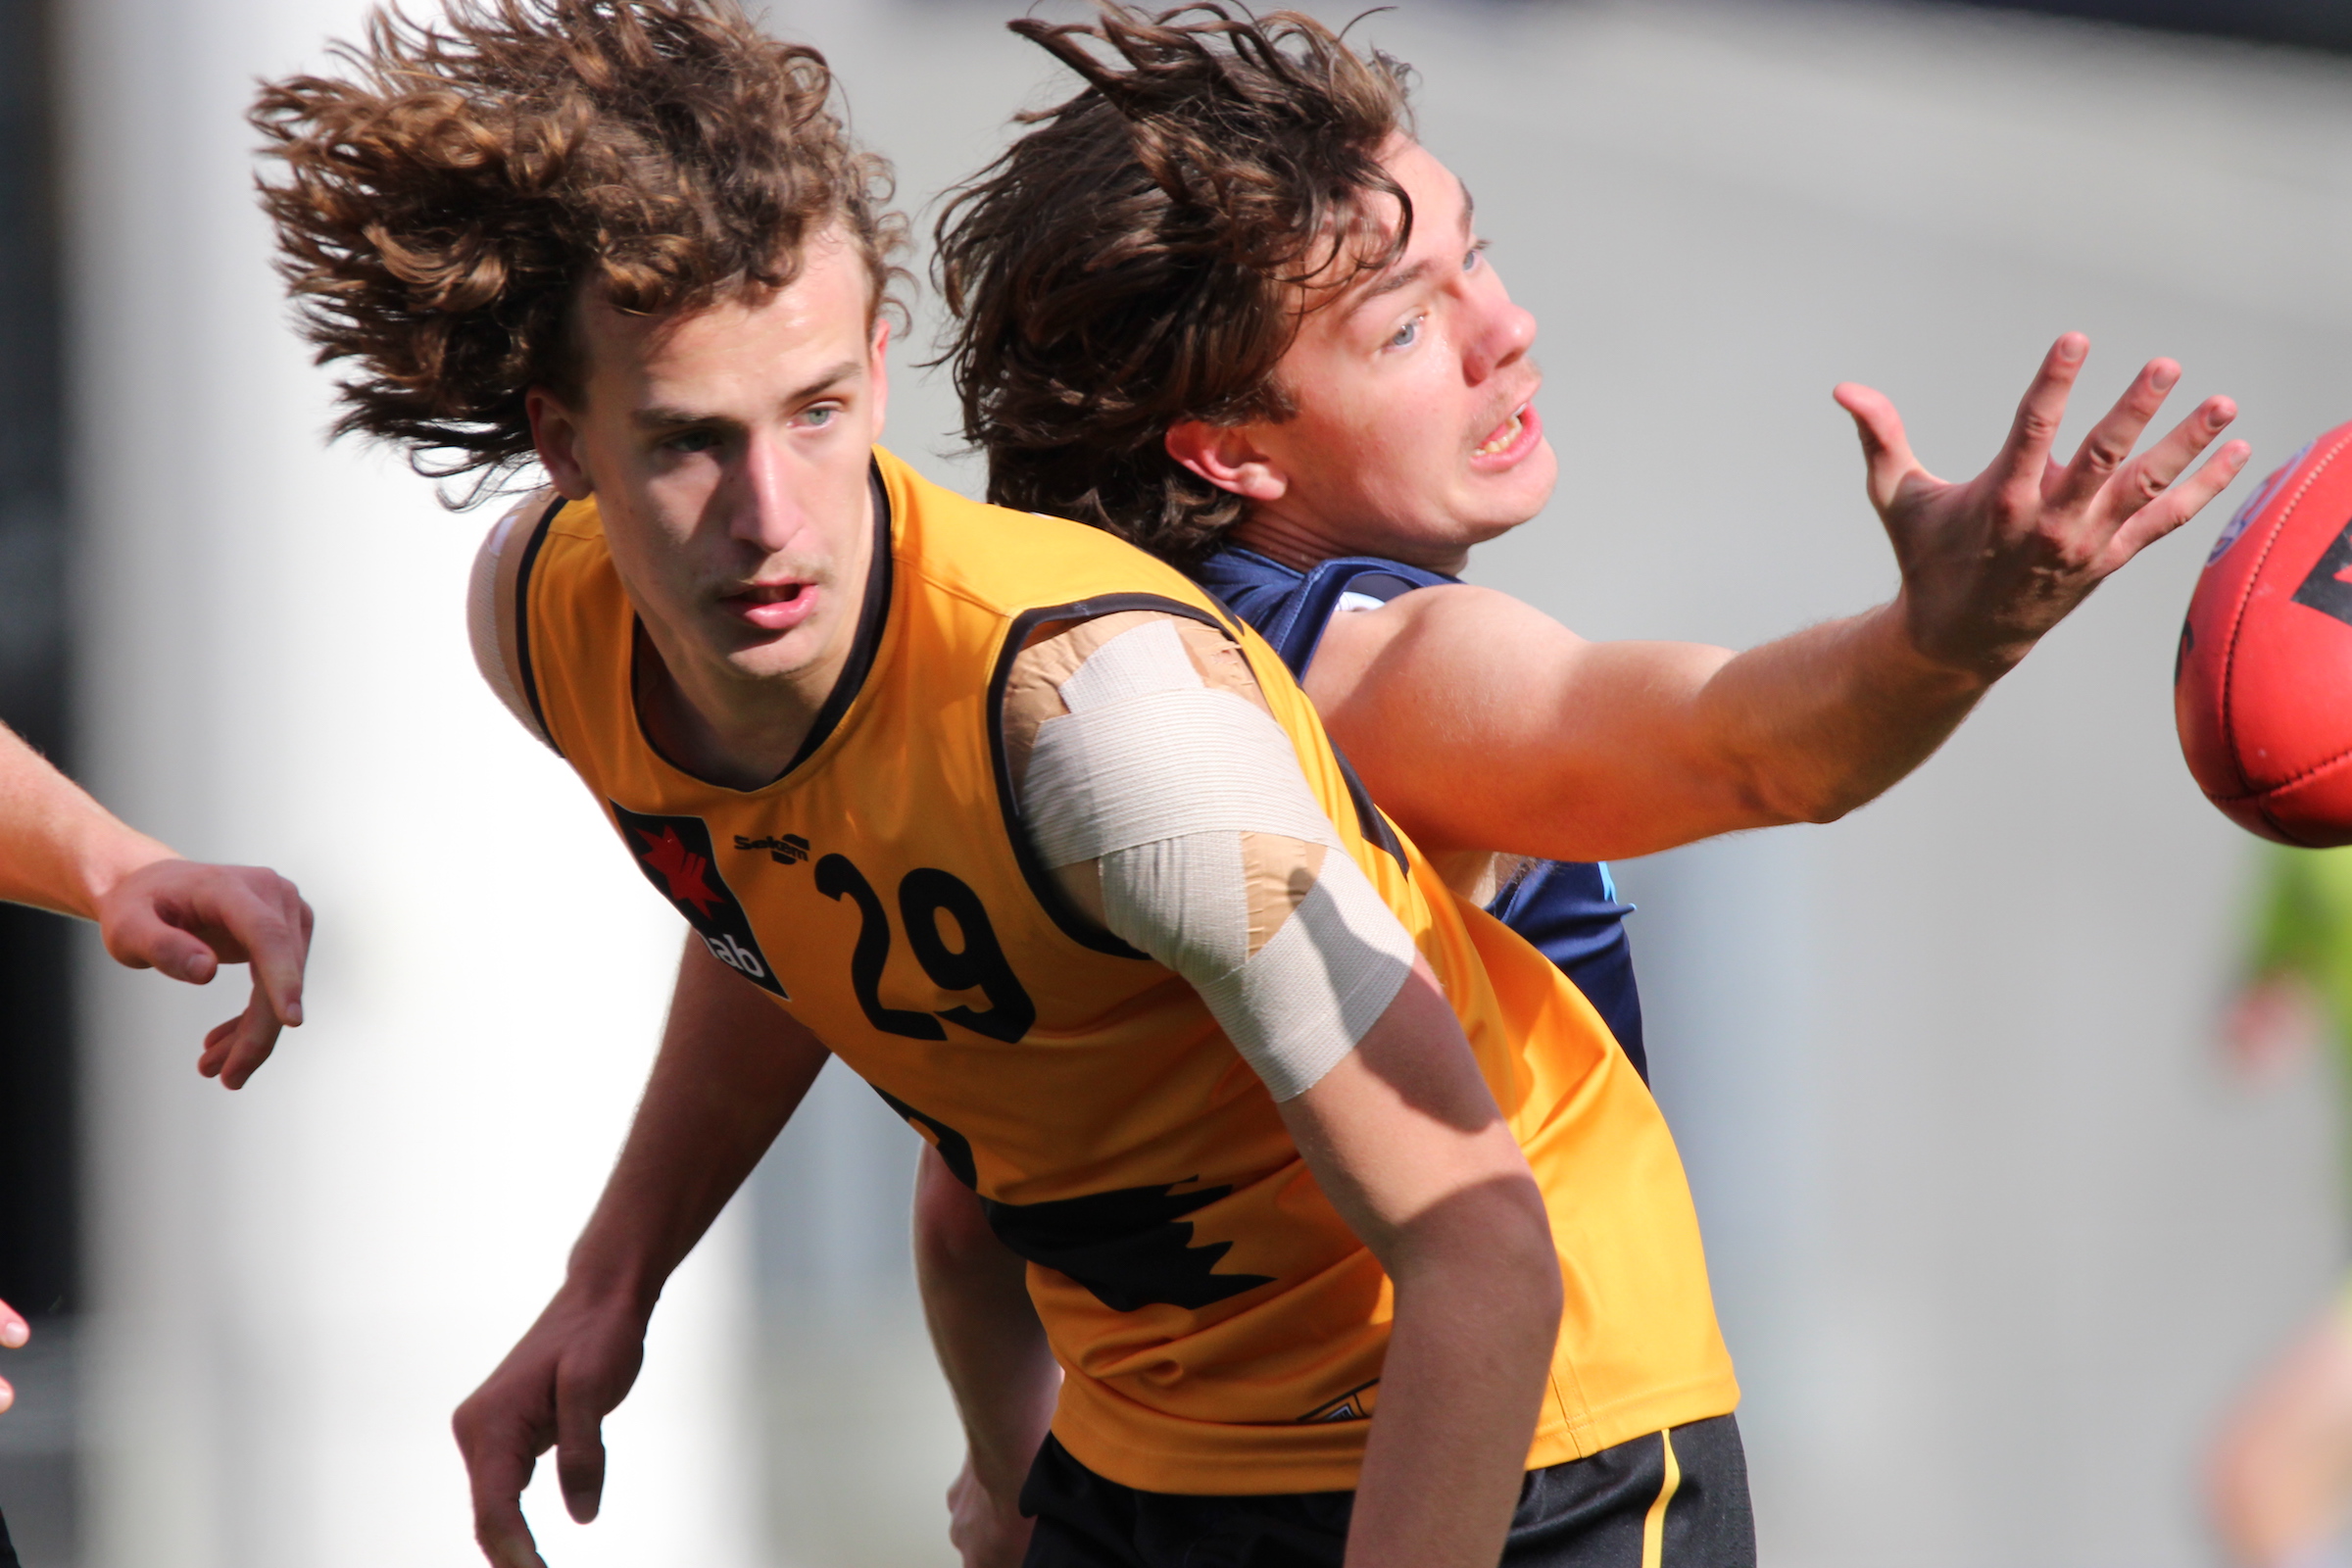
VIC METRO:
#2 Blake Drury (Oakleigh Chargers)
A feature of Metro’s midfield-forward rotation, Drury earned a starting spot at the centre bounces after his feats last week, and continued to get busy for the Big V. Providing his usual attacking drive, the Oakleigh Chargers midfielder delivered some punchy kicks in the short range but sacrificed accuracy when going long or towards goal. Still, his work rate and positive intent make him a consistent contributor.
#5 Alwyn Davey (Oakleigh Chargers)
Davey backed up a fantastic outing last week with more of the same exploits, rotating into midfield from up forward. Two things stood out in his game; being able to cleanly gather the ball at ground level, and hunting the opposition with his tackling pressure. The Essendon father-son candidate also hit the scoreboard with consecutive majors in the final term, taking full toll with the space he was afforded inside 50.
#7 Olli Hotton (Sandringham Dragons)
Having produced some nice moments over Metro’s first two games, Hotton is a prospect on the rise. The nifty Sandringham Dragons talent started out in his usual forward post before getting a run in midfield, where he utilised his smarts and speed at the contest. Hotton also popped up with a goal before half time, finishing well on the end of a fluent passage of play.
#10 Will Ashcroft (Sandringham Dragons)
One of the catalysts for Metro’s dominant first quarter, Ashcroft showcased his class in midfield. He was also one who stood up as his side began to wrestle back momentum after half time, producing the first clean clearance of term three. His stoppage proficiency and accumulation factor were again high, with his ability to break out the front of stoppages serving Metro well. Ashcroft also bagged a goal in the opening quarter, never looking in doubt with his 30-metre set shot.
#13 Nathan Philactides (Oakleigh Chargers)
Despite being bottom-aged, Philactides was hardly overawed by the championship occasion and proved as polished as anyone afield with his work across half-back. The classy Oakleigh Chargers product racked up a strong amount of possessions, taking some of the kick-ins and sparking rebounding passages for Metro with his neat kicking skills. Constantly making good decisions under pressure, he hardly wasted a touch.
#15 Harry Sheezel (Sandringham Dragons)
It was the Ashcroft and Sheezel show early on, with the latter again posted up forward and making a menace of himself around goal. He snared the first major of the game with a wheeling shot from 45 metres, setting a strong tone for his terrific first half. The top 10 prospect was involved in plenty across Metro’s forward half, showcasing his lethal kicking skills and handy overhead marking ability. After adding one more goal in the third term, Sheezel eventually got a run in midfield but was overall quieter after quarter time.
#22 Cameron Mackenzie (Sandringham Dragons)
Rivalling Ashcroft as Metro’s best midfielder across two games, Mackenzie looks every bit the first round prospect. The prolific on-baller was a consistent figure for his side, displaying clean hands and foot skills upon breaking away from the contest. With good core strength and with just enough speed, he was constantly able to burst to the outside where his ability to hit targets on the move shone. Mackenzie, a St Kilda Next Generation Academy member, also snared a classy snap goal amid Metro’s third quarter surge.
#28 Josh Weddle (Oakleigh Chargers)
Perhaps an underrated piece for Metro in defence, Weddle impressed with his reading of the play and intercept marking prowess on Saturday. Another Oakleigh Chargers representative, he rose for several eye-catching clunks behind the ball and was generally clean in doing so. Others may get most of the shine, but Weddle’s efforts were certainly important for his side.
#30 Matthew Jefferson (Oakleigh Chargers)
The star of the day with seven goals, Jefferson produced a true breakout performance on the big stage. Booting all of his majors at one end of the ground, he was the centrepiece of Metro’s dominant patches and proved unstoppable when on song. The skinny tall forward snared two of his side’s four first quarter goals, before coming to life in the third with five more, converting with aplomb on each occasion. That part of his game has not always been a strength, but was certainly no issue on Saturday. On top of his goalkicking feats, Jefferson gave his opponents a bath in terms of marking ability, defying his frame with a couple of strong pack efforts, and utilising his raw athleticism to rise high.
#35 Lewis Hayes (Eastern Ranges)
A cool head in defence, Hayes combined well with Weddle to cut off plenty of West Australian attacks. He started well and carried his form throughout the game, reading the play well to contribute his share of defensive acts, while looking composed in possession on the way out – especially for a player his size. He’s one who has potentially raised his stocks in representative colours.

WESTERN AUSTRALIA:
#1 Darcy Jones (Swan Districts)
A lively member of Western Australia’s midfield group, you could not fault Jones for effort. The Swan Districts pocket rocket showcased his speed throughout the day with carving runs through the middle of the ground and plenty of attacking intent. He also played his part at the contest and despite often being outsized, applied constant defensive pressure. Rounding out a solid game, Jones also snared two goals with steady finishes at one end of the ground.
#2 Jed Hagan (East Fremantle)
Hagan played out his usual role across Western Australia’s last line, sweeping up in defensive 50 and distributing the ball in transition with neat short passes. He seemed to consistently be there in support of his teammates, offering a safe outlet option and generally using the ball well when looking up the field. While perhaps not as prolific or damaging as he can be, it was a typical kind of game from the East Fremantle small.
#9 Riley Hardeman (Swan Districts)
One of the few bottom-agers afield, and another impressive one at that, Hardeman was a constant out on the wing. He put his running power on show with a mix of speed and endurance, chasing up loose balls in the expanses of Princes Park and driving the ball forward on the outside. Possessing a raking left-foot kick, Hardeman also looked to switch the ball and be aggressive with his decision making to shift the angles as Western Australia transitioned.
#11 Elijah Hewett (Swan Districts)
Easily best afield for the visitors, Hewett looked every bit the top 10 prospect as he set a terrific tone for his side. There was no better catalyst for WA’s second term run, as Hewett racked up a bucketload of ball and pumped his team inside 50. What stood out most was his work rate, which saw him gain possession in dangerous areas and make use of them heading towards goal. Like Jones, he also found the big sticks twice, with his second a beautiful set shot from the boundary line to give the Black Ducks a sniff early in term four.
#21 Reuben Ginbey (East Perth)
A key point of difference in Western Australia’s engine room, Ginbey’s inside craft allowed others to break away with speed on the outer. While certainly explosive in his own right, the East Perth on-baller utilised that strength to bust out of tackles and dish out clean handballs, particularly in the first half. Having played in defence at League level, there is a lot to like about Ginbey’s power and versatility.
#22 Jack Cleaver (East Fremantle)
Another East Fremantle representative who rebounded the ball out of defence, Cleaver tried his best to spark Western Australia from the back. He was willing to carry the ball and take the game on, driving his legs having mopped up plenty of errant Metro attacks. With plenty of work done under pressure, his end product lacked at times, but Cleaver was rewarded for his efforts with some midfield time in the second half, and even kicked a wobbly goal in term three.
#29 Jedd Busslinger (East Perth)
The highly touted key defender was one who certainly got better as the game wore on, having been very quiet in the first half. Roaming relatively free down back, Busslinger began to get his intercept game going after half time, reading the play typically well and positioning to clunk some clean marks behind the ball. He even got going on the rebound with a couple of running forays, displaying his quality with more frequency to round out a solid showing.
#38 Harry Cole (Claremont)
A player who dominated one of the four quarters, Cole looked like Western Australia’s most dangerous forward throughout term two. He snared a pair of majors from five scoring shots, proving difficult to contain as he presented on the lead and earned himself several set shot opportunities. A couple of his best plays included a speccy for his fourth score, and the ability to adjust his second set shot after hitting the post from a similar position moments prior.
#40 Jackson Broadbent (Peel Thunder)
It was an indifferent kind of day for Western Australia’s starting ruck, who started brightly before spending plenty of time off the ground and looking a touch hampered in the closing stages. Once again, his skills for a bigman were exceptional, hitting passes lace-out to teammates on the move and showcasing deft touch around the ground. His output slowed in the second half, but his previous glimpses proved the potential he holds.


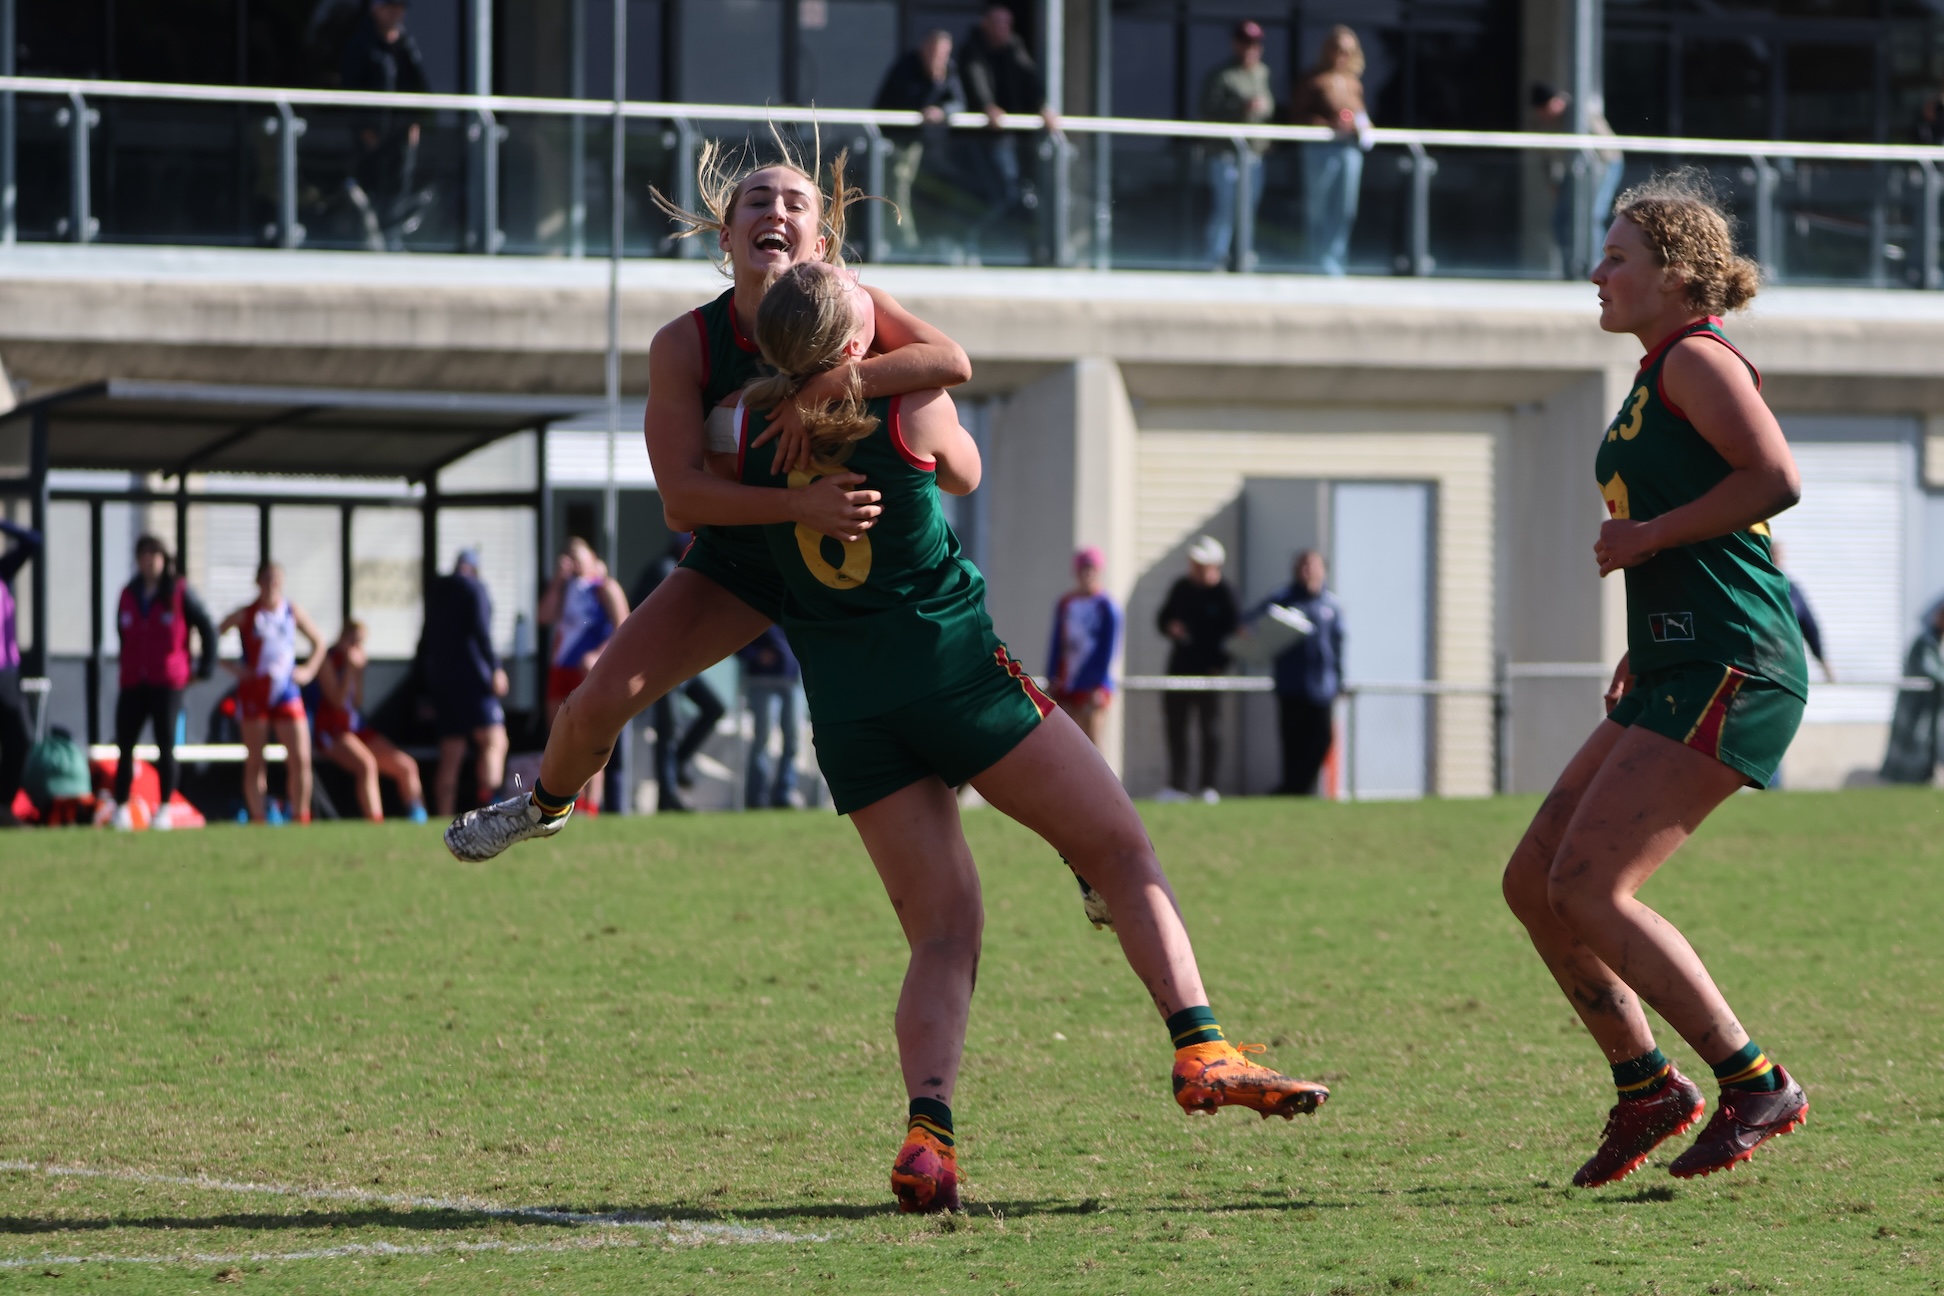
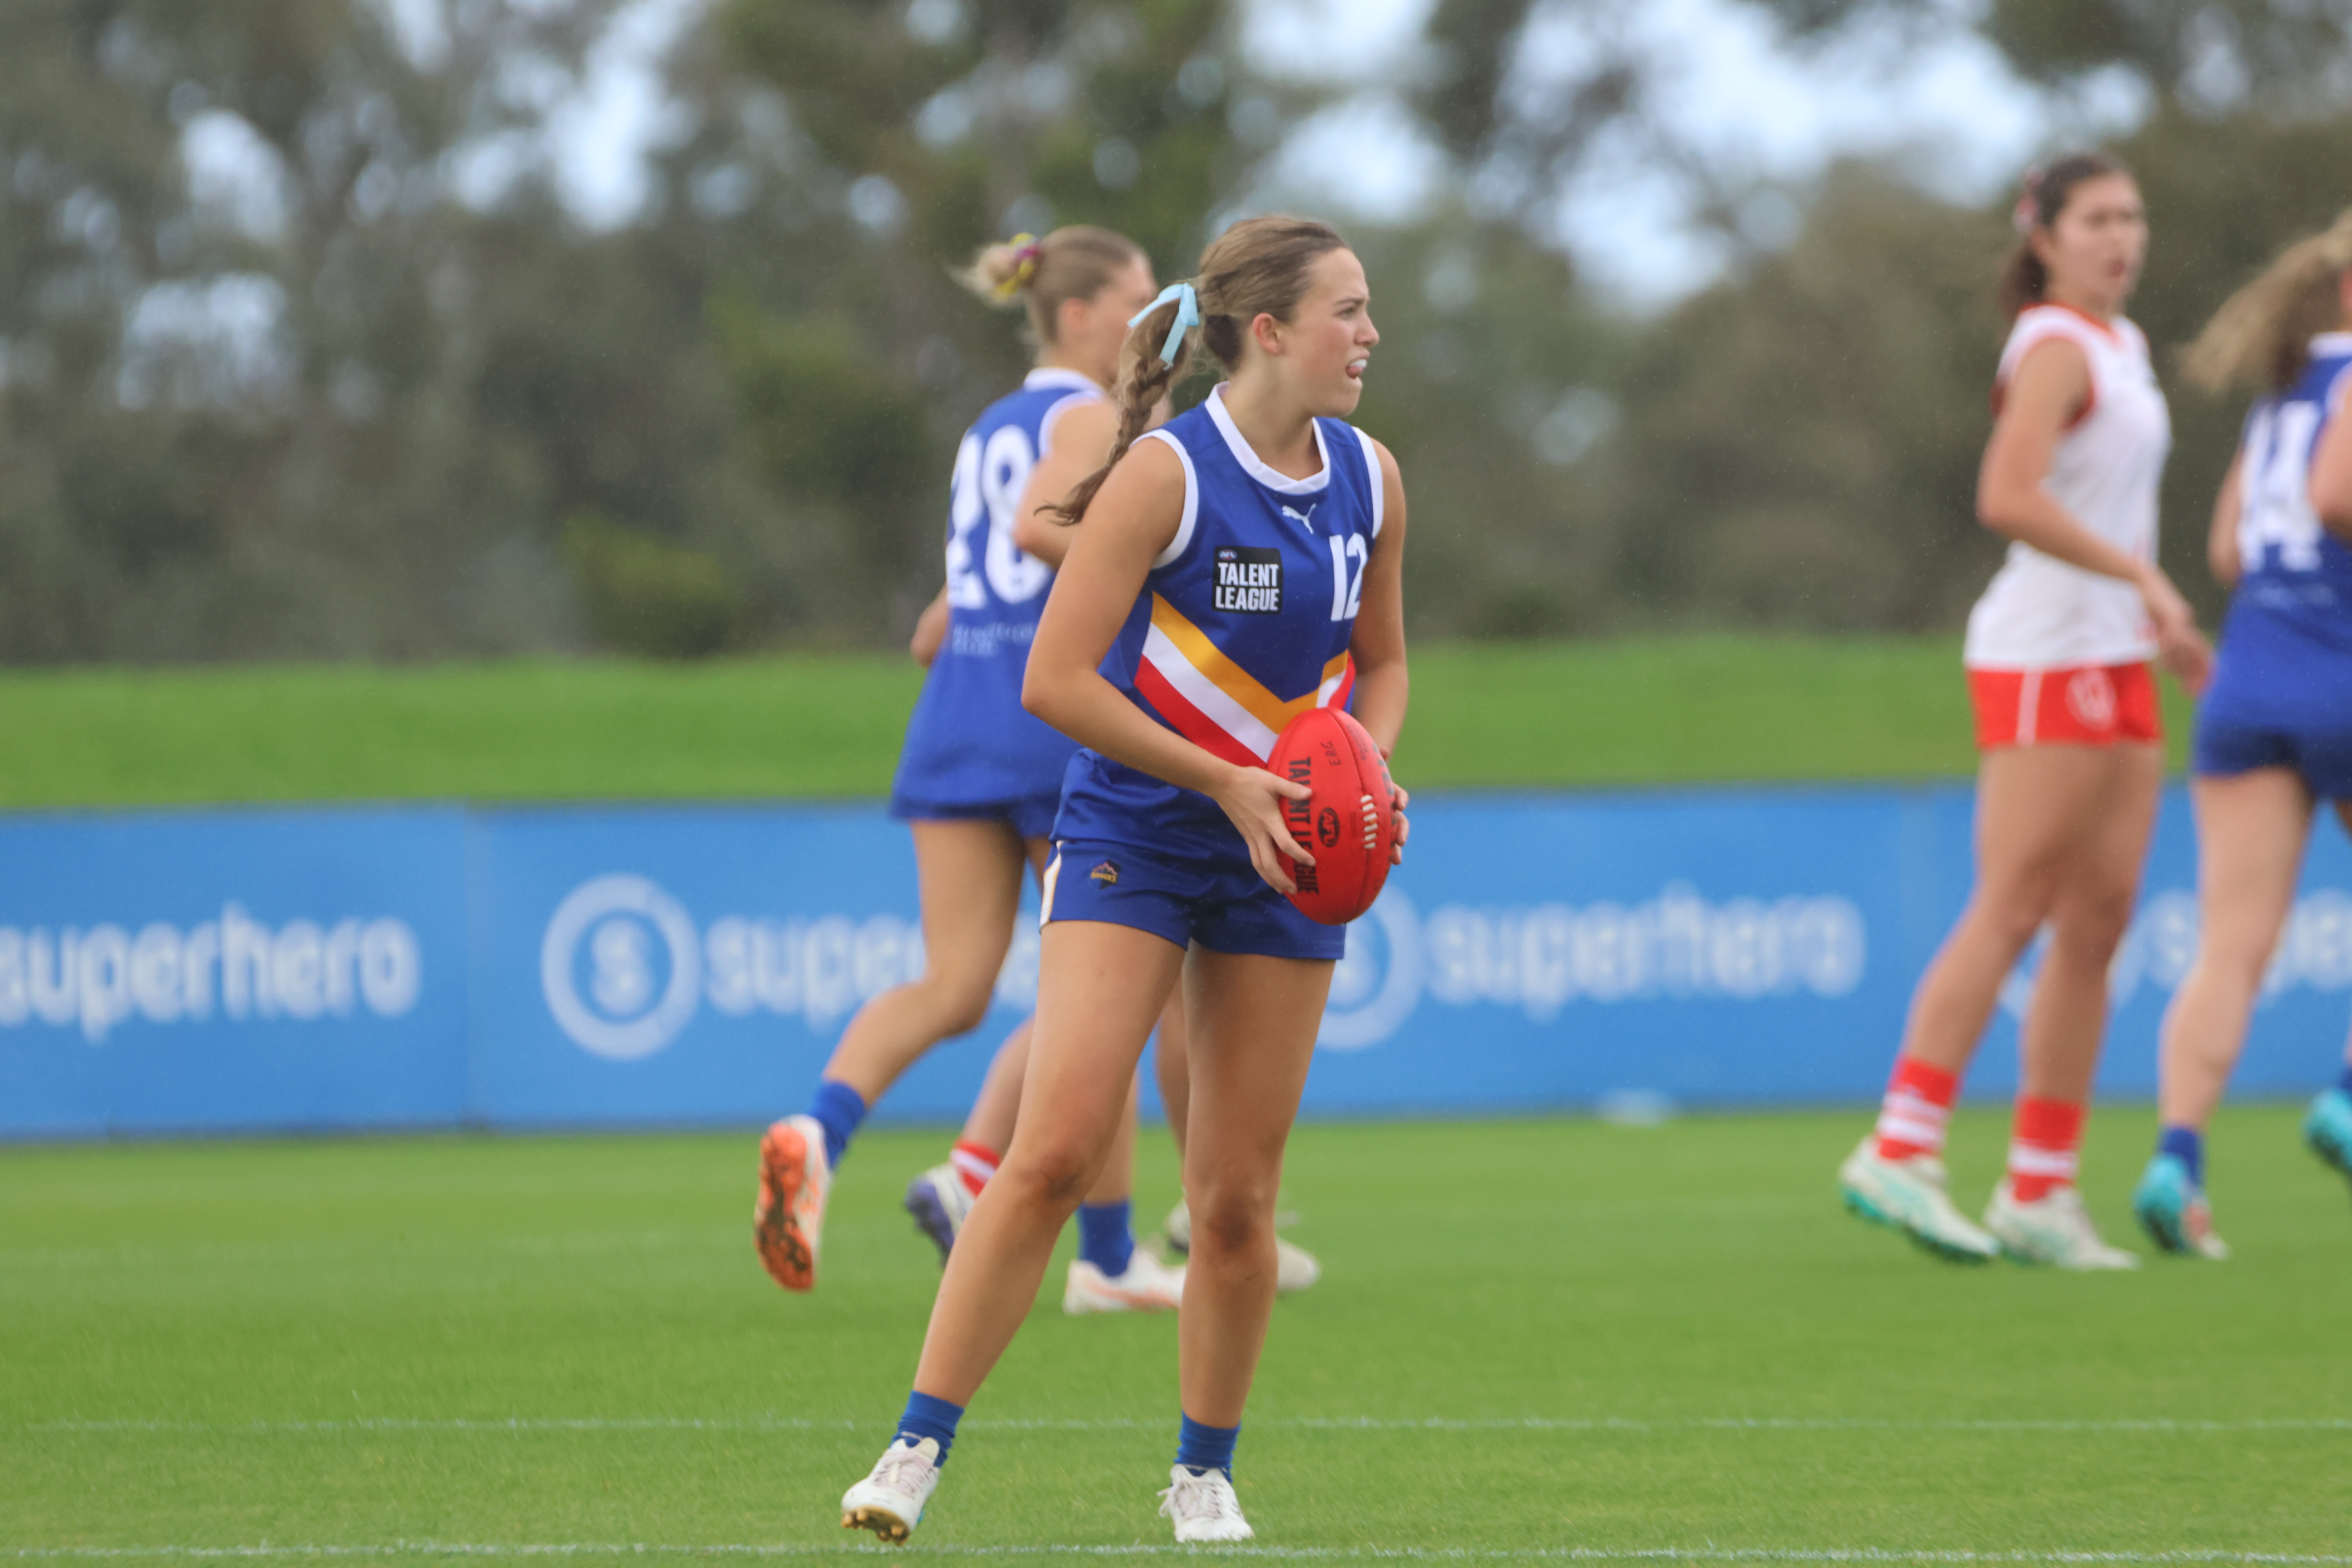
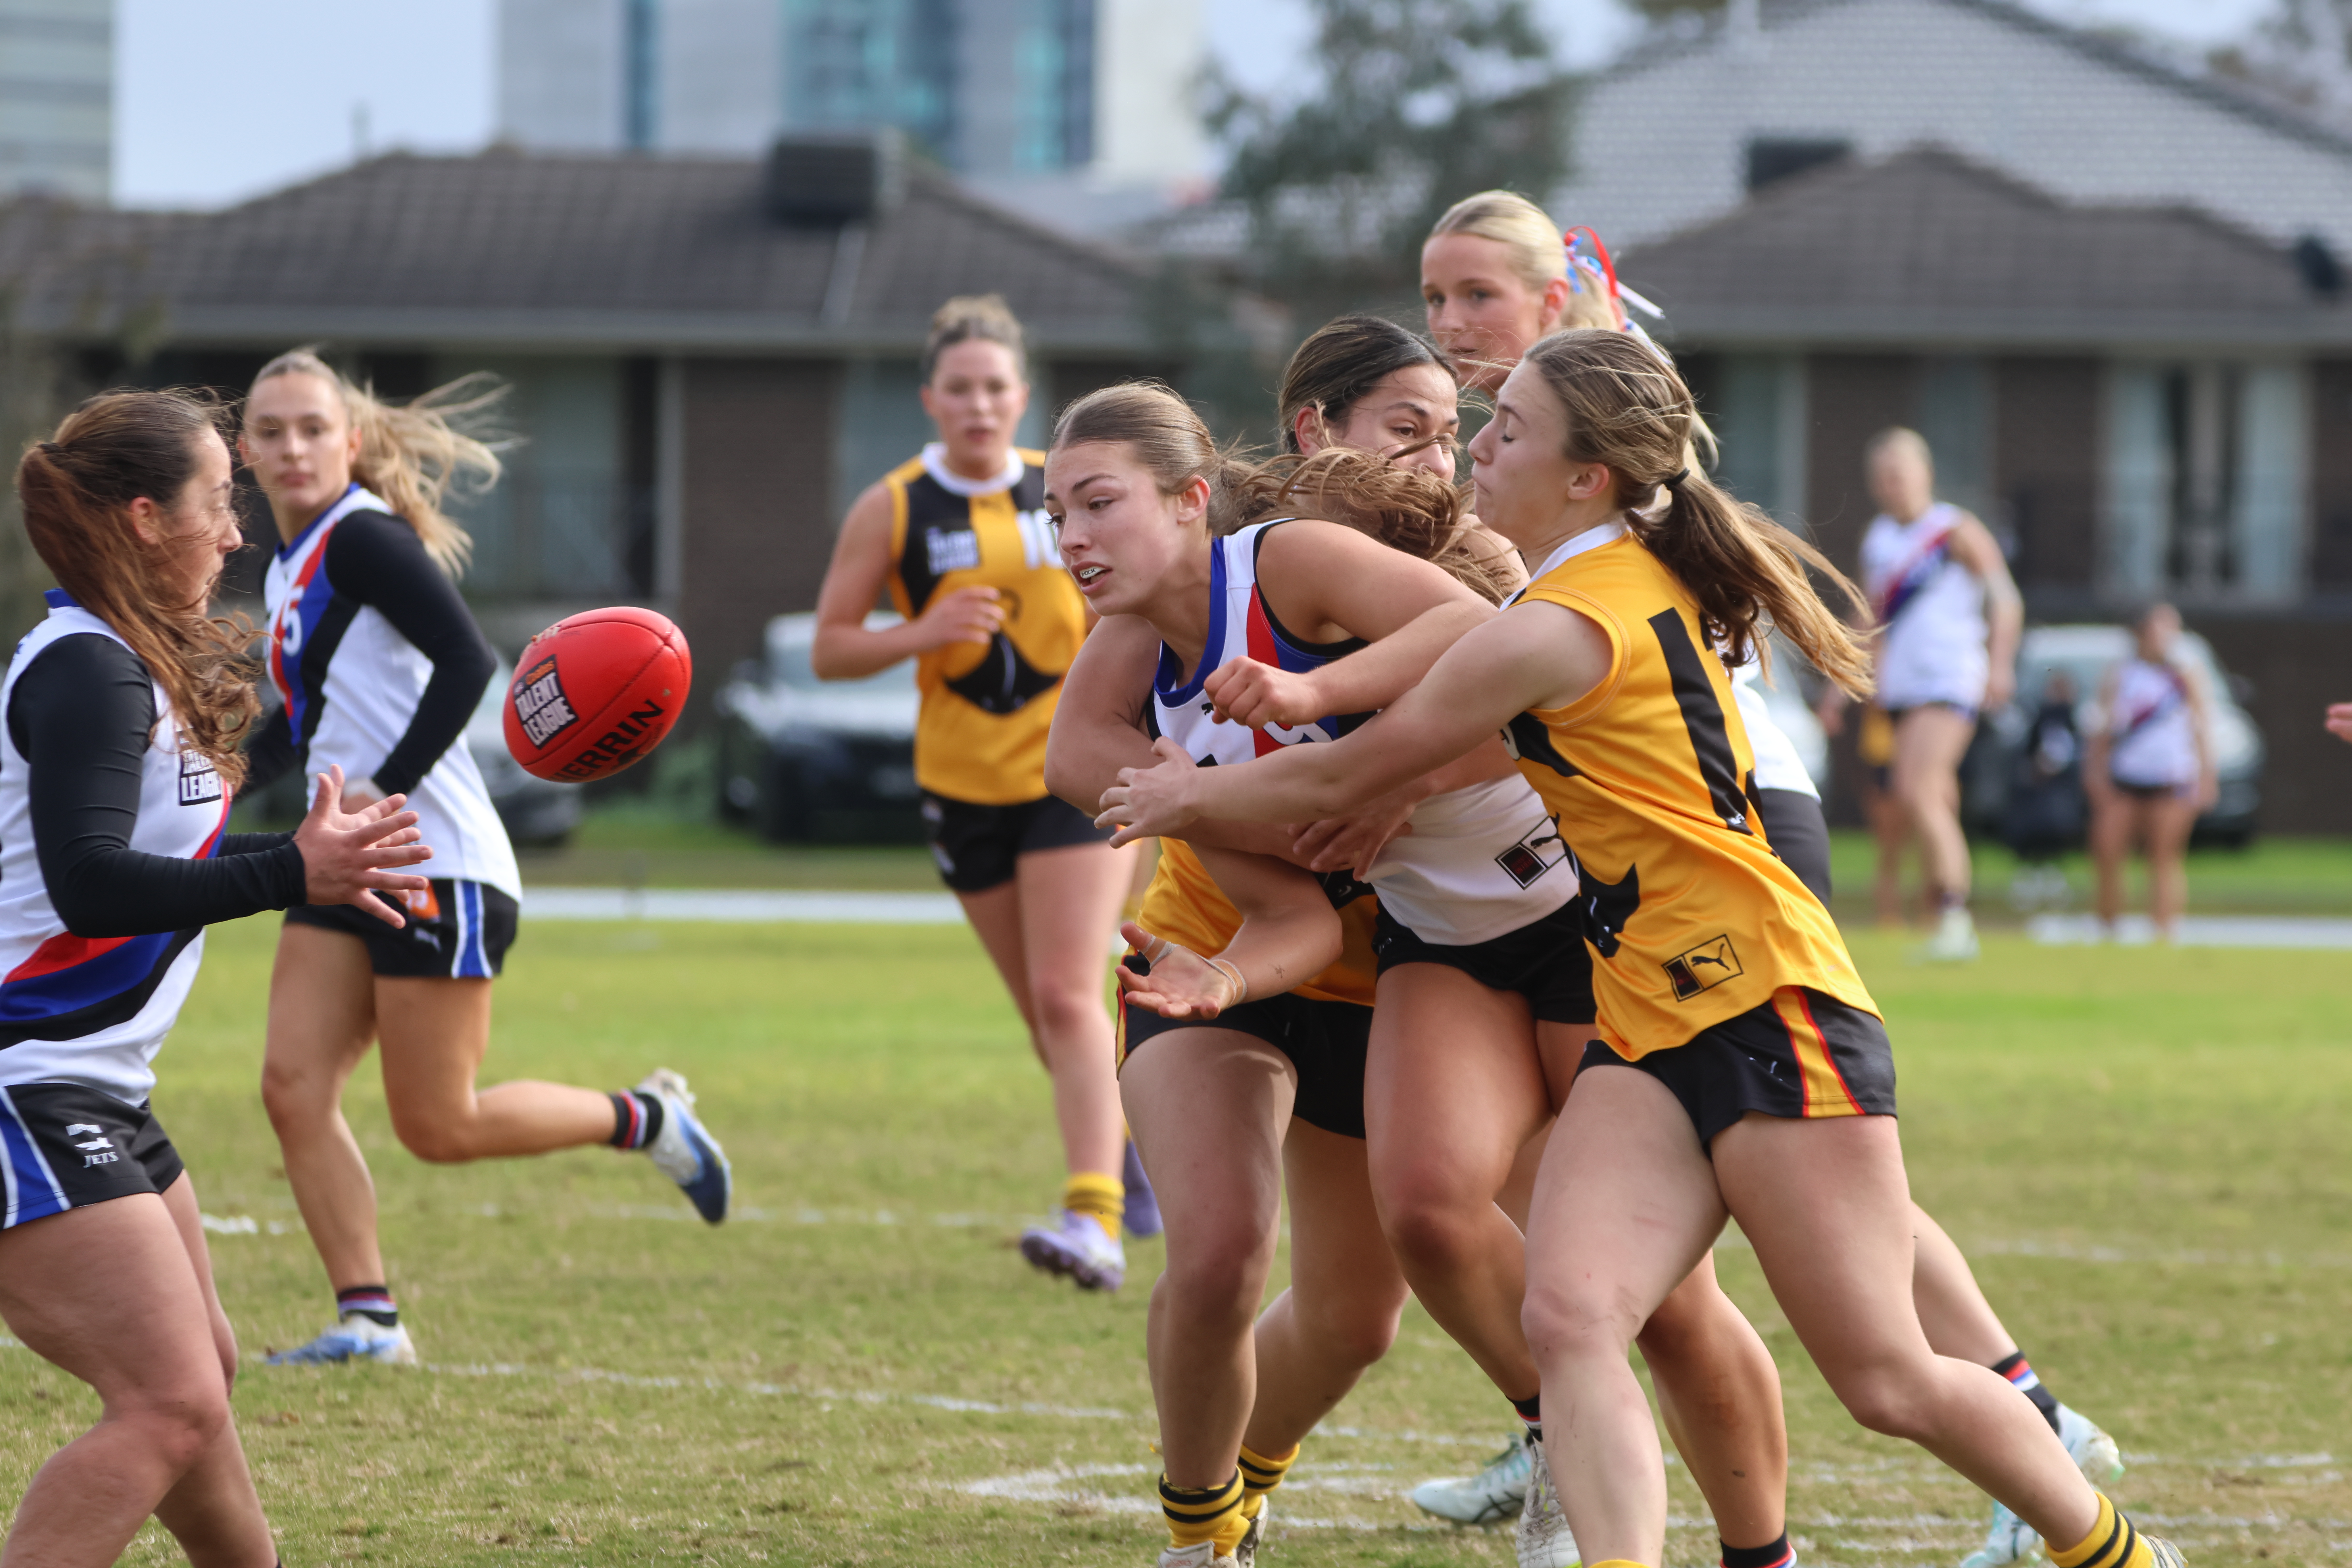
2026 Talent League Girls R17 notes: GWV Rebels vs. Sandringham Dragons
SANDRINGHAM Dragons made it two wins on the trot with big victory over Greater Western Victoria (GWV) Rebels at Mars Stadium over the weekend. The first term was a tough scrap, before the Dragons booted eight goals to one in the final three quarters, with Grace McIntyre and Maya Duane combining for seven of their […]
2026 Talent League Girls R17 notes: Tasmania Devils vs. Calder Cannons
TASMANIA Devils secured the all-important 12-point win over Calder Cannons down on the Apple Isle with some key AFLW Draft prospects putting in huge shifts. We took note of some of the players who caught the eye in the 5.9 (39) to 3.9 (27) result with not much between the two sides. All notes are […]
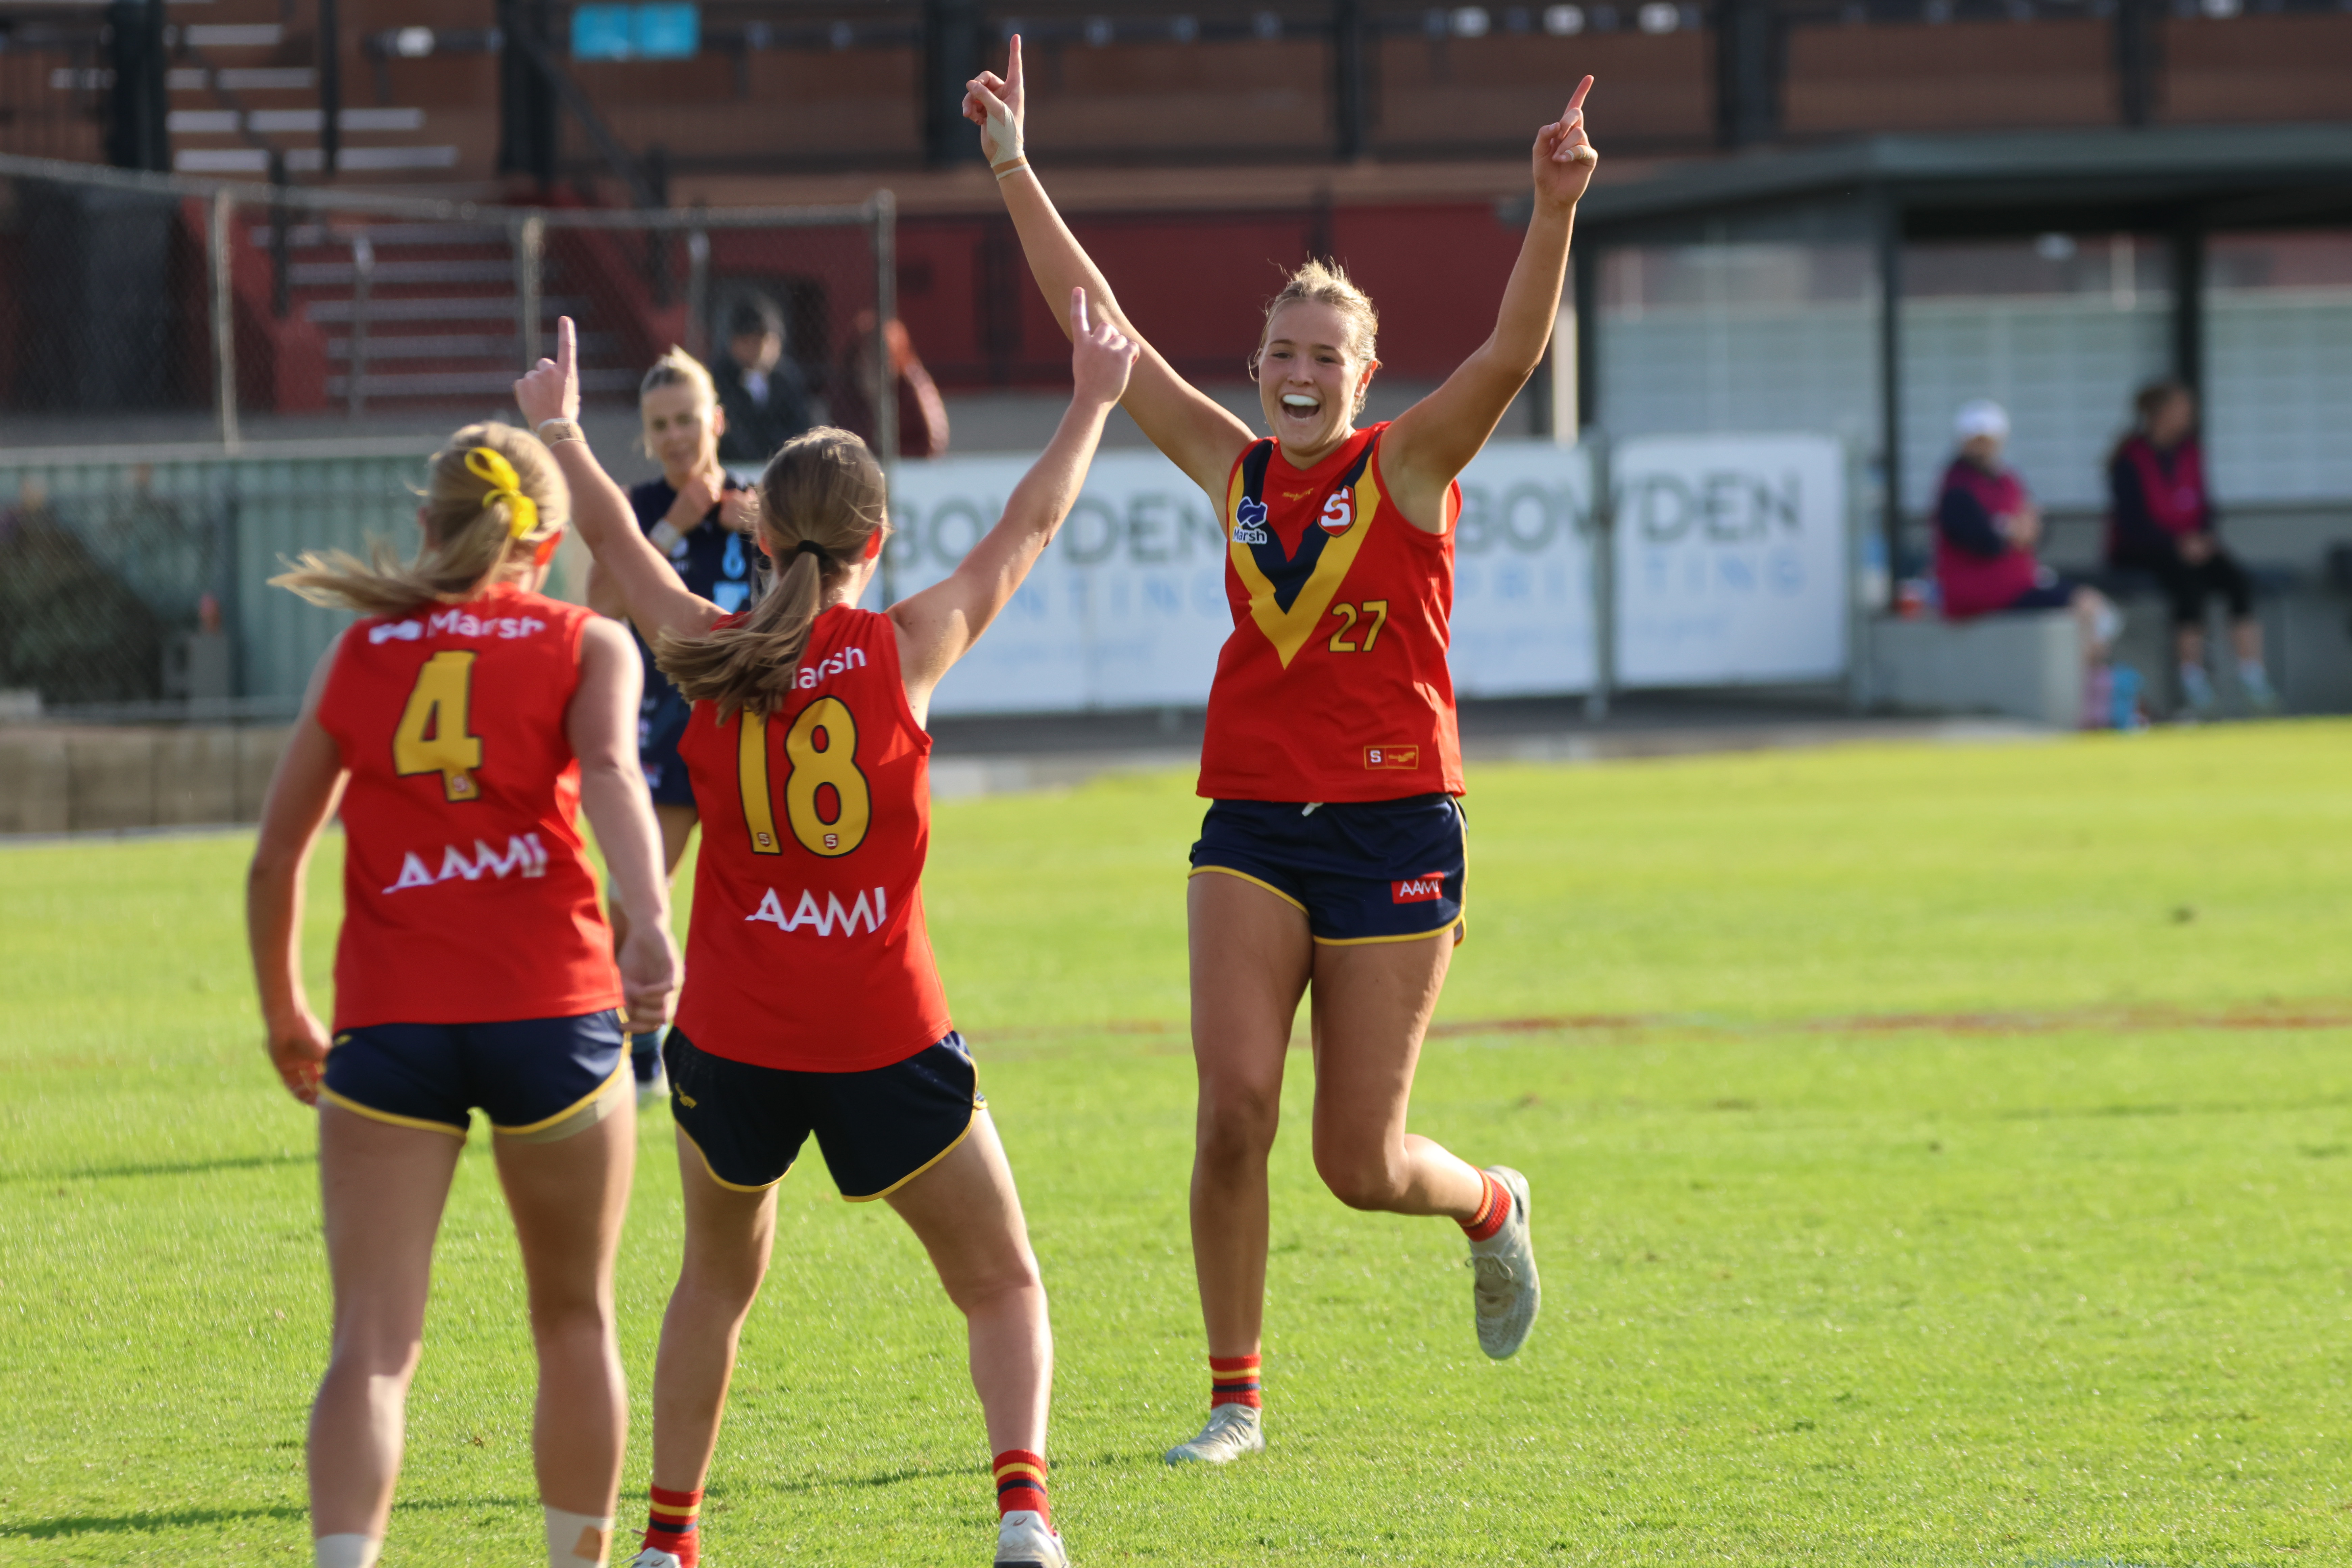
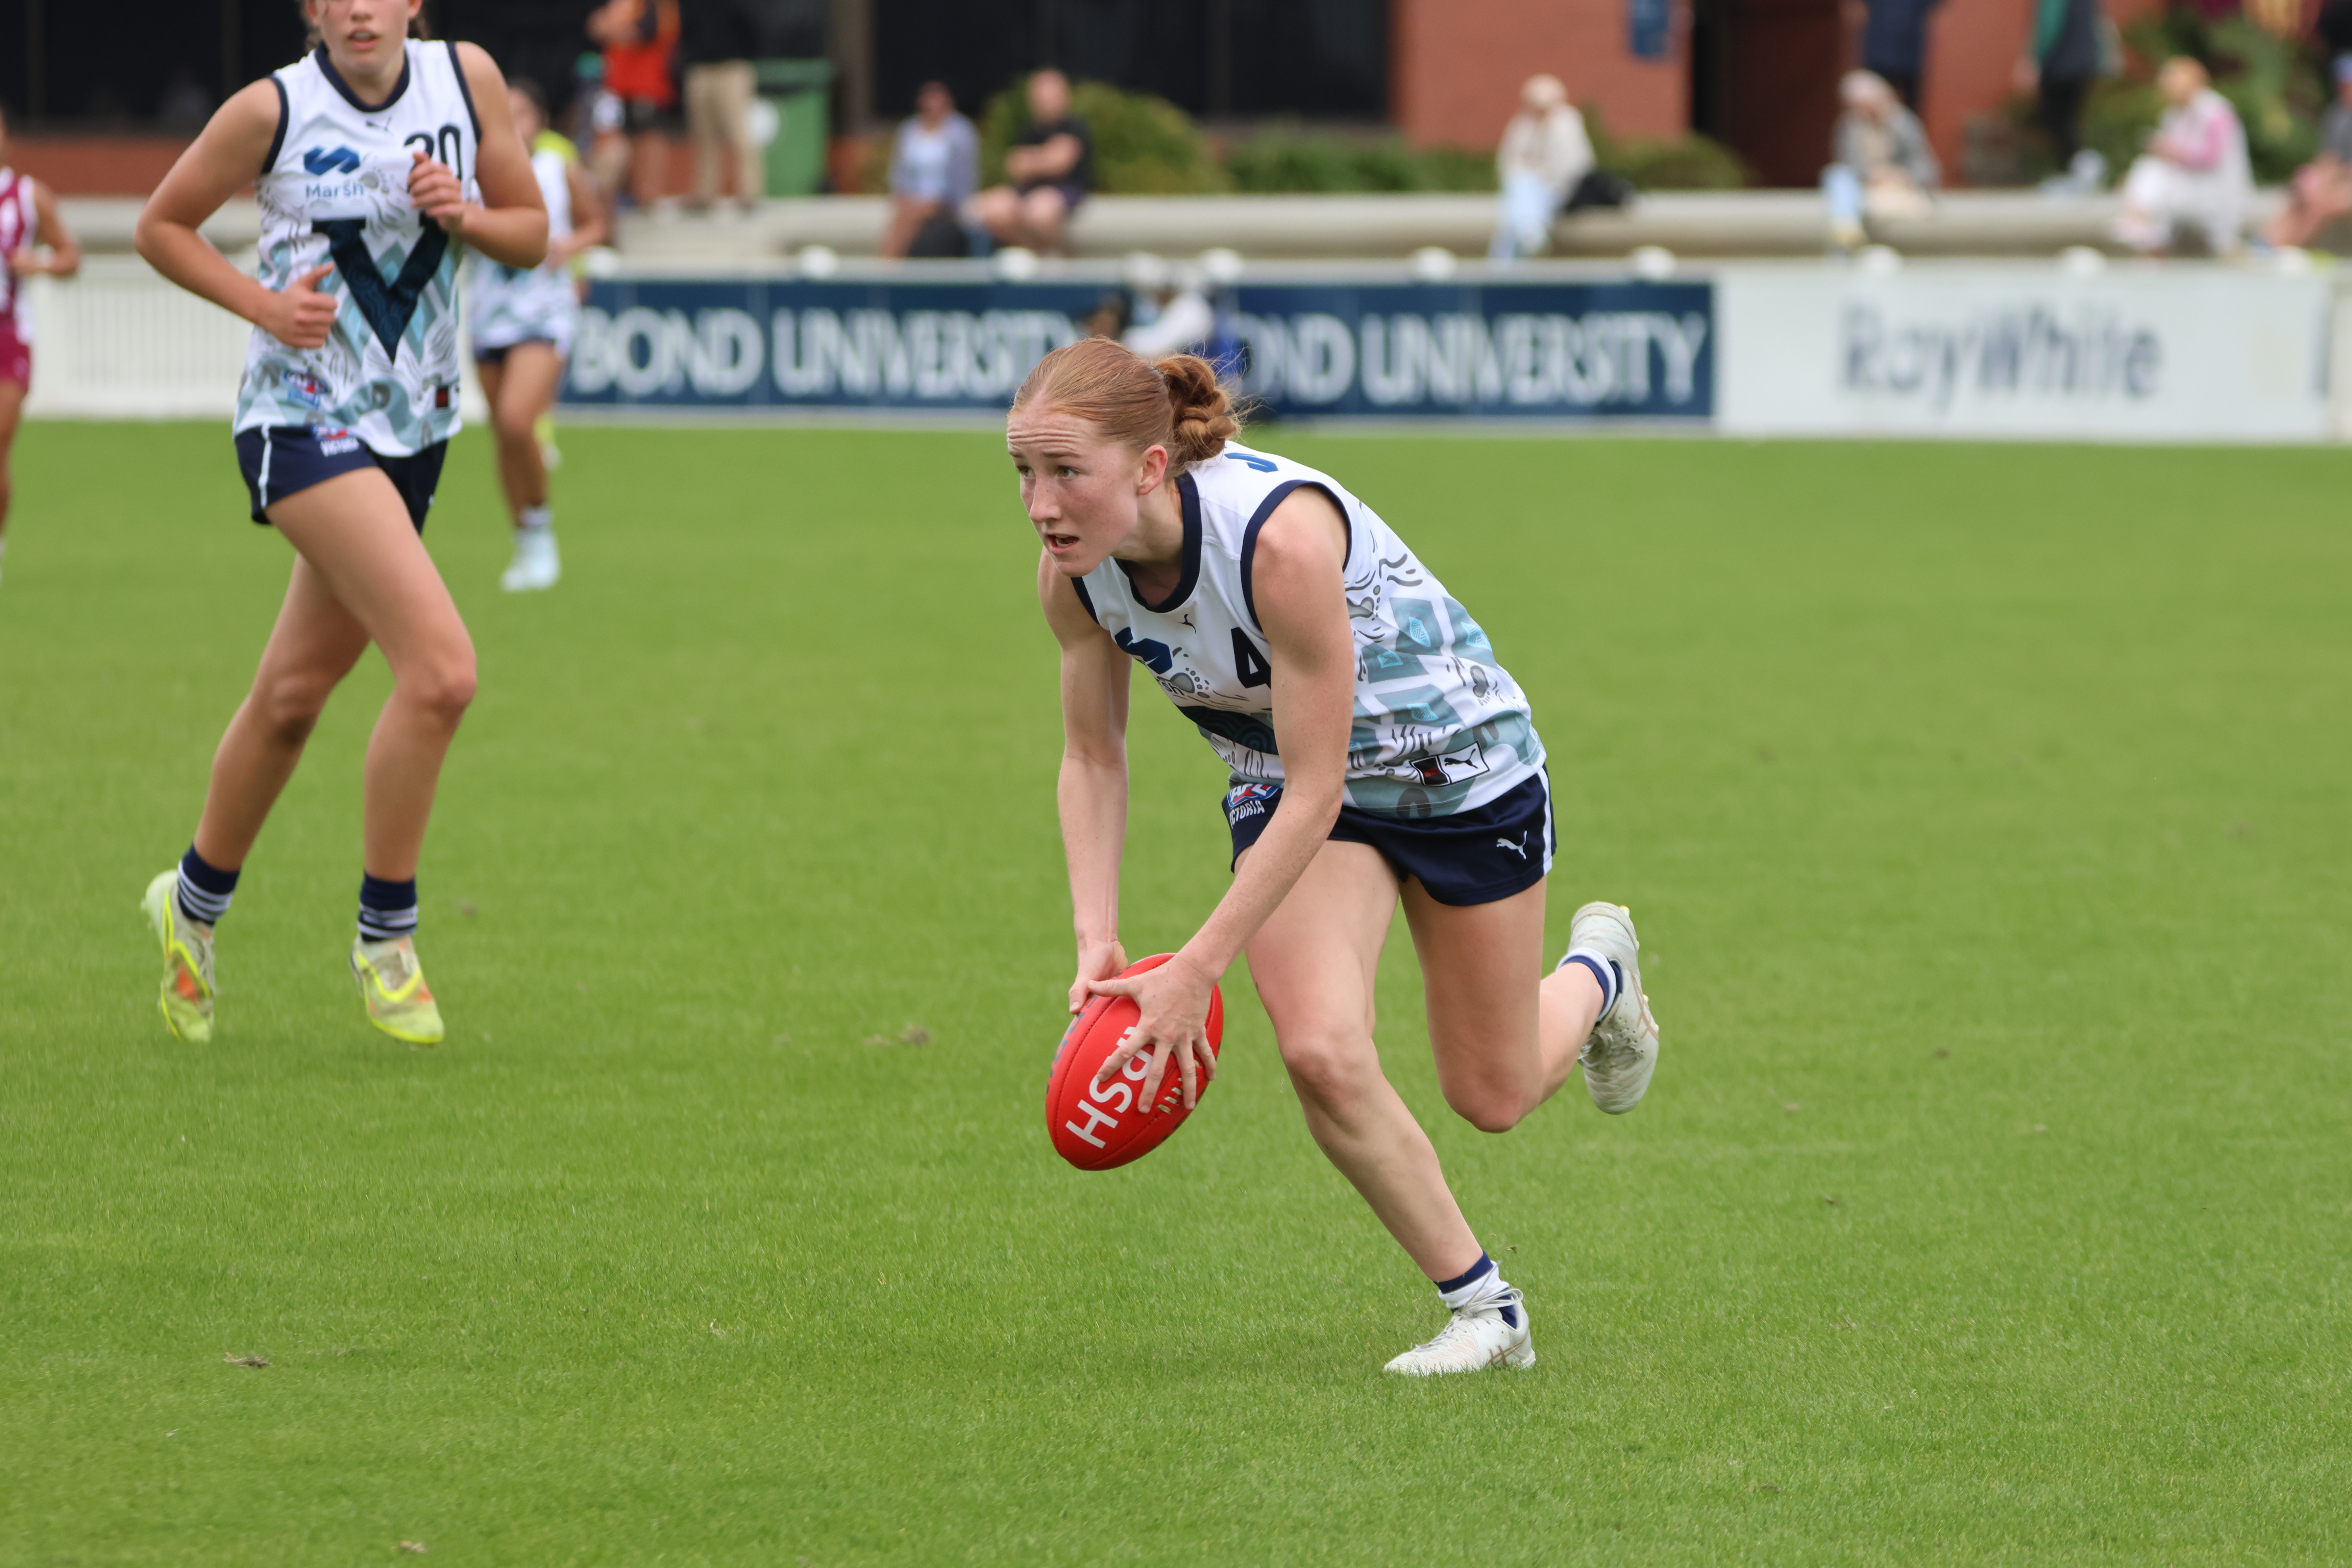
State Academy notes: 2026 SANFLW – Round 12
ROUND 12 of the 2026 SANFL Women’s season produced another absorbing weekend of action, with the State Academy contingent continuing to press their cases. We took note of how each of the Academy members performed across the four games. All notes are the opinion of the individual author.
2026 Talent League Girls R17 notes: Bendigo Pioneers vs. Eastern Ranges
DESPITE conceding the first goal and trailing at quarter time, the Eastern Ranges’ class shone through at Queen Elizabeth Oval, booting 12 goals to nil after the first break to defeat Bendigo Pioneers by 66 points in Round 17 of the Talent League Girls competition. We took note of some of the players who caught […]
2026 Talent League Girls R17 notes: Murray Bushrangers vs. Northern Knights
BOASTING a host of Vic Country and Allies representatives, Murray Bushrangers got back on the winner’s list with a strong 26-point win over Northern Knights. In what was ultimately a tight clash in Seymour, the Bushrangers booted three goals to nil in the third term to really create some breathing room and run out 9.8 […]
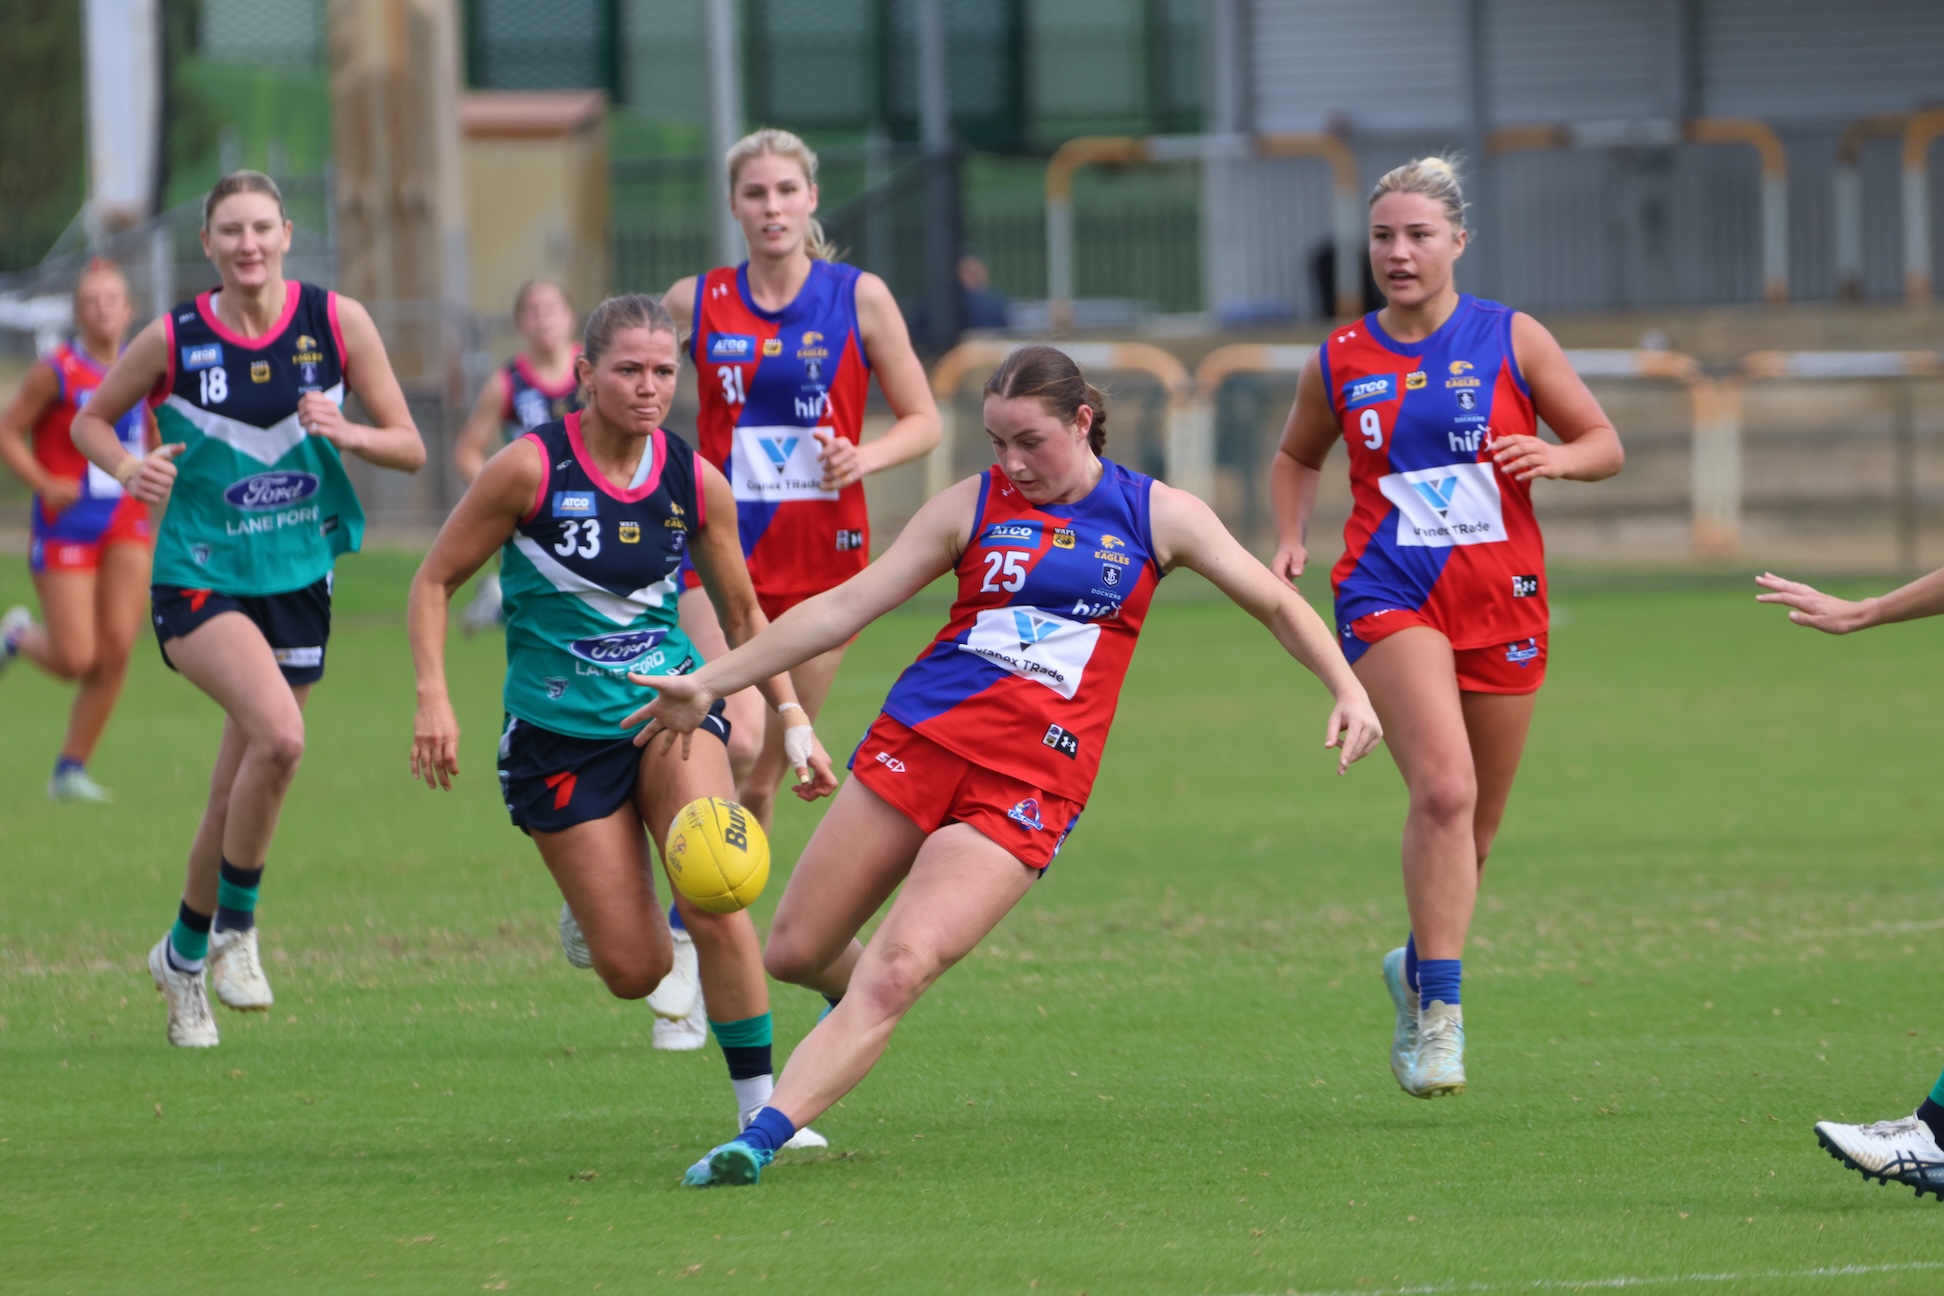
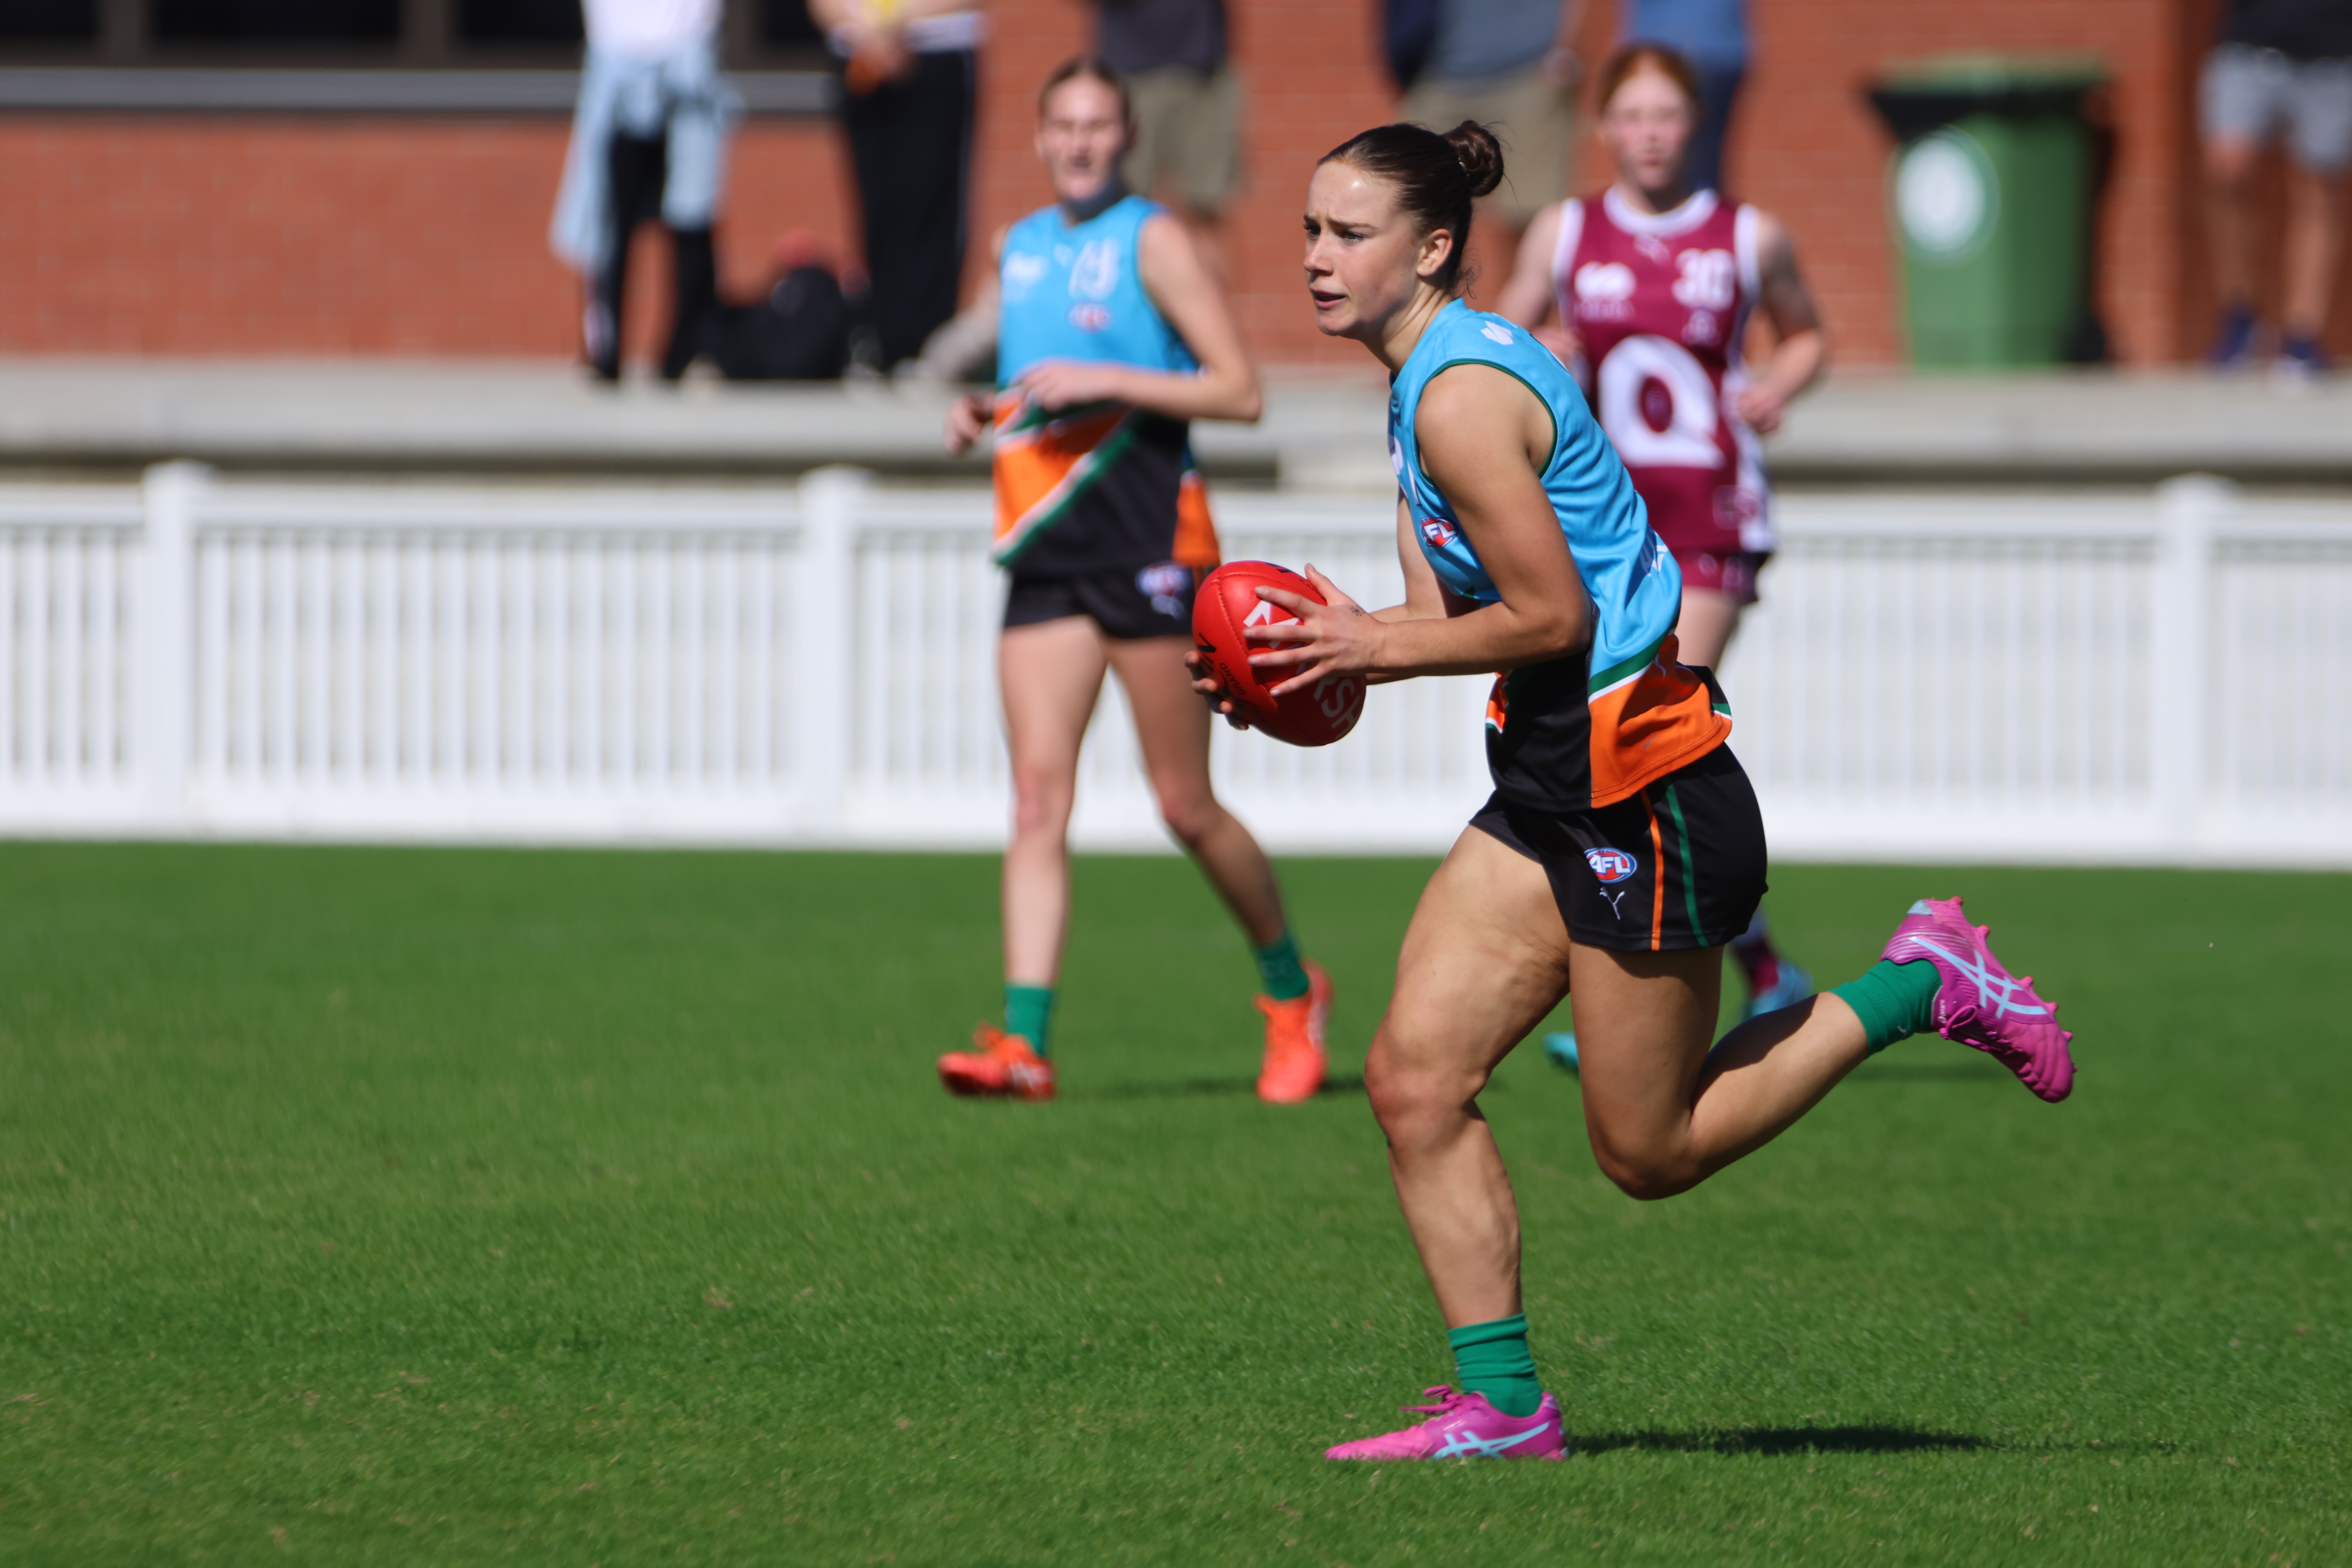
2026 State Academy notes: WAFLW – Round 17
ROUND 17 of the WAFL Women’s season produced some eye-catching individual performances as the competition heads towards its business end. We took note of how the West Australian Summer Squad members fared across each game. All notes are the opinion of the individual author.
2026 Talent League Girls R17 notes: Geelong Falcons vs. Oakleigh Chargers
A FULL-STRENGTH Oakleigh Chargers outfit proved far too good for a Geelong Falcons side missing a huge chunk of its top-end talent, running away with an 80-point win and keeping the Falcons goalless for the entire match. Cate Deayton and Bailee Martin combined for 9.5 during the game, as the Chargers secured a 13.10 (88) […]
2026 Talent League Girls R17 notes: Dandenong Stingrays vs. Western Jets
DANDENONG Stingrays’ unbeaten start to the 2026 Talent League Girls season rolled on with a 23-point victory over the Western Jets at Shepley Oval in Round 17. In a tight tussle for most of the first half, the Stingrays ended up kicking the last five goals of the match to secure the four points, 6.9 […]
Scouting Notes: Cannons clinch thriller after final siren
CALDER Cannons have snatched a last gasp win over Tasmania in Hobart on Sunday, with Thomas Lincoln‘s goal after the siren delivering the four points. Scores were tied after Lincoln put two previous set shots wide, but he hit the target with his third to see the Cannons salute by six points. In what was […]
