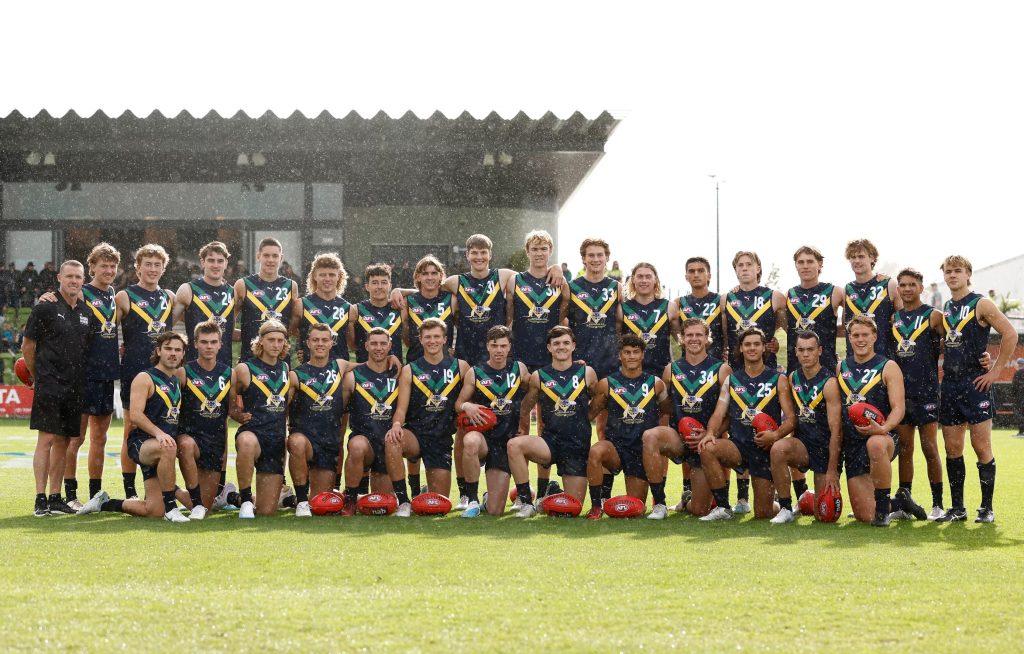
Scouting Notes: AFL Academy vs. Port Adelaide SANFL

THE 2023 AFL Academy squad wore its national colours with pride on Saturday, pushing Port Adelaide’s SANFL side all the way in a 13-point loss in Mount Barker. The 30-player team participated in the annual showcase event amid Adelaide’s Gather Round, acting as a curtain-closer to the AFL clash between Brisbane and North Melbourne.
>> SCROLL for notes on all 30 AFL Academy players
Port mentor Tyson Goldsack, who coached against former Collingwood teammate Tarkyn Lockyer, had 13 AFL-listed players at his disposal and they took toll. Ollie Lord booted all four of the Magpies’ first half goals, while fellow tall forward Mitch Georgiades marked everything, and Jase Burgoyne racked up plenty of possessions.
The senior outfit led from the first goal but had to fight to keep the lead throughout the match. Just when they kicked away in term three, the National Academy kids hit back and got to within a kick of the lead on several occasions. While that eventually alluded the valiant Australian representatives, they hardly lowered their colours.
Pick one fancy Harley Reid was at his powerful best, playing on all three lines for a return of 21 disposals, six marks, seven clearances and a goal. Darcy Wilson (18 disposals) showed his class out on the wing, while Ryley Sanders (21 disposals, six tackles) and Caiden Cleary (17 disposals, 12 tackles) scrapped hard, and Colby McKercher was elusive in a heavily rotated midfield.
Elsewhere, Will Patton was kept busy in the academy’s defence and mini maestro Nick Watson got to work at either end of the ground, ending up with 17 disposals and a goal after adding eight touches in the final term. Like McKercher, Jake Rogers was another to impress with his turn of speed among the stacked on-ball brigade.
AFL ACADEMY 1.1 | 3.4 | 6.5 | 8.9 (57)
PORT ADELAIDE 3.1 | 4.4 | 7.6 | 10.10 (70)
RMC BEST: H. Reid, D. Wilson, C. McKercher, R. Sanders, C. Cleary, W. Patton
GOALS: N. Caddy, J. Walter, H. Reid, J. Callinan, Z. Duursma, K. McAuliffe, J. Rogers, N. Watson
SCOUTING NOTES
#1-19 | By: Michael Alvaro
#1 Nick Watson (Eastern Ranges/Vic Metro)
24/02/2005 | 170cm | 67kg | Small Forward
Ever the livewire, Watson finished arguably the strongest of any Academy player, racking up eight of his 17 disposals in the final quarter. Having started up forward, he found that success with a second-half move to defence, where he looked best when hitting the ball at speed and using his pace to spark quick transitions. He even snuck forward to snag a goal in the final term, finishing with typical aplomb. Watson also resembled a bee in a bottle up forward, proving evasive as he worked beyond the 50-metre arc and assisting Harley Reid’s goal in term two.
#2 Jack Callinan (Clarence/Tasmania Devils)
10/07/2005 | 179cm | 77kg | Small Forward
One of a few players to rotate between the wing and forward line, Callinan was not as consistent a contributor as others but made his touches count. He seemed to always be in, or put others into scoring positions and assisted Jed Walter’s goal with a scrappy snap over the back, before cleverly providing Caiden Cleary with a shot at the sticks. He also found the goals himself via a 50-metre penalty after marking atop the arc.
#3 Caiden Cleary (Swans Academy/NSW-ACT)
03/05/2005 | 182cm | 81kg | Midfielder
Cleary is a real scrapper and was at his burrowing best on Saturday, working hard for his 17 disposals and 12 tackles. The Swans Academy member was constantly at the bottom of packs, fighting to win the ball and flicking it out while also proving desperate in his defensive application. The contested beast was primarily stationed in midfield and his strong frame held up well against senior opposition. Greasy conditions suited his style, but there certainly remains plenty of polish to be applied to Cleary’s end product.
#4 Jack Delean (South Adelaide/South Australia)
15/04/2005 | 181cm | 75kg | Small Forward/Wing
Delean found a home on the wing and while the wet ball was hardly conducive to his high-flying style, he managed to recover from early fumbles to show some class. The South Australian found it tough to waltz away into space as he normally would, instead having to lean on his smarts to make quick decisions and hack the ball forward more often. One said kick was a clever snap on goal which split the sticks, but was touched off the boot. After a solid first half, Delean was rotated in the third term and eventually ended his day being tested for a calf complaint.
#5 Riley Hardeman (Swan Districts/Western Australia)
27/02/2005 | 185cm | 70kg | Defender
A player who usually has little trouble getting his hands on the ball, Hardeman was one of the Academy’s more productive backmen during the first half. He constantly worked into positions to overlap and fanned the ball side-to-side with his raking left-foot kicking – albeit not always pinpoint. With senior experience under his belt, he held up surprisingly well in one-on-one situations but looked most lively when carrying the ball on the rebound. Hardeman gathered 11 disposals to half time before slowing down as it was his turn to rotate off in the second half.
#6 Colby McKercher (Launceston/Tasmania Devils)
04/12/2005 | 181cm | 73kg | Midfielder
Having not been sighted in the opening quarter, McKercher used his fresh legs to make a real impact in the second, thrusted right into the midfield battle. He also spent time up forward throughout the match but did his best work on-ball, backing his searing pace to find stoppage exits and wheel away into attack. He notched nine disposals to the main break and continued to show glimpses of his eye-catching acceleration in the second half, proving one of the Academy’s more productive in-and-out midfielders.
#7 Harley Reid (Bendigo Pioneers/Vic Country)
17/04/2005 | 185cm | 85kg | Midfielder/Utility
Producing one of the ultimate ‘I’m him’ performances, Reid looked a class above en route to 21 disposals, six marks, seven clearances and a goal – all in three quarters of footy. The top pick favourite was comfortable against mature bodies at the contest, using both brain and brawn to win the ball and pump it forward. Having started in midfield, he rotated forward in the first half and showcased his marking prowess, judging the ball beautifully in flight and proving immovable at the drop zone. A big fend-off and left-foot snap goal were among his highlights, though he was brought down a peg in the third term with a move to defence – led to the ball by the likes of Nathan Barkla and Mitch Georgiades, and conceding a 50-metre penalty to the latter. Still, he was up for the contest, not afraid to niggle, and flung himself at each contest before a well-earned rest in the fourth quarter.
#8 Archie Roberts (Sandringham Dragons/Vic Metro)
18/11/2005 | 184cm | 77kg | Defender
Employed in his usual role down back, Roberts had a relatively quiet day with no easy possessions to come by. He took on some of the kick-in duties early and in typical fashion, looked long but went short and continued his run to demand the ball back. He’s the type of player who wants the ball in his hands and that was evident as he worked to be an outlet option in the defensive 50. Rotations through the middle of the game made it hard for Roberts to sustain his impact over four quarters.
#9 Jake Rogers (Suns Academy/Queensland)
02/03/2005 | 171cm | 68kg | Midfielder
Defying his size as a relative full-time midfielder, Rogers was another who made his mark upon being introduced in the second quarter. He hunted with speed at stoppage and applied pressure on Port’s ball winners, doing his best to hang onto them in tackles. When he won the ball himself, Rogers moved it on quickly and looked for pockets of space to navigate through, though they were hard to come by. He had a few nice moments in the second half, including a sharp candy sell and a nice left-foot snap goal to put the cherry on top of his performance.
#10 Ryley Sanders (Sandringham Dragons/Tasmania)
21/01/2005 | 186cm | 85kg | Midfielder
Sanders brings a bit of the old school with his high socks, black boots and overall style of play. The Tasmanian was used on both sides of midfield and, with such natural instincts, racked up 21 disposals. He fared well in the conditions with typically clean handling and sharp use by hand, though he was a touch more hit and miss by foot. His deft feints in traffic and ability to draw opponents made it easier for his teammates to find space once he hit them up, and for that reason Sanders looks best on the inside. Having started there, he also got involved out on the wing and brought others into the play as he looked to chain passages forward.
#11 Orlando Turner (Norwood/Northern Territory)
16/05/2005 | 176cm | 67kg | Small Forward
A low-possession, high-impact type of player, Turner found ways to get dangerous around goal with limited opportunities. He only needed a split second to prize a couple of snaps towards the sticks, albeit missing both, and did his best to split ground ball contests before help arrived. The Northern Territory native was another who spent time on the wing as he looked to build into the game in the second half.
#12 Darcy Wilson (Murray Bushrangers/Vic Country)
18/08/2005 | 185cm | 73kg | Midfielder/Forward
Wilson seems to have established himself as a genuine top prospect over the last few weeks and looked a picture of absolute class on Saturday. Stationed out on the wing, he was silky smooth in possession and super sharp below his knees, picking up the wet ball at speed with no issue. He produced some brilliant moments; from deft baulks, to bursts of speed, no-look handballs, and fluent forward forays across a promising 18-disposal outing. The elusive midfielder-forward gained good meterage and while his kicks could have been more pinpoint at times, were usually placed in good areas for the Academy forwards. There’s plenty to like.
#17 Lachlan Cabor (Swans Academy/NSW-ACT)
28/09/2005 | 179cm | 82kg | Defender/Midfielder
One of nine players to have earned National Academy selection as a bottom and top-ager, Cabor wasn’t necessarily a prolific ball winner but tried hard in his rotation between defence and midfield. He kept things simple by hand and foot, often going long or flicking the ball out quickly when driving low and hard at the contest.
#18 Nate Caddy (Northern Knights/Vic Metro)
14/07/2005 | 192cm | 91kg | Forward
Caddy made an ideal start to the game, booting his side’s opening goal after a strong mark at the top of the goalsquare. Although, he struggled to produce more of the same in what was a rain impacted game, not offering as much at ground level as he typically would aerially. Poor service didn’t help, but Caddy still worked into good spots to compete during the second half, even if clean clunks evaded him.
#19 Zane Duursma (Gippsland Power/Vic Country)
28/08/2005 | 189cm | 79kg | Forward/Midfielder
Utilised almost exclusively as a forward, Duursma showed glimpses of class despite his style not being favoured by the greasy ball. He moved smoothly when wheeling away from stoppages and used his range to pick off opposition handballs, forcing turnovers or breaking up the play. Like Caddy, he produced some brave aerial efforts without too many results, but was rewarded for his effort with a lovely third term goal on the run from 45 metres after a nice scoop off the deck.

#20-34 | By: Declan Reeve
#20 Will Lorenz (Oakleigh Chargers/Vic Metro)
19/02/2005 | 186cm | 70kg | Midfielder/Utility
Playing a bit of everywhere throughout the four quarters, Lorenz wasn’t a massive ball winner but made good use of it when he got hands on the ball. It was his use by hand that was most impressive, keeping his hands free through traffic and always finding a good option in a better position when getting taken to ground. He was at his most impactful in the forward half, flying for marks and competing strongly at ground level when he didn’t hold them. Lorenz’s defensive work ethic was also notable, chasing opponents hard to apply tackles
#21 Kane McAuliffe (North Adelaide/South Australia)
01/03/2005 | 187cm | 90kg | Midfielder
McAuliffe was a strong defensive presence around stoppages and in congestion, applying a lot of pressure to cause mistakes in disposal or repeat stoppages. He didn’t end up with a lot of disposals but was consistently solid in his use, working the ball to teammates well by hand and spotting out a couple of nice switch options in general play. The highlight of McAuliffe’s match came in the third quarter as he read a front and centre superbly, picking the ball up at speed and snapping it through from about 40 out.
#22 Ashton Moir (Glenelg/South Australia)
15/04/2005 | 188cm | 84kg | Forward
It was a hard day for the typically dangerous forward, perhaps receiving a bit of extra attention from the Power defence. Whilst he didn’t accumulate a lot of ball or hit the scoreboard, he still had moments where he displayed his cleanliness and class with the footy, competing hard in the contest and making good decisions under pressure. His work below his knees was most impressive, managing to win ground balls at speed and under pressure when given a clean run at it. Despite not hitting the scoreboard himself, he did a lot of work to set one up with a strong tackle forcing the ball to spill free inside 50 in the third quarter, allowing Zane Duursma to collect it and score.
#23 Connor O’Sullivan (Murray Bushrangers/NSW-ACT)
19/05/2005 | 198cm | 92kg | Key Defender/Utility
O’Sullivan didn’t get onto the ground in the first quarter, but managed to show off his impressive athletic base that has seen recruiters taking extra notice of him recently. O’Sullivan was a constant headache for the Port Adelaide tall forwards, possessing great closing speed that made it difficult for opponents to get any marks on the lead or in the air. O’Sullivan mostly used it well, often looking for safe switch options, but did occasionally pull out a long bomb forward when the situation called for it.
#24 Will Patton (West Adelaide/South Australia)
04/01/2005 | 192cm | 79kg | Defender
Quite simply the standout defender for the Academy side, Patton was consistently flying for marks or moving the ball out of defensive 50. Patton got into good spots for teammates to give off to, positioning as a switch option or running past teammates for a handball receive on the outside. Patton’s ball use was good all game, rarely being one that bombed down the line to a pack and always looking for options on 45-degree angles or laterally. Patton showed confidence in running off his opponent to impact further up the ground or in other defensive 50 contests, but does need some improvement in his work to get back on them when in transition.
#25 Nathan Philactides (Oakleigh Chargers/Vic Metro)
10/01/2005 | 181cm | 78kg | Defender
Philactides started the game like a house on fire, pushing up the the forward 50 mark to sweep up kicks the Port Adelaide defenders wildly bombed out. His ball use was good, finding a nice balance between his usual run-and-gun style of play and a more conservative approach when the situation called for it. Philactides was an animal in applying pressure and laying tackles when opposition were in his area. Whilst he found it difficult to stay consistently involved due to heavy rotation, he always managed to impact in situations where he was expected to.
#26 Cooper Simpson (Dandenong Stingrays/Vic Country)
13/02/2005 | 182cm | 76kg | Midfielder
Seemingly spending the most time on-ball of all Academy players, Simpson cracked in hard all game and was a menace around stoppages. His defensive work was a genuine headache for the Power midfielders for most of the game, chasing opposition hard around the contest up until the very last second. Simpson was clean at ground level even when copping contact from opposition, always looking for teammates to hand off to as soon as he won it.
#27 George Stevens (GWV Rebels/Vic Country)
14/04/2005 | 189cm | 84kg | Defender
Another who gave it a good crack all game, Stevens was solid in the backline throughout as his side’s skipper. Although he was a bit fumbly early on, Stevens didn’t let that deter him as he still made himself an option and looked to move the ball positively up the field. Stevens did get caught behind his opponent a few times, but always made an effort to get a fist in to create a contest.
#28 Koltyn Tholstrup (Subiaco/Western Australia)
28/06/2005 | 188cm | 80kg | Forward/Midfielder
One of the few players with experience at senior level, Tholstrup found it difficult to impact consistently due to being thrown around a bit. He looked at his best in the third term when positioned as a half-forward, impressing with his ability to read the ball off hands in marking contests, fiercely and courageously going in to win it even with frontal pressure. His ball use and decision making by hand were good, hitting players close to top speed to keep the team moving forward quickly.
#29 Daniel Curtin (Claremont/Western Australia)
08/03/2005 | 195cm | 93kg | Key Defender/Forward
Not quite putting in a performance at the level you’d expect from him, Curtin had a far more defensive focus in the first half, impacting marking contests well and outrunning opposition forwards, forcing them to spoil kicks intended for them. After sitting out the third term due to rotation, Curtin put in a good fourth quarter display, showing off his disposal quality and evasion skill a lot more as he positioned better to get involved in chain plays out of defensive 50.
#30 Mitchell Edwards (Peel Thunder/Western Australia)
02/06/2005 | 207cm | 90kg | Ruck
Recovering in time from a corkie to play, Edwards didn’t quite produce the ruck dominance we’ve become to expect, as he struggled to adjust to the physicality of AFL-listed bigman Sam Hayes. He still impressed with his athletic ability, allowing him to win a few hitouts when caught out of position. Edwards’ value was in his work around the ground, taking some commanding marks overhead and following up with good ball use, particularly by foot.
#31 Will Green (Northern Knights/Vic Metro)
08/09/2005 | 204cm | 89kg | Ruck
Arguably the best of the three Academy rucks in terms of application at ruck contests, Green adapted to the physicality and aggression of his AFL-listed opposition surprisingly well, never wavering in approach when running at his opponent or engaging in contact at stoppages. Green placed his taps well when he won them clean, putting them into the path of teammates on the move.
#32 Ethan Read (Suns Academy/Queensland)
07/08/2005 | 202cm | 87kg | Ruck
In a similar vein to Edwards, Read’s best contributions were around the ground with some clean pick-ups at ground level and good use by hand when he got hold of it.
#33 Archer Reid (Gippsland Power/Vic Country)
19/09/2005 | 203cm | 93kg | Key Forward
After sitting out the first half, it’s understandable that Reid found it difficult to work into the game. He did find a bit of the footy in the final term, with a strong mark on the lead followed by a deep inside 50 the highlight.
#34 Jed Walter (Suns Academy/Queensland)
08/06/2005 | 194cm | Key Forward
Like majority of the other talls, Walter found it difficult to be consistently involved in the contest, though not through lack of effort. Walter worked up onto the wing at times, rarely rewarded for the effort though it didn’t deter him. Walter did manage to hit the scoreboard, running onto a loose ball in the goalsquare and soccering it through off the ground.

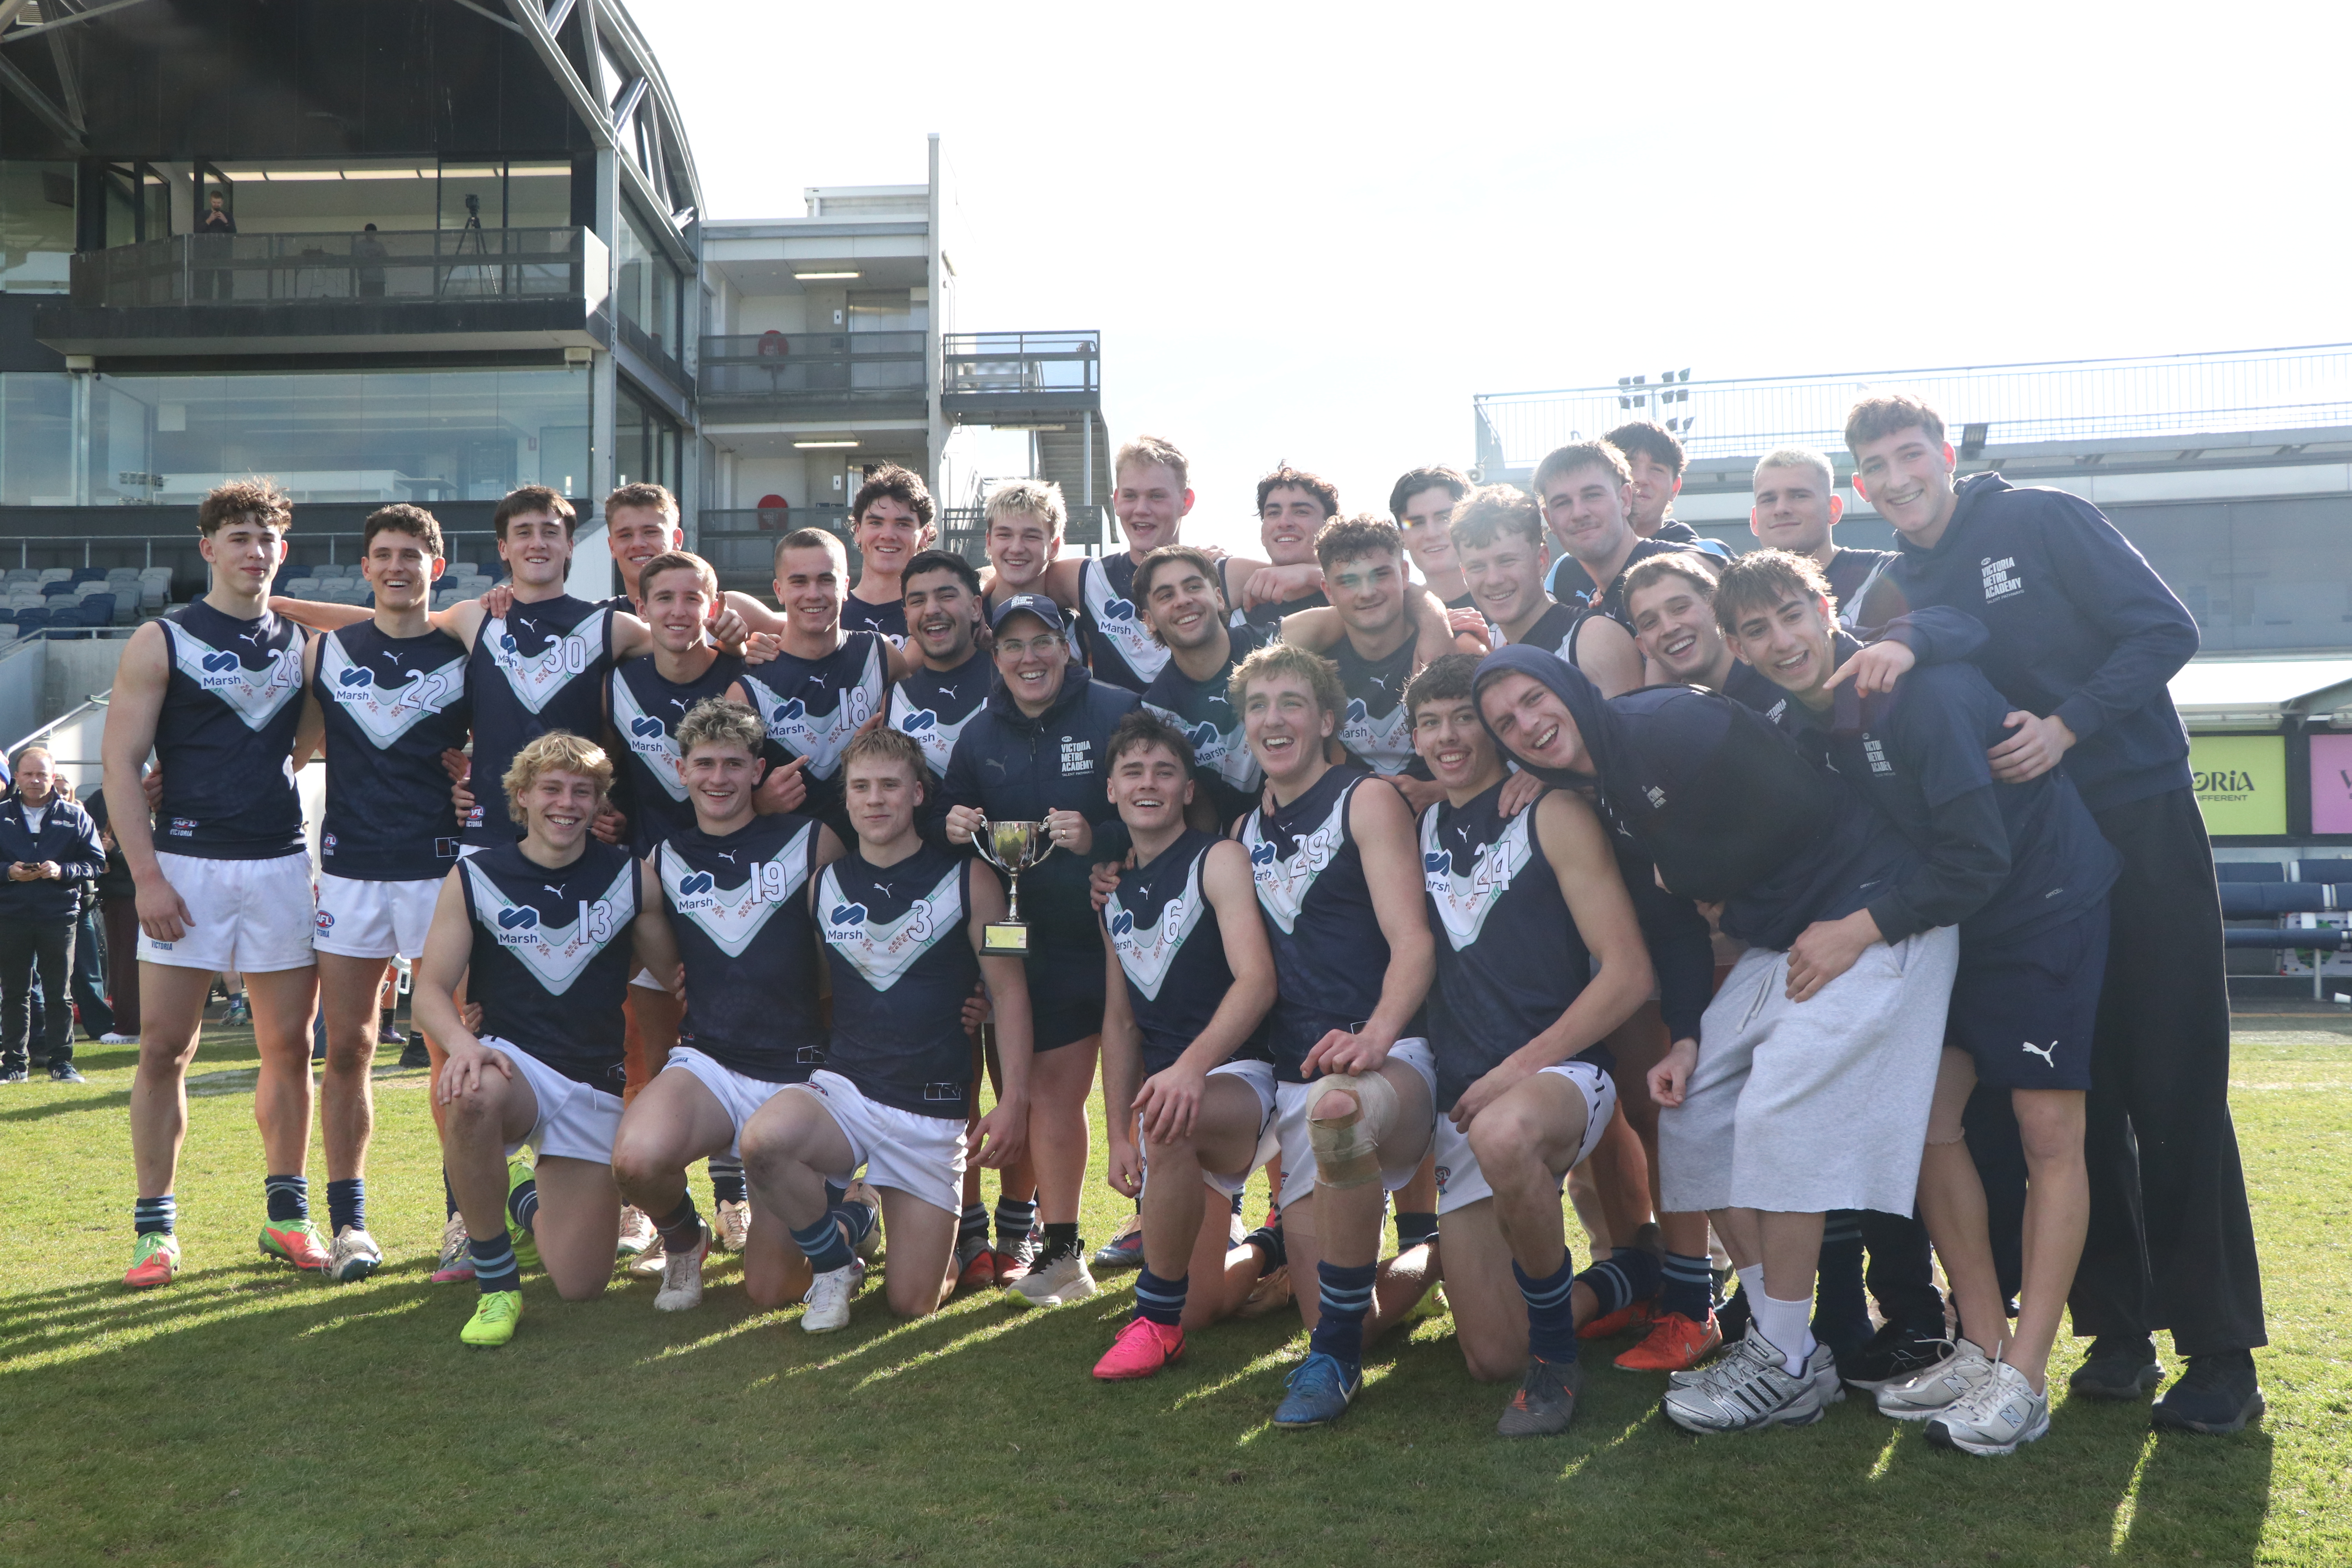
Scouting Notes: 2026 AFL U18s – Vic Country vs. Vic Metro
VIC METRO has completed an undefeated Under 18 National Championships campaign after thumping rivals Vic Country by 92 points at Mars Stadium on Sunday. The newly crowned champions piled on the first 11 goals of the game, setting up their comfortable victory with 13 to one in the opening half. A 35-22 clearance trouncing helped […]
2026 Talent League Girls R16 notes: Calder Cannons vs. Murray Bushrangers
CALDER Cannons continued their season as the top metropolitan team as it stands, producing a 19-point win over Murray Bushrangers in Round 16 of the Talent League Girls season. In a tough day for kicking straight, the Cannons booted six of the nine final term behinds on their way to a 5.13 (43) to 3.6 […]
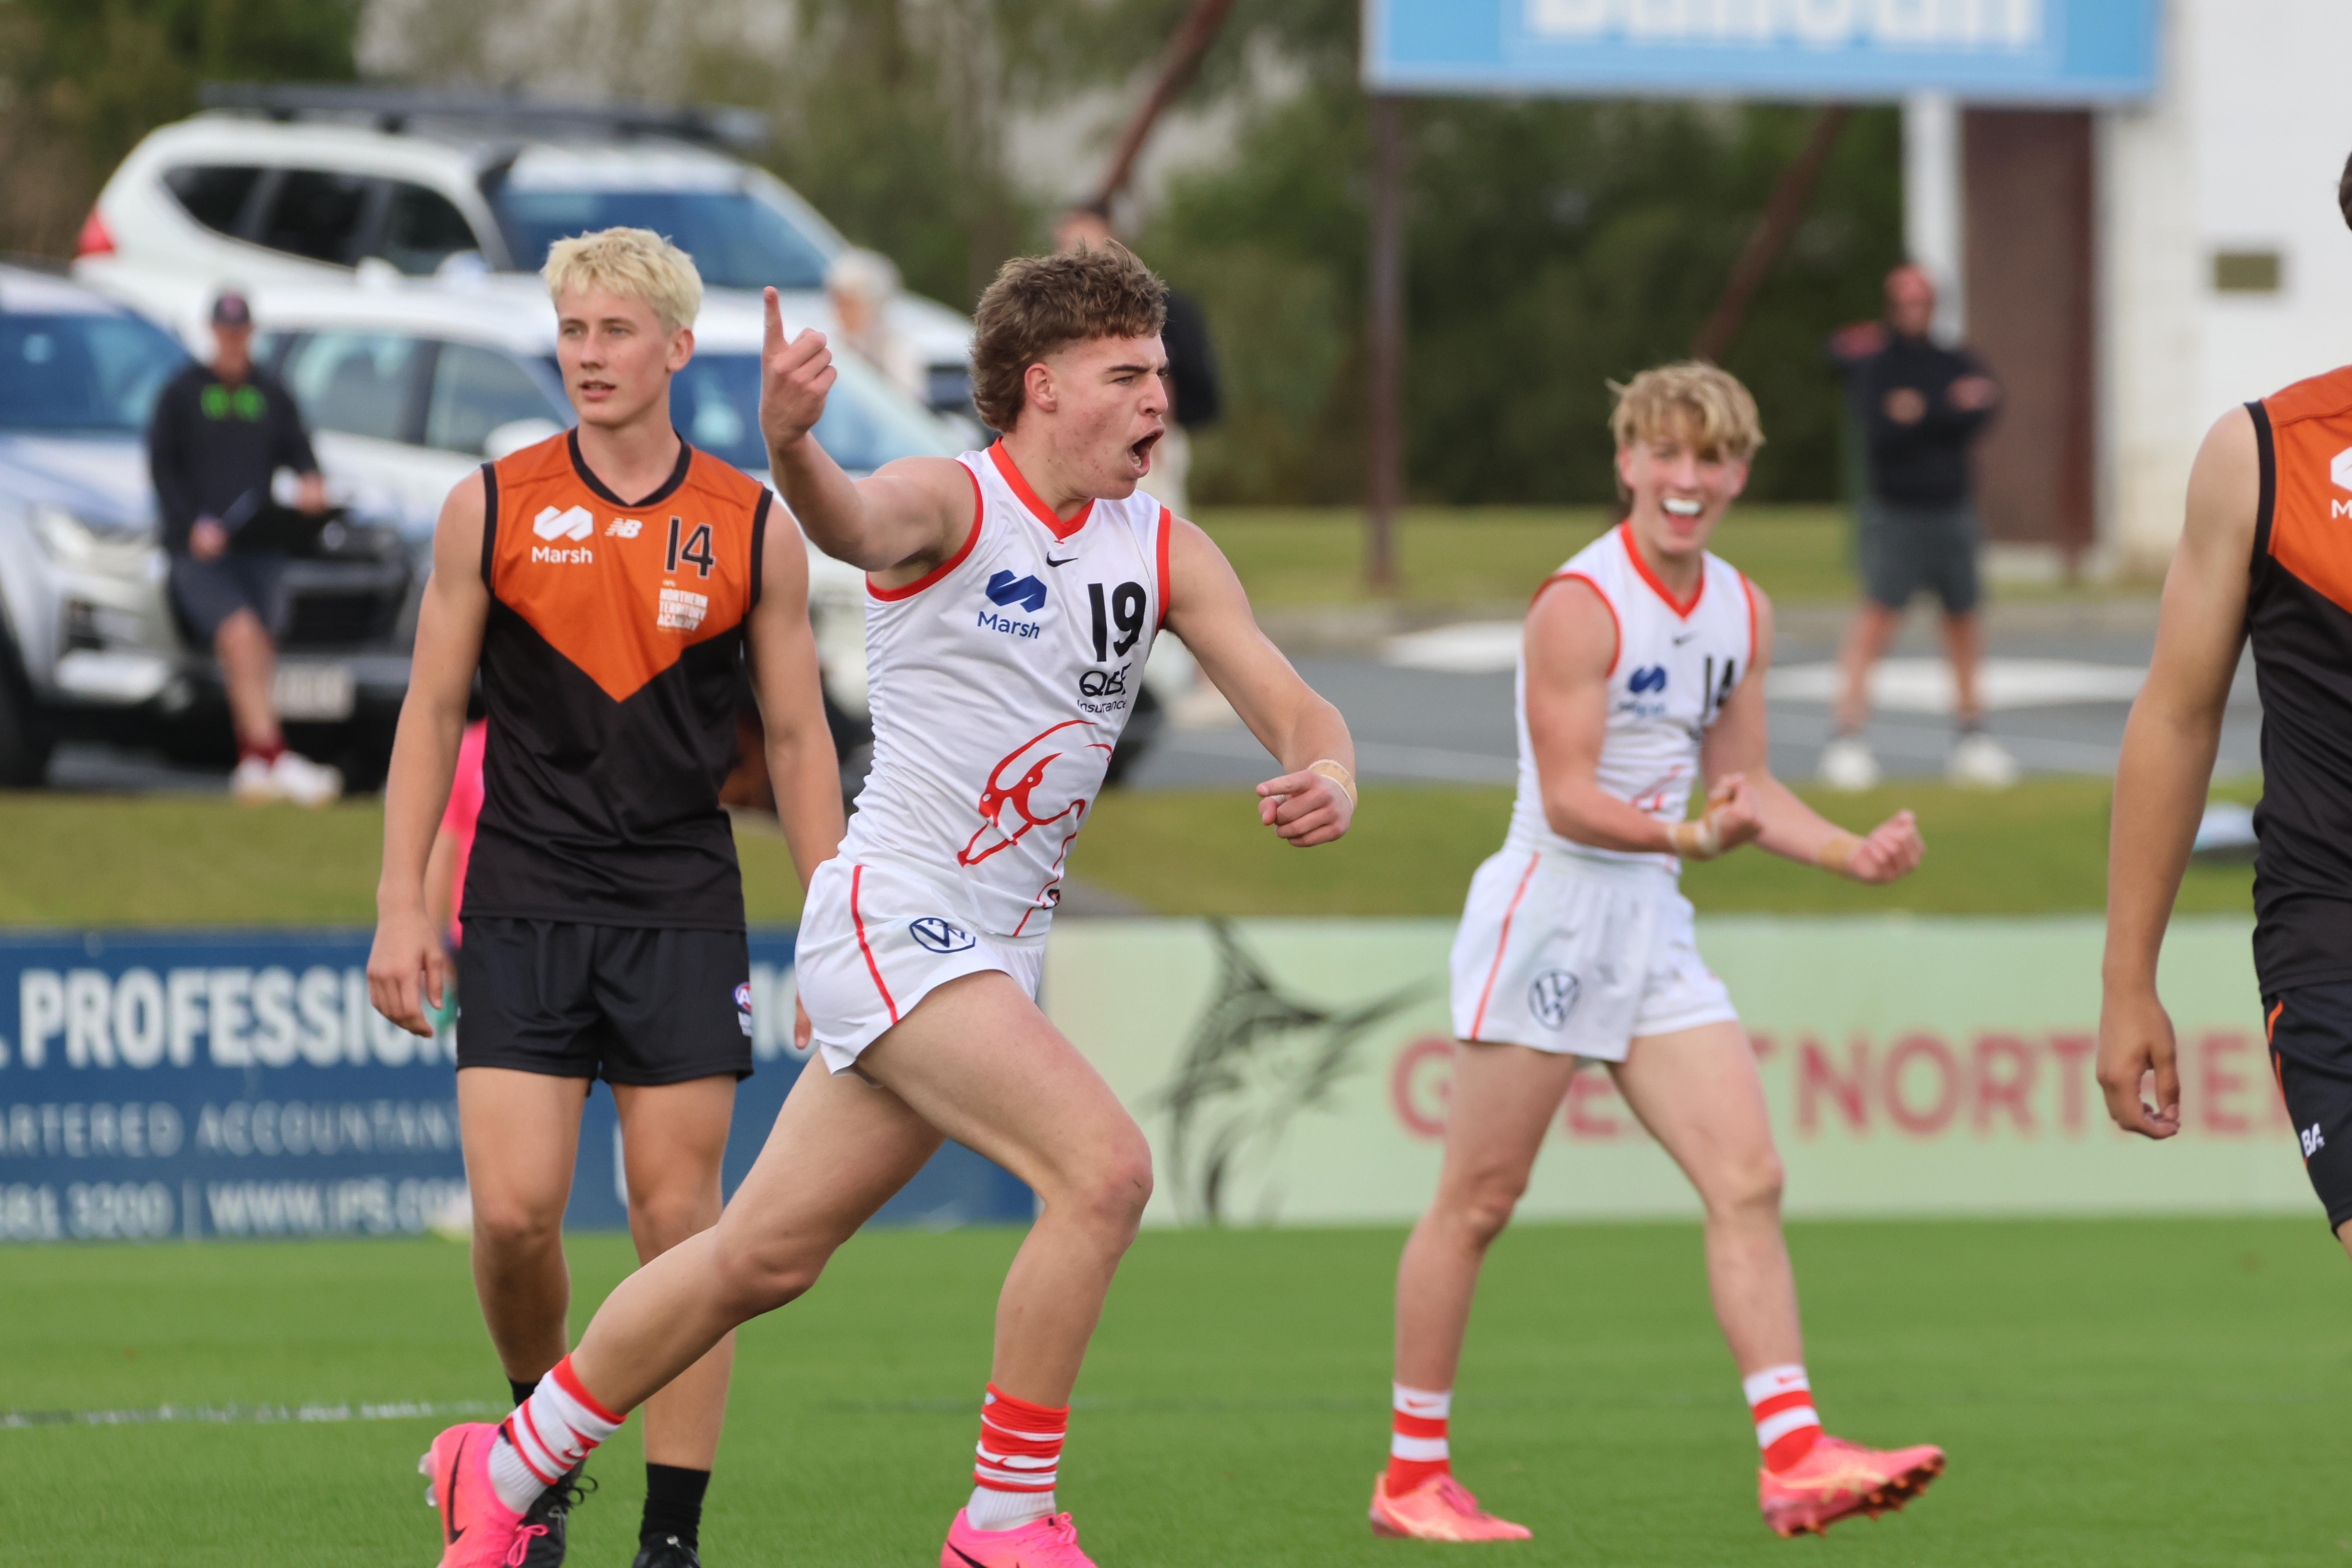
Scouting Notes: 2026 AFL U16s – Northern Territory vs. Swans Academy
THE SYDNEY Swans Academy completed an unlikely comeback against the Northern Territory to complete its Under 16 National Championships on a winning note. Having trailed all day and by as many as 32 points late in term three, the Swans piled on five unanswered final-quarter goals at the scoring end to win by seven points […]
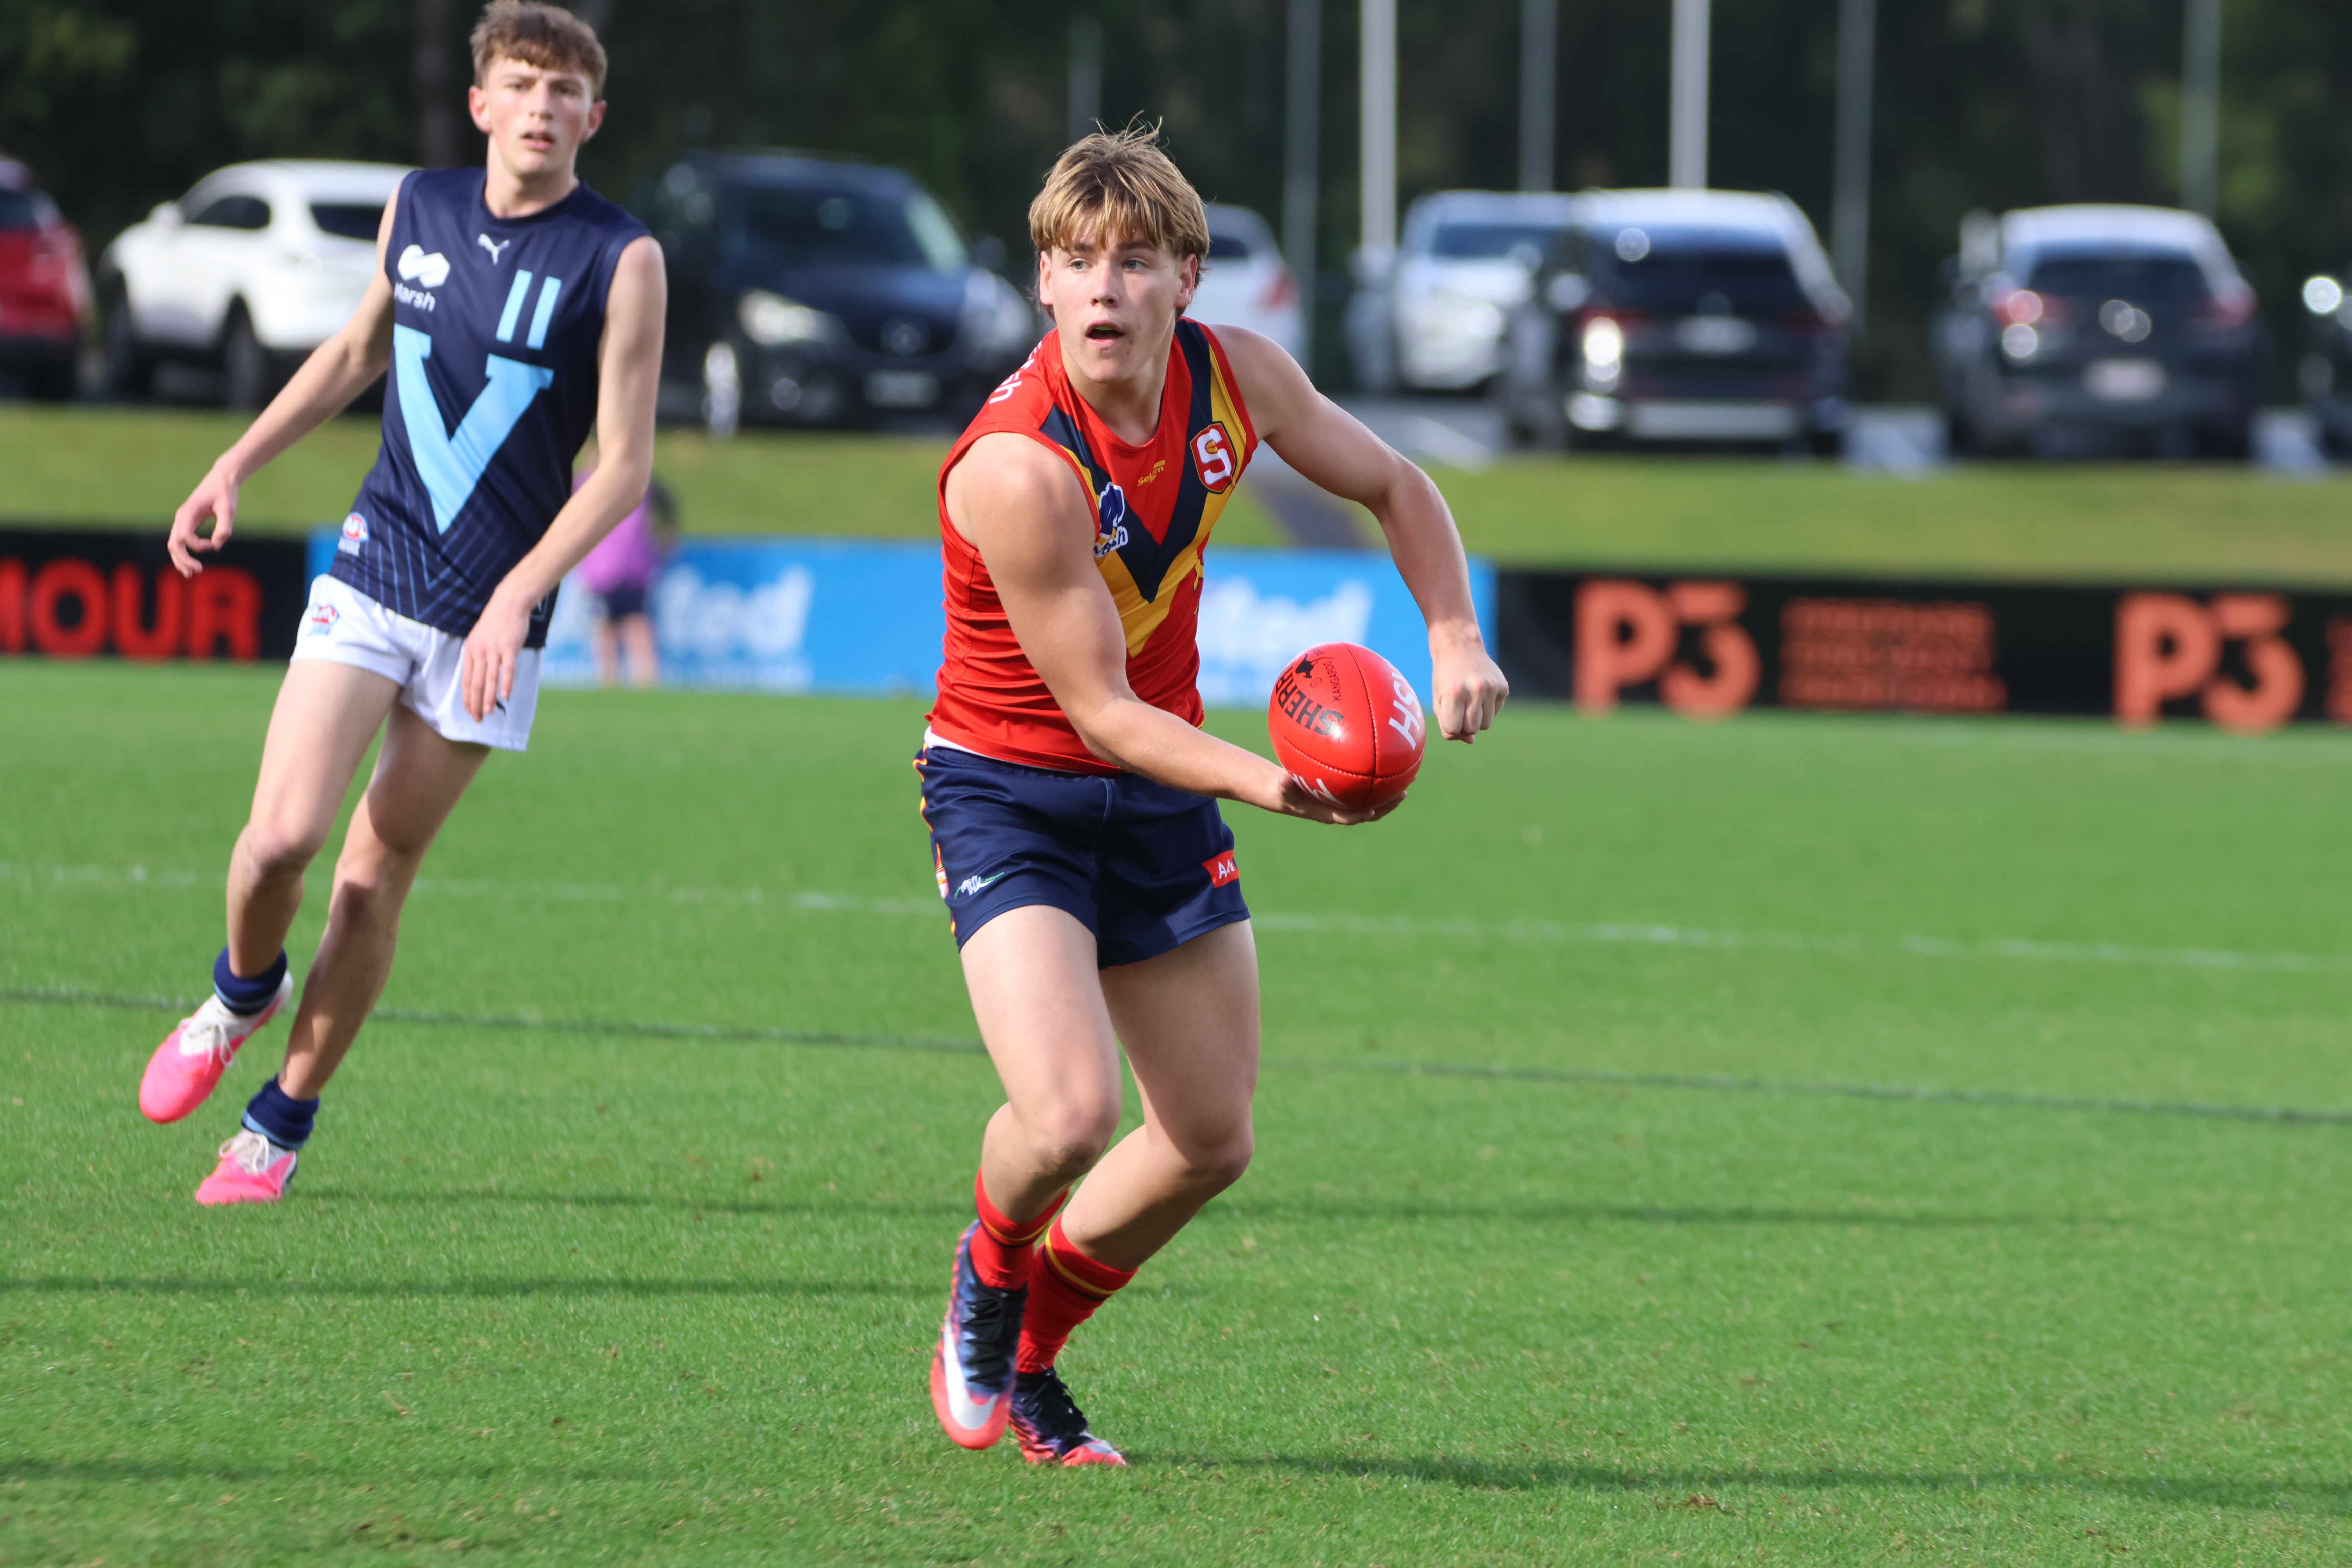
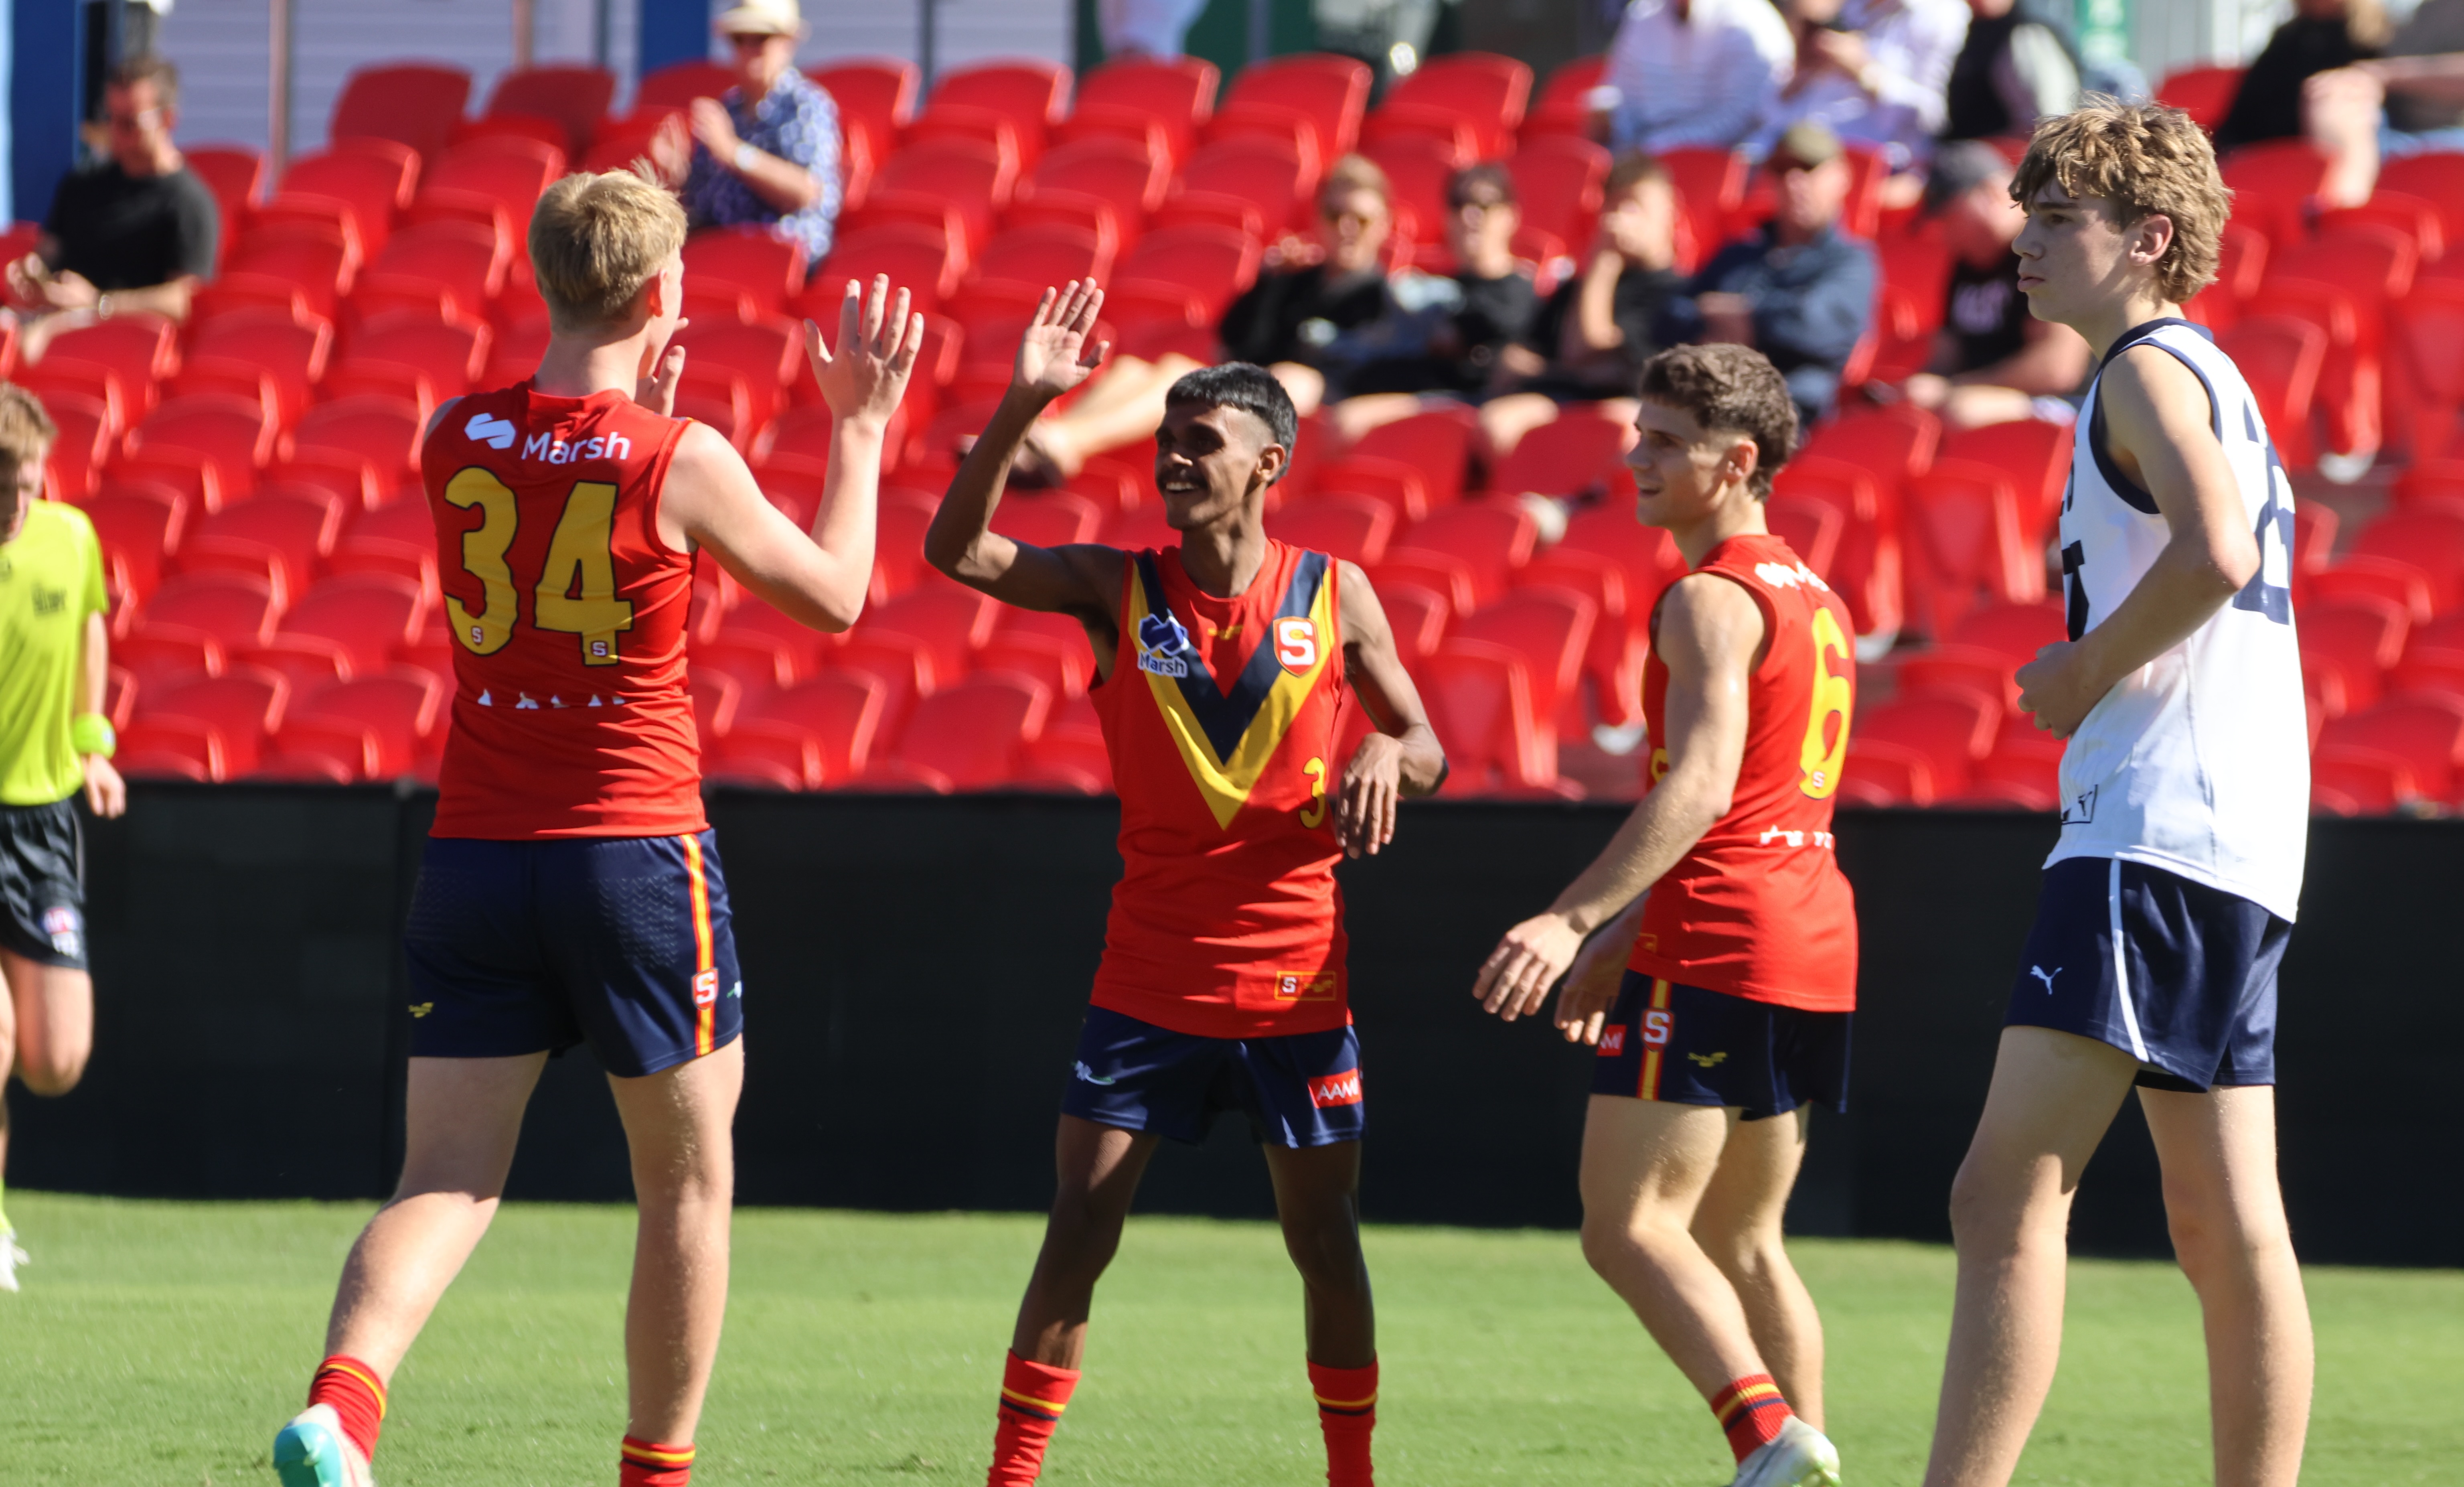
Scouting Notes: 2026 AFL U16s – South Australia vs. Vic Metro
SOUTH Australia overcame horrid conditions at Southport to put Vic Metro to the sword in the Croweaters’ final AFL Under 16 Championships match. Needing a percentage-boosting win to give themselves a chance at lifting the trophy, they did just that, edging 0.8 per cent ahead of Western Australia before the second match of the double-header. […]
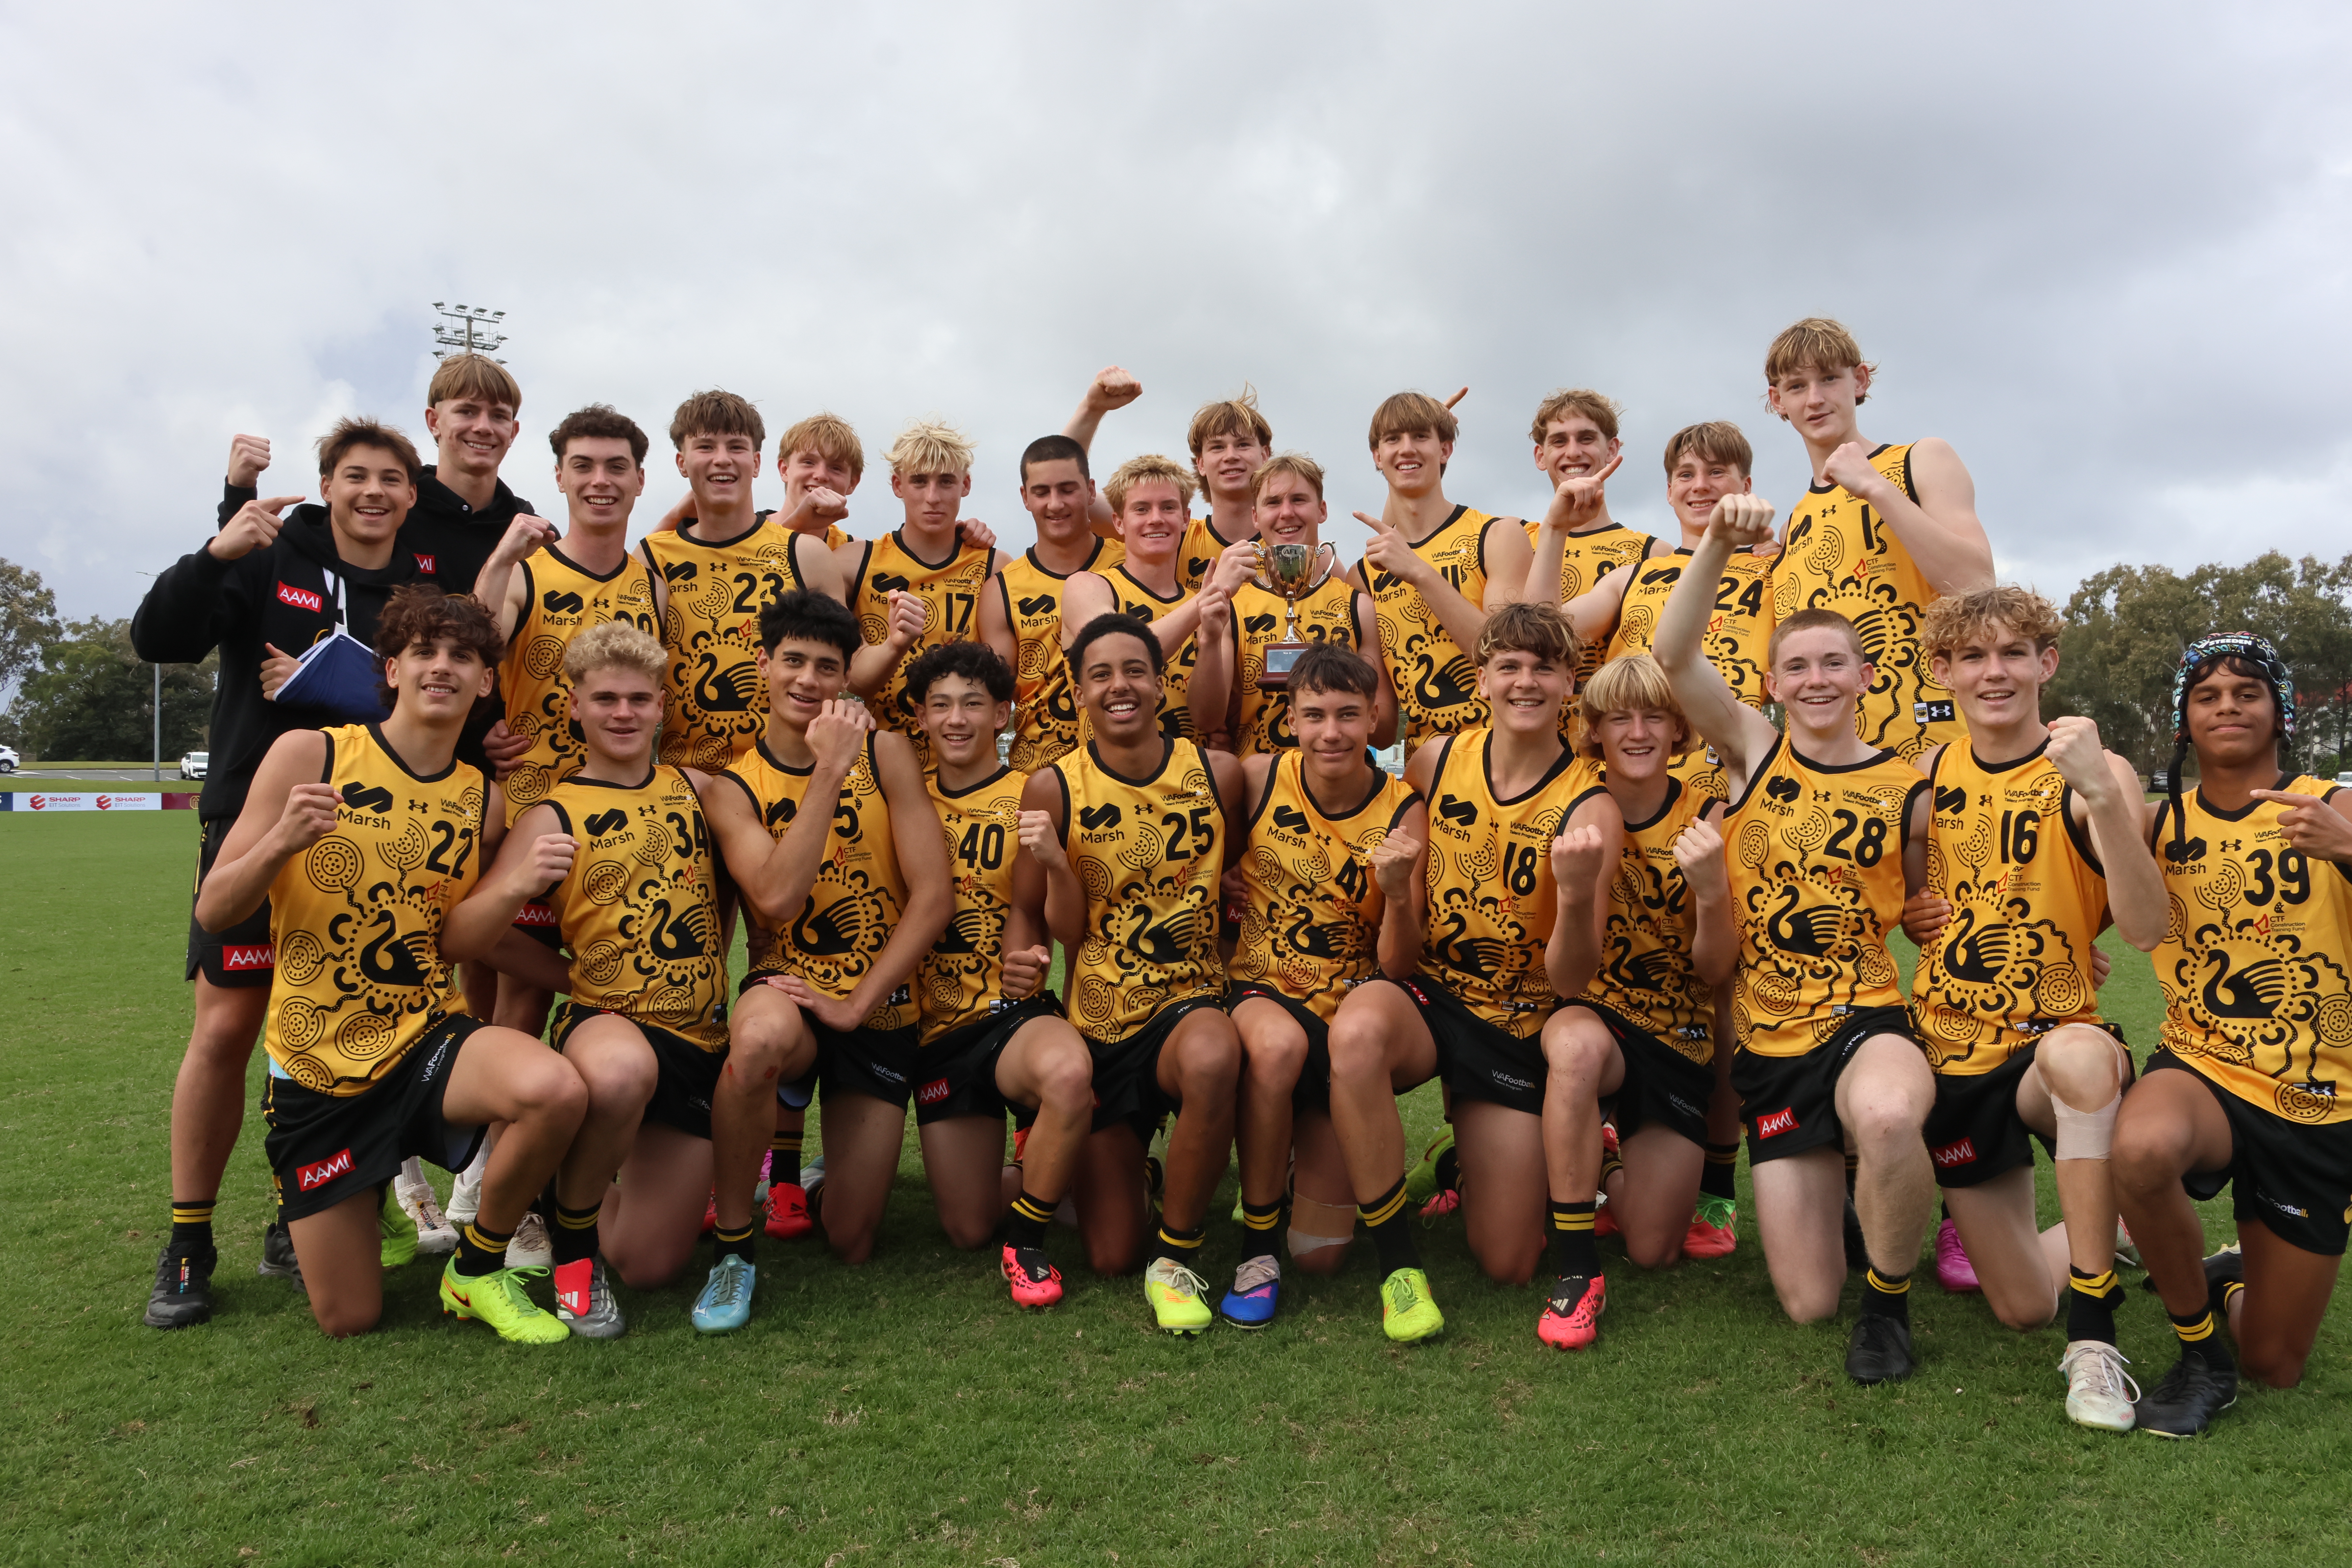
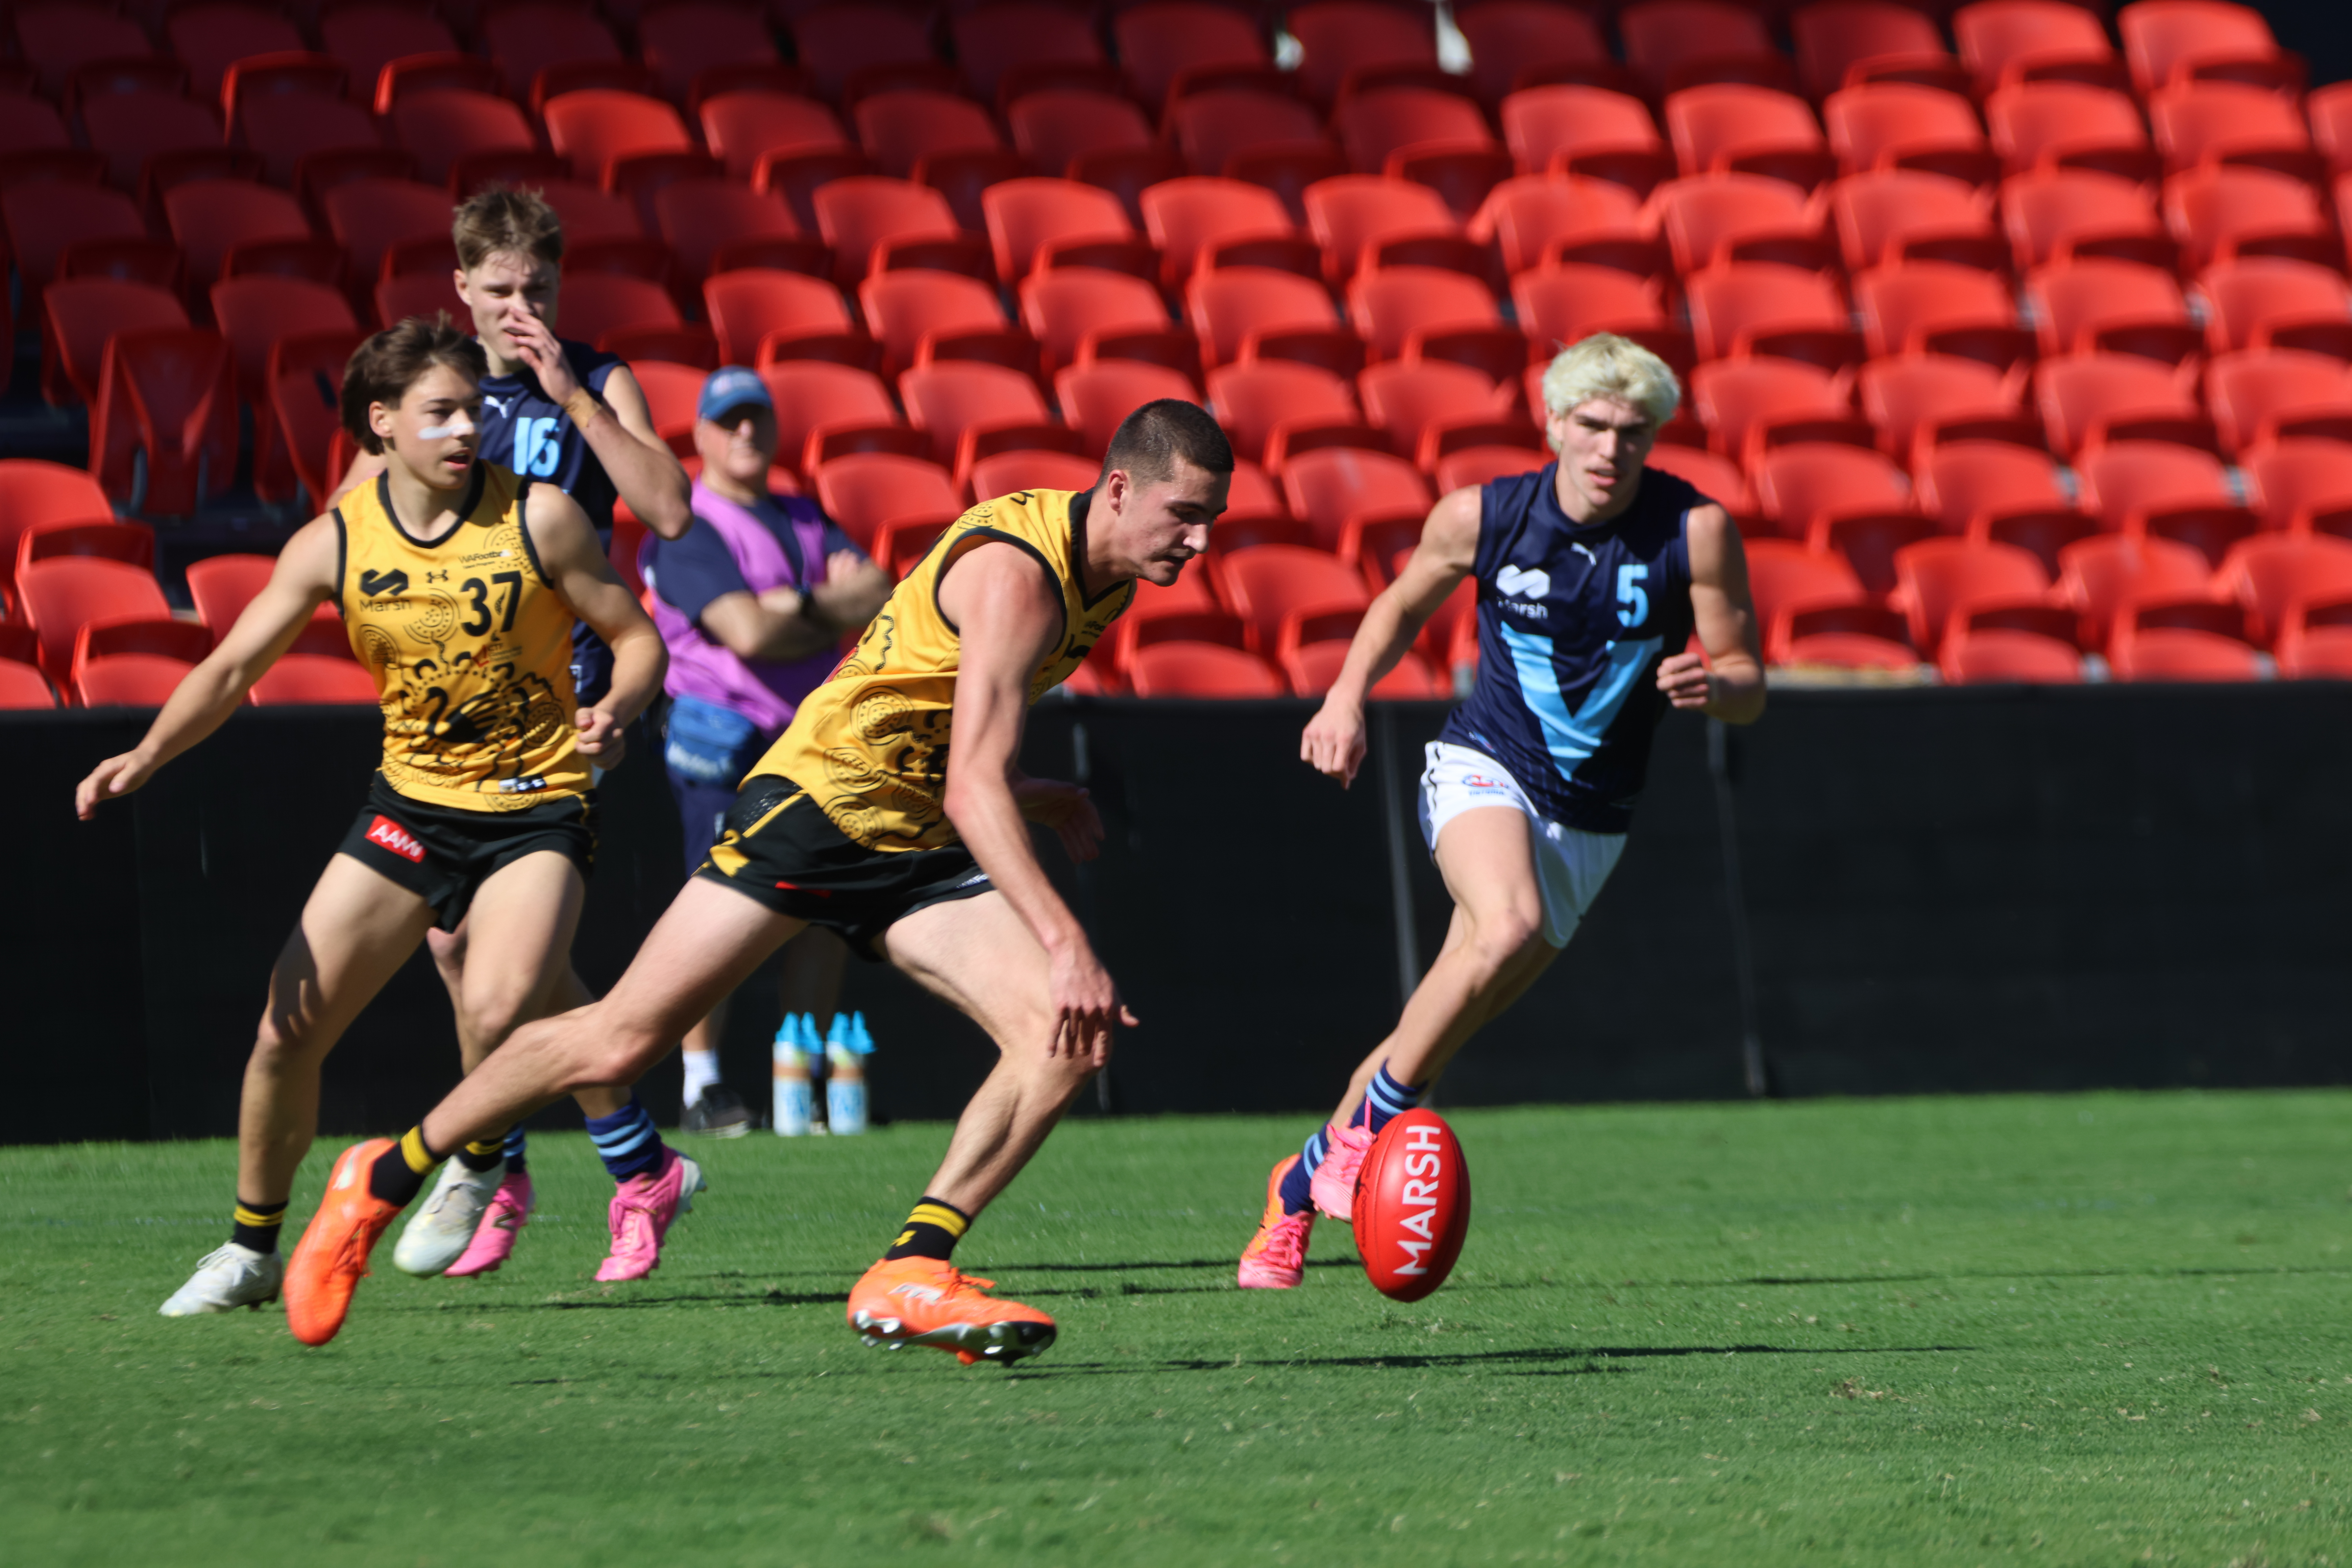
Scouting Notes: 2026 AFL U16s – Western Australia vs. Vic Country
WESTERN Australia broke a nine-year title drought by taking out the Pool A crown at this year’s Under 16 National Championships. The Sandrgropers remained undefeated after their 29-point win over Vic Country in Southport on Friday, inspired by co-captain and competition best and fairest Troy Warner. Despite again proving inaccurate in windy conditions, WA showed […]
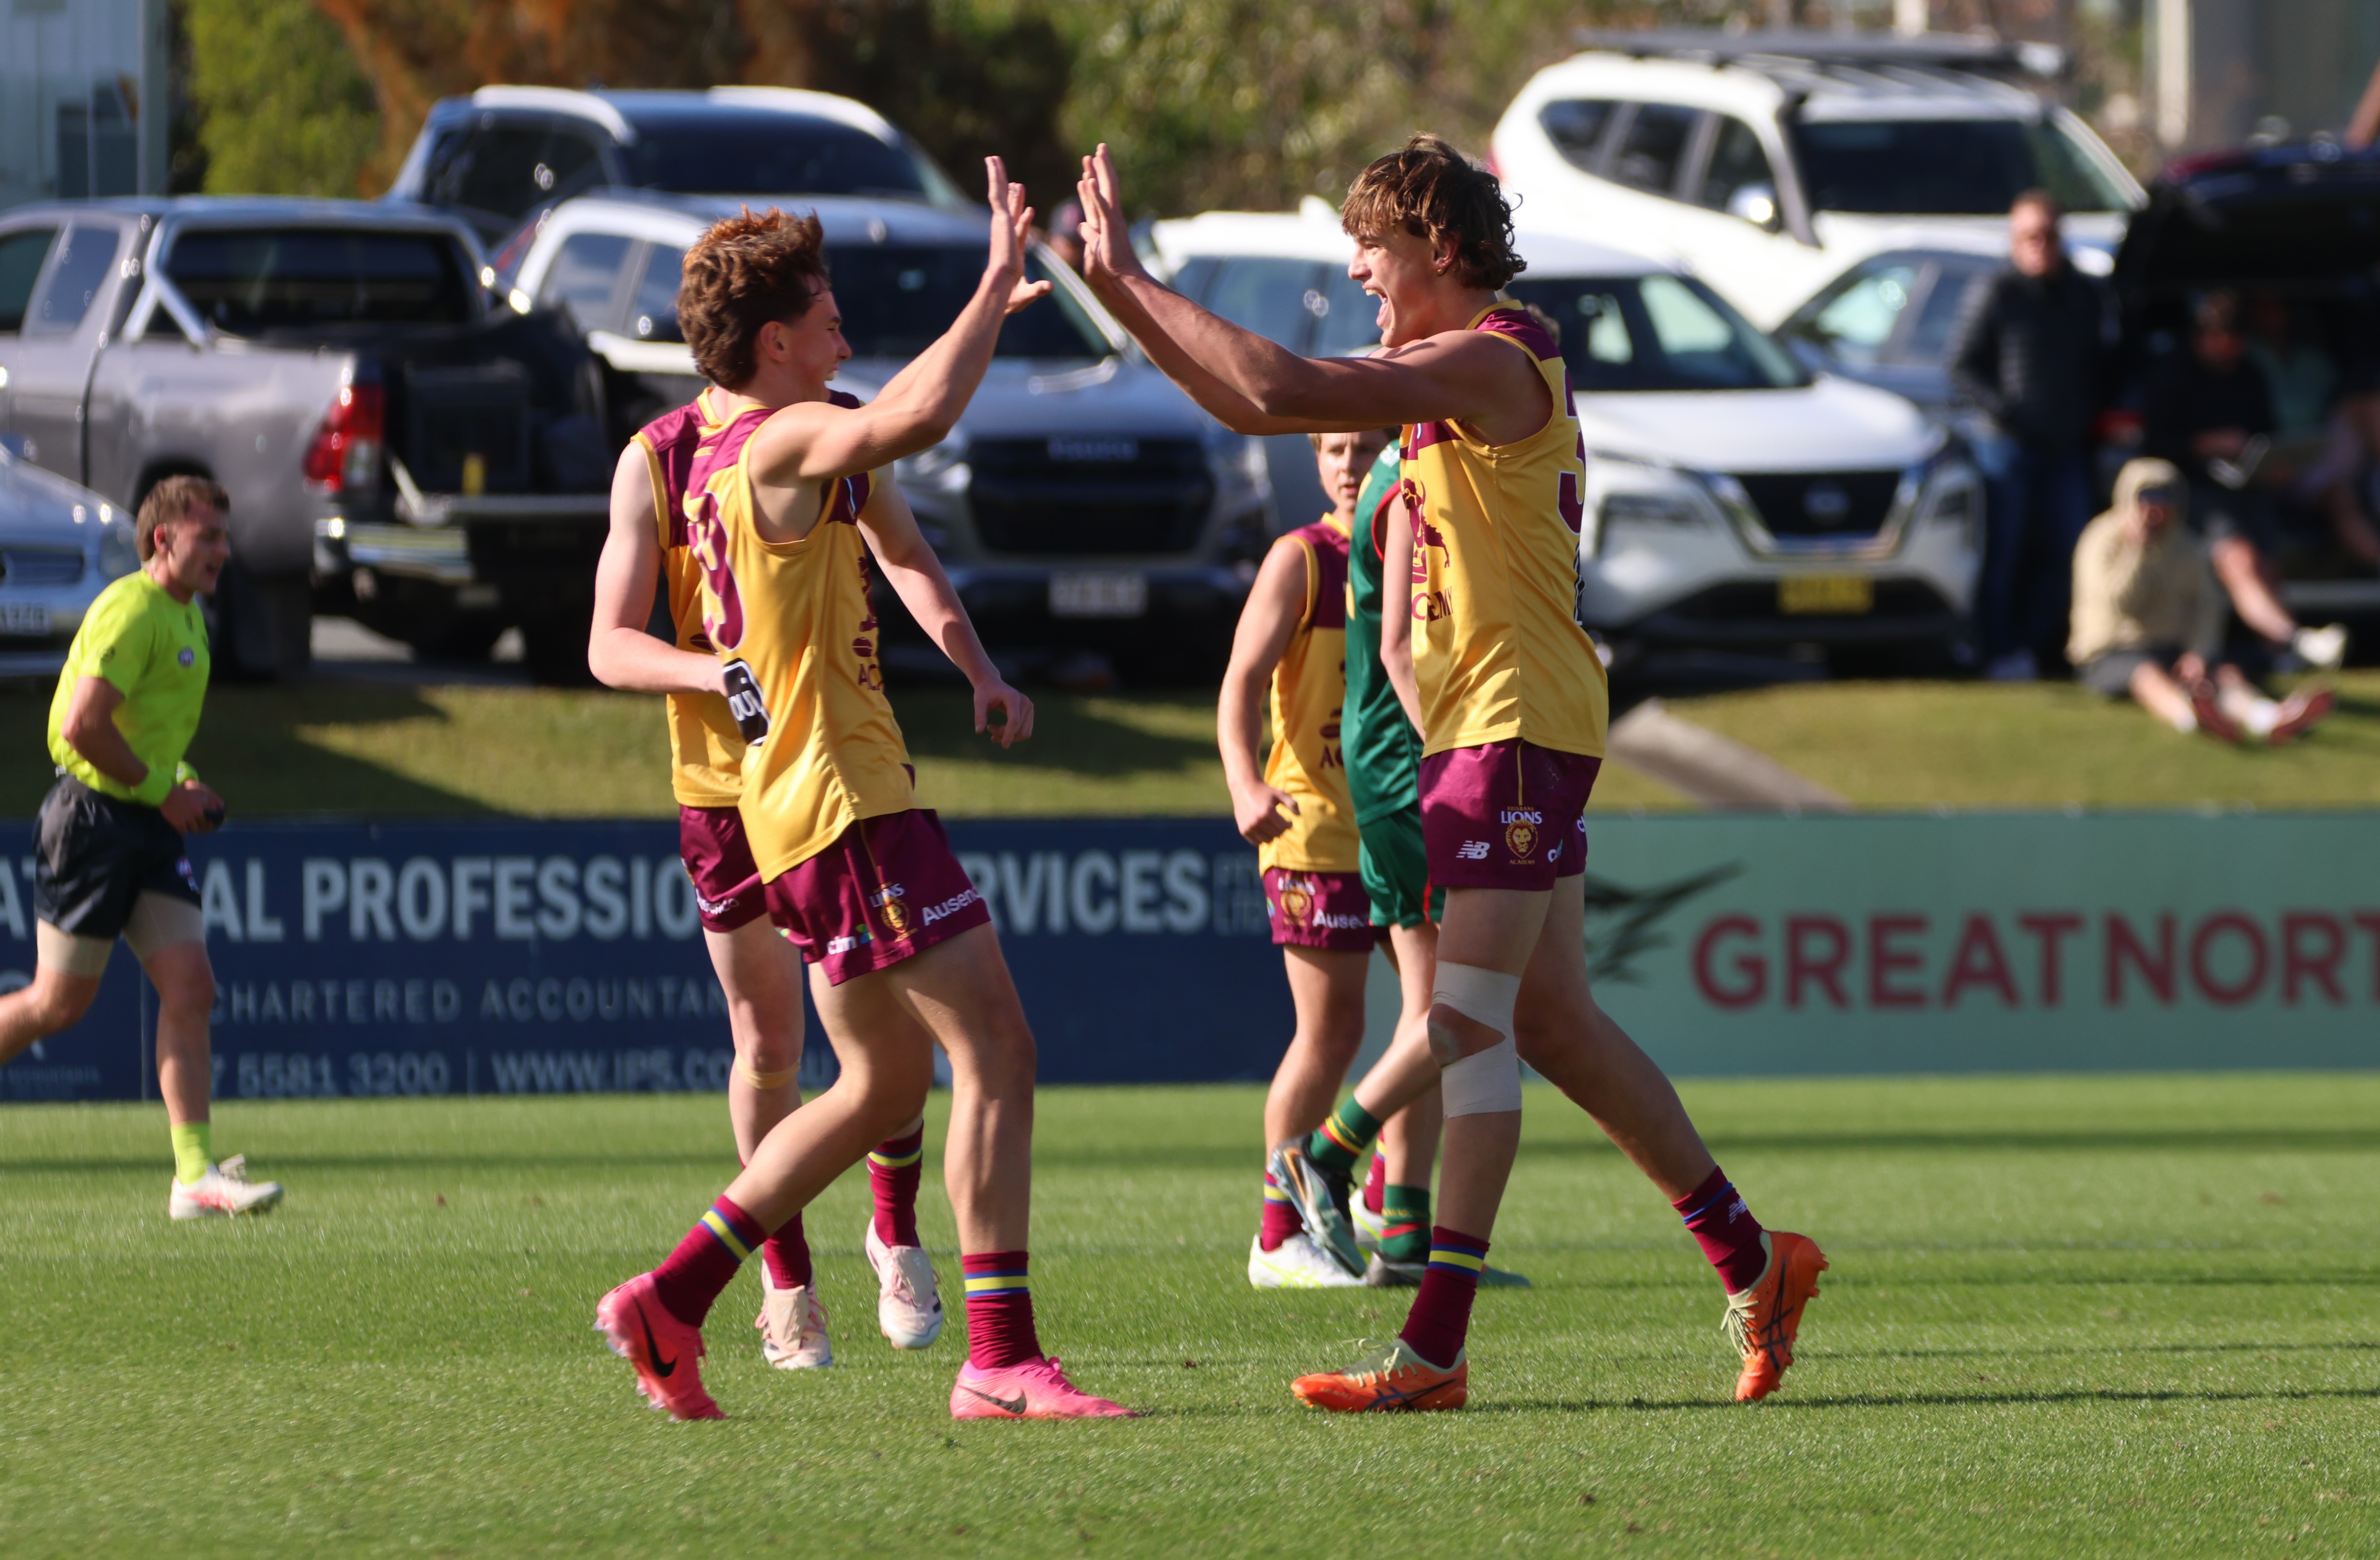
Scouting Notes: 2026 AFL U16s – Lions Academy vs. Tasmania
A THIRD-QUARTER blitz has seen the Brisbane Lions Academy finish the Under 16 Championships with a positive record after defeating Tasmania by 14 points in Southport on Thursday. After heading into the main break all-square, the Lions piled on 5.7 to nil at the scoring end to set up an unassailable lead. Tasmania had its […]
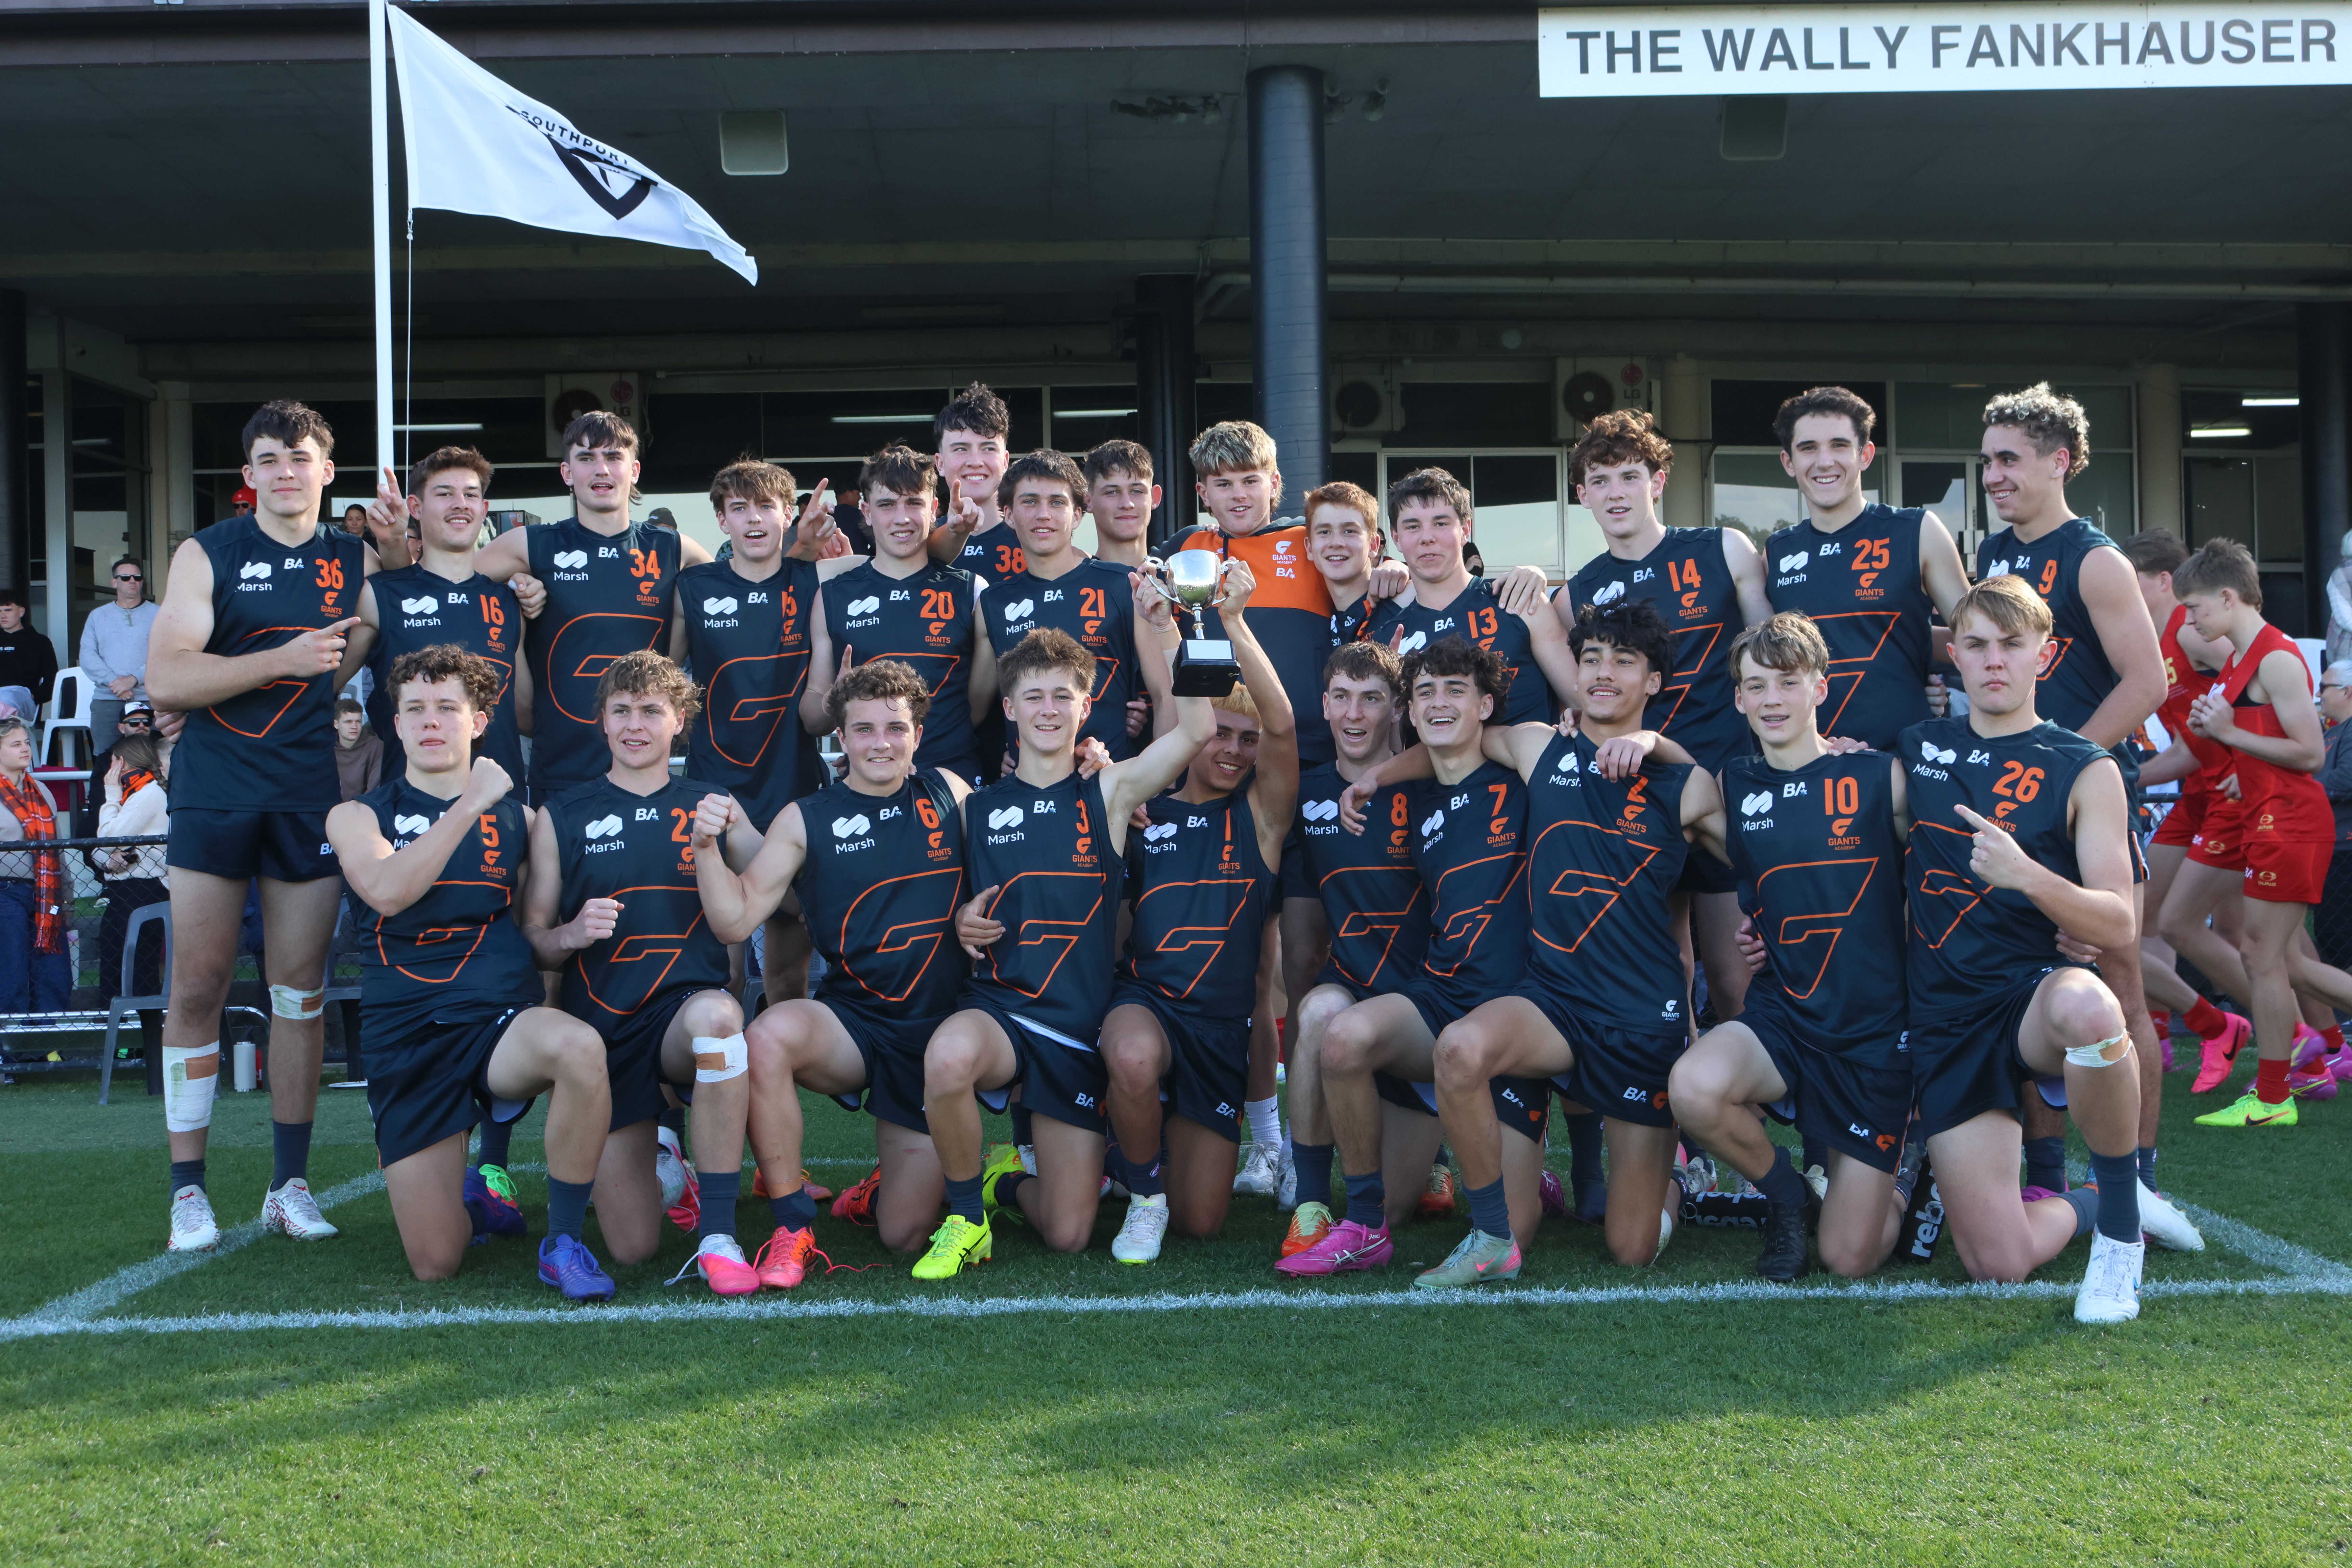
Scouting Notes: 2026 AFL U16s – Suns Academy vs. Giants Academy
AN ORANGE tsunami swept across Southport as the GWS Giants Academy secured the Pool B AFL Under 16 Championships title after defeating the Gold Coast Suns Academy by 15 points. There was a big, big sound as the Giants kicked three goals into the breeze during the third term to maintain an important lead at […]
Scouting Notes: 2026 AFL U16s – Vic Metro vs. Western Australia
WESTERN Australia has moved one step closer to claiming the Pool A title after defeating Vic Metro by 27 points in their Under 16 National Championships clash on Tuesday. The Sandgropers posted over 30 scoring shots but were wildly inaccurate in front of goal, with the winning margin not truly reflective of their dominance. Co-captains […]
Scouting Notes: 2026 AFL U16s – Vic Country vs. South Australia
SOUTH Australia opened its account at this year’s Under 16 National Championships with a 23-point win over Vic Country at People First Stadium on Tuesday. In what was an enthralling high-scoring shootout, the Croweaters simply had too much firepower and made their opportunities count to notch up a triple-figure score. The win was spearheaded by […]
