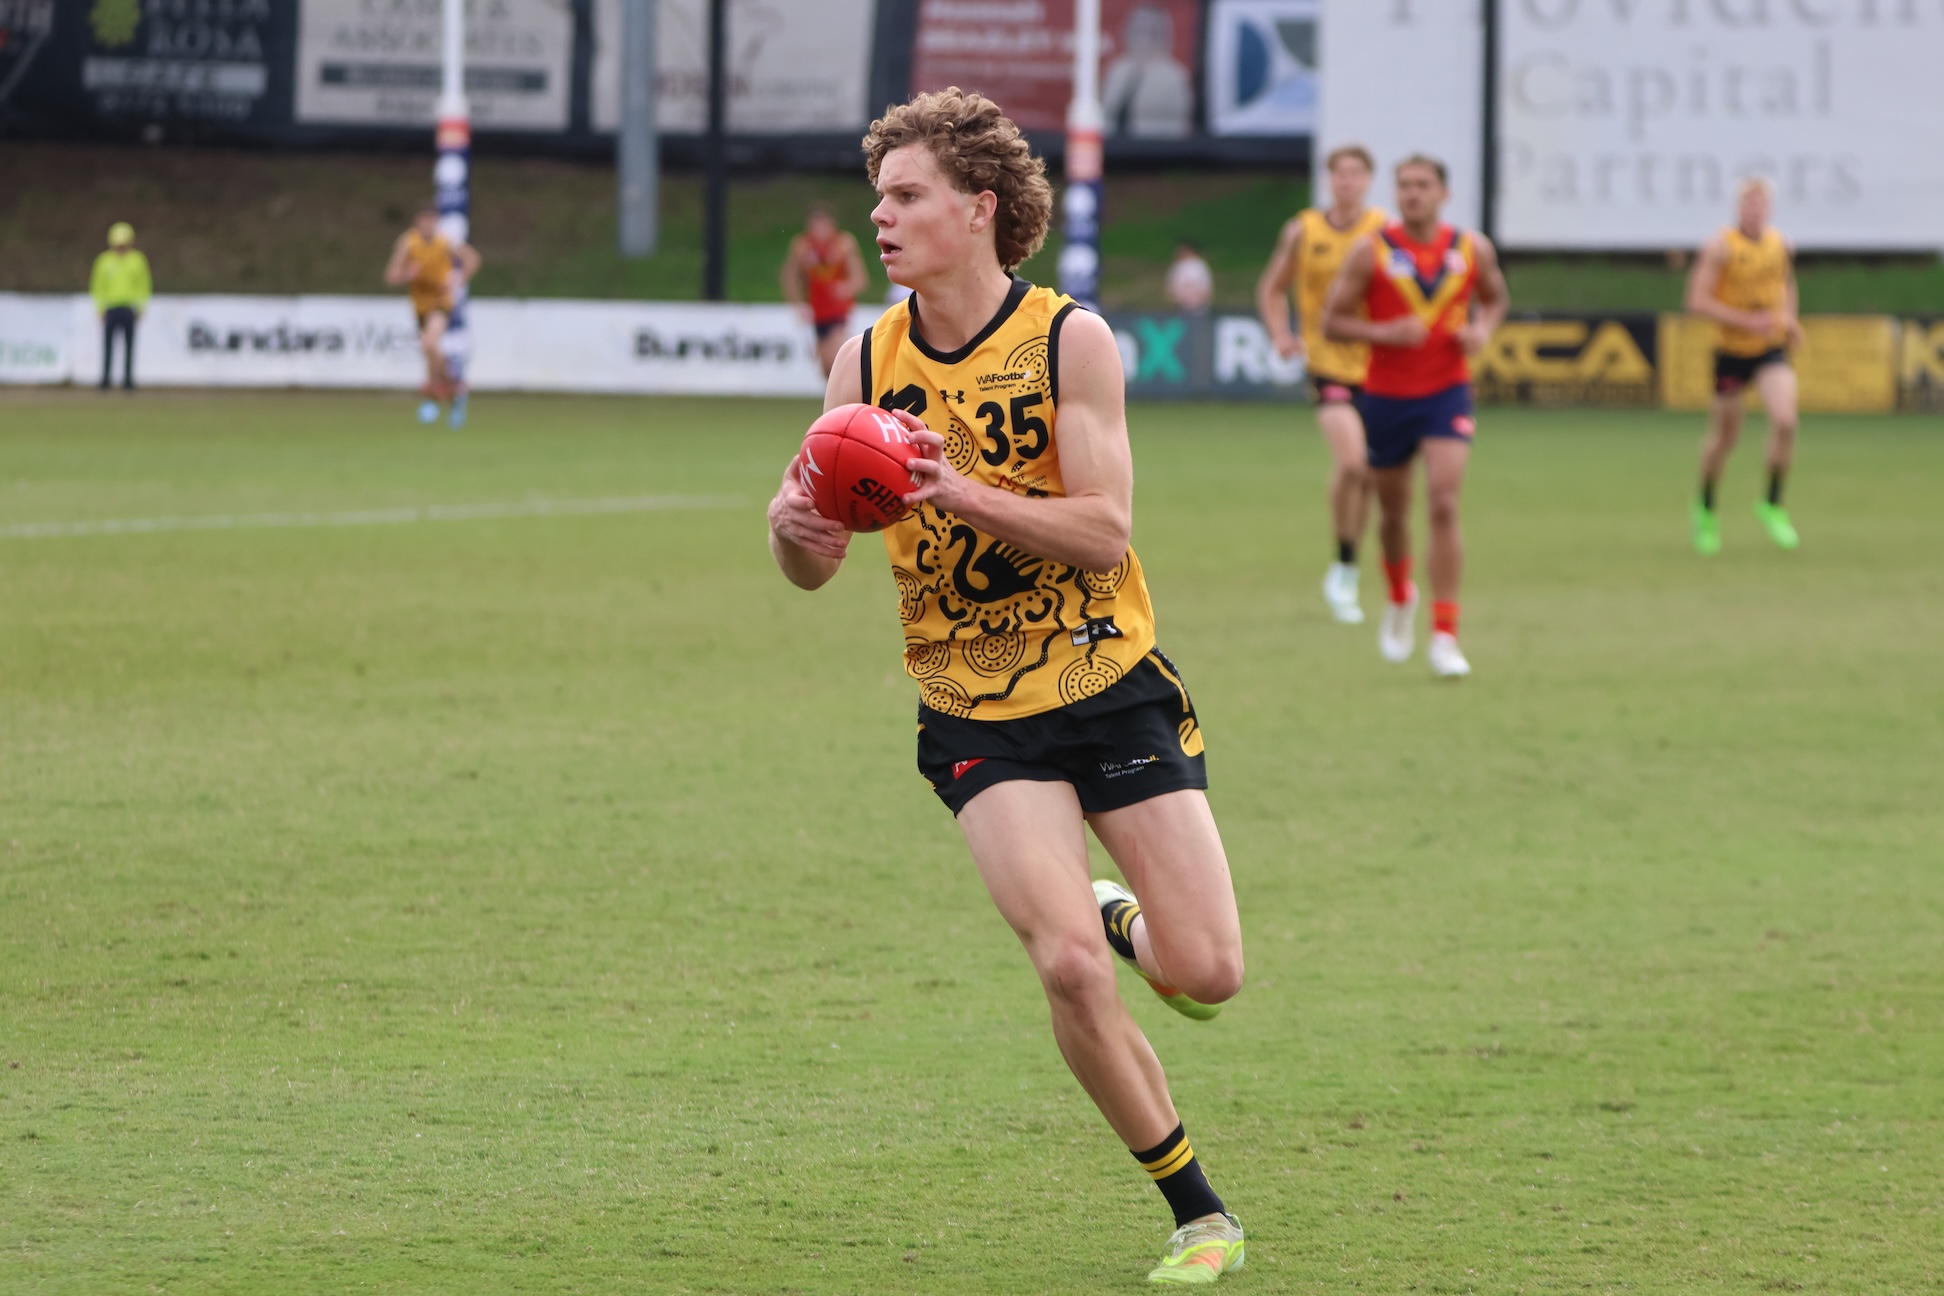
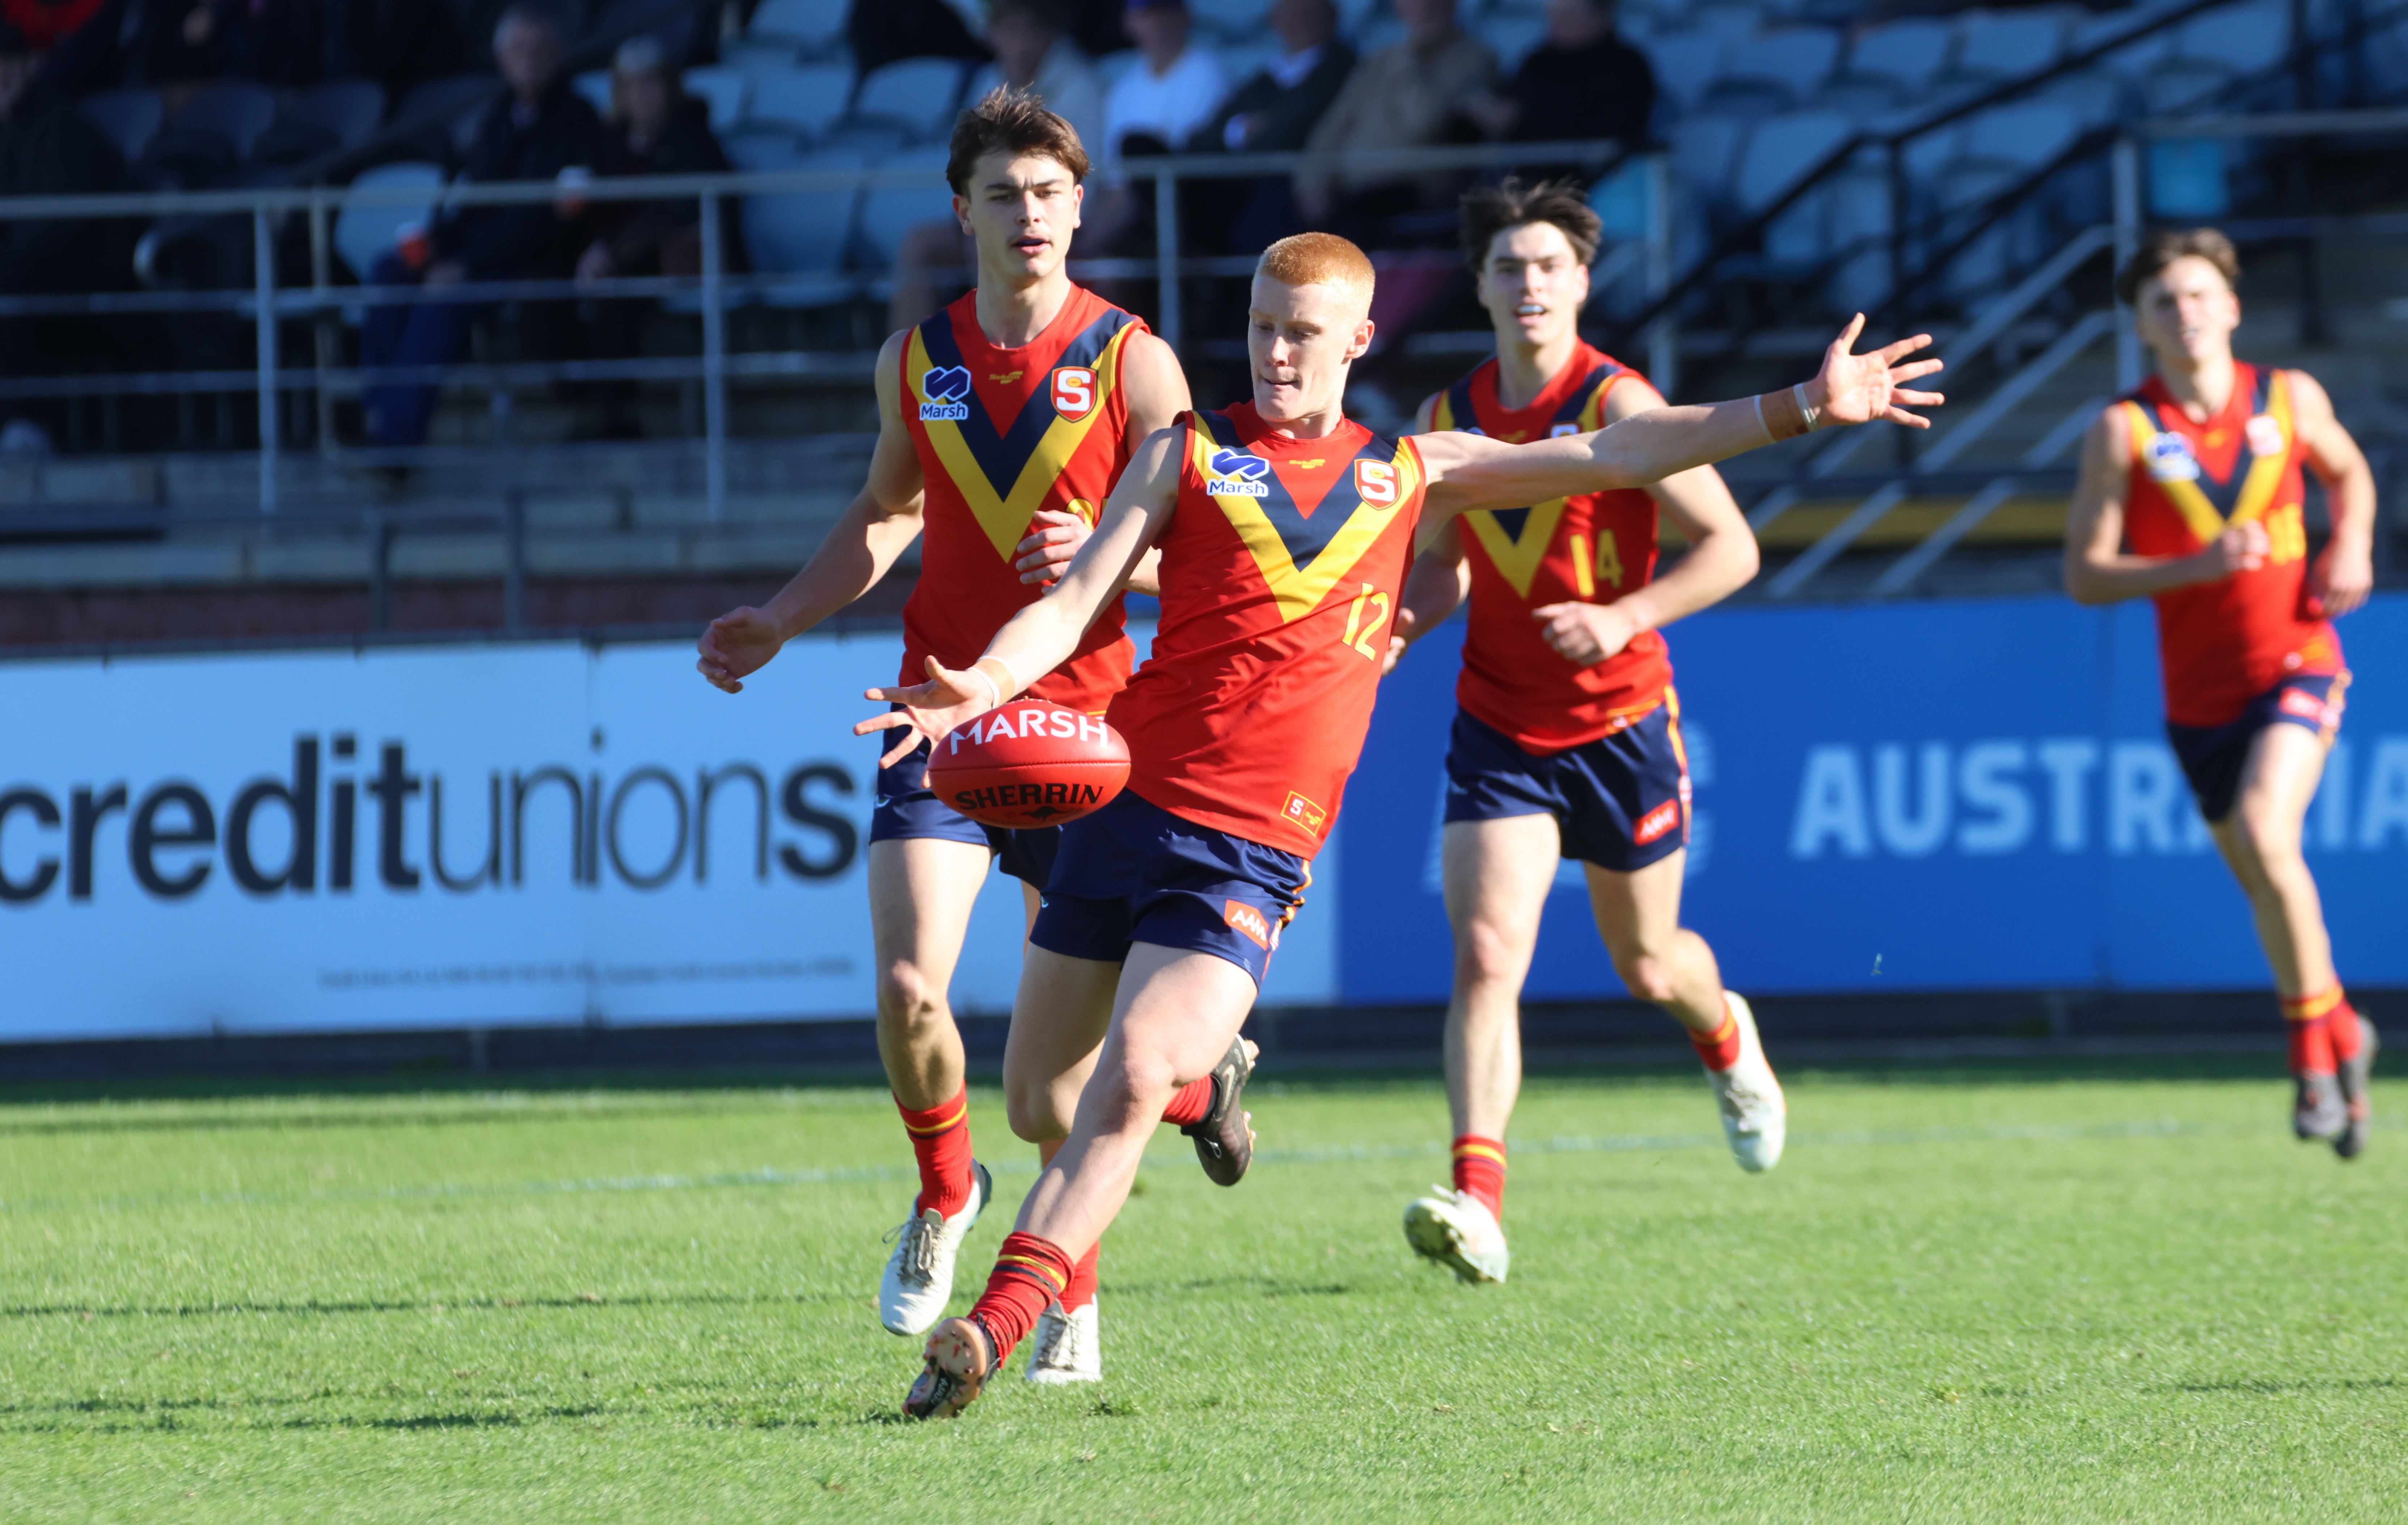
Scouting Notes: 2022 NAB League – Round 12
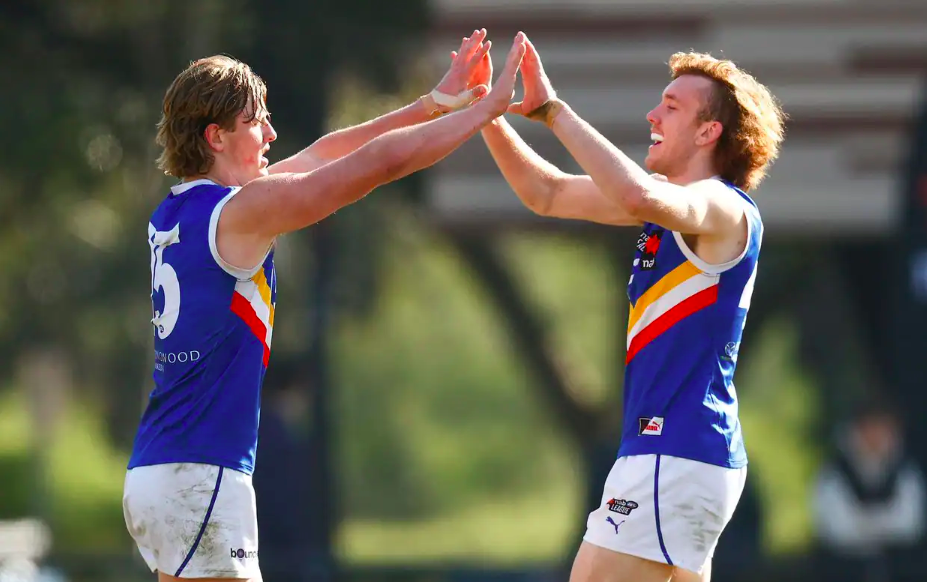
WITH school football and representative byes for most NAB Leaguers, a bunch of regions regained important talent for Round 13. There were a bunch of AFL Draft prospects out to impress ahead of another week of recess, and we highlighted some of them in the latest edition of Scouting Notes.
All notes are the opinion of the author.
- Team
Calder Cannons

Northern Knights

By: Max Hughes
Foley was good again in a half-back to midfield rotation, picking up plenty of uncontested ball to finish with 28 touches in the losing effort. His skill and touch is always on display, and he set up the Cannons alongside Rueben Rode. He was clean and ran to great spots, often receiving handballs and rebounding swiftly. The next step for Foley will be to have this kind of output more consistently and use his weapons to drive Calder’s attack.
#7 Reuben Rode
Rode’s season continues to build nicely, as he picked up 24 touches playing off half-back. His pace and decision making is always a standout, and the more he finds the football, the more his attributes shine. His kicking was excellent, a real feature of his game, and he worked well in tandem with Foley. His defensive attributes are a slight question mark, but the Cannon’s clearly give him the license to play a Brad Hill role, allowing him to use his offensive skillset to kickstart the rebound. It was another strong performance from Rode, and he is looking increasingly impressive as the weeks wear on.
#2 Nate Caddy
It was a commanding performance from the developing young forward, as Caddy booted 2.4 from 18 touches. Inaccuracy in front of goal prevented him from being best afield, but his influence on the contest was profound. Caddy led hard and always provided an option, presenting up at the ball carrier and providing a contest. His ground ball work was exceptional too, as he picked up tumbling kicks at full speed before rocketing out a handball. Clearly a player with x-factor, it was good to see Caddy have a sustained influence on the game.
Seiter showed his explosive pace on numerous occasions, bursting through stoppages and finding the open man. His long handballing from congestion was elite, finding creative options that put his teammates into space. He is tough too, putting his head over the ball and driving his legs through packs. Seiter is a clear leader at the Knights and his performance on the weekend was an illustration of his commitment.
#7 Ben Ham
A dominant performance from the Knights midfielder, who amassed a whopping 34 touches and 3.2. It was the complete game; inside toughness, outside run and scoring power. He racked up the ball at will and kicked several fantastic goals on the run. Had he kicked a little straighter he could’ve had a truly staggering stat-line, but it was indubitable that he was the best player on the ground. Ham was clean and classy with his ball use, rounding out his outstanding effort.
#36 Josh Hamilton
Another Knight who had his best performance of the season, Hamilton had a huge day, racking up 37 disposals. His presence was felt all over the ground as he accumulated effortlessly and set up his side’s midfield dominance. He was clean and made tidy decisions, without bursting clear. A rounded performance that he topped off with a goal, it was a great day for Hamilton.
#53 Aleksandr D’Arro
The small-medium defender continues to go from strength to strength, picking up 30 disposals and setting up the Knights from half back. His poise under duress is always a standout, as is his touch kicking, which he displays almost every time he gets the ball. His ability to hit deft 20-30 metre passes is exceptional, and it is a skillset that allows him to flourish on a back flank. There were several instances where he elected to attempt lateral kicks rather than pumping the ball long, and some of these carried an element of risk. However, he generally executed very well and was one of the Knights best in a resounding win.
- Team
Gippsland Power

Oakleigh Chargers

By: Michael Alvaro
Picking up from where he left off last time out, Moschetti very nearly cracked the 30-disposal mark for a second game running as Gippsland’s most prolific ball winner. He was busy from the outset and proved polished in trying conditions, while also showcasing his deceptive strength at the contest. His composure with ball in hand was also impressive, before delivering typically sharp left-foot kicks on the move.
Konstanty’s nine touches and lone goal don’t exactly jump off the page, but the lively small forward injected a great deal of energy into Gippsland’s attacking play. His all-action style saw him seemingly get involved in everything early on, as he started forward before rotating on-ball. Konstanty snared his goal in the third term via a classy snap, but sometimes looked to be a bit too cute with his kicks. Nonetheless, his creativity was at a high and with a touch more strength, he could have clunked some handy overhead marks too.
#9 Zane Duursma
Having proven his value as a forward, Duursma has made a more permanent shift into midfield for Gippsland of late, while maintaining his scoring threat. He was another whose clean handling looked a level above, with Duursma able to get first hand on the centre bounces and use his smooth step to boot a penetrative clearance away. The bottom-ager also converted cooly when afforded chances inside 50, slotting three set shots. He could have finished with a bigger haul, but made an impact and capped his game with a nice speccy in the final quarter.
#15 Coby Burgiel
A consistent figure who has perhaps flown under the radar to this point, Burgiel again returned strong numbers in what was his first NAB League outing since Round 4. The midfielder had little trouble getting his hands on the ball at stoppage, winning a few quick clearances even if that meant throwing the ball on his boot under pressure. Credit to his work rate, Burgiel also hit the scoreboard thrice with two of his majors coming in the final quarter.
#22 Archer Reid
Another whose stats look less remarkable than his actual output, Reid turned in another promising outing for the Power. He was stationed in his usual forward post and looked a real threat inside 50, losing his direct opponent on the lead early and proving hard to beat aerially with his reach at 201cm. He kicked two goals, albeit both from the goalsquare, which proved reward for effort across the game as a whole. A few more may have come, if his appeals to the umpires won him a couple more marks or free kicks.
#7 Angus Curry
A gutsy and competitive midfielder who recently earned Allies representative honours, Curry put in a shift for the Chargers through midfield. The powerful on-baller showcased his turn of speed on several occasions, bursting away from the contest and looking to chain possessions on the run. The conditions suited Curry’s willingness to drive low and win his own ball, as he bounced off plenty of opponents en route to collecting 17 touches.
#18 Jed Rule
Rule has been a rock in Oakleigh’s defence this year and has looked to be more expansive with his kicking of late, albeit if that’s brought him unstuck at times. He constantly looked to shift the ball inboard and had a couple of early passes cut off, but continued his kick-first method and ended up with 14 from 17 total disposals. Rule’s intercept marking was another, cleaner feature of his game. While the likes of Archer Reid got off the chain here and there, Rule positioned well and cut across with great composure.
#35 Ollie Badr
Splitting his time between midfield and defence, Badr continued his consistent run for the Chargers on Saturday. The bottom-ager was typically solid in contested situations and got in good spots to compete down back, before distributing the ball in transition. He looked better and more polished when able to carry into space, where his kicks came off cleaner after snatching whatever meterage he could.
- Team
Dandenong Stingrays

Murray Bushrangers

By: Max Hughes
12 disposals was all Jones needed to have a massive impact, booting five goals straight in an opportunistic performance. It was a game changing effort from the Stingray’s medium forward, as he bobbed up consistently to be the only multiple goalkicker in the win. His accuracy and clinical finishing was a standout, as he capitalised on any space the Bushranger’s defence afforded him. Jones was arguably best afield for his offensive brilliance, something that was lacking in general play. 10 goals in his last two games is a fantastic return after a lean start to the season, and he will look to keep putting his name in lights with games like this.
#9 Ned Moodie
Moodie put in a power of work in the Stingray’s narrow win, picking up 27 disposals and kicking a goal. He was a key figure at the coalface throughout the game, winning plenty of contested ball and feeding it out to teammates. His 18 handballs is testament to the in-and-under work he did, but Moodie also got off the chain on the outside, grabbing seven marks in what was a complete display. The 188cm midfielder has now produced two impressive performances consecutively, after 24 touches last week, and will be looking to build on his strong efforts.
Another strong showing for Dandenong’s best rebound defender, Emile-Brennan picked up 24 disposals and nine rebound 50s. The 181cm prospect provided the drive for the Stingrays, bouncing out of half back and setting up the play. He pushed the ball forward at every opportunity and was clean and compact with his disposal. Clearly the number one option coming out of defence, Emile-Brennan again showed his prowess and running power, kicking the ball 17 times and leading the Dandenong backline.
#19 Nicholas Collier
Collier was powerful for the Stingrays, showcasing great speed and attack to finish with 25 disposals in one of his better games for the year. He is on the smaller end of the spectrum at 176cm, but his commitment to the contest is unwavering, as is his breakaway speed from stoppages. Collier looked a step quicker than his counterparts on numerous occasions and drove a strong midfield group that eventually came out on top.
#3 Toby Murray
Like Jones, Murray’s nine touches were some of the most influential on the ground, as he kicked 5.2 and kept his side in it. In a game where most forwards struggled, Jones and Murray were engaged in their own shootout, kicking truly from limited opportunities. Playing more as a forward than as a ruck, the 200cm giant only marked the ball three times, but was getting dangerous inside 50. Playing Murray as a forward more permanently may be something that the Bushrangers consider, particularly following his standout performance.
The highly touted midfielder played a solid game, picking up 22 disposals and using the ball effectively. Perhaps he could’ve found more of the football, but he was damaging when he used it, going inside 50 on multiple occasions and hitting targets often. Hollands worked well in tandem with Bradshaw, and alongside Cappellari (27 disposals), the trio battled hard to keep the contest close throughout. He is a clear talent, and the Bushranger’s utilise his skills well.
#28 Noah Bradshaw
The ever-reliable midfielder was again one of his side’s best, finishing with 28 disposals and 11 tackles. Despite the heartbreaking result, Bradshaw pushed until the final siren, doing it all in the centre. He tackled ferociously, highlighting his desire to defend first, but his offensive weapons were also on full display. He won the football on the inside, but also spread from the contest to provide an option around the ground. It was a performance that was difficult to fault, and the Bushrangers coaches must love the security Bradshaw brings to the table regarding a sustained midfield effort.
- Team
Western Jets

Eastern Ranges

By: Liam Badkin
#13 Jaelen Pavlidis
A tough performance from the over-ager, who stuffed the stat sheet in a valiant performance in a losing side. Finishing with a game-high 32 touches, Pavlidis found the ball roaming across the ground playing on-ball. Cleverly stayed on the outside of packs on a fair few occasions, but was not afraid to go get the hard ball himself. Laid a whopping 15 tackles, which was also the most of anyone on the field, and displayed his desire to hold off the opposition’s run. Booted a nice crumbing goal in the second term when the Jets looked a red-hot chance of running away with the game.
#53 Logan Morris
Could have had a massive day if not for a bout of inaccuracy, but Morris was one of Western’s better performers on a tough day at the office. Took his season total of goals to 16 with three against the Ranges, but missed an opportunity of a six-goal haul thanks to booting three behinds. Presented well at the ball and pulled down four marks when given the opportunity. There was a lot to like about his game and he was a big factor in the Jets jumping out to a reasonable lead in the second term.
#5 Nick Watson
Made the most of limited touches by booting four goals from just seven touches, all of which were kicks. Was not afraid to launch himself at the footy whenever the ball was pumped inside 50, and while it did not always result in a clunk, crashing the pack proved to be vital as the Ranges smalls hit the contest and created more scoring opportunities. Was able to reap the rewards himself by getting on the end of some dominant Eastern passages of play. Laid a crunching tackle in the dying stages of the second term to earn a free kick and set up another Ranges score.
#15 Zach Greeves
Was extremely damaging forward of the ball, hitting the scoreboard and finding a fair bit of the ball too. Greeves was often a target when the Ranges went inside 50, getting separation from his opponent thanks to his crafty reading of the play before the ball was anywhere near. Booted an equal team-high four majors from 13 touches, and certainly won the battle with his opponent overall with an impactful performance.
#23 Jye Peacock
The premier ball-winner for the Ranges in the middle of the ground, Peacock hurt the opposition with his relentless chase for possession around the ground. Whether the game was up for dispute or his team had a comfortable lead, he never gave up his pursuit for possession, always looking to get the ball forward for his team. Peacock finished with a team-high 23 touches, many of which came at the coalface and were extracted to the team’s outside runners.
- Team
GWV Rebels

Sandringham Dragons

By: Michael Alvaro
Leading all comers with 31 disposals while also laying 10 tackles, it’s fair to say Charleson stepped up to the plate on Sunday. His next-best tally for the year is 16, but the bottom-ager obviously enjoyed an extended run in midfield with his two-way work. A real accumulator on the day, his kicks on the move could have been a touch more direct at times, but he ultimately proved effective enough and had his presence felt across four quarters.
#16 Luamon Lual
Taking on some extra responsibility in defence, Lual was tasked with some of his side’s kick-in duties and looked to showcase his usual composure with ball in hand. After a shaky start in that department, the bottom-ager got going on the job as he racked up a good amount of ball inside defensive 50, finishing with a career-high 20 disposals and five rebound 50s.
#45 Brody Pope
A hard-at-it type of ball winner, Pope went about his usual business in midfield and was another Rebels to notch up season-high numbers – 24 disposals, seven tackles, and four inside 50s. The top-ager was strong at the contest and looked to crack in whenever he could, even if that contested style meant his disposal was a touch rushed. Pope also snared a goal for his efforts, keeping his feet and finishing from around 40 metres out in term two.
Reprising his role behind the ball, Benton again had little trouble getting to the ball. The over-ager started out with a clean pick-up at half-forward and was tidy in that department, but sharpened up his kicking as the day wore on. Hitting up at the ball with intent, he also produced a couple of running forays out of defence, where he kept running and demanded the ball back.
#28 Ryley Sanders
A rare opportunity presented for Sanders on Sunday, to take hold as Sandringham’s primary ball winner. Lauded for his clean hands in contested situations, the Tasmanian was hard to fault in that aspect and while much of his work was done under pressure, he still managed to find teammates with those first possessions. Usually classy, Sanders was a touch scrappy at times but has a level of polish above most others afield.
Rousakis has had a few ‘almost’ kind of days this season, and looked like having another on Sunday until he turned things around. Once again, his sticky hands overhead made him a reliable target forward of the ball, and Rousakis went to work with presentation up the ground. Closer to goal, he scuppered a couple of early chances but made good in the second term with consecutive majors. He finished tidily in those instances, and can perhaps springboard off those moments.
- Team
Geelong Falcons

Bendigo Pioneers

#9 Ted Clohesy
Clohesy was once again productive, particularly through the first three quarters, with some big plays in the opening term. He set up Gillett’s first goal with a thumping kick in his direction, and was clean with his hands in close. He was a bit fumbly at ground level throughout the game, but was strong in the air, and did well to fend off an opponent and still handball cleanly to a teammate. He was solid by foot under no pressure, and overall finished with the most disposals on the ground with 26, as well as a couple of behinds from rushed shots on goal.
#11 Cooper Hayes
Standing out by donning the long sleeves, Hayes applied good pressure to his opponent throughout the game, and was particularly productive in getting the ball inside 50. Not a huge ball-winner, and could have had a touch more composure on goal with two behinds, but he was quite often putting pressure on the Pios defence by sending it inside 50. Most of his touches were aimed at getting distance and going to dangerous spots within the forward 50.
#28 Oscar Murdoch
Fared well in the defensive half, making the most of his touches, including clean handballs under pressure. A couple of times when kicking long and direct he would turn the ball over, but his short kicking tended to be effective. It was Murdoch’s intercept work that stood out, be it through marking or receiving and charging forward, including charging from the last line to win a contested ball against three opponents in the second term, cleanly handballing to a teammate whilst under that pressure.
#41 Osca Riccardi
The potential Geelong father-son played deep before pushing further afield, looking to create plenty of run and carry out of the back half. Standing at just 172cm, the top-ager can get bumped off the ball in one-on-one contests, but once it hits the deck, Riccardi is evasive, clean and smart. He used the ball well, but was often going for the safe options, then would run hard to create that transitional play with give-and-go’s. Overall he was one of the better Falcons for his efforts, and certainly did well for the majority of the game.
#53 Olivier Northam
It was not Northam most productive game, having the 12 touches, three marks and 14 hitouts, but he still created a contest and got involve. A few times he gave away free kicks for holding on, but also took some good marks, and even had a smother on the wing midway through the opening term to stem a Pioneers forward thrust. He was effective by foot with his short passing, and got behind the ball to take a strong intercept mark in the final term.
#58 Tom Gillett
One of the more dominant 53 minutes of action for Gillett, who slammed home six goals in just over a half of NAB League action. He was too big and strong for his opponents as he pulled down multiple contested grabs and lead out to mark several times too. With five first half goals – and a couple of chances that included an out on the full and one that just fell short – he could easily have been on track for double-figure goals. His set shot routine is sound, though a couple of times he leaned back too much on the kick which saw it fly out on the full. Despite missing a few chances, the 193cm forward was clearly the star of the show and a key reason why the Falcons built their lead. He was also impressive below his knees, clean and able to quickly and effectively give off by hand.
Gallagher worked hard throughout the match for the Pioneers, starting off by pushing up the ground and soccering off the deck from the wing to run and receive the handball inside 50, straightening up and having a ping on goal but just missing. He continued to win touches around the ground, often kicking long from defence to clear the danger, though when under pressure was clean by hand. He did make a few mistakes by foot, but was often looking to go long, and ended up with 24 disposals, four inside 50s and seven rebound 50s, really mopping up for the Pioneers.
Had a mixed bag of a day, with some saving moments and then some forgettable ones. He would get back deep into defence, take a good mark and relieve pressure on the defence, also not afraid to take the game on and run with it. A forgettable moment in the first term came when he won the ball in the goalsquare but tried to clear it, was dispossessed and Gillett kicked a goal from it. He would hold a high line up the ground and kick inside 50, but also get back to take a number of marks across half-back. Late in the game he won a clearance through the middle by charging off half-back, but unfortunately it was a direct turnover.
#28 Charlie Barnett
Did not win a heap of it, but did some nice things, winning the ball in all thirds of the ground. He started by taking a good mark in the back pocket and then at half-back, and proved capable in the air with five marks across the match to go with his 14 disposals. He took a strong grab midway through the first term inside 50 and converted the goal, then won a clearance out of the middle once he rolled in there. He set up a couple of scoring chances for his teammates later in the term, and while his second half was a bit quieter, Barnett had a shot on goal in the final term which just missed to the right.
#38 Soloman McKay
Generally using the ball well, McKay was a releasing target at half-back and pushing up to the wing, finishing with 19 touches and six marks. He was effective by foot and looked to put it to teammates advantage down the ground, also laying a good tackle before half-time to lock the ball up. He had quick hands when required, and aimed to open up play with his short, sharp disposals, and was among the more effective Pioneers on the ground.
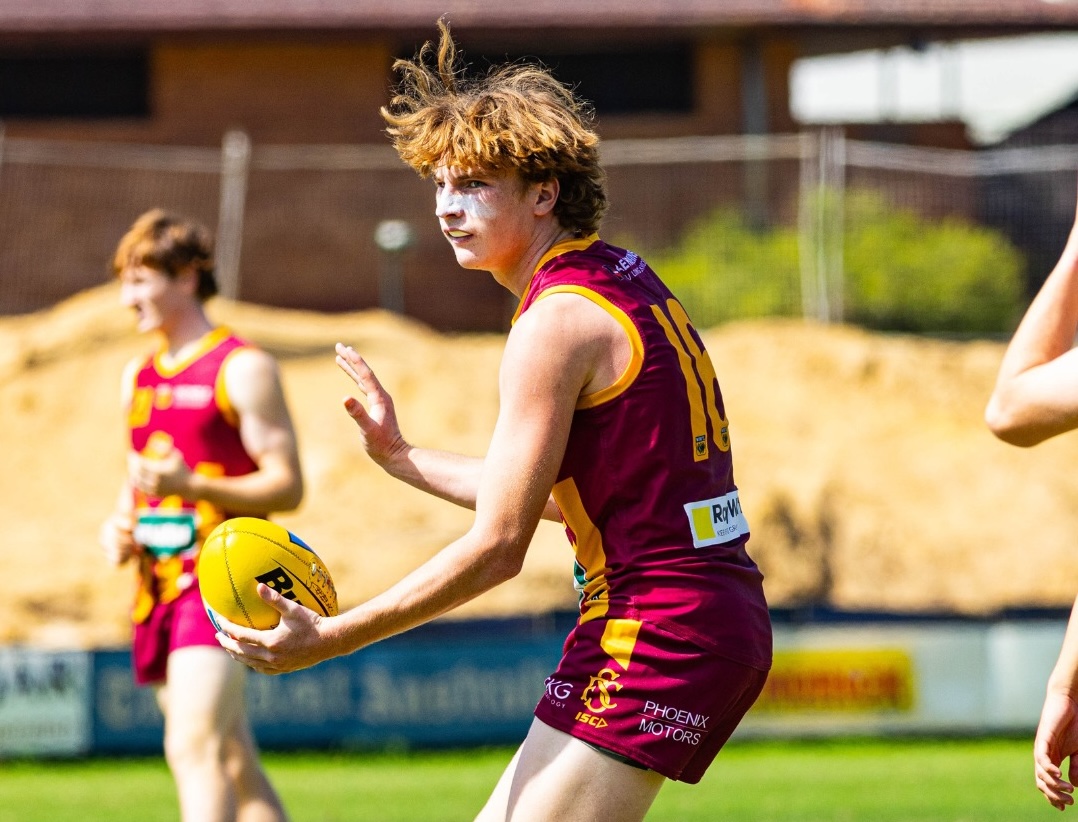
Scouting Notes: Lions fight off plucky Falcons
SUBIACO has resisted a late West Perth charge to come away four-point victors in their Round 15 clash at Leederville Oval on Saturday. Spearheaded by four goals to Thatcher Simmons, the Lions led all day and held on despite conceding the last three majors, seeing them pegged back to within a kick. With the Under […]
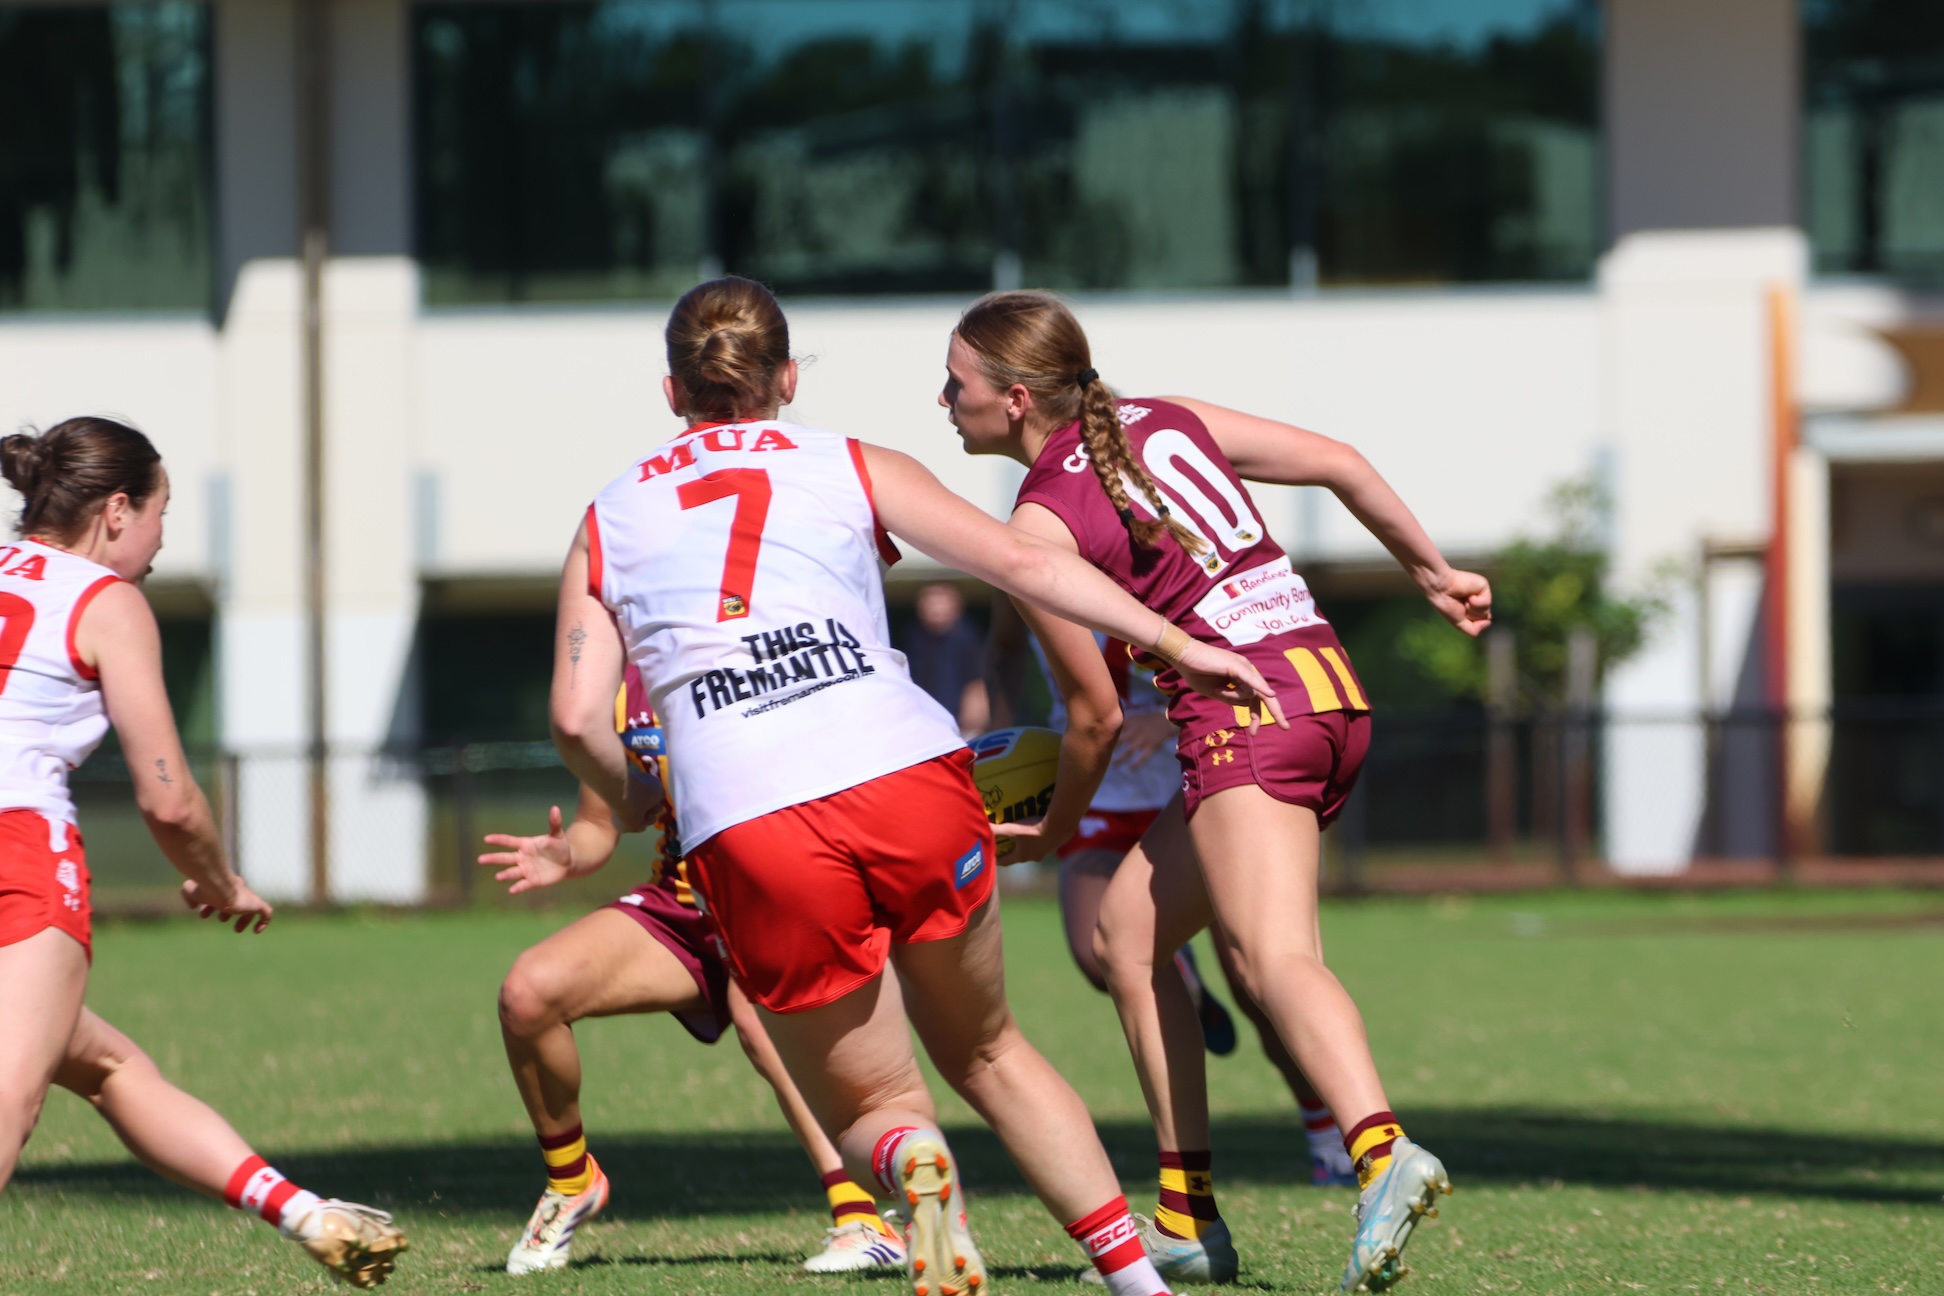
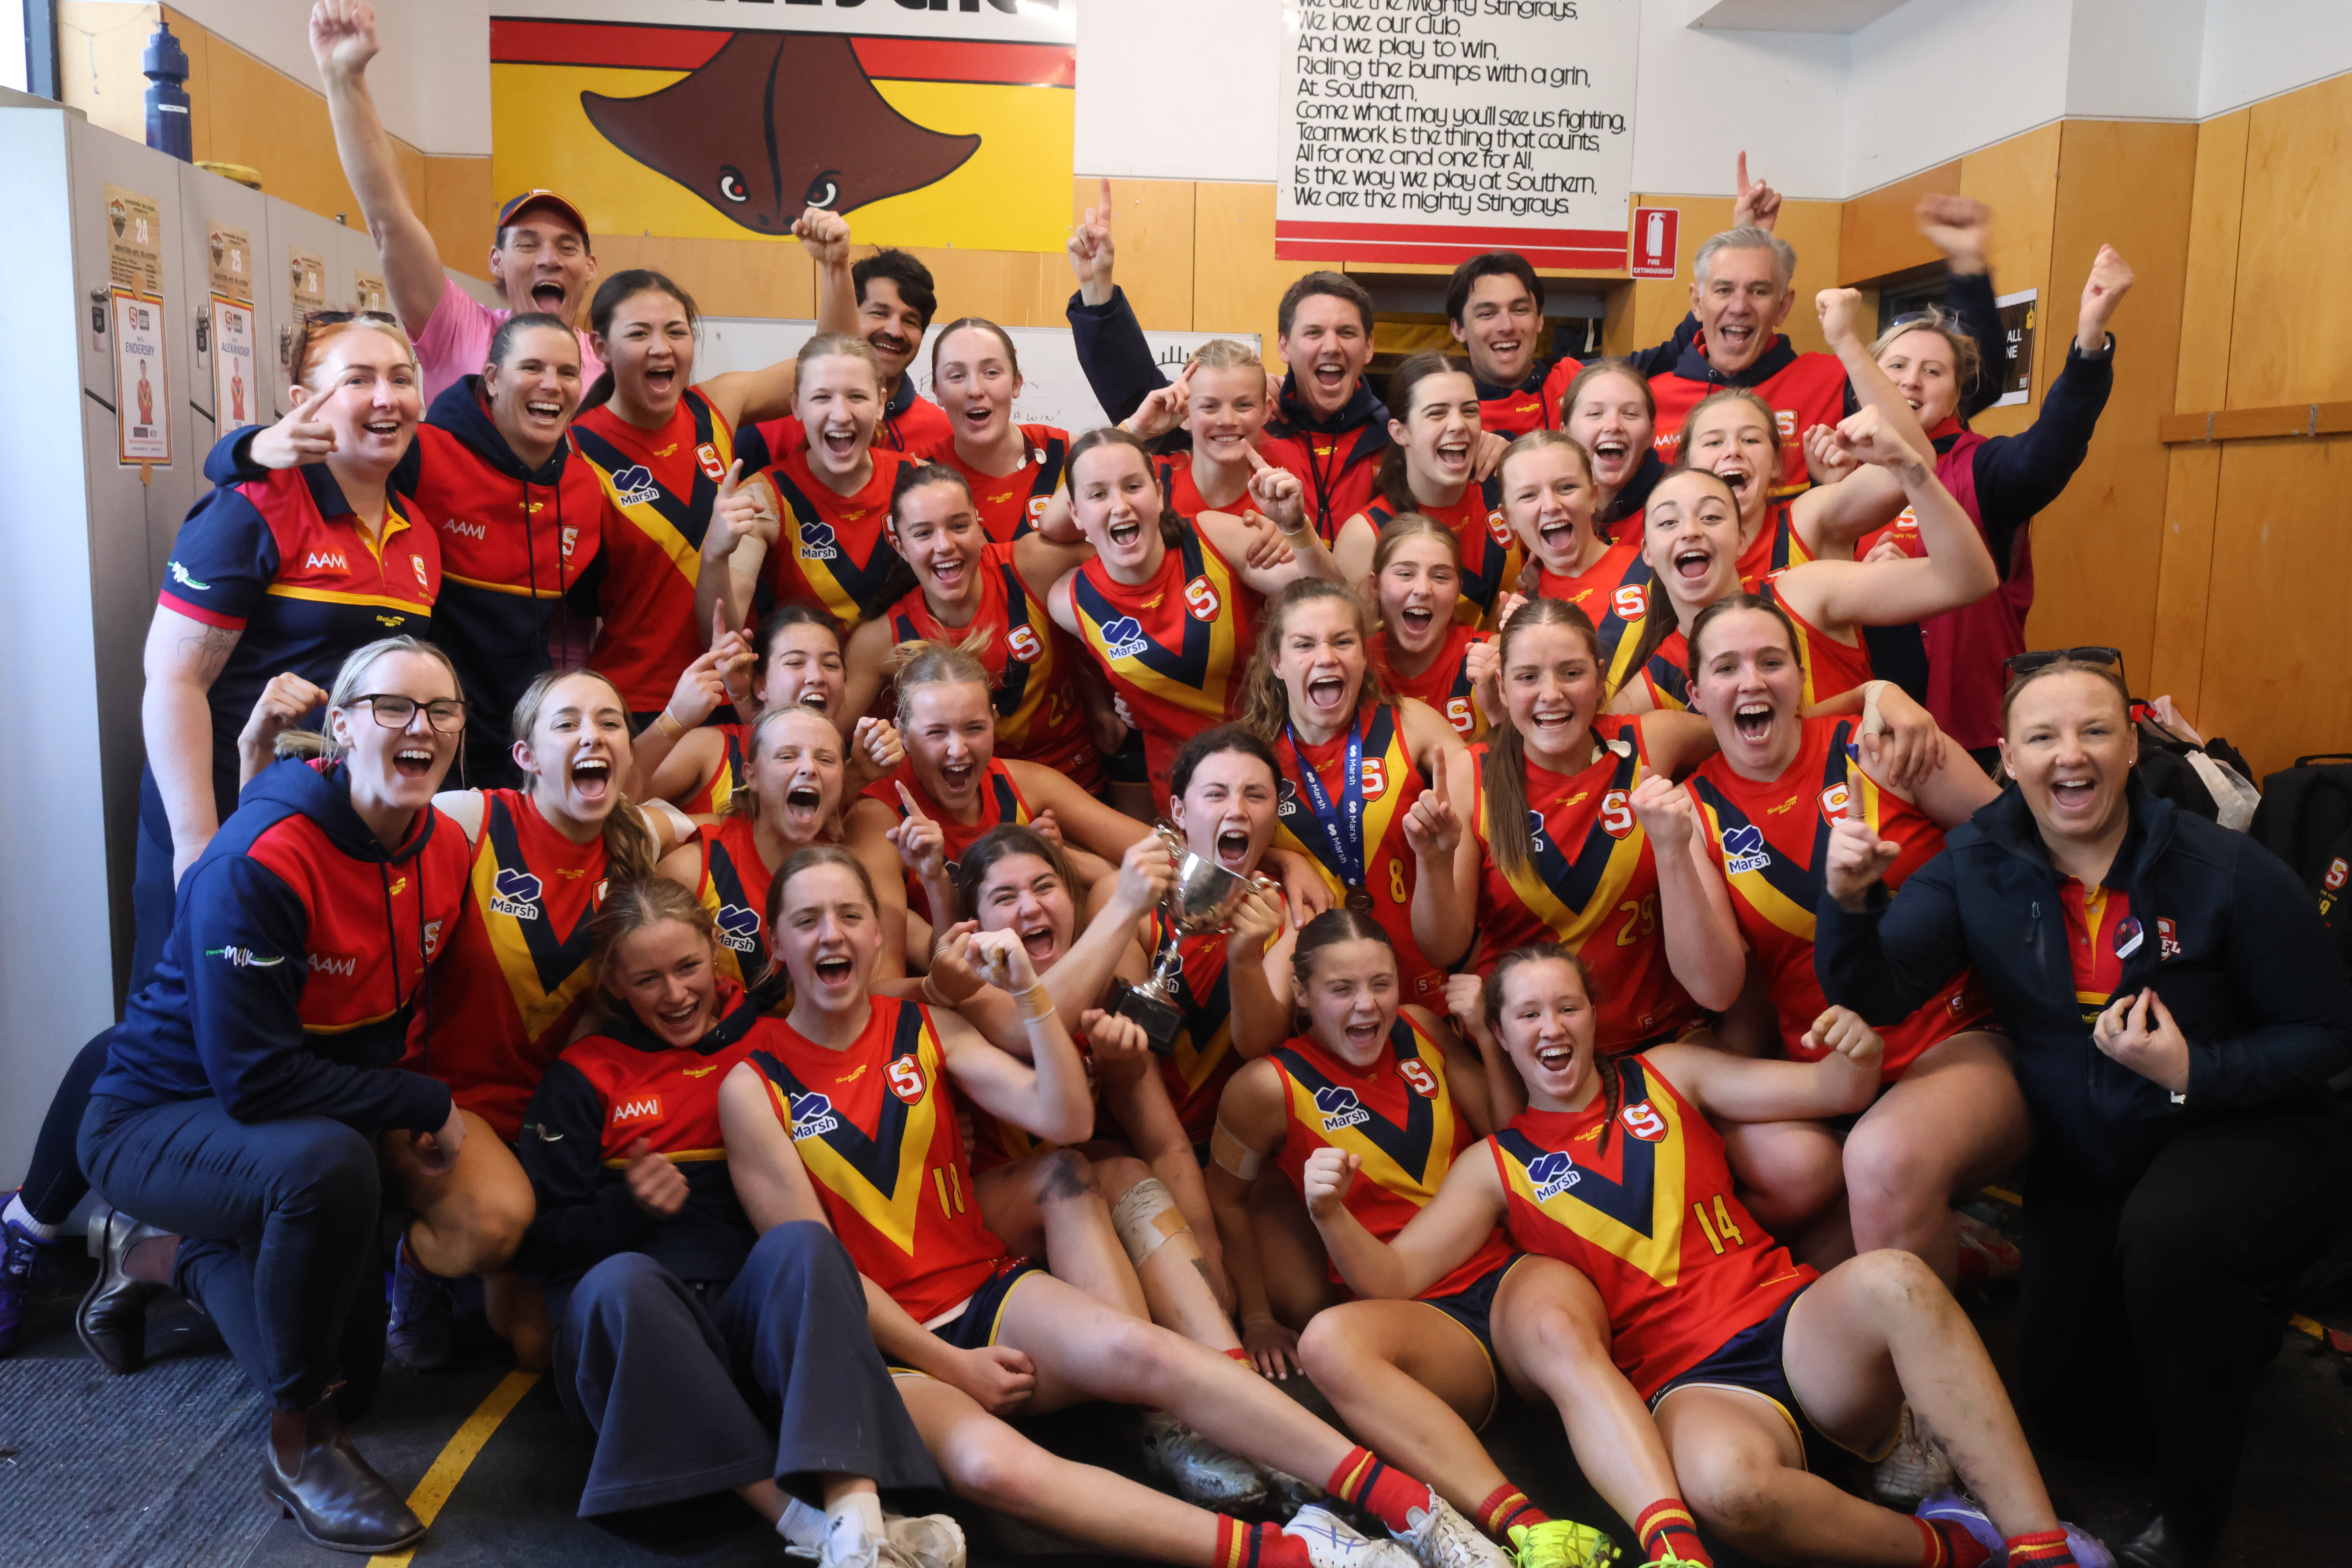
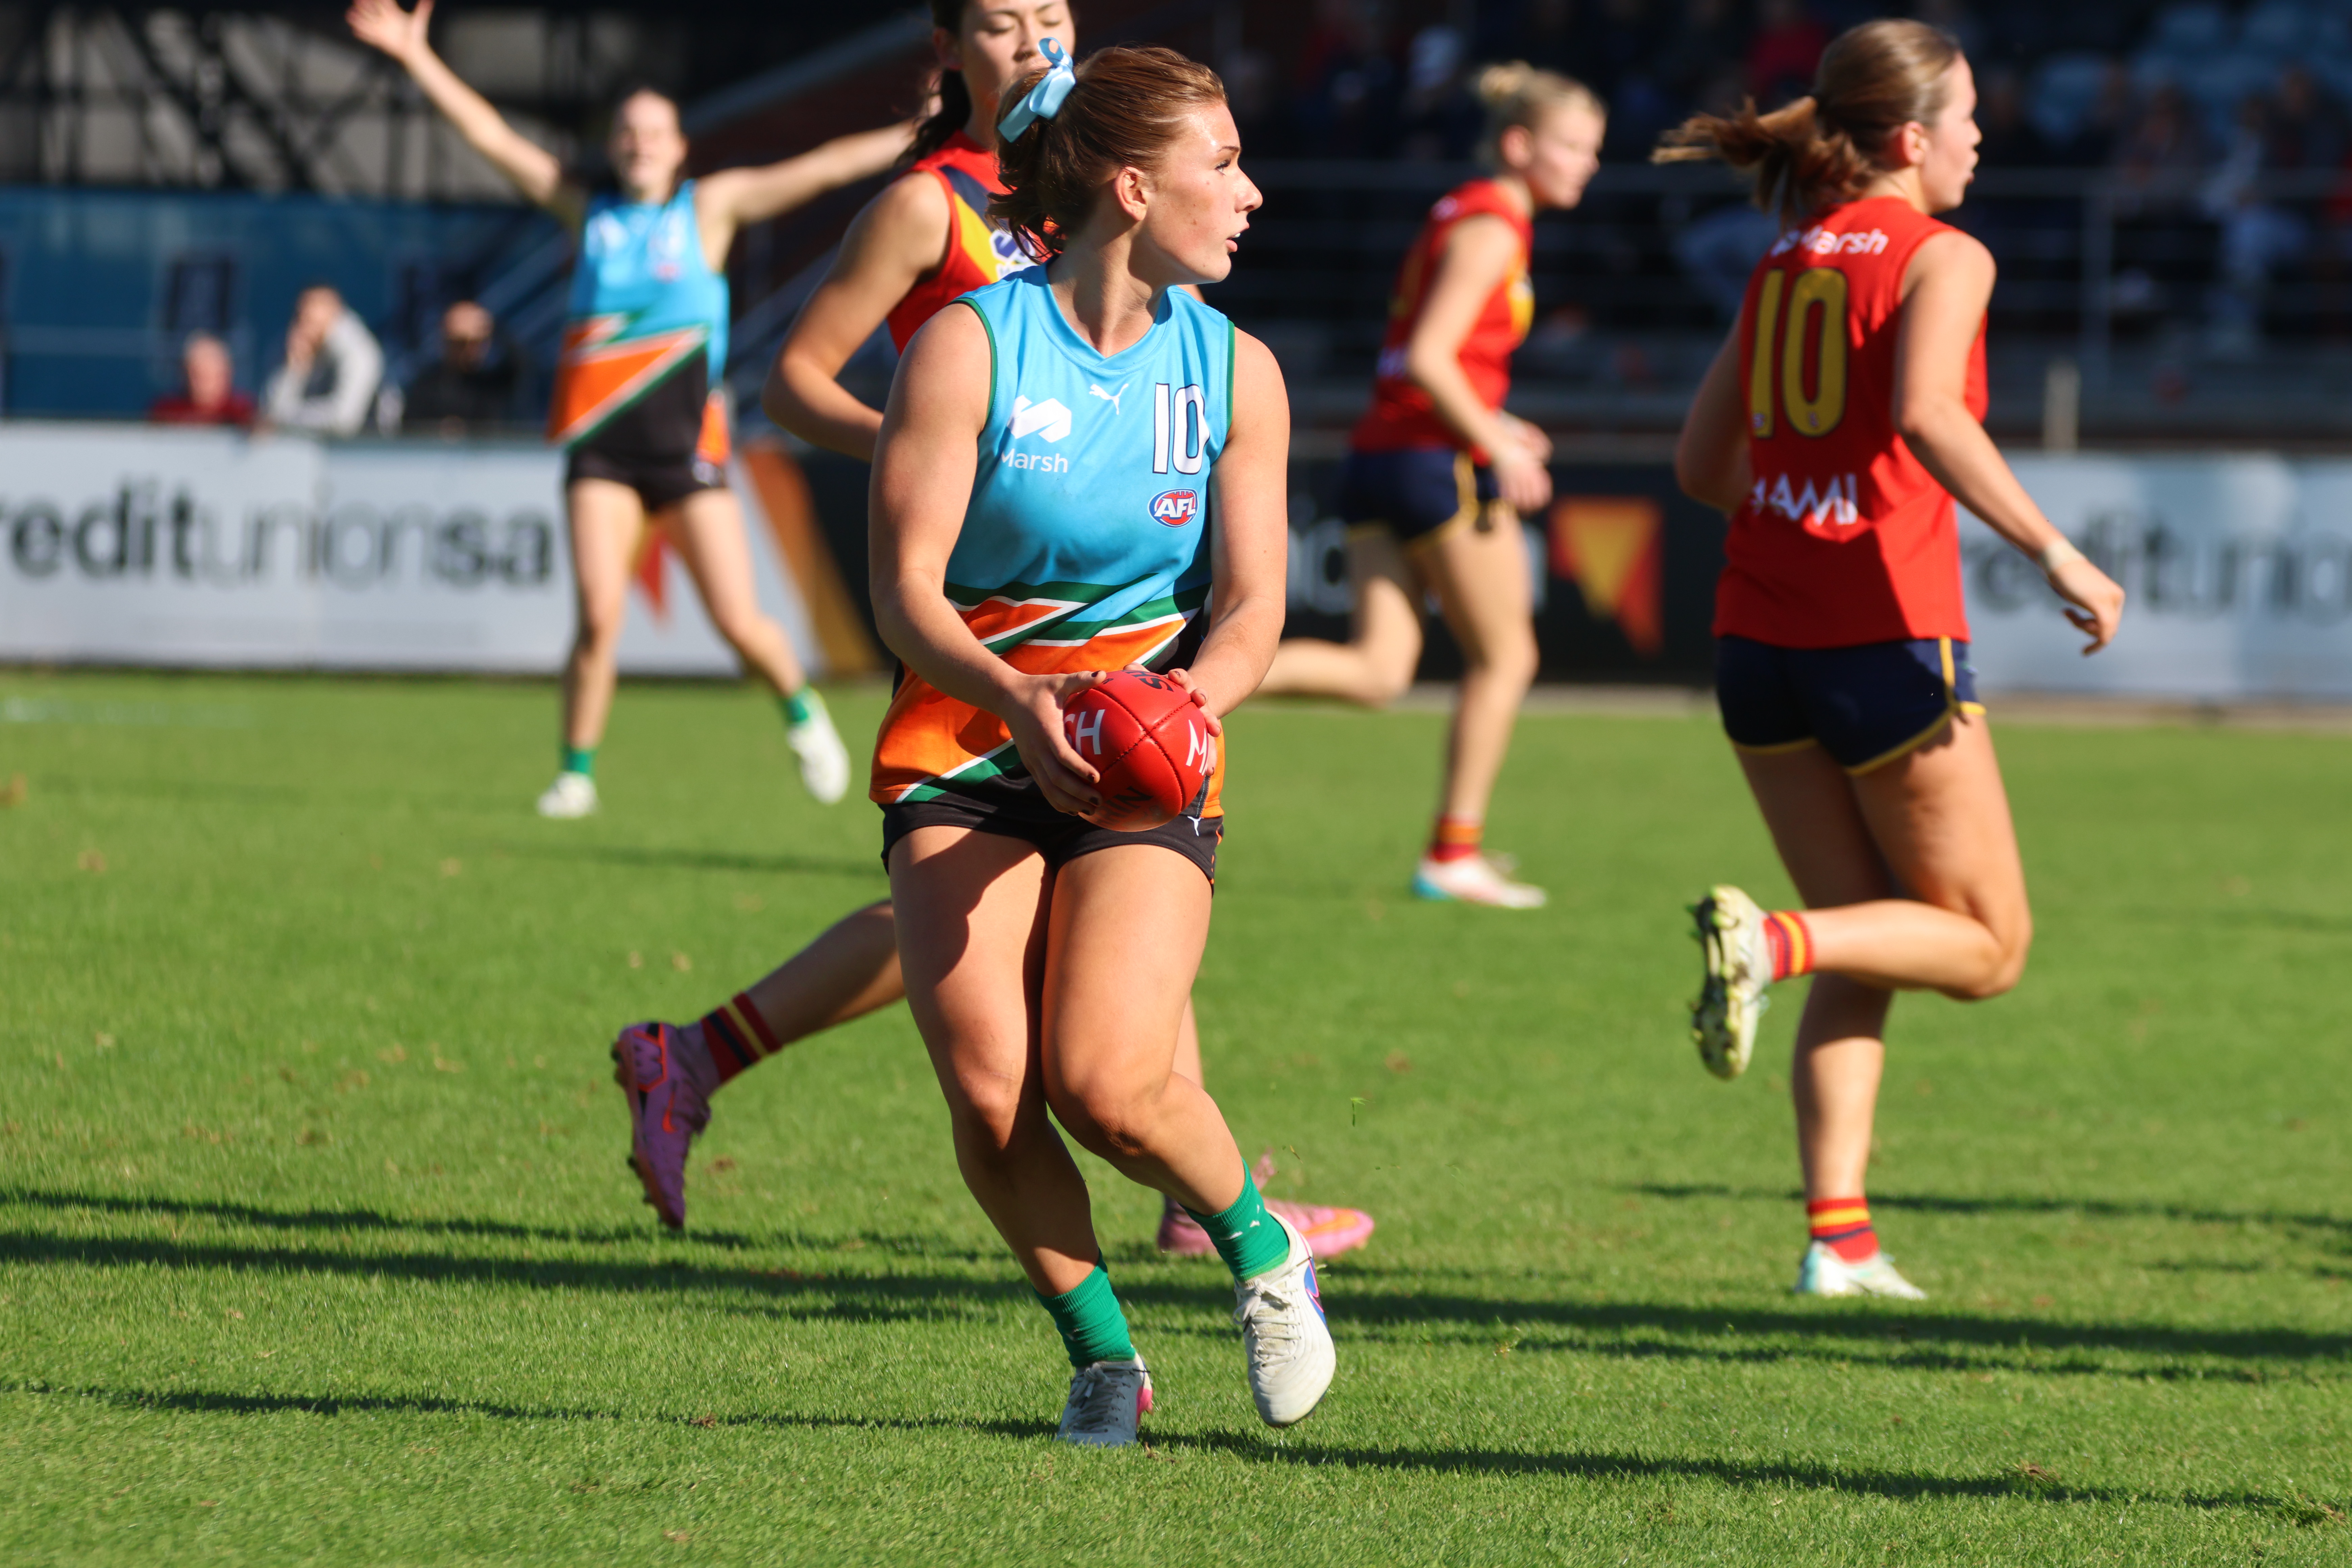
State Academy notes: 2026 SANFLW – Round 11
ROUND 11 of the 2026 SANFL Women’s season saw the State Academy members back in action for a second round since taking out the national title, continuing to build and show their class across the four games. We took note of how each of the Academy members performed in the latest round of action. All […]
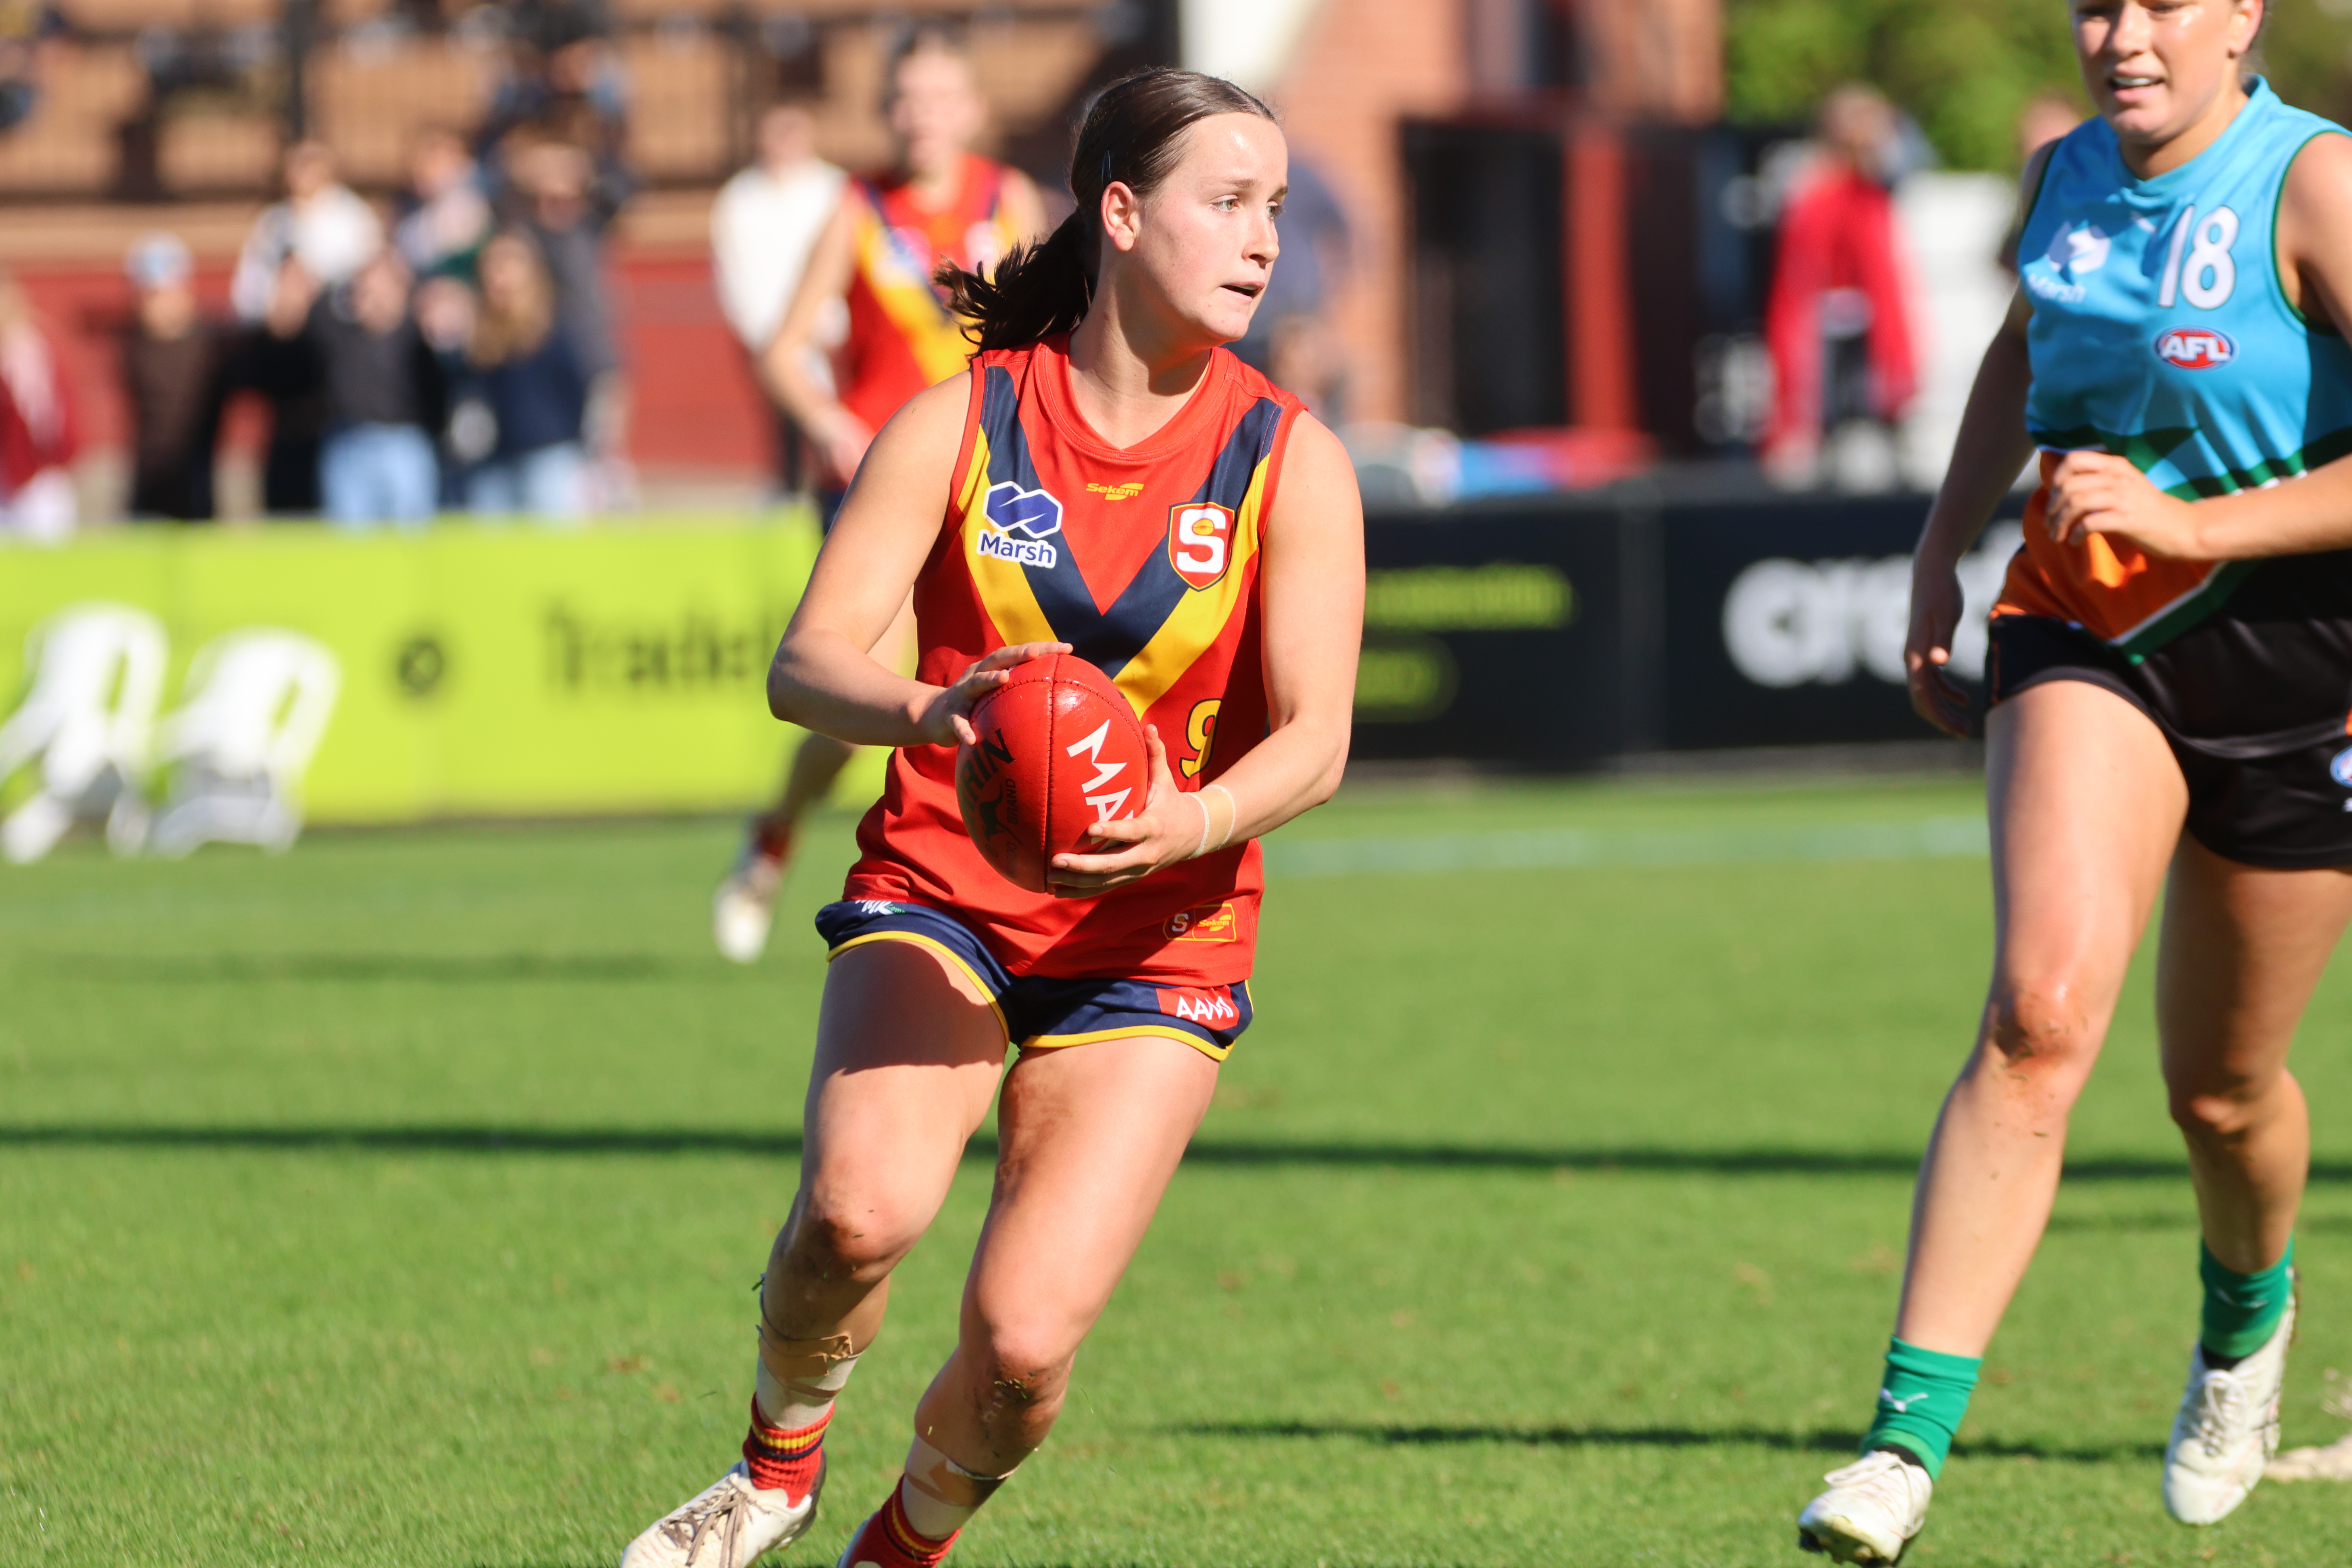
Scouting Notes: State stars shine as Bays beat Panthers
GLENELG has flexed its scoring muscle in the second half to remain fixed in the AAMI Talent League top four with a win over South Adelaide in Round 15. The Bays kicked away with six goals to two in the third term at Stratarama Stadium and always seemed to have an answer for the Panthers […]
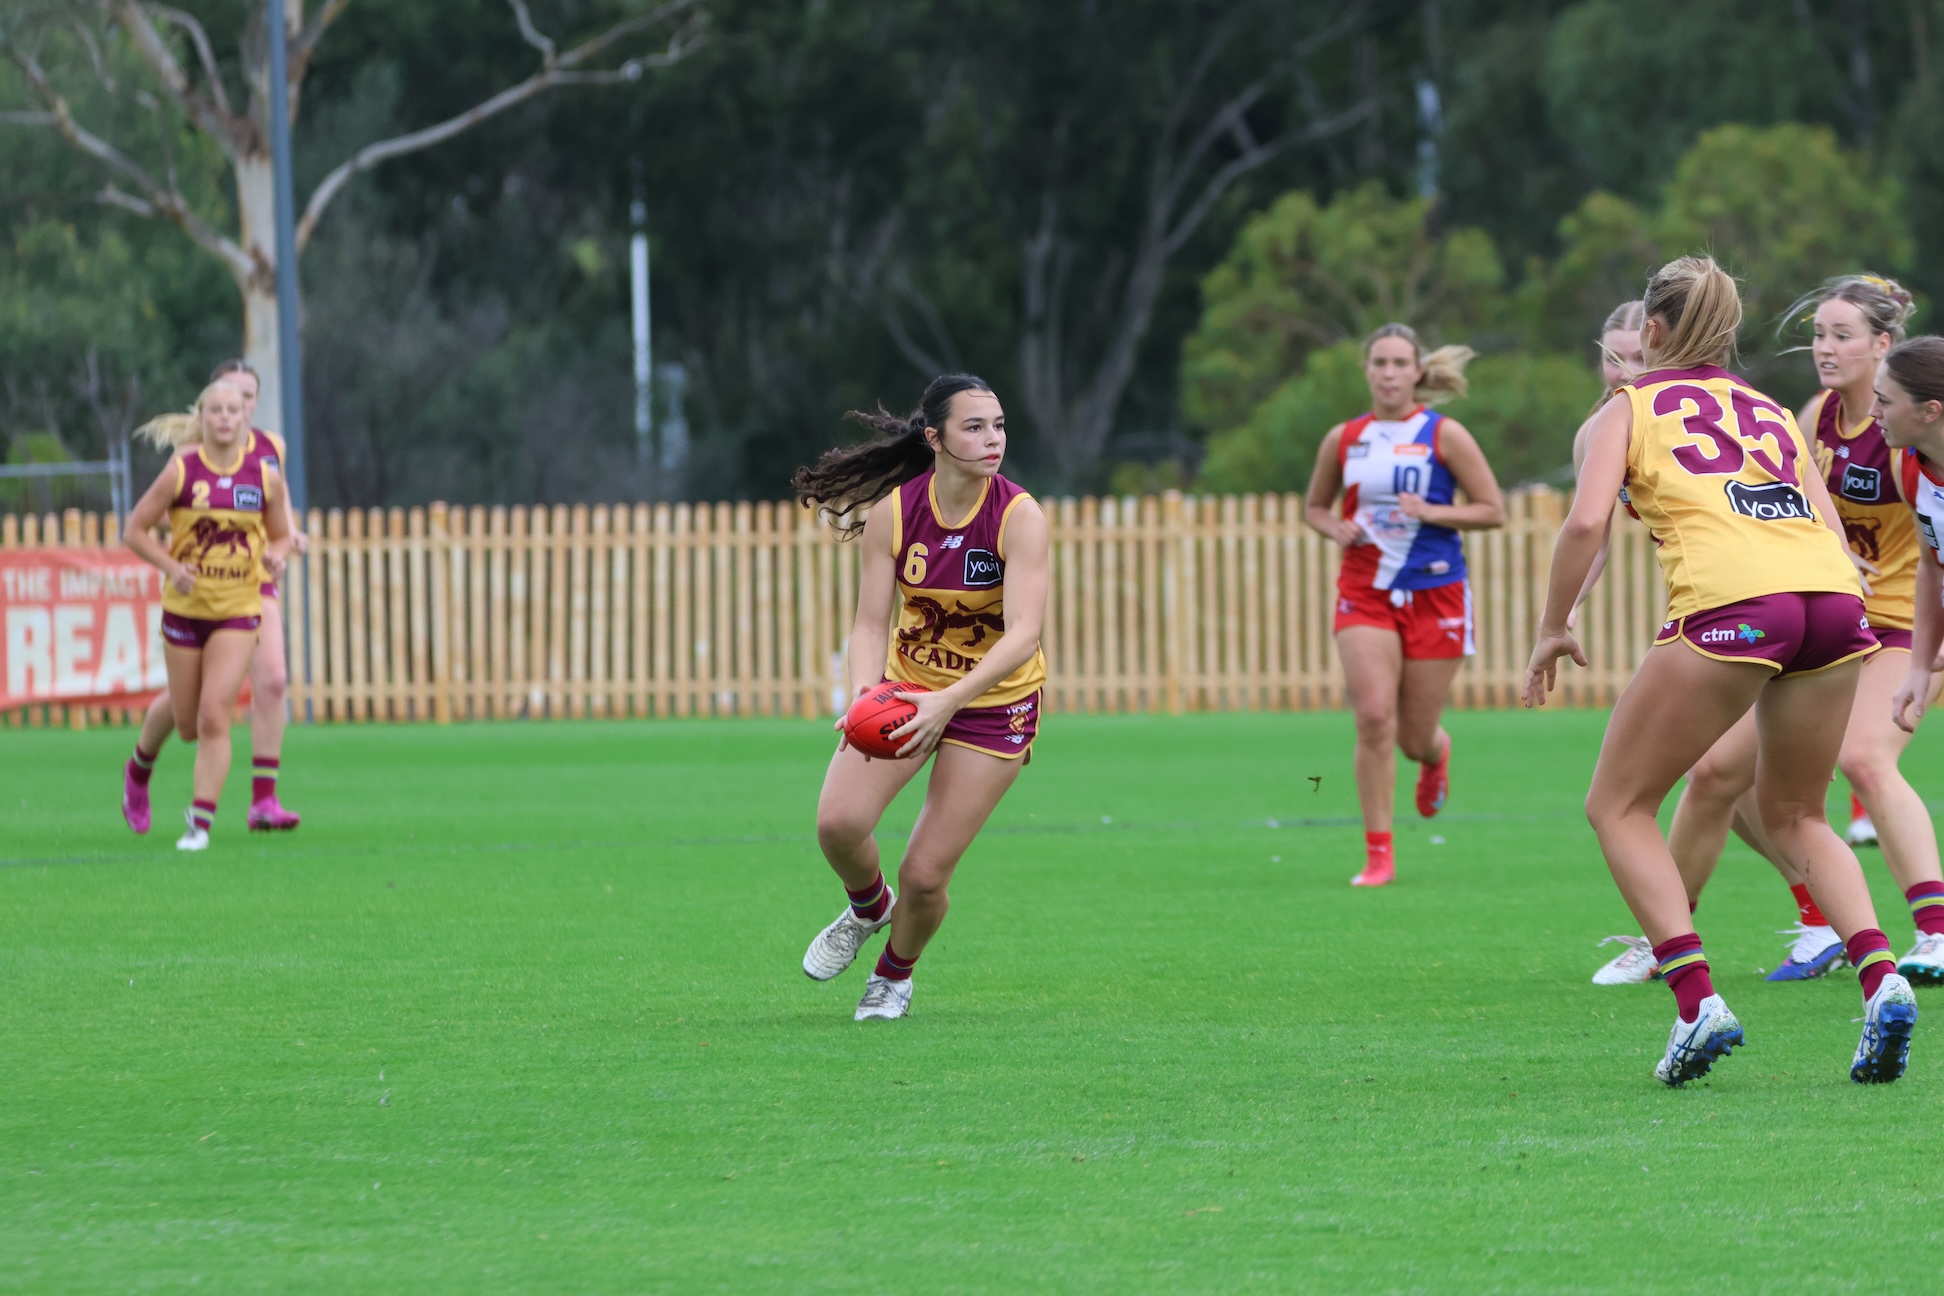
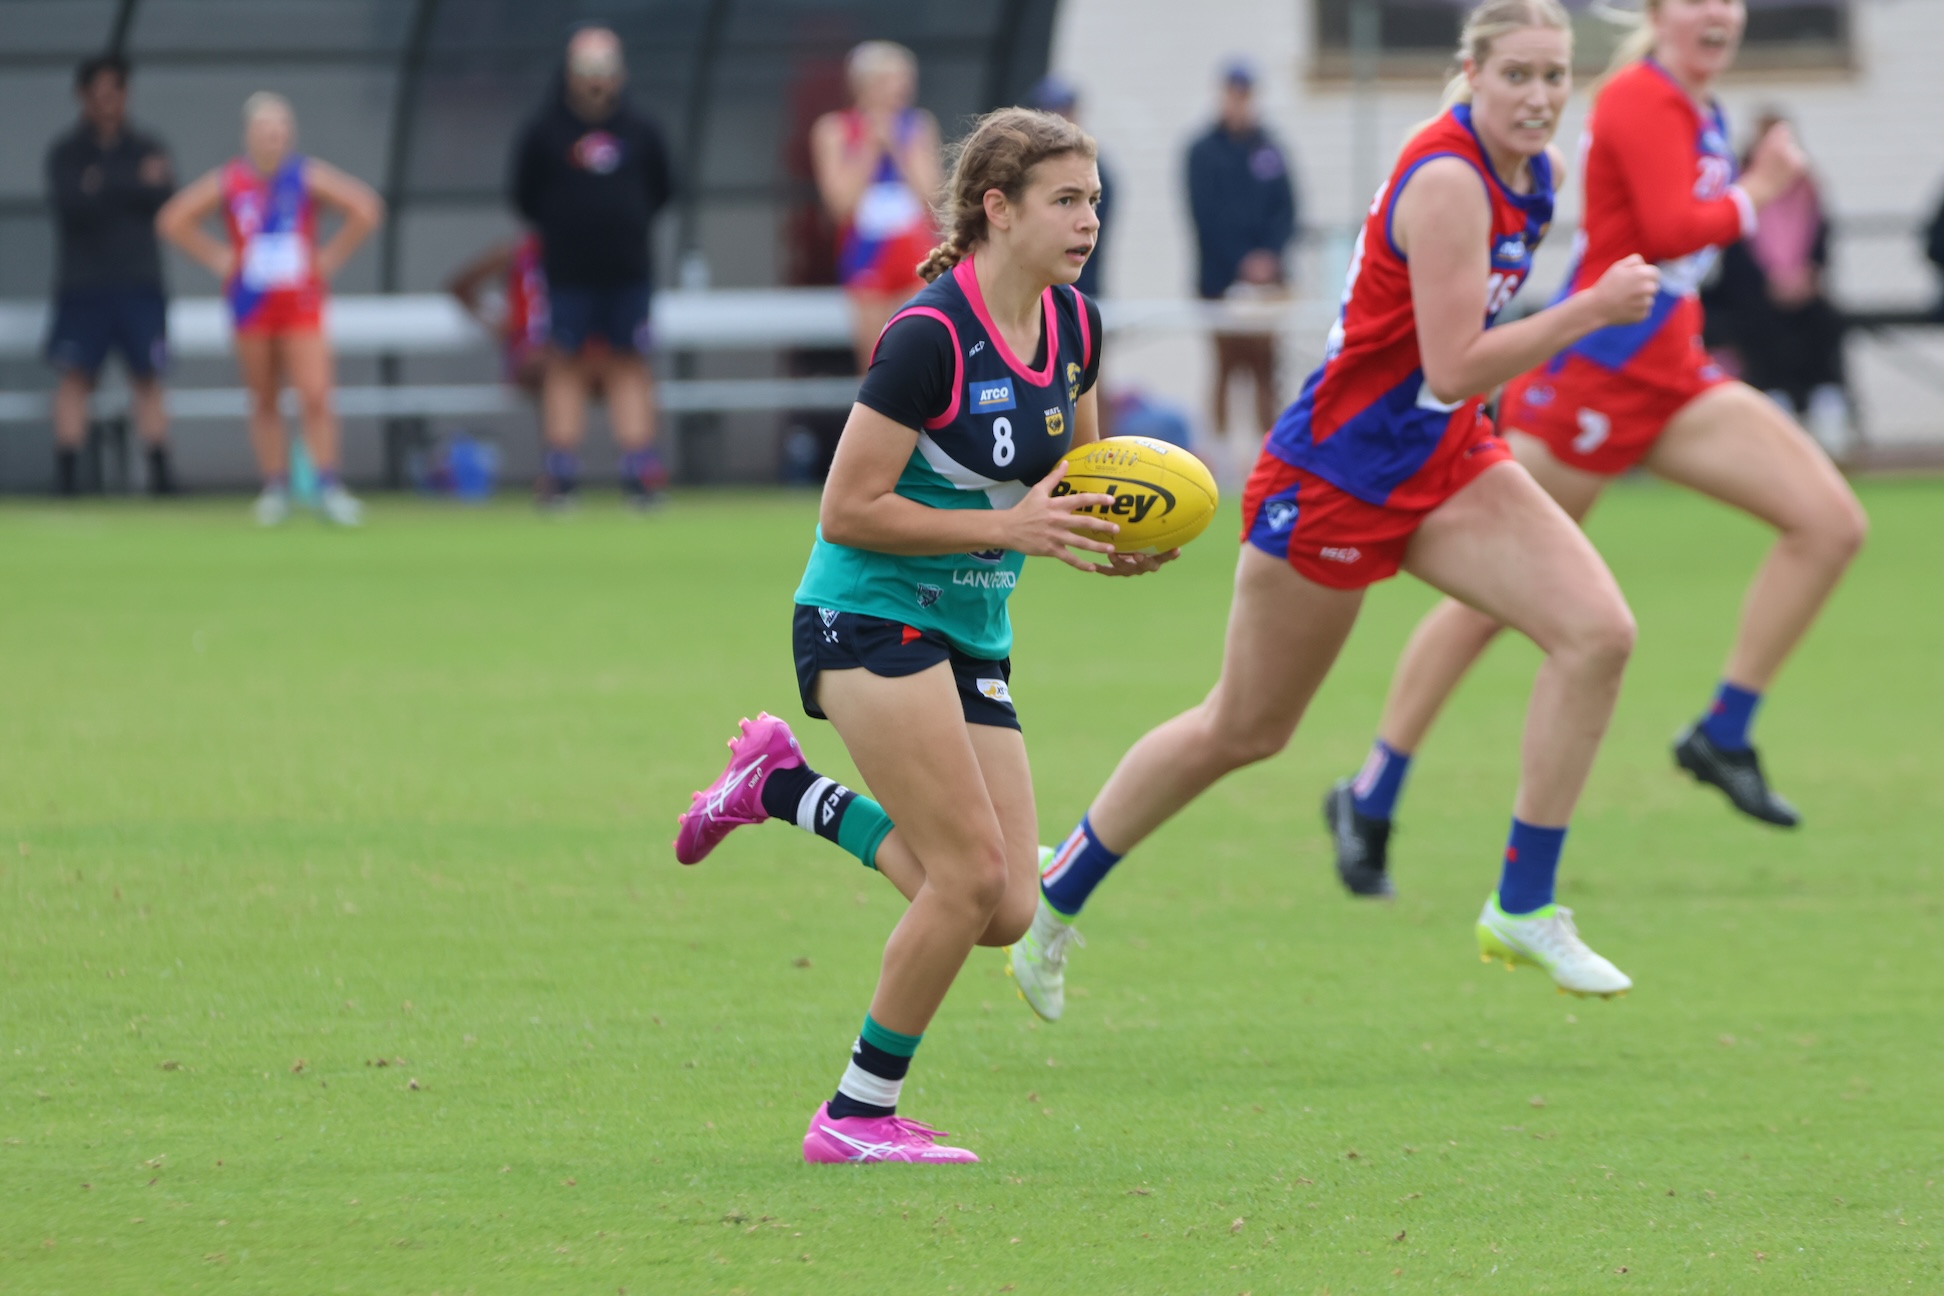
2026 State Academy notes: WAFLW – Round 16
ROUND 16 of the WAFL Women’s season saw the return of the West Australian Under 18s players following the conclusion of the national championships. With the State Academy members back in club colours, there were plenty of standout performances across the four matches as players looked to finish the season strongly. We took note of […]

2026 Talent League Girls R16 notes: Tasmania Devils vs. Sandringham Dragons
SANDRINGHAM Dragons secured an impressive 7.11 (53) to 5.4 (34) victory over Tasmania Devils on the Apple Isle in Round 16 of the Talent League Girls competition. The Dragons took control of the match by kicking the first four goals of the second half to establish a commanding five-goal lead, before the Devils fought back […]
2026 Talent League Girls R16 notes: Bendigo Pioneers vs. Geelong Falcons
GEELONG Falcons won the battle between two of the single win sides over the weekend, defeating Bendigo Pioneers by 54 points in a comprehensive performance at Queen Elizabeth Oval. Despite missing Vic Country MVP Ava Bilyk and National Academy member Greea McKeegan, the Falcons piled on seven goals to two in the first half and […]
Scouting Notes: Dragons’ late surge downs Devils
SANDRINGHAM Dragons have kicked away to a 41-point victory over Tasmania in their standalone Round 19 fixture on Sunday. The visitors were potent throughout the day and kicked nine goals to two at one end of North Hobart Oval to run out with a comfortable, albeit slightly flattering, winning margin. The Devils regained several of […]
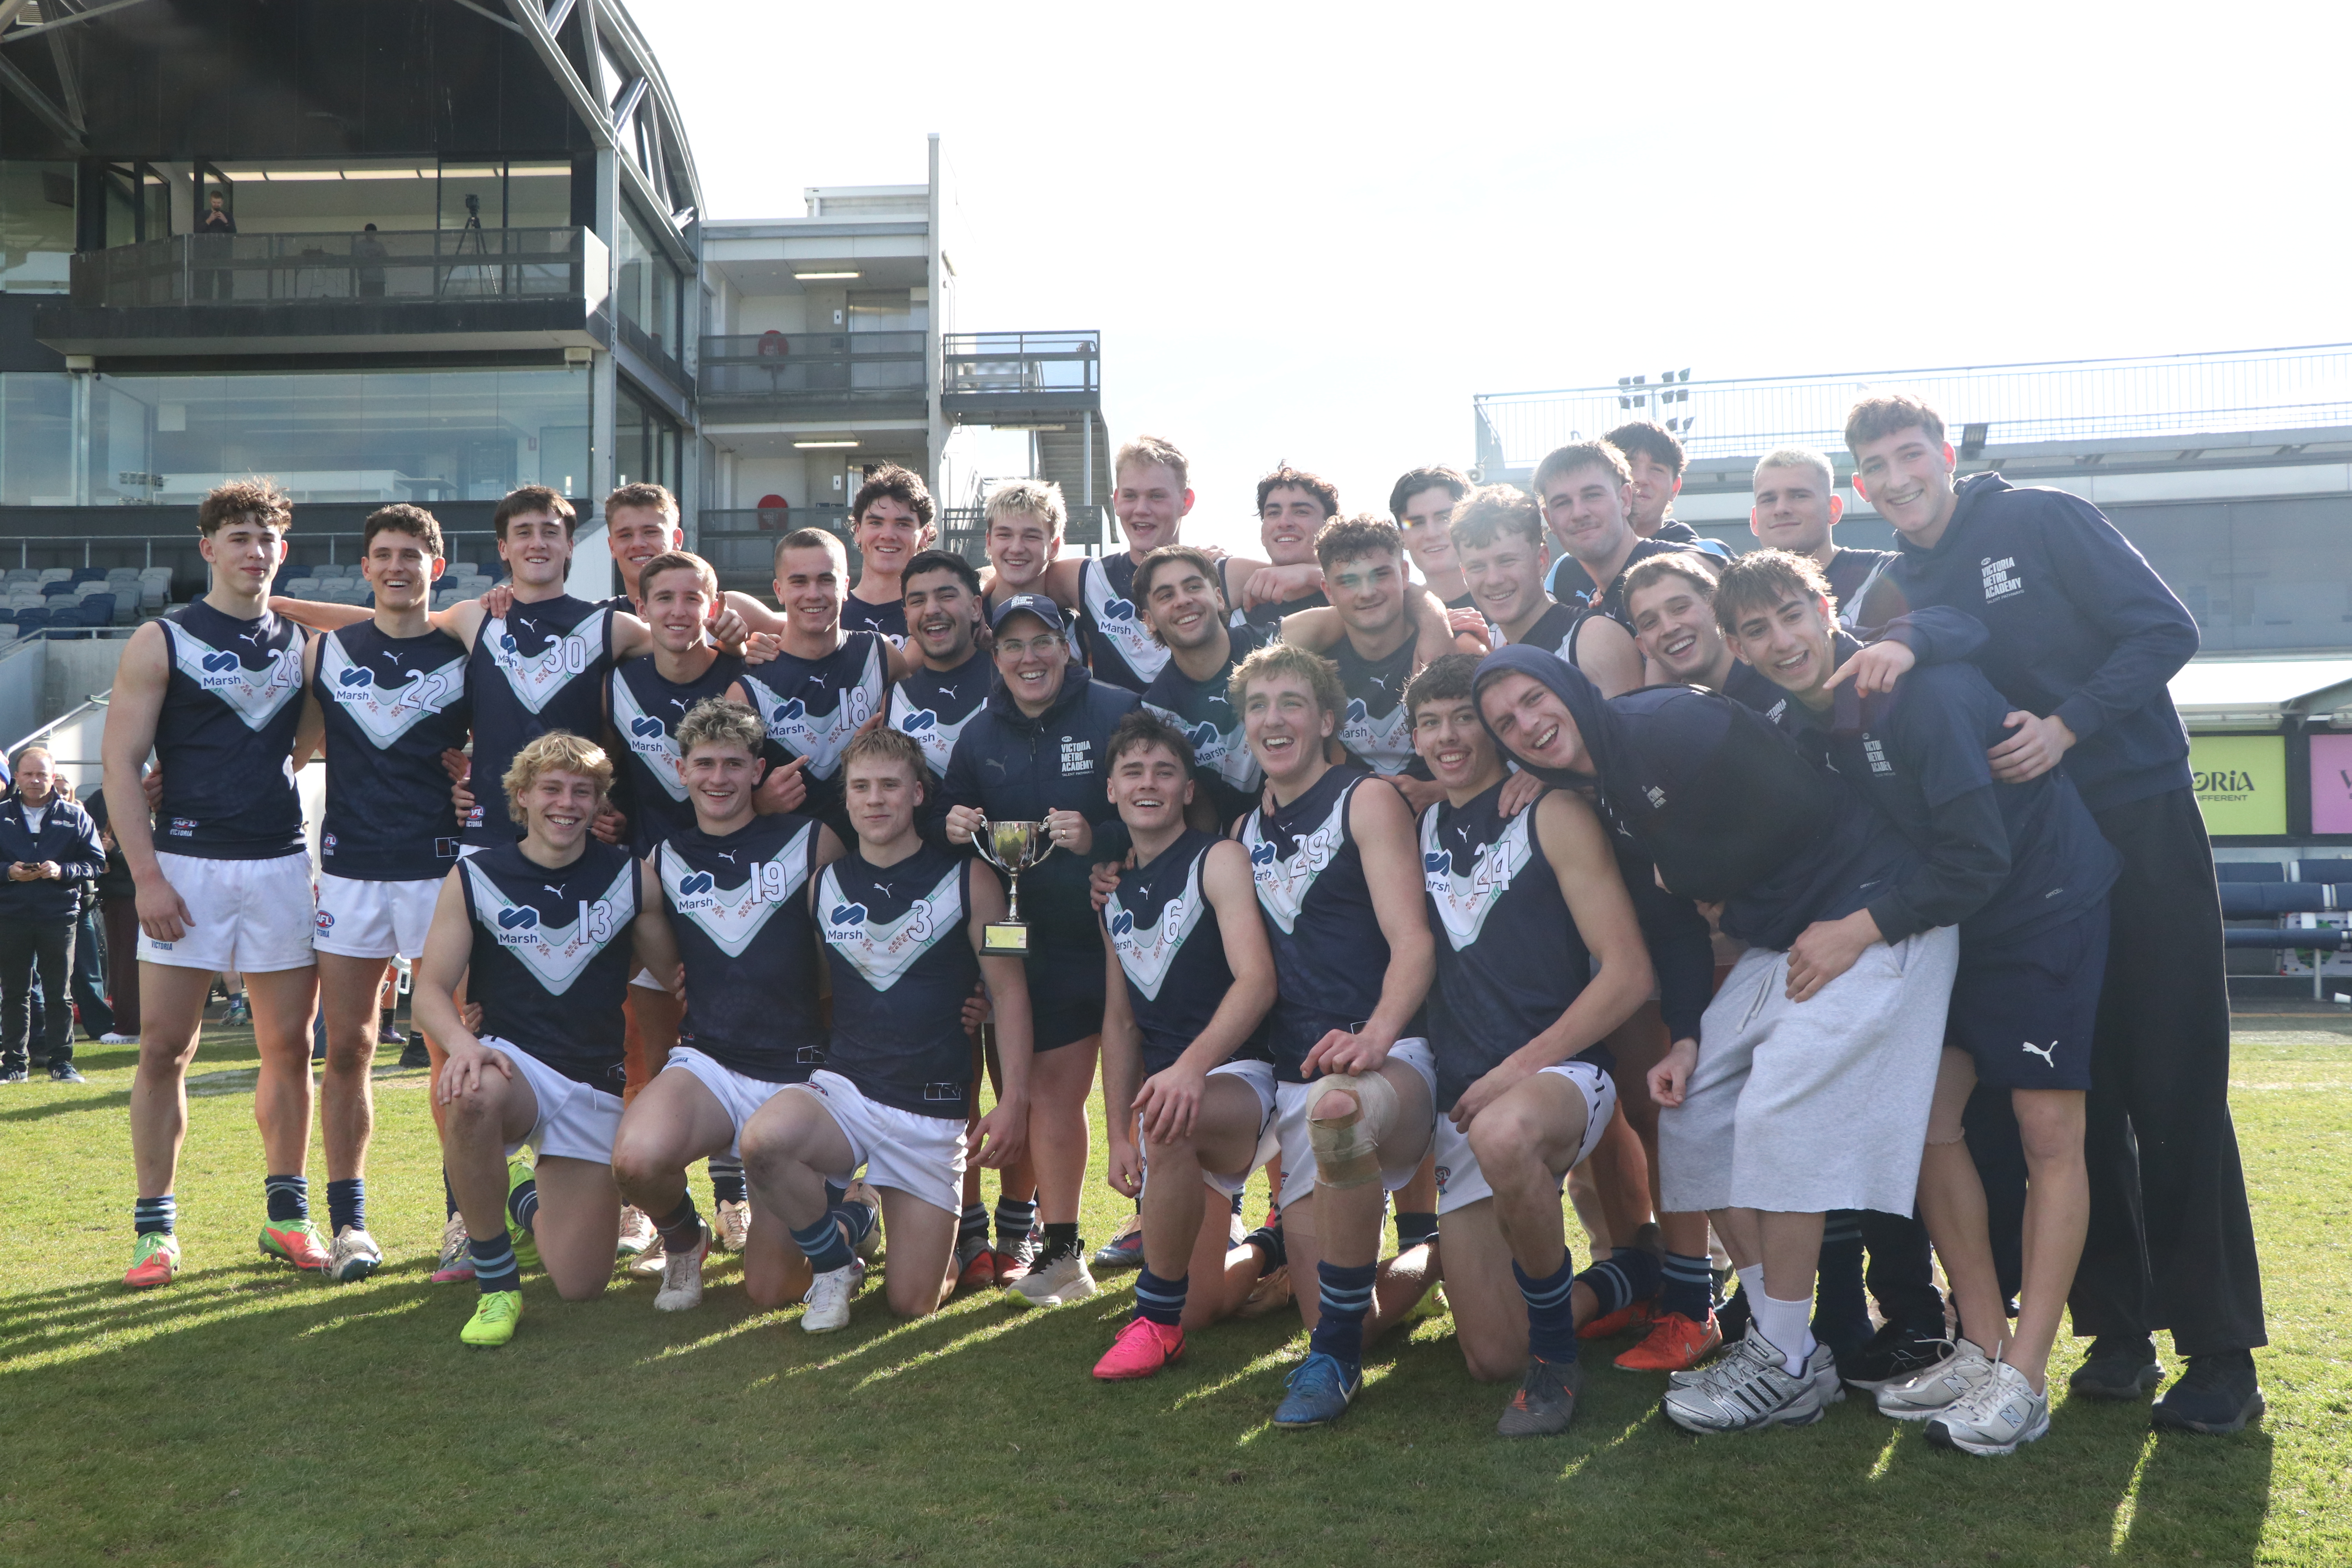
Scouting Notes: 2026 AFL U18s – Vic Country vs. Vic Metro
VIC METRO has completed an undefeated Under 18 National Championships campaign after thumping rivals Vic Country by 92 points at Mars Stadium on Sunday. The newly crowned champions piled on the first 11 goals of the game, setting up their comfortable victory with 13 to one in the opening half. A 35-22 clearance trouncing helped […]
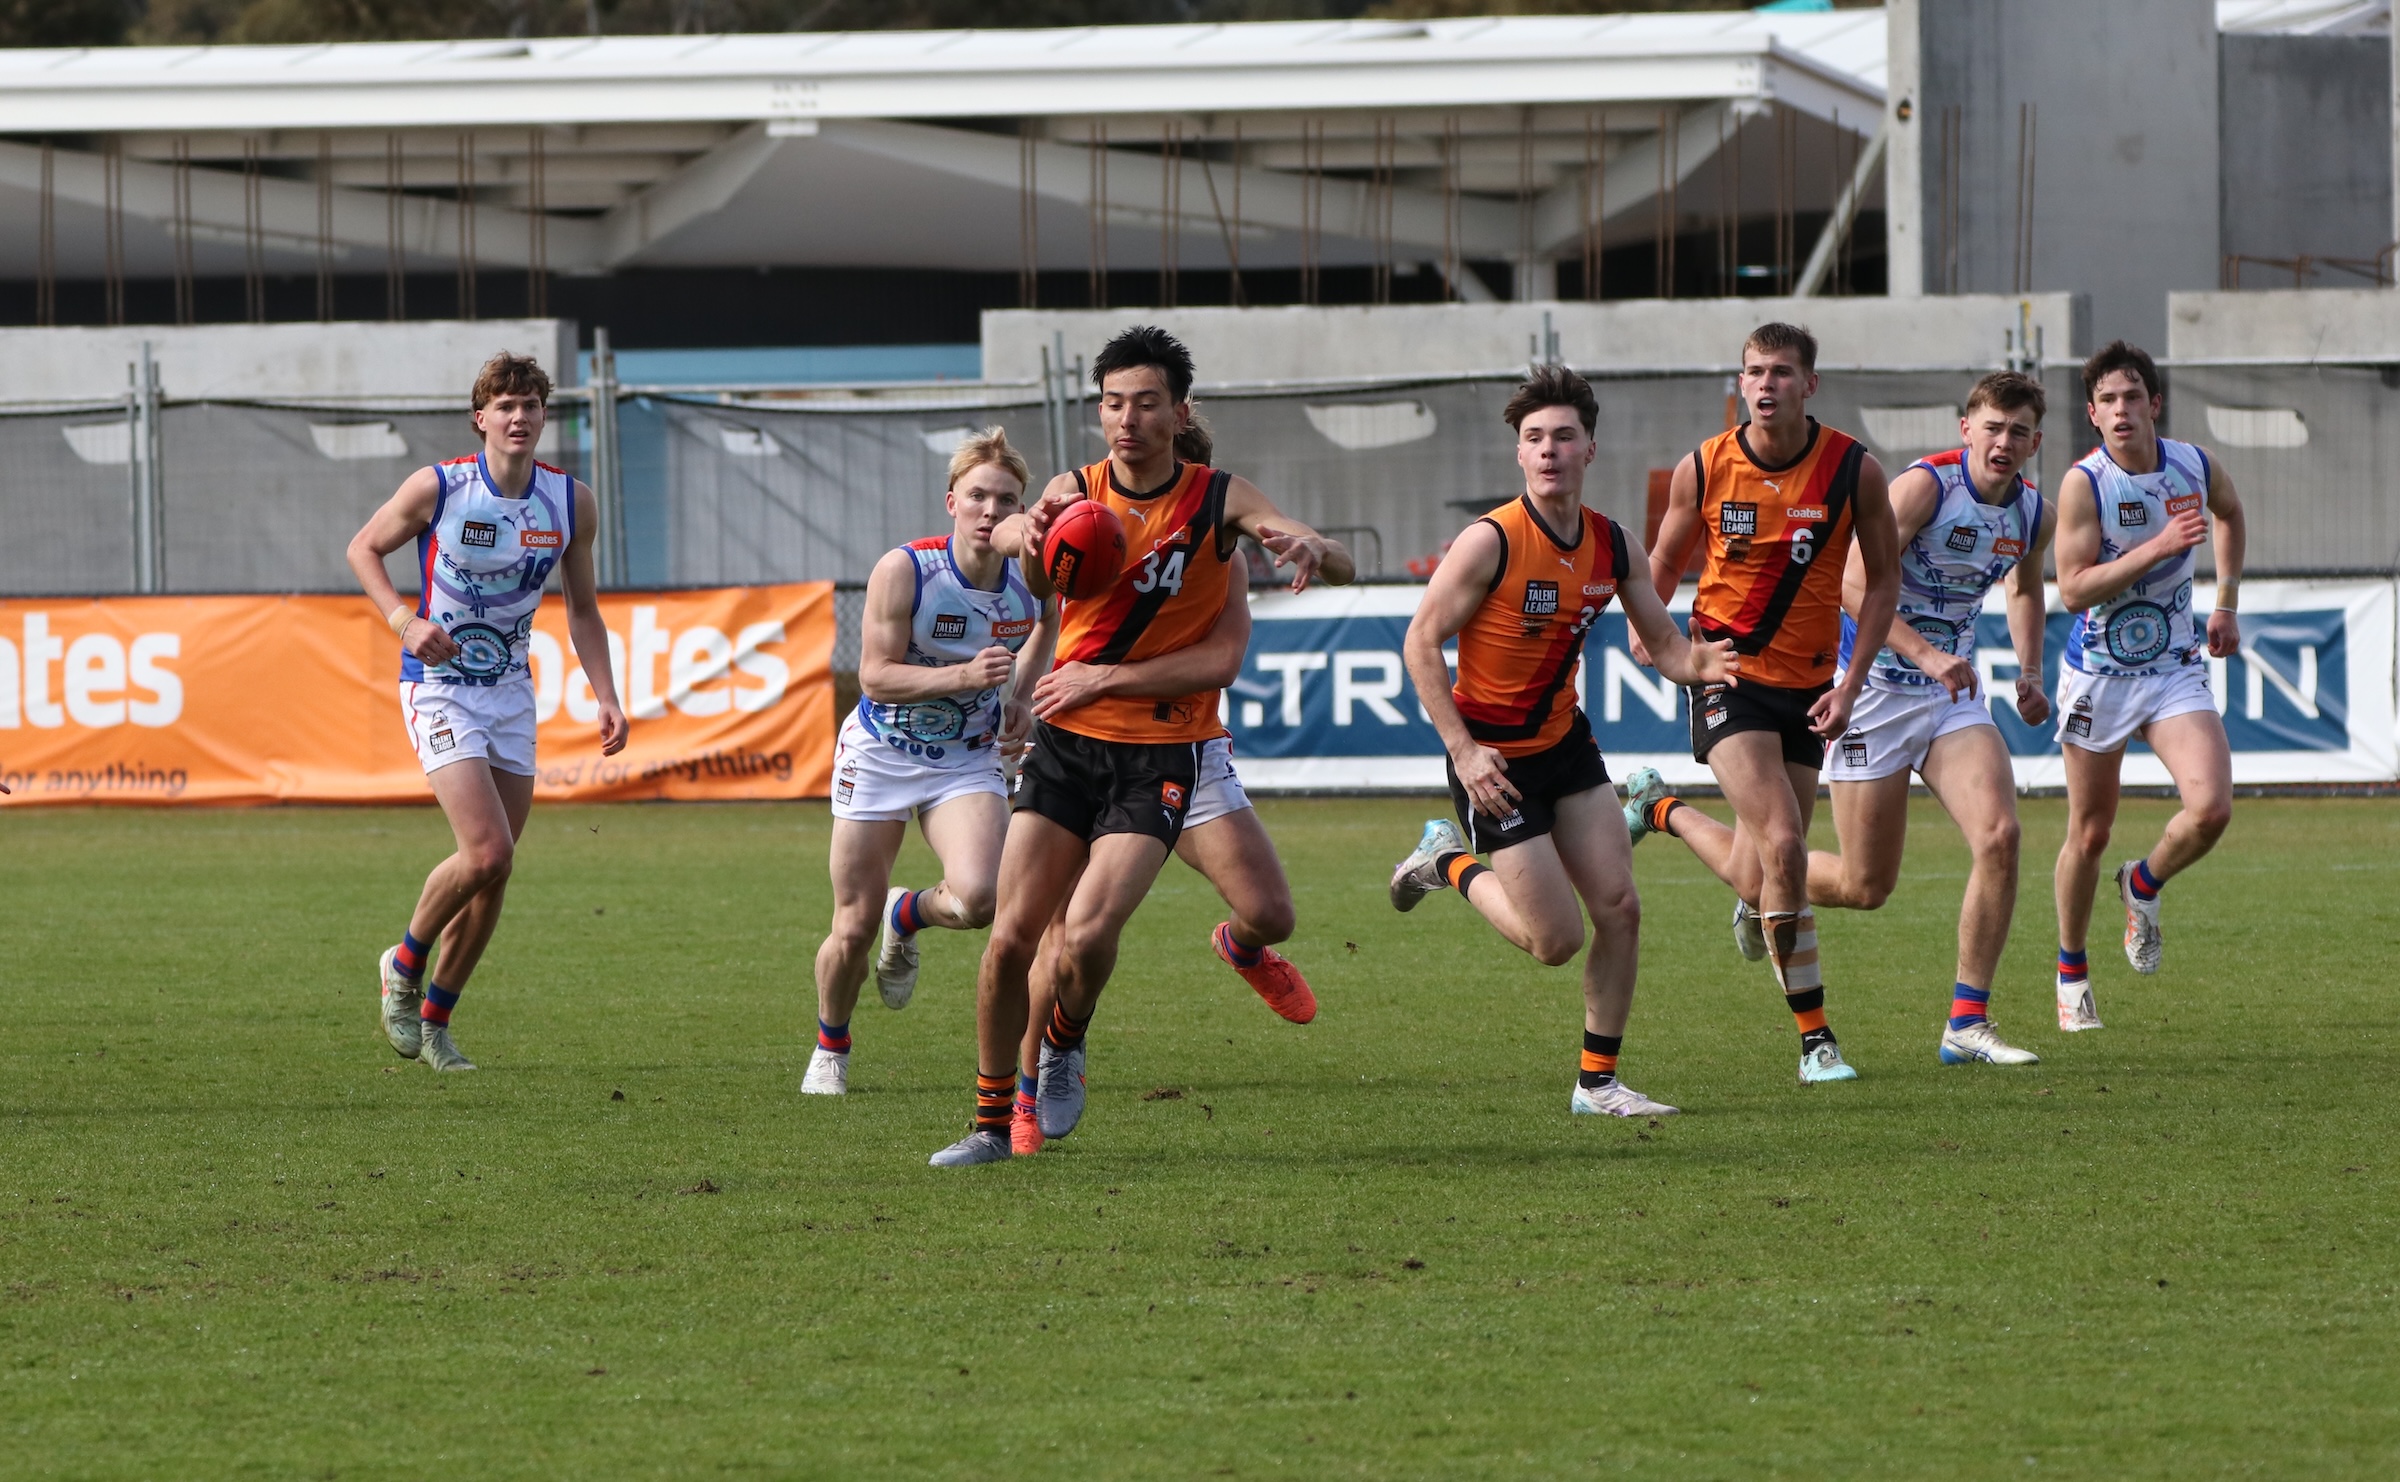
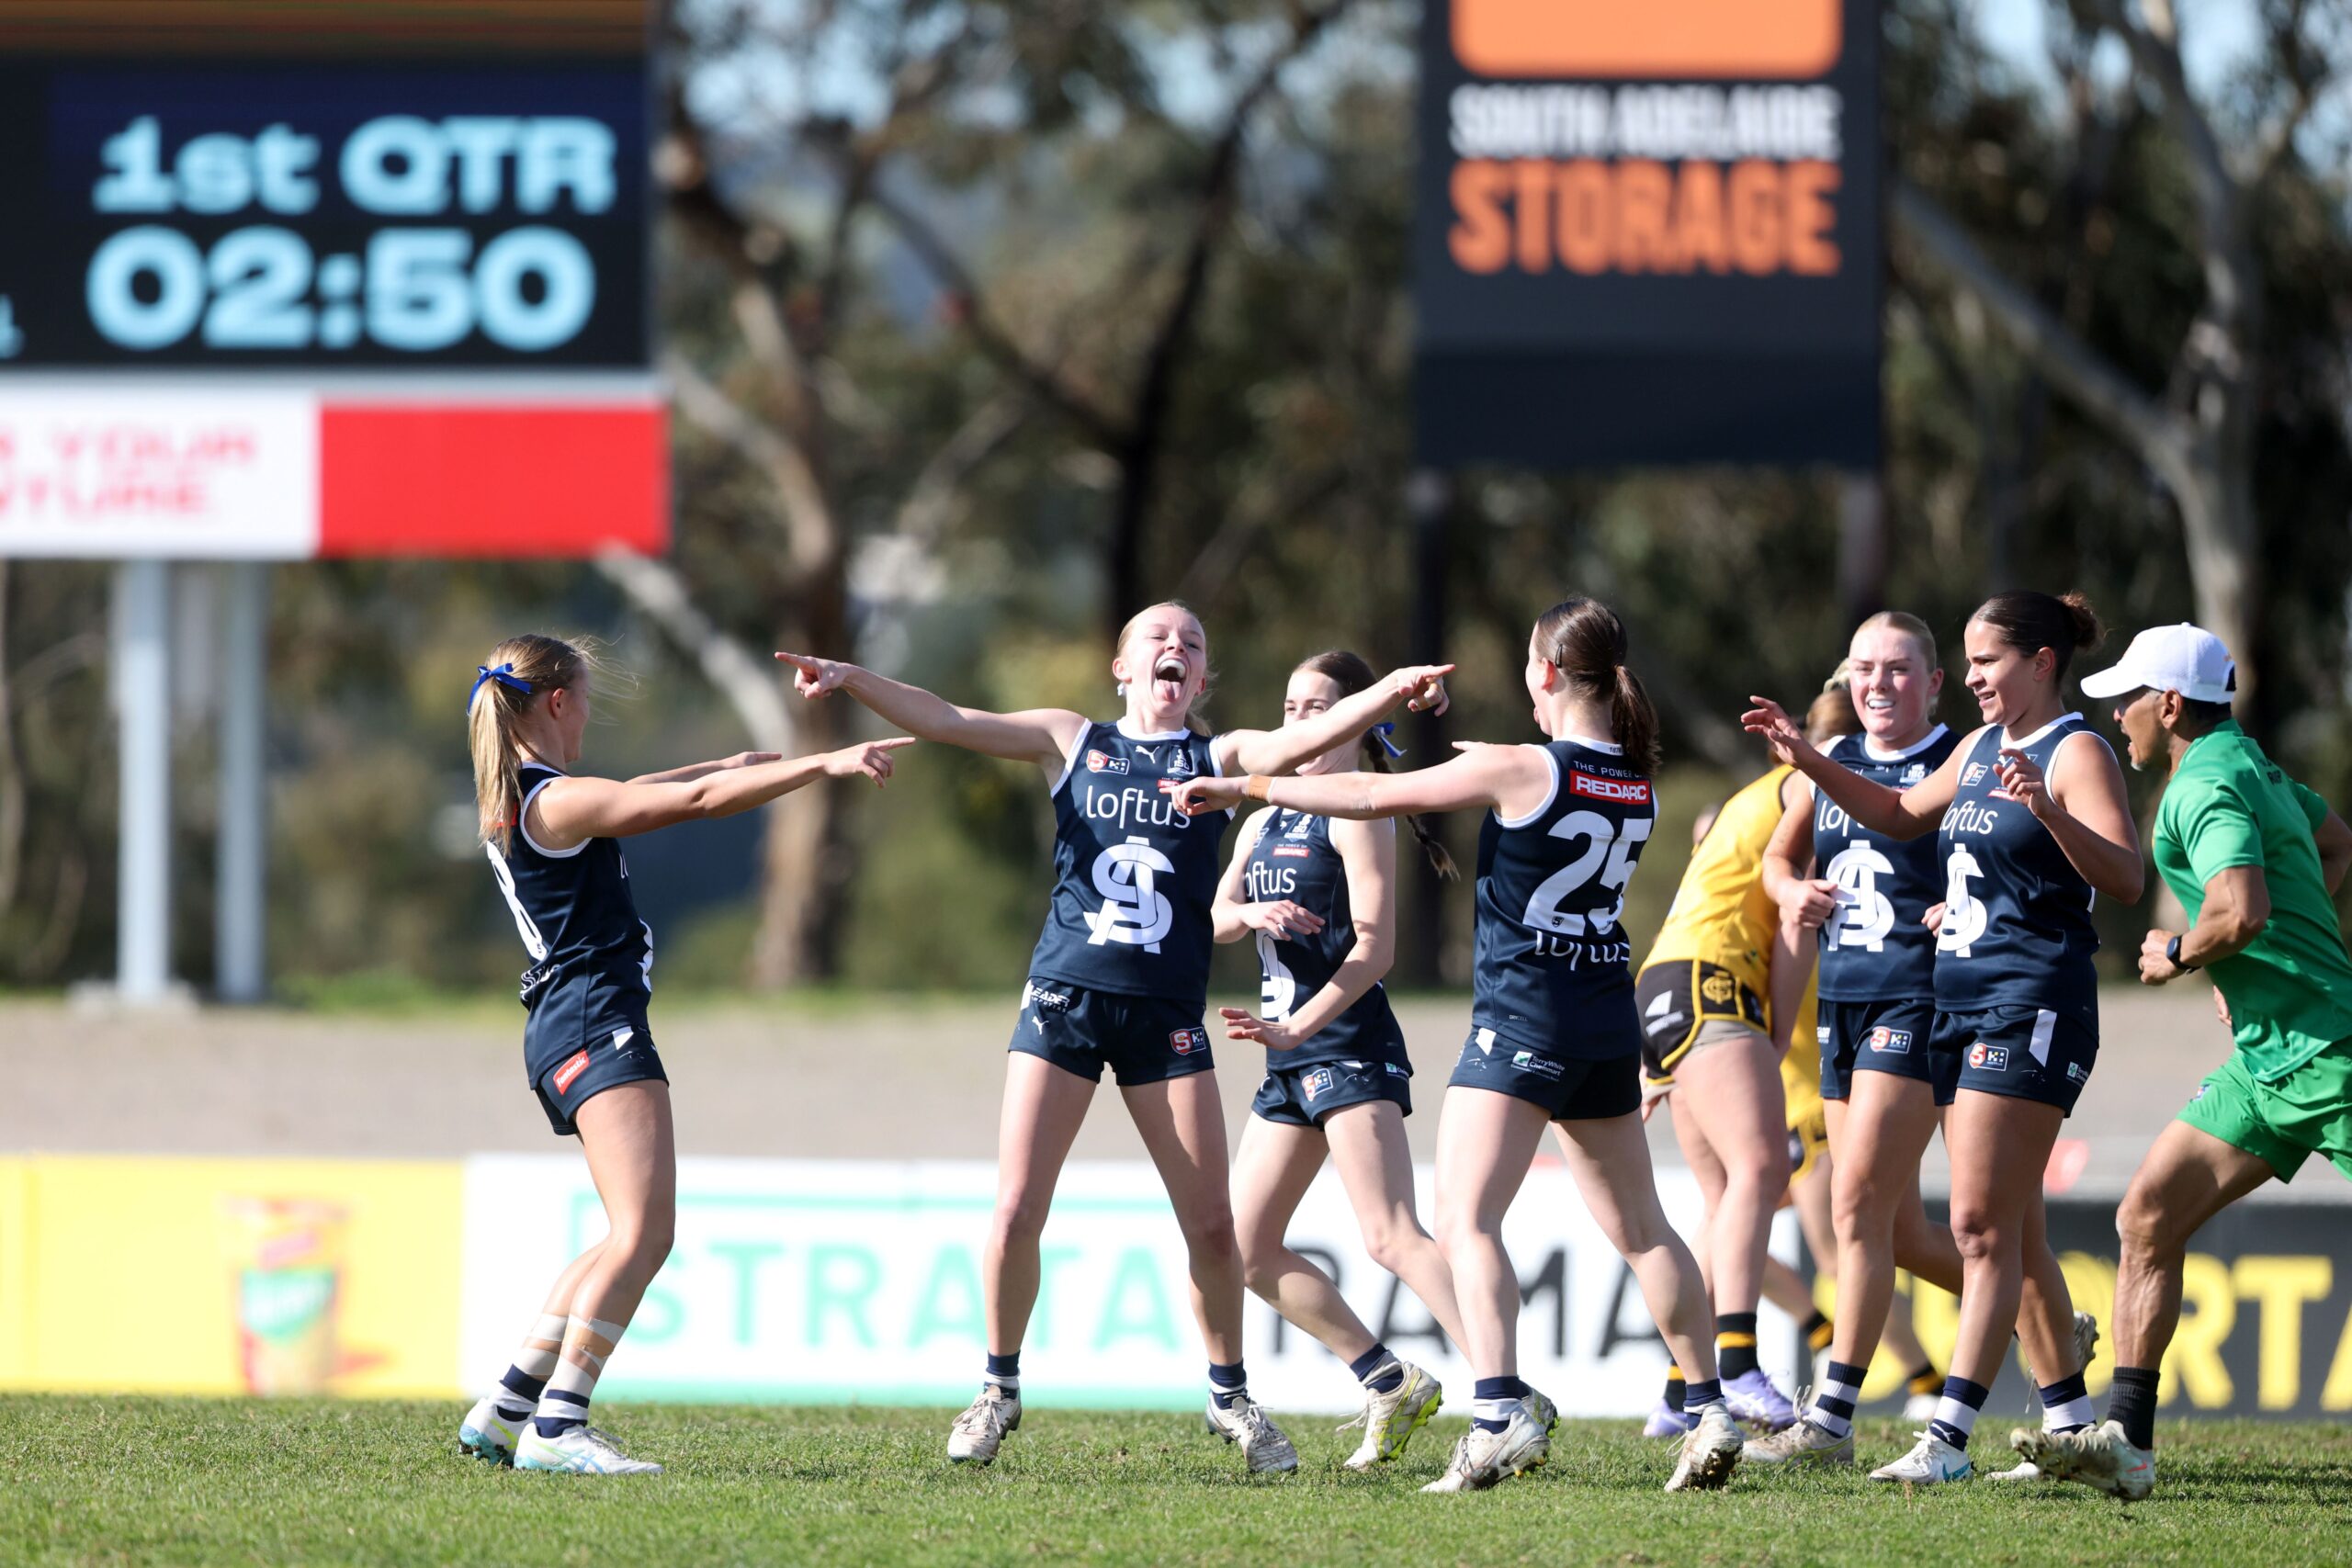
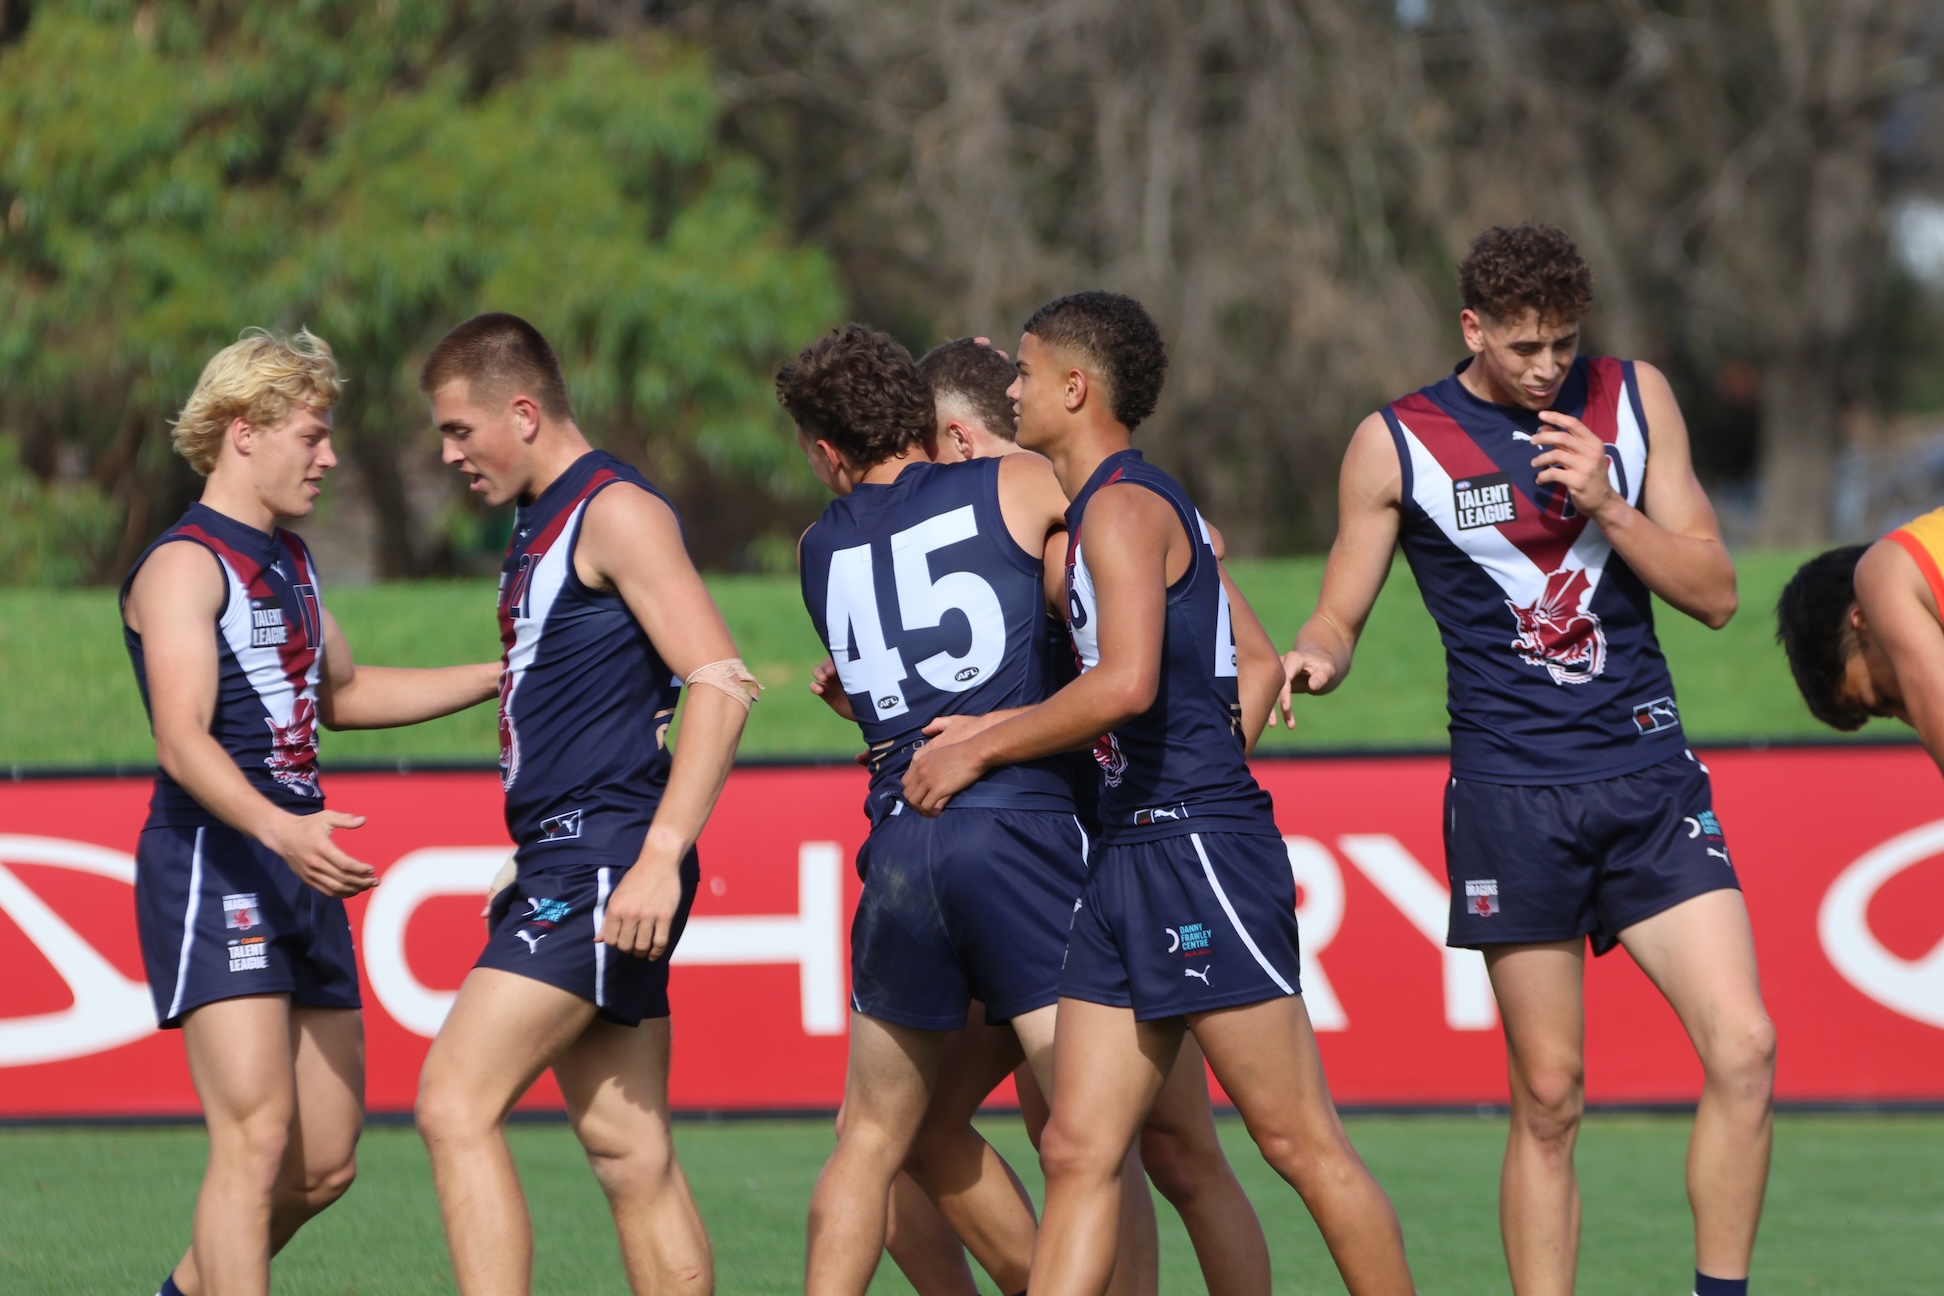
2026 Talent League Girls R16 notes: Calder Cannons vs. Murray Bushrangers
CALDER Cannons continued their season as the top metropolitan team as it stands, producing a 19-point win over Murray Bushrangers in Round 16 of the Talent League Girls season. In a tough day for kicking straight, the Cannons booted six of the nine final term behinds on their way to a 5.13 (43) to 3.6 […]
