Scouting Notes: 2022 NAB League – Round 15
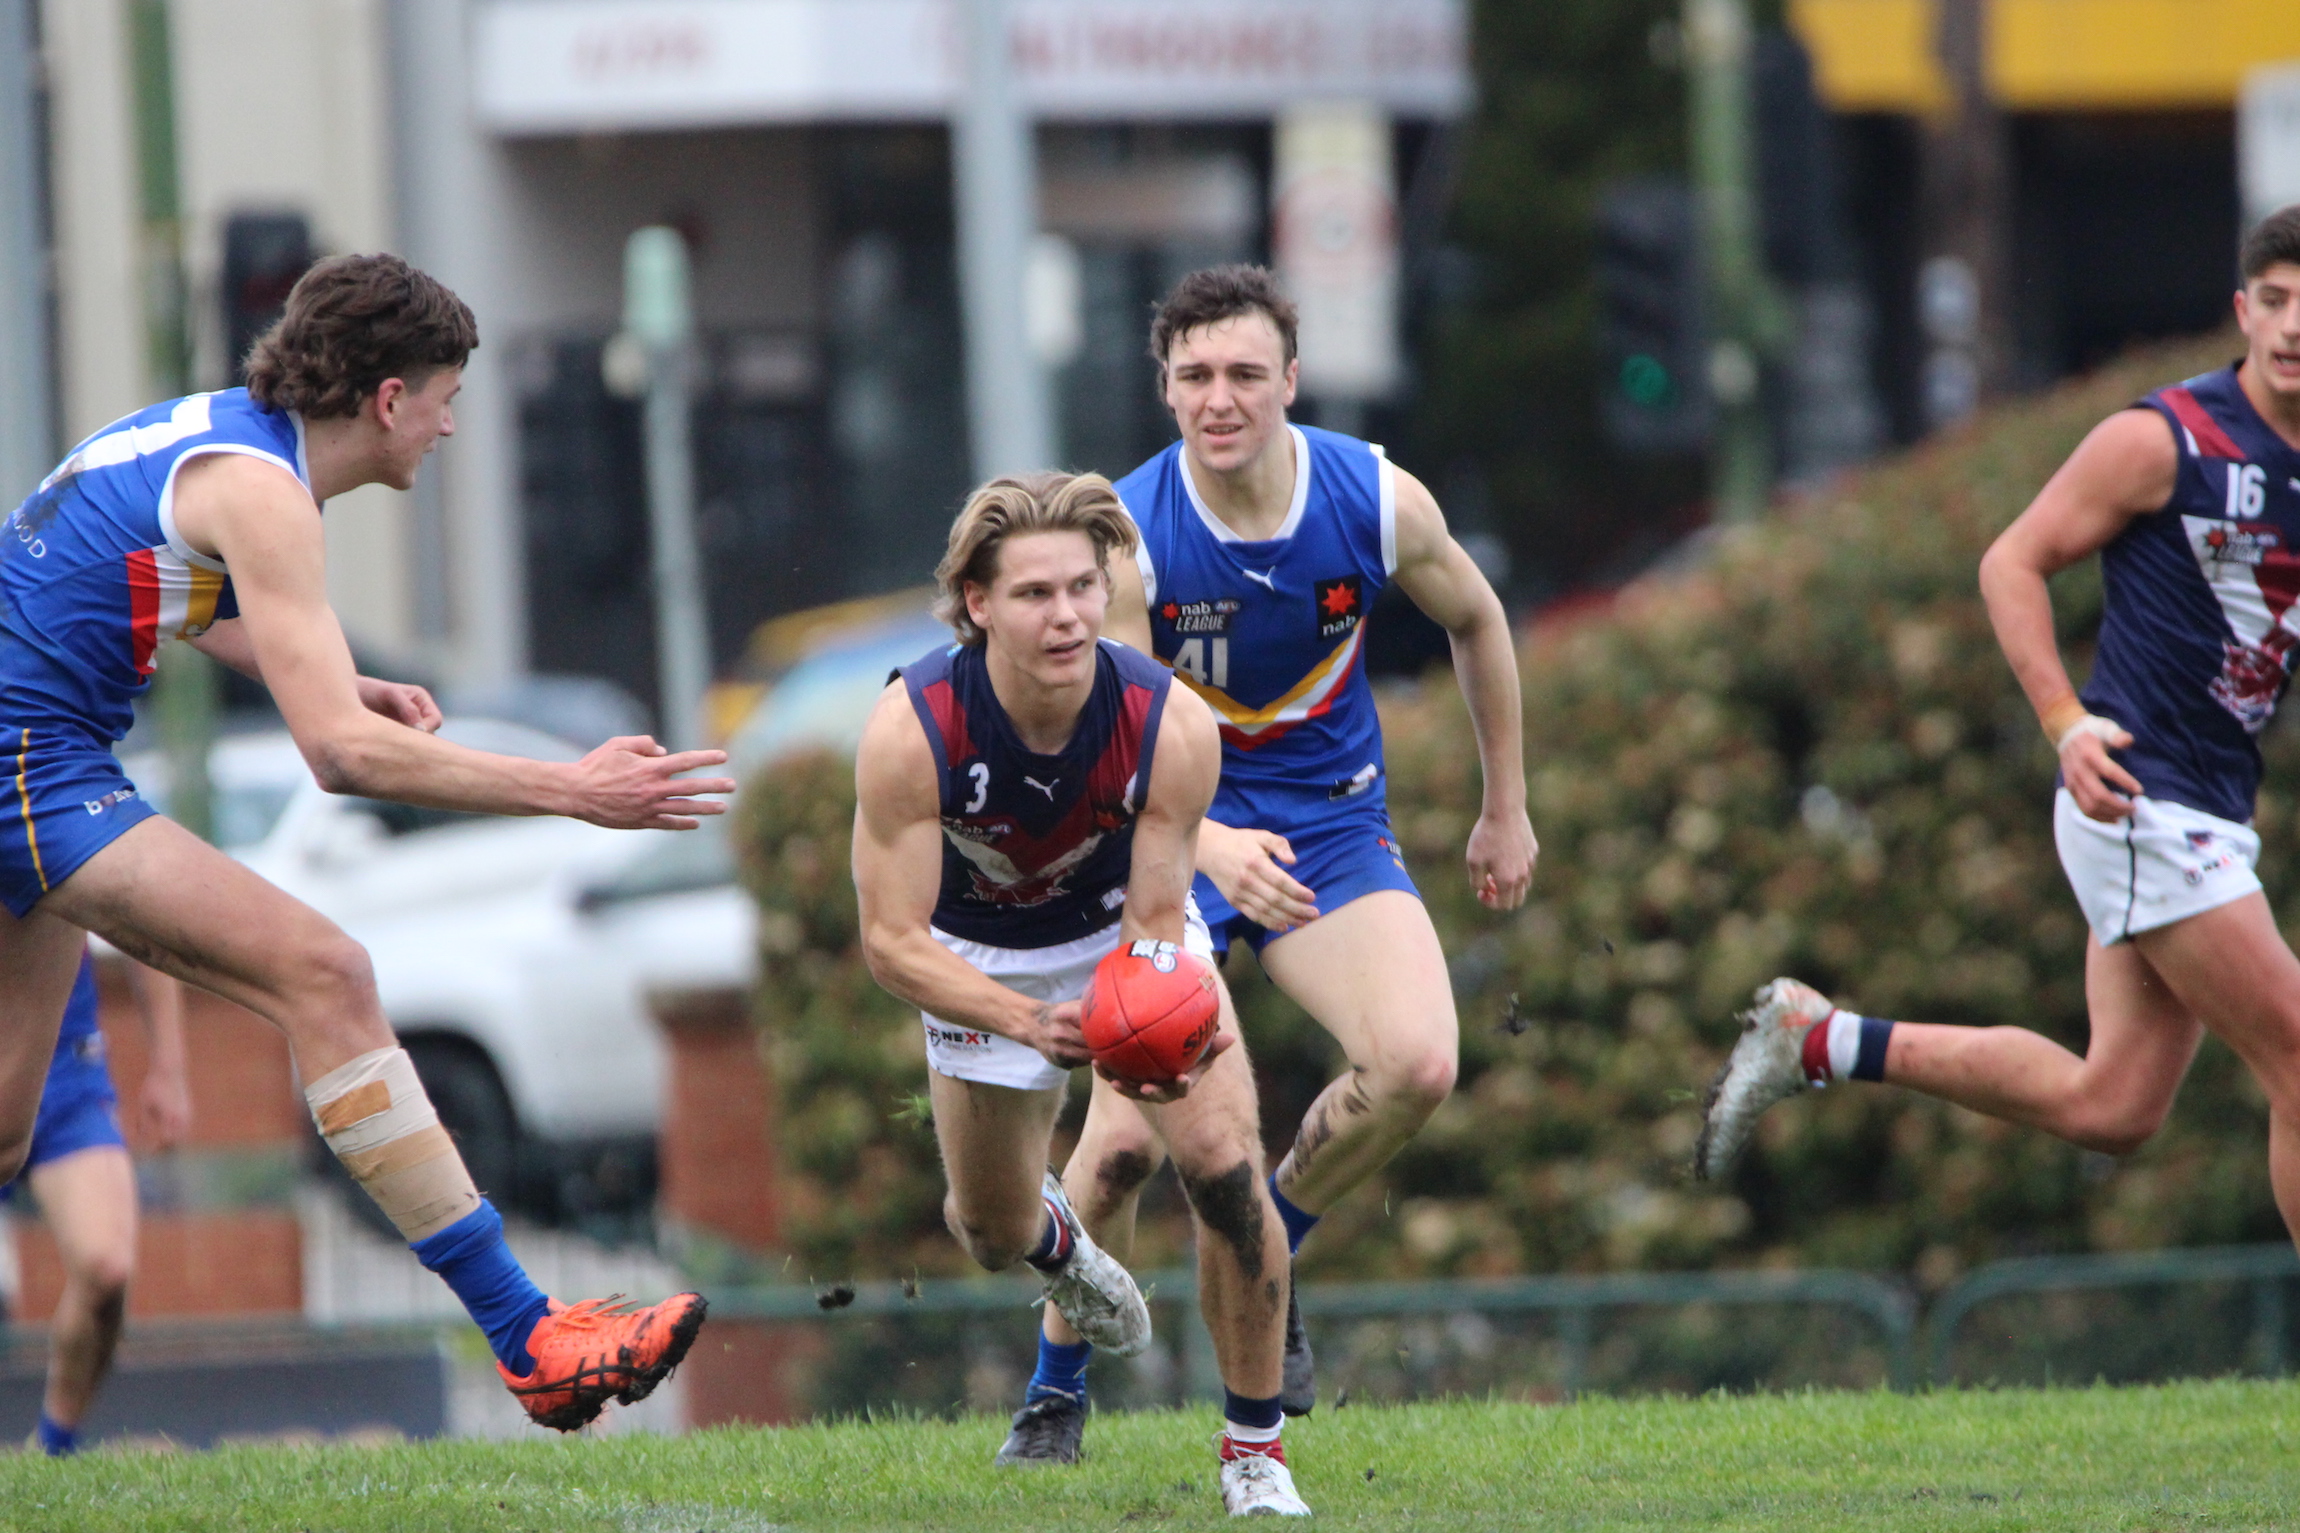
UPSETS have opened up the NAB League finals race, and a bunch of top AFL Draft prospects stepped up to the plate amid the Round 15 madness. We noted some of the top performers from each region in what was the competition’s penultimate home-and-away round.
All notes are the opinion of the individual author.
>> SNAPSHOT: Round 15 results, stats, and votes | POTW | TOTW | Player Focus
- Team
Eastern Ranges

Sandringham Dragons

By: Declan Reeve
SANDRINGHAM DRAGONS:
Playing a bit more of a focal point in the midfield than he previously has, Clarke stepped up to the challenge well. Known for his tenacity at the ball and carrier, Clarke continued that against the Ranges as he ran hard to pressure opponents and win the ball. A little more restricted than usual, Clarke got the opportunity to show off his use of the ball by hand in close, quickly releasing to runners well when the option presented itself.
After making the decision to officially nominate as a Brisbane Lions father-son during the week, Ashcroft may not have gotten the result he wanted, but did nothing to dampen the hopes of Lions fans with another best afield performance. In the most positive way possible, it was more of the same from Ashcroft as he regularly did what he always does; winning clearances, running hard off the ball, and getting involved in the same chain of play multiple times.
#50 Nathan Scollo
The 77-point loss could’ve been much worse if not for Scollo’s efforts, particularly early on in the game, as he put on an intercept marking clinic in Sandringham’s defence. Scollo simply made Eastern accountable when moving the ball into their forward 50, taking advantage of any kick that was a little too loopy or a little off target. To match his aerial threat, Scollo rarely wasted a follow up disposal, whilst not always an aggressive pass, he was measured with his ball use and looked to move Sandy forward safely.
EASTERN RANGES:
Fresh off a best afield performance in the Herald Sun Shield final, Reidy continued his form on the wing against the Dragons. Reidy seemed to mimic the momentum of the game in his play, generally playing safer and focusing on his defensive work early when the contest was tight, but playing with more freedom and looking more aggressive with his ball use as the Ranges kicked away.
A player who seems to enjoy playing against the Dragons, with his two highest goal tallies of the season coming against then, Helleran once again caused headaches for the Sandringham defence on his way to four goals. Helleran just played a solid small forward’s game, providing leads when it was his time to present, but thriving when the ball hit the ground with his front and centre work, as well as his knack for snagging goals from all angles.
#9 Harry Flynn
Stationed behind the ball for the day, Flynn worked hard up and down the ground to be a danger in offence and aid in defence for his side. Whilst playing his role well by holding his space, Flynn showed on numerous occasions that he wasn’t afraid to put his body on the line and win a contested ball when required, looking impressive as he spotted out handballs quickly to teammates in space.
#23 Jye Peacock
Eastern’s leading ball winner on the day, despite being a tad shorter than most midfielders running around, Peacock wasn’t afraid to run into a contest and win the contested footy, throwing himself in to opponents to try and knock them off balance. Peacock didn’t get a lot of space when he won his possessions, resulting in a lot of his disposals being for distance rather than hitting a target, but he did show sharp hands in close and smooth kicking in space.
#62 Josh Smillie
The Vic Metro Under 16 MVP continued his nice start to his NAB League career, looking more than comfortable in the thick of the contest. Whilst he didn’t have the biggest day on the stats sheet, Smillie’s work on the inside was to be admired for a 16-year-old, never shirking a contest and running hard to pressure opponents. His hands in close were particularly eye catching, able to spot out targets between opponents well, generally following up with a shepherd.
- Team
Northern Knights

Tasmania Devils

By: Michael Alvaro
NORTHERN KNIGHTS:
#2 Nate Caddy
Caddy had a tough gig as the spearhead of a side which wasn’t always potent in attack, and on a slow deck which made the ball hard to handle. His first real run and jump at the ball came in term two, when he clunked a terrific pack mark on the wing, owning a rare moment where he could shine. He continued to fly against multiple opponents, but took full toll with a one-on-one speccy inside 50 in term three. Before getting a late run in midfield, Caddy booted his sole goal via a 20-metre kick over the mark.
Dozzi’s size and contested acumen suited the conditions well, and he proved as much en route to racking up a game-high 33 disposals. While he had little trouble finding the ball and was typically clean by hand, Dozzi could have looked to be more expansive or damaging by foot. The muddy deck did his hopes of breaking to the outside no favours, but he got a few easier touches from Northern kick-ins and gave it his all throughout four quarters. A set shot conversion also landed him a goal in term three.
#18 Samuel Grant
Tasked with the matchup on Tasmanian goalkicker Will Splann for much of the day, Grant read the play well and ended up with an equal amount of marks (six) to his adversary. Half of the over-ager’s grabs were intercepts, where he either reacted first to the kick inside defensive 50 or was simply in the best spot. With no real frills to his game, Grant proved solid and composed in a Knights defence which leaked 29 scoring shots from 47 inside 50s.
#23 Anthony Caminiti
In what was arguably his best display of marking for the year, Caminiti clunked six as he presented tirelessly in the Knights’ forward half. He flew at aerial contests with a good amount of confidence and intent, juggling a few marks and often earning a free kick when he couldn’t quite hold on. His mobility meant he got good separation on the lead, which went a long way to producing five scoring shots for two first half goals.
TASMANIA DEVILS:
#13 Seth Campbell
While he wasn’t rewarded in the way of scores, Campbell put in a shift which Tasmania’s coaching staff would have appreciated. He worked hard from half-forward to link the Devils into attack, doing his opponent over for nine marks and five inside 50s. Usually creative and clever with ball in hand, Campbell had a poor couple of moments in term two but looked to bring others into the game with many of his 21 disposals.
#14 Thomas Beaumont
Utilised in his usual mid-forward role, Beaumont produced some clutch moments for the Devils. He’s the kind of player whose contributions aren’t always noticed, but they certainly proved crowed pleasers on Saturday as the Devils kicked away. Beaumont had two particularly big plays against Dozzi; working him under the ball for a one-on-one mark in term one, and bringing him down holding the ball after half time. His strength proved useful in those situations, as did his clean hands throughout the match.
#15 Lachlan Cowan
Having returned two blinding performances over the last couple of rounds, Cowan continued to do his thing on Saturday – albeit in slightly less prolific fashion. He assumed his usual role in defence and seemed to play with a good amount of freedom, which saw him unleash his booming boot more often. As a leader among the group, he roamed the back half with authority and added strong defensive effort to his usual rebounding flair.
#27 Colby McKercher
Arguably best afield for the visitors, McKercher was his side’s leading ball winner (24 disposals) and fared well at the contest. Usually noted for his speed on the outer, the bottom-ager adjusted his game to become the distributor at stoppages, proving particularly busy in tight spots. He also jetted off on a couple of his patented forward forays, but had an accurate shot on the fly punched over in the third quarter.
#37 Tom McCallum
It wasn’t a massive game from McCallum numbers wise, but the tall defender popped up for eight marks among his 13-disposal outing. He leant on his athleticism to impact aerially, closing quickly to get a hand in early on, before taking the opportunity to mark more often as the game wore on. His kicking was generally much neater too, and McCallum very nearly produced a magic goal on the run, but was pinged for running too far.
- Team
Murray Bushrangers

Calder Cannons

By: Michael Alvaro
MURRAY BUSHRANGERS:
#21 Ryan Eyers
Though he measures up at 198cm, Eyers plays in a way defiant of his size and continued to do so on Saturday. While his eight marks are indicative of an apt aerial player, Eyers also got involved in open play with sound distribution by hand and foot. He was also confident enough to carry the ball and showcased a strong range of traits from his usual post in defence.
#28 Noah Bradshaw
Bradshaw’s run of prolific ball winning rolled on in Round 15, as he racked up a game-high 26 disposals in Murray’s engine room. The over-ager also notched eight marks and six tackles, doing a power of work on the inside with his power at the contest and clean hands. Though not as expansive as others, Bradshaw was a constant in the losing effort.
CALDER CANNONS:
#19 Jack Brown
A classic player who just has a crack each week, Brown cracked back over the 20-disposal mark against Murray with a team-high 22 from midfield. The 178cm top-ager also came up clutch in the final quarter, putting his head over the ball to win a high free kick and converting the resultant set shot with under five minutes left on the clock.
#25 Nash King
Making his debut, the Vic Metro Under 16 representative made a solid first impression on the NAB League with 20 disposals and six inside 50s from midfield. Considering the contested style of the game, King’s clean hands and appetite to win the ball held up well, as he competed hard to generate some momentum for the Cannons.
#31 Isaac Kako
Another Vic Metro Under 16 squad member, Kako brought his livewire forward feats to what was just his second NAB League outing. The 174cm prospect injected energy to Calder’s play and his skills when working up the ground proved useful. Most importantly, Kako found the goals with two majors, including a handy front and centre effort in term two. He’ll be difficult to keep a lid on.
- Team
Western Jets

Oakleigh Chargers

By: Liam Badkin
WESTERN JETS:
#13 Jaelen Pavlidis
While he did not reach the heights of his 32-disposal effort from Round 12 (the last time he pulled on a Western jumper), Pavlidis was still one of the best for the Jets in their 37-point triumph over the Chargers. He seems to have a knack for finding time and space with ball in hand, and punished Oakleigh’s defence with his two-way running. He found the ball all over the ground and was not afraid to push right back into defence to help win back possession for his side. Pavlidis finished with 23 touches (the second-most of any Western player), six inside 50s and a classy major.
#41 Jake Smith
It was a personal best outing for the bottom-ager, who dominated the Chargers through midfield and delivered career-high numbers. Oakleigh simply could not stop Smith from getting his hands on the ball and bursting forward. He had some terrific deliveries to his key forwards, who benefited from his outstanding work up the field. Finding the ball a game-high 30 times, Smith rarely wasted his chances, finding a teammate streaming past or nailing his kicks up the field. Got reward for his hard work with two snags, and could have had a third had he settled his goalkicking form. Was the standout on the day (despite some heavy competition) and was rewarded with Rookie Me Central’s Player of the Week award.
#45 Jovan Petric
Turned things around after an inaccurate outing against the Falcons last weekend and finally hit the scoreboard, with all of his majors coming in the second half. Was well held in the opening two quarters despite some promising launches aerially, but got off the chain as the game went on to get on the end of some nice work up the field. Timed his leads well and finished with three goals, all of which came when the Jets were making their match-winning run.
#53 Logan Morris
The most dominant tall from either side, Morris brought his kicking boots on Saturday and cashed in with a bag of goals. Like Petric, he was reasonably contained in the first half of play, with just one major next to his name at the main break. However, Morris owned the second half, especially in the air. If he wasn’t marking the ball, he was at least bringing it to ground and giving his teammates a chance to finish off his hard work. Ended the day with five majors (four coming in the second half) from 10 disposals and was too much for the Oakleigh backline to handle.
OAKLEIGH CHARGERS:
#25 Hamish Heine
Despite the Oakleigh backline being under the pump for much of the day, Heine was a pillar of consistency in defence. He was rarely beaten one-on-one, switching onto a variety of opponents, but also managed to find plenty of the ball himself and generate some much needed run for the Chargers. Opting to go by foot much more often than not, he pulled the trigger on some risky kicks, with a large portion of these coming off. While he made the odd error, it was some gutsy ball movement that Oakleigh needed plenty more of. Finished the day with 24 touches, six marks and nine rebound 50s.
#59 Kynan Brown
Far and away Oakleigh’s best on what ended up being a tough day at the office, Brown posted season-best numbers and was a massive player in the first half when the Chargers looked a chance to take home the win. He was brilliant in the midfield, and often combined well with ruckman Hudson O’Keeffe to extract the ball at clearances. Despite a loss for the Chargers, Brown can hold his head high with big numbers of 29 touches, eight marks, five tackles and a goal, proving to be an absolute workhorse as he looks to build Oakleigh’s momentum heading towards finals.
- Team
Dandenong Stingrays

Bendigo Pioneers

By: Michael Alvaro
DANDENONG STINGRAYS:
#1 Ziggy Toledo
Booting a game-high four goals for the victors, Toledo made good on his opportunities inside 50 as a dynamic member of his side’s forward line. He snared major scores in each of the first three quarters, proving dextrous at 190cm as he got on the board in open play. He did so on the back of repeat efforts and smart work close to goal, sniffing out his opportunities and taking full toll.
One of a number of rising bottom-agers out of the Dandenong region, Simpson continued his consistent run of form as one of the best players afield. The on-baller pumped his legs to create a bit of drive out of the middle, but also worked hard to sweep back and help the Stingrays link forward on the break. He showed great courage to almost reel in a one-handed mark going back with the flight in defensive 50, before popping up at the other end with a steadying goal in term four.
Things did not always go to plan for either side when moving the ball on Sunday, but Emile-Brennan was one of the classier users by foot. While certainly capable of being expansive with his speed and kick penetration, the lean defender took on steadier options this time out and made each post a winner in doing so. His was a game of efficiency, and he produced a memorable moment in the final term when wheeling away from Harley Reid on the last line of defence.
#16 Henry Hustwaite
Leading all comers with 27 disposals, Hustwaite did not have it all his own way but still managed to have a profound impact on the game. Usually untouchable at stoppages, he was caught in possession a couple of times, but otherwise proved measured as he linked play between the arcs. His best bit of play came in term three, with a burst of speed and lovely kick inside 50 to lift the Stingrays.
BENDIGO PIONEERS:
Kicking three goals from the backline is no mean feat, but it’s exactly what Gallagher managed to do on Sunday. Since shifting behind the ball, his GPS numbers are said to be off the charts and it makes sense given how often he was able to find space in the forward half, not long after helping move the ball out of defensive 50. Gallagher’s work rate and skill by foot proved troubling factors for Dandenong while Bendigo was on top, though they were tested as the tide began to turn.
#4 Harley Reid
Starting out in his usual forward post, Reid looked to use his marking power as he searched up the field for possession, even if it meant copping some attention when flying for the ball. As he progressed into midfield, Reid’s power became evident with explosive spins in tight spots in attempts to take on tacklers – or make them look silly. A third quarter goal over the back ensured slight reward for effort, though it wasn’t a massive day out for the bottom-age star.
In his first NAB League outing since Round 9 (June 5), Gillbee spent the majority of the game down back before being thrust into midfield in the final quarter. He took on the kick-in duties for his side and sometimes bit off risky passes on the rebound, but was generally a safe distributor across the backline, with 14 of his 20 disposals being kicks. Upon his midfield move, he won the first centre clearance of term four.
#32 Malik Gordan
A high impact-per-possession type of talent, Gordan proved as much with his bursts of brilliance. He produced some handy individual moments; including catching Henry Hustwaite in possession, and beating fellow bottom-ager Sam Frangalas one-on-one before slipping away to hit a pass inside 50. That was a key part of his game, as was his ability to scoop the ball up cleanly off the deck.
- Team
Gippsland Power

GWV Rebels

By: Michael Alvaro
GIPPSLAND POWER:
Having bustled his way into first round contention, Humphrey started like a house on fire and looked like taking a complete hold on the game early on. By quarter time, he already had 1.3 and a goal assist, utilising his power to make a menace of himself inside 50. Whether it was bursting out of tackles, monstering his opponent one-on-one, or kicking the bladder out the ball, Humphrey was imposing as ever. He struggled to stay out of the line of fire once shifted into midfield, with an errant kick to the face in term three summing up his second half fortunes.
With his side needing a serious lift, Moschetti looked to be the man in midfield who could spark the Power to victory. As per usual, he had little trouble finding the ball and lead all comers with 28 disposals, though struggled at times to make full use of them – lacking the same type of kick penetration as someone like Humphrey. Still, he stood up when his team needed him and produced a massive final term.
Consistency is a factor which holds Konstanty back at times, but the flashes of brilliance he produces each week make him such an enticing prospect. Once again, the small forward had moments of great aerial work for his size, while applying strong tackling pressure and proving a real goal threat. He was lively when the ball entered his area, and a courageous mark in the third term earned him a crucial major – after a couple of set shot misses.
#9 Zane Duursma
Duursma’s numbers may not jump off the page, but he looked like being one of the more damaging Power products throughout a trying battle. Always an aerial threat, he looked to take the ball at its highest point and was able to display his athleticism in those situations. Duursma booted both of his goals in the first half, from kicks over the mark which hardly looked like missing. A clean centre break and lace-out pass to Humphrey inside 50 was another of his highlights.
GWV REBELS:
As any good over-ager should, Ballantyne looked to impose himself on the game physically and did so by barging his way forward through opponents. Though stationed out on the wing, he swept back with great proficiency and was often the outlet kick once GWV won the ball in defensive 50. A few of his ground level efforts proved slick, and Ballantyne stepped up in the final term with some massive efforts on the last line – including tackles, marks, and free kick wins.
Sinnott was another of the Rebels’ over-agers who had a big say on the result, reverting back to the back line role he cut his teeth in last year. Against stiff opposition, Sinnott clunked a range of intercept marks and fared well one-on-one against the likes of Konstanty and Duursma, reading the ball in flight and backing himself to take it cleanly. The Rebels’ coaches would have felt safe with Sinnott in possession on Sunday.
#5 Aaron Cadman
A forward in form, Cadman did a bit of everything across another sensational outing in Rebels colours. The top 10 prospect was typically strong aerially with 10 marks, searching up the ground and proving dangerous close to goal. He booted majors in the first, third and fourth quarters, but could have hauled in an even bigger bag with better conversion. Key forward craft aside, Cadman’s pressure and effort defied his two tackles, as he also looked to have a say at ground level.
#23 James Van Es
Turning out on his 18th birthday, Van Es built into the game to become an intercept marking force in defence. The Vic Country representative came to life in the third quarter, spending some time on Humphrey among others and proving too big and strong in one-on-one wrestles. With such shrewd reading of the play and vice-like hands, he played a key role in helping GWV hang on in the second half.
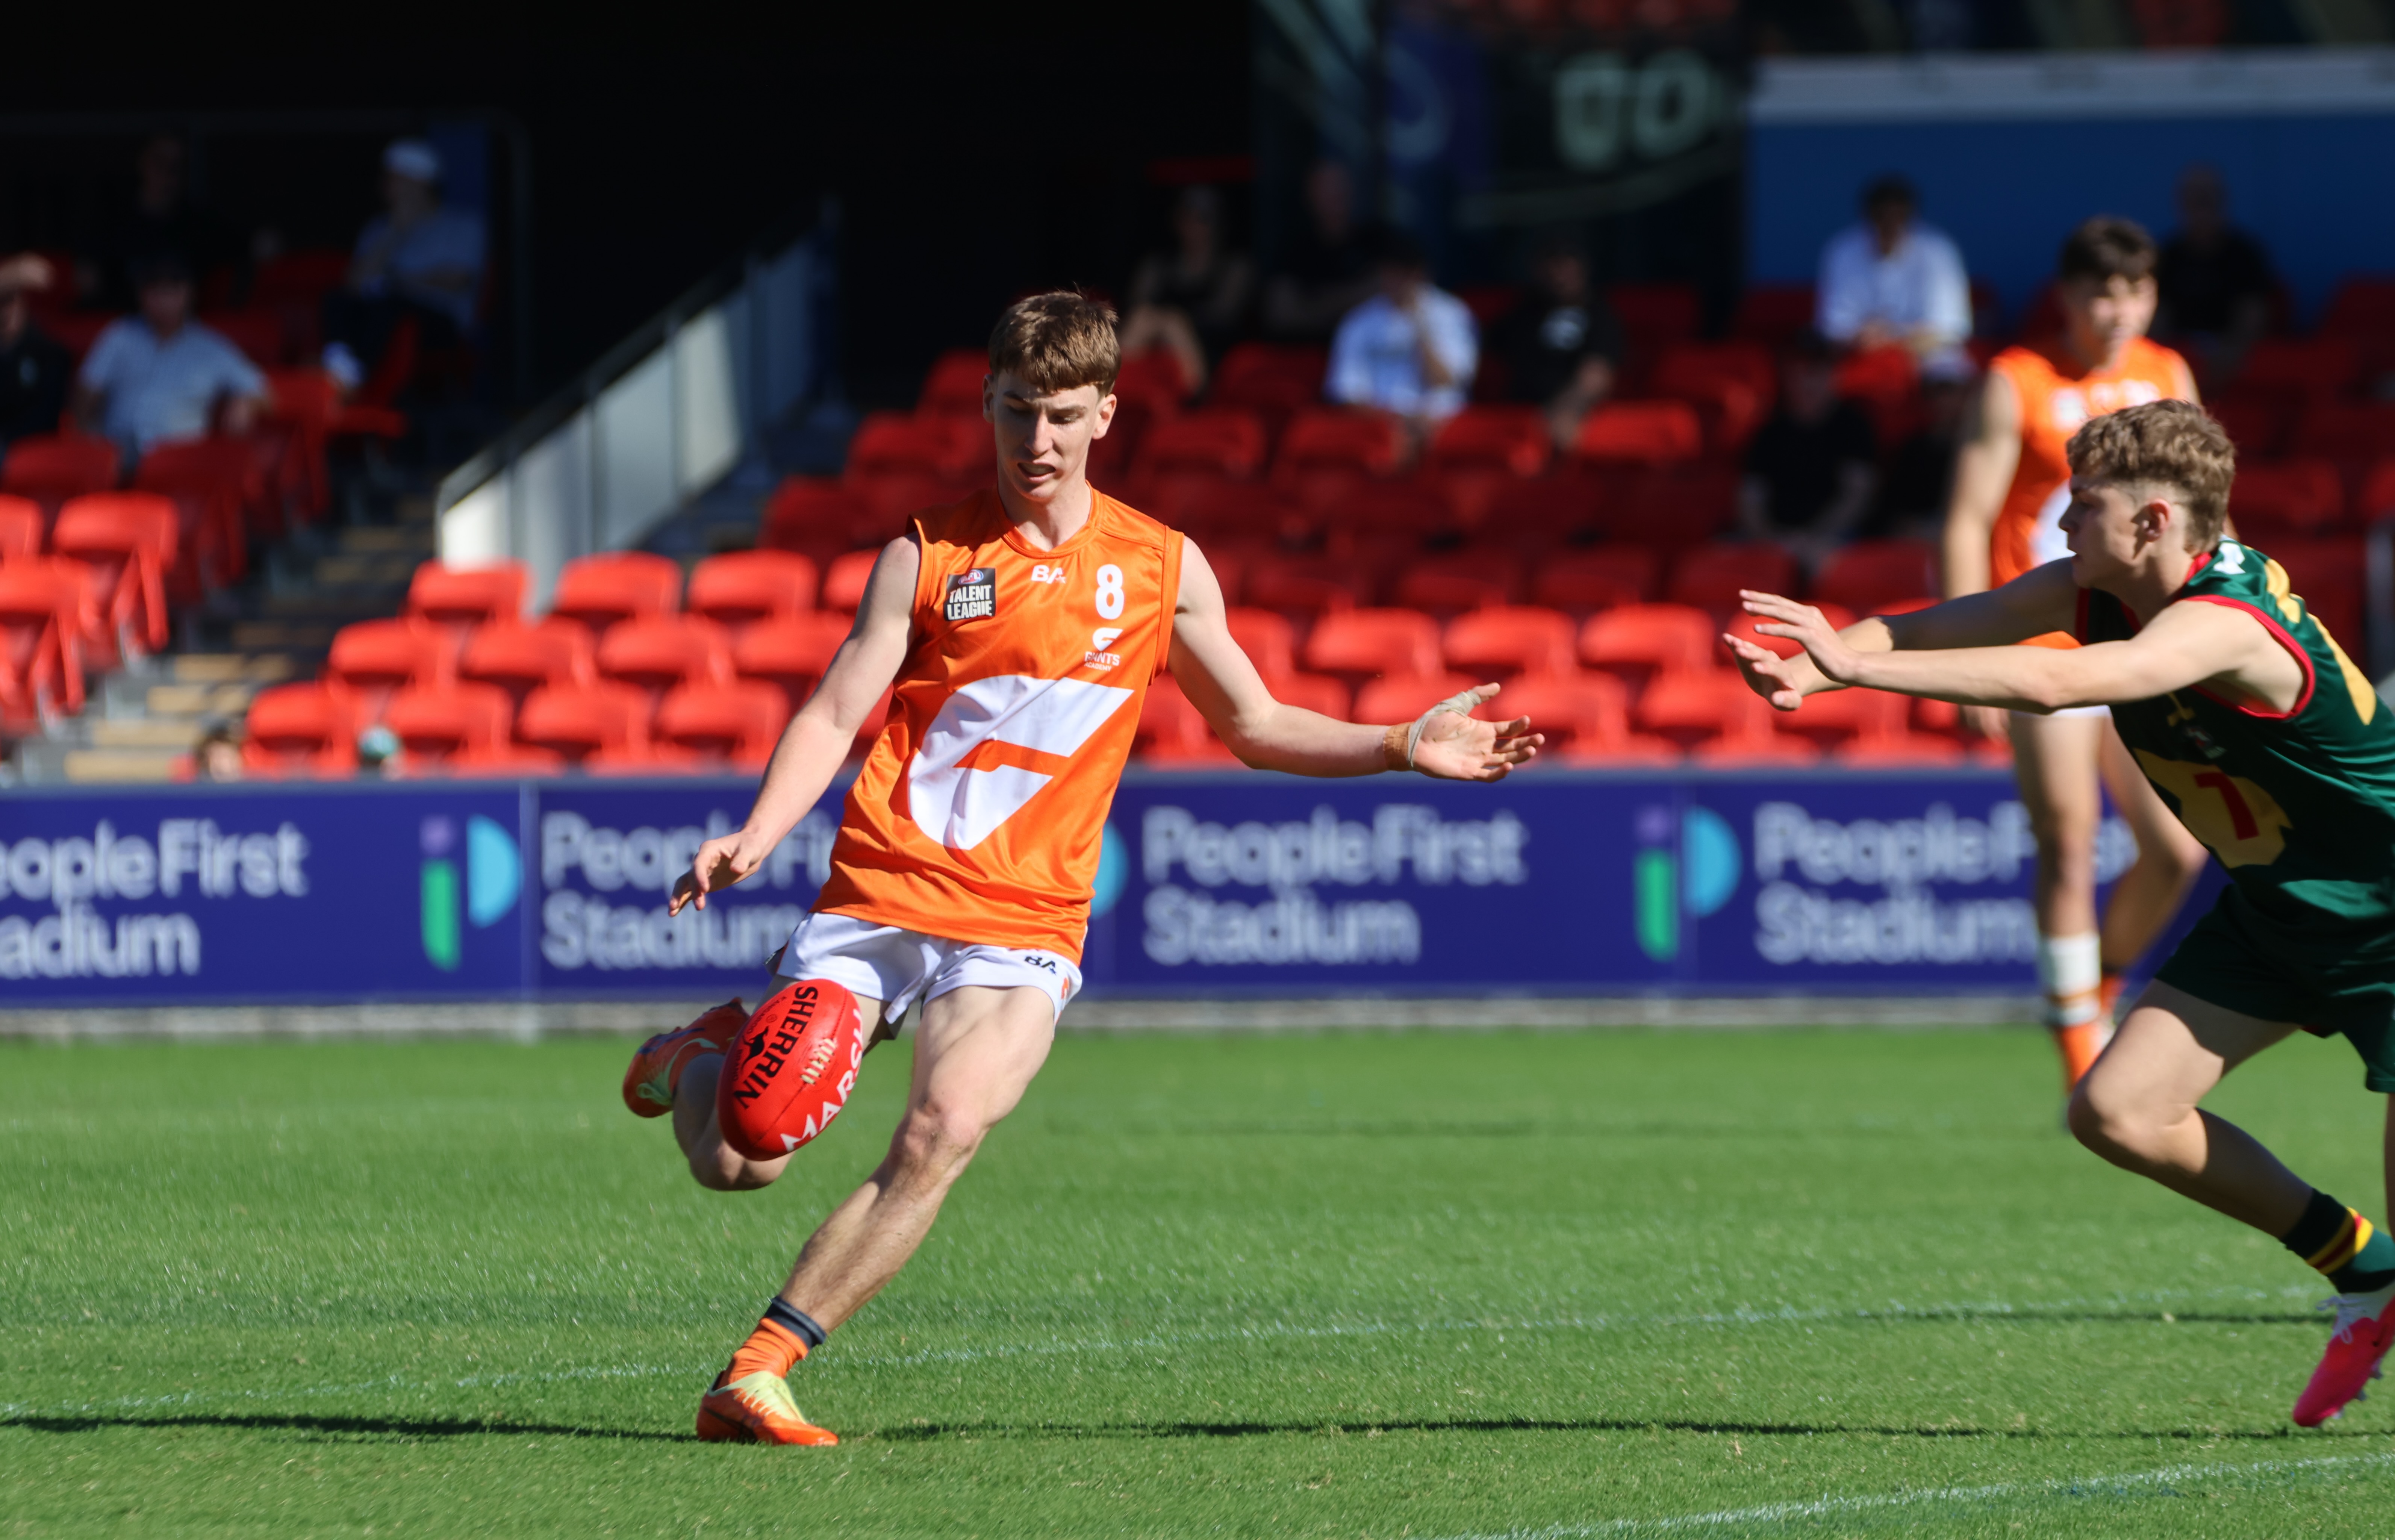
Scouting Notes: 2026 AFL U16s – Giants Academy vs. Tasmania
THE GWS Giants Academy notched up the second win of its Under 16 National Championships campaign, defeating Tasmania to the tune of 43 points at People First Stadium on Monday morning. A dominant first half set the platform for what looked like being a giant victory for the orange team. After kicking out to an […]
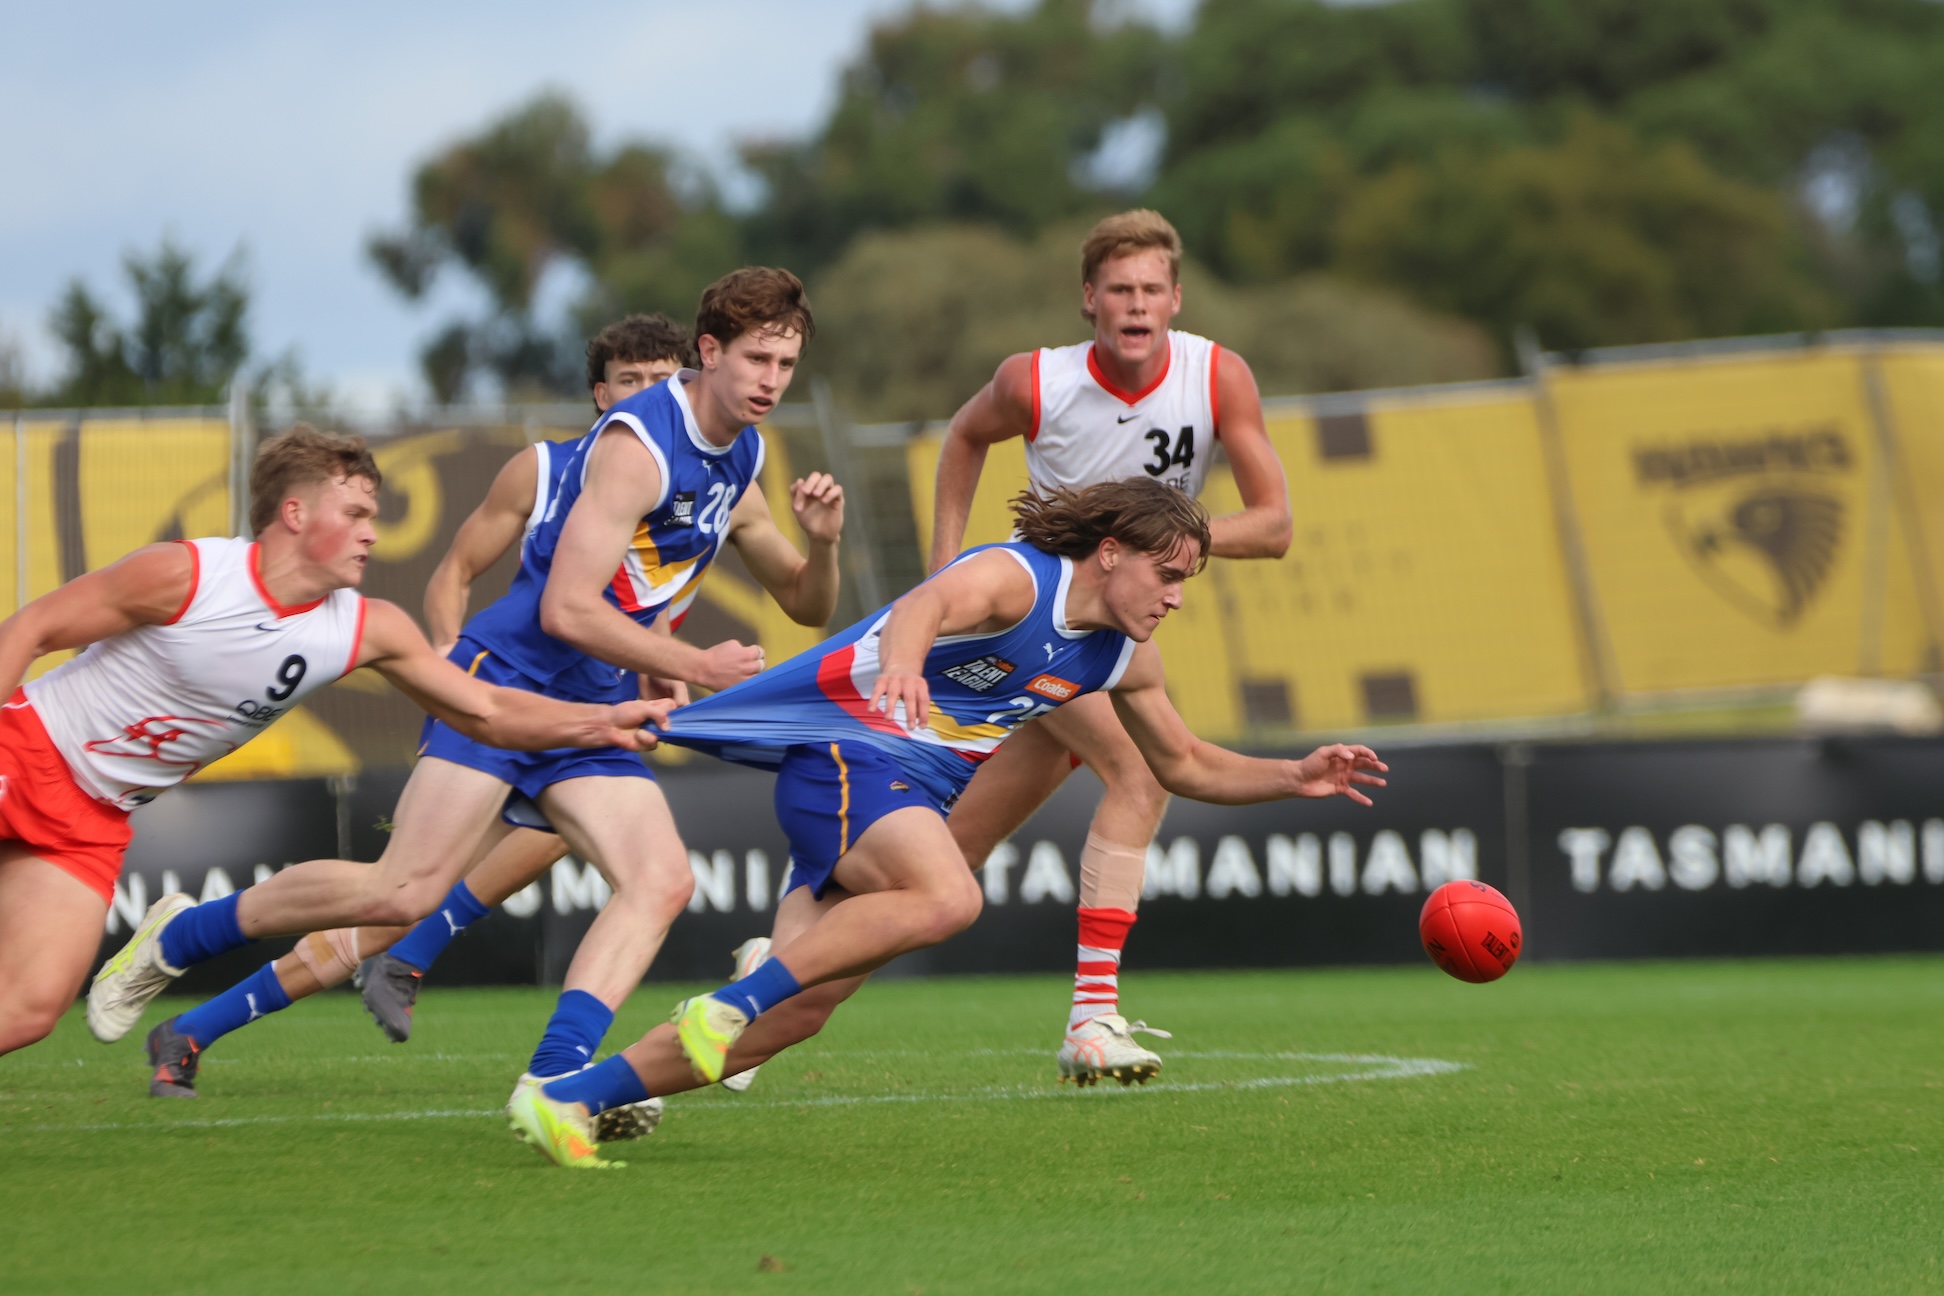
Scouting Notes: Bottom-agers star as Ranges pip Cannons
EASTERN Ranges did just enough to notch a third win on the bounce, defeating Calder Cannons by three points in their Round 17 clash at Highgate Recreation Reserve on Saturday. The margin never entered double-digits for either side throughout what was a closely run contest, dominated by bottom-age talent. We took note of the top […]
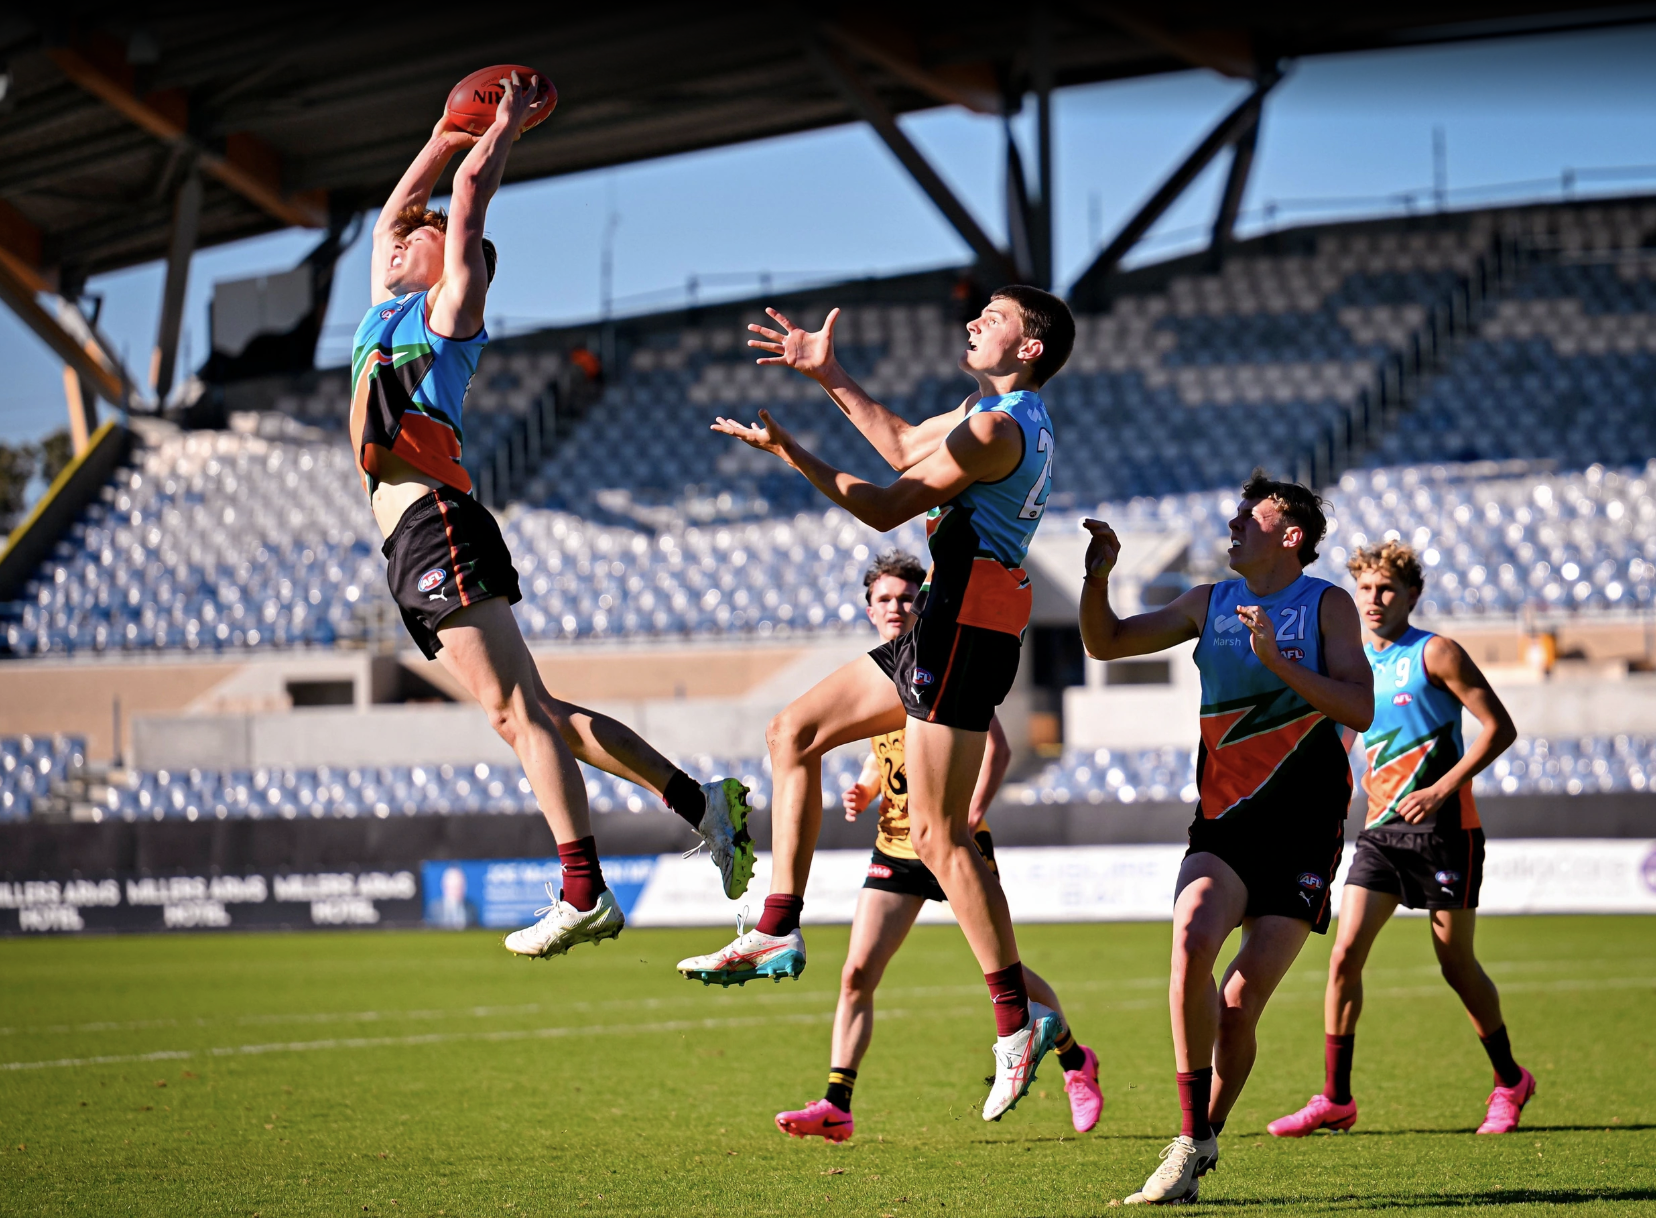
Scouting Notes: 2026 AFL U18s – Allies vs. Western Australia
THE ALLIES have ended their National Championships campaign on a high after defeating Western Australia by six points in a thrilling encounter at Mars Stadium on Wednesday. The Sandgropers led by as many as 28 points during term three, but were quickly reined in and made to settle for a 2-2 record. A run of […]
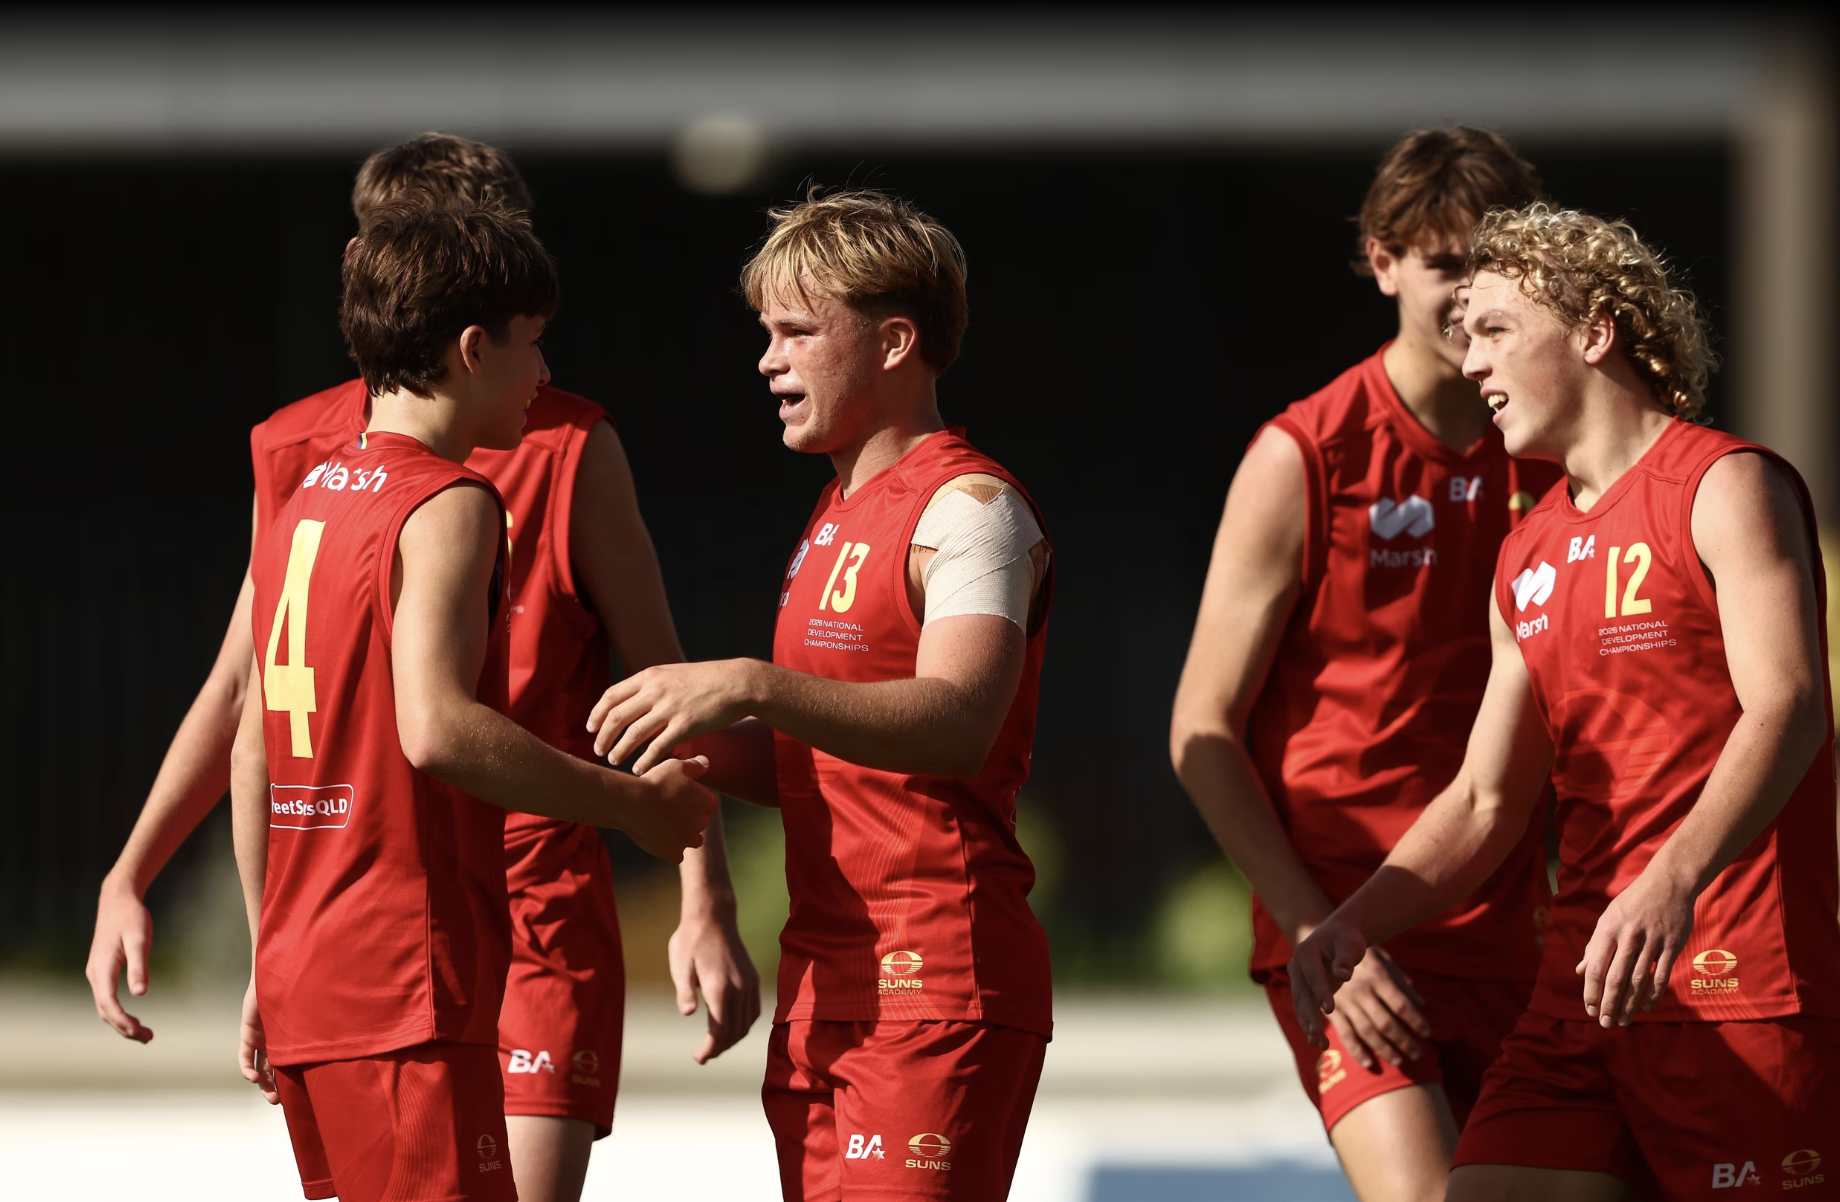
Scouting Notes: 2026 AFL U16s – Lions Academy vs. Suns Academy
THE GOLD Coast Suns Academy claimed bragging rights in their opening Under 16 National Championships fixture, defeating the Brisbane Lions Academy by 47 points in a junior Q-Clash. A run of eight unanswered goals in the first half set up the Suns’ dominance at Brighton Homes Arena. Key forward Callum Samuelson helped establish Gold Coast’s […]
Scouting Notes: 2026 AFL U18s – Vic Country vs. South Australia
SOUTH Australia has ended its Under 18 title defence on a positive note after beating Vic Country by a single point in Ballarat on Wednesday. The Croweaters overcame an inaccurate start and early Victorian onslaught to get over the line via a minor score off the boot of captain Kodah Edwards. After Vic Country’s run […]
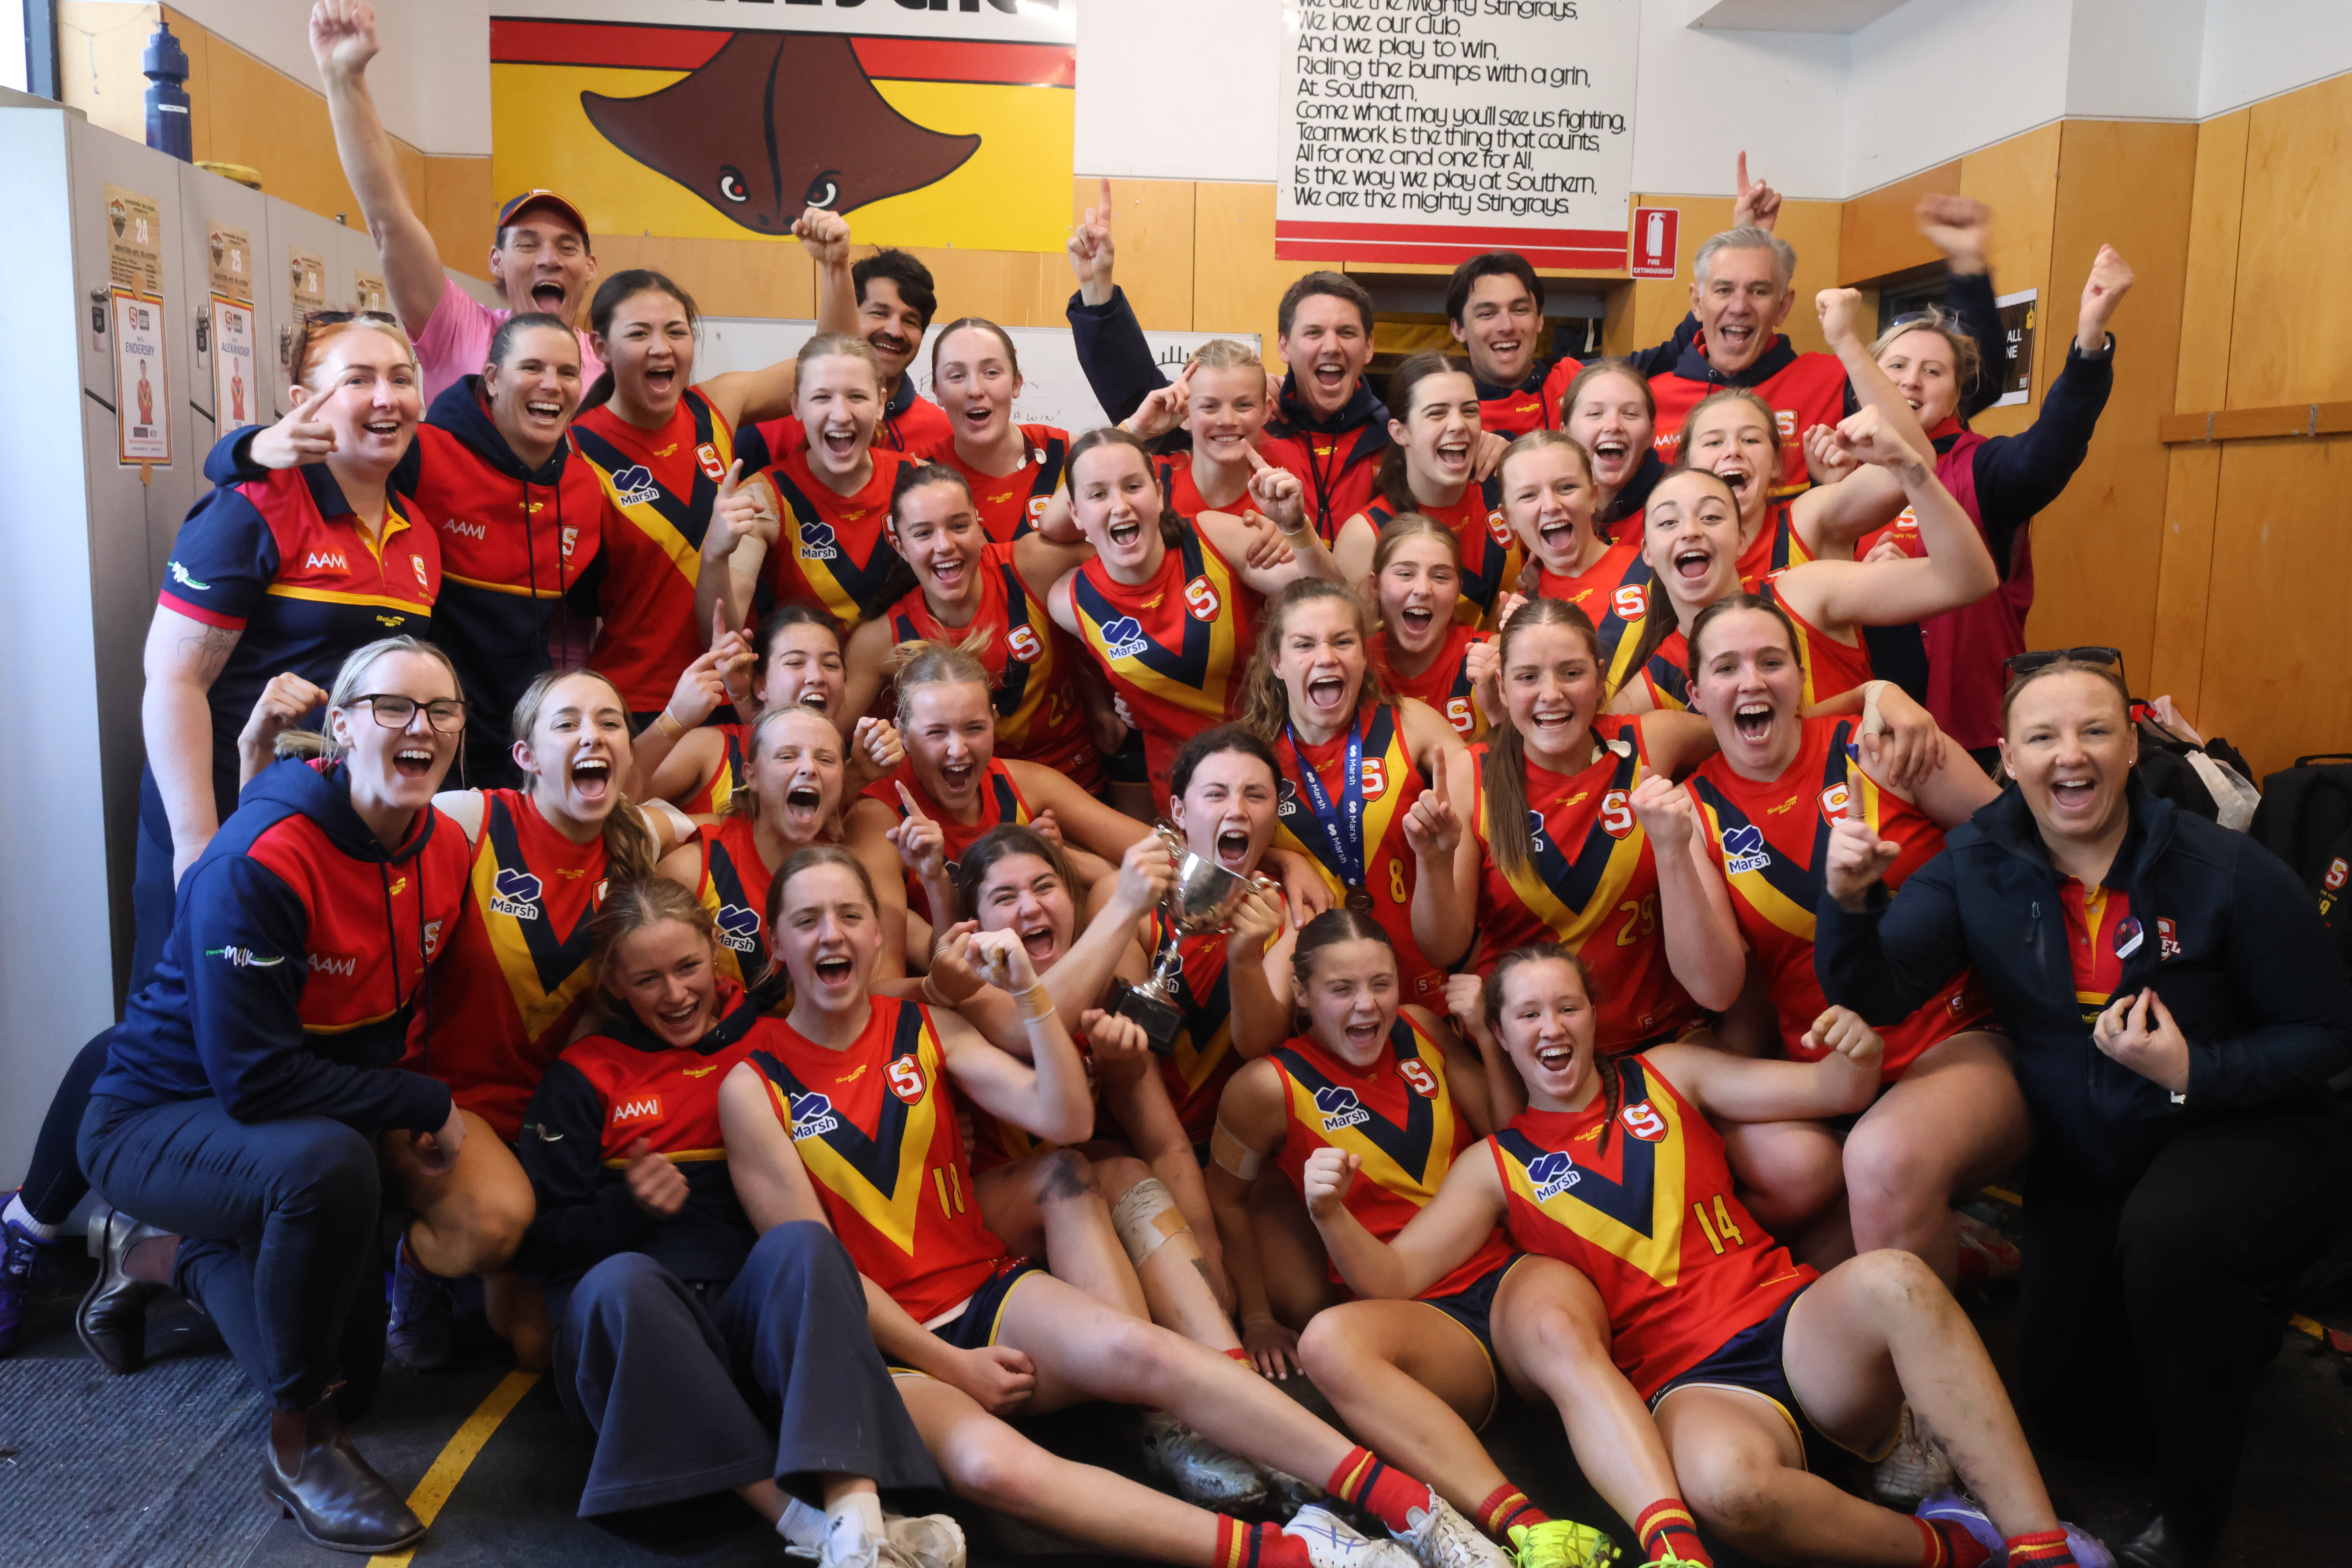
State Academy notes: 2026 SANFLW – Round 10
ROUND 10 of the 2026 SANFL Women’s season saw the return of the State Academy members during a bye from their national carnival duties. Across the four games, South Australia’s brightest prospects reminded the competition of their class and continued to build their draft profiles. We took note of how each of the Academy members […]
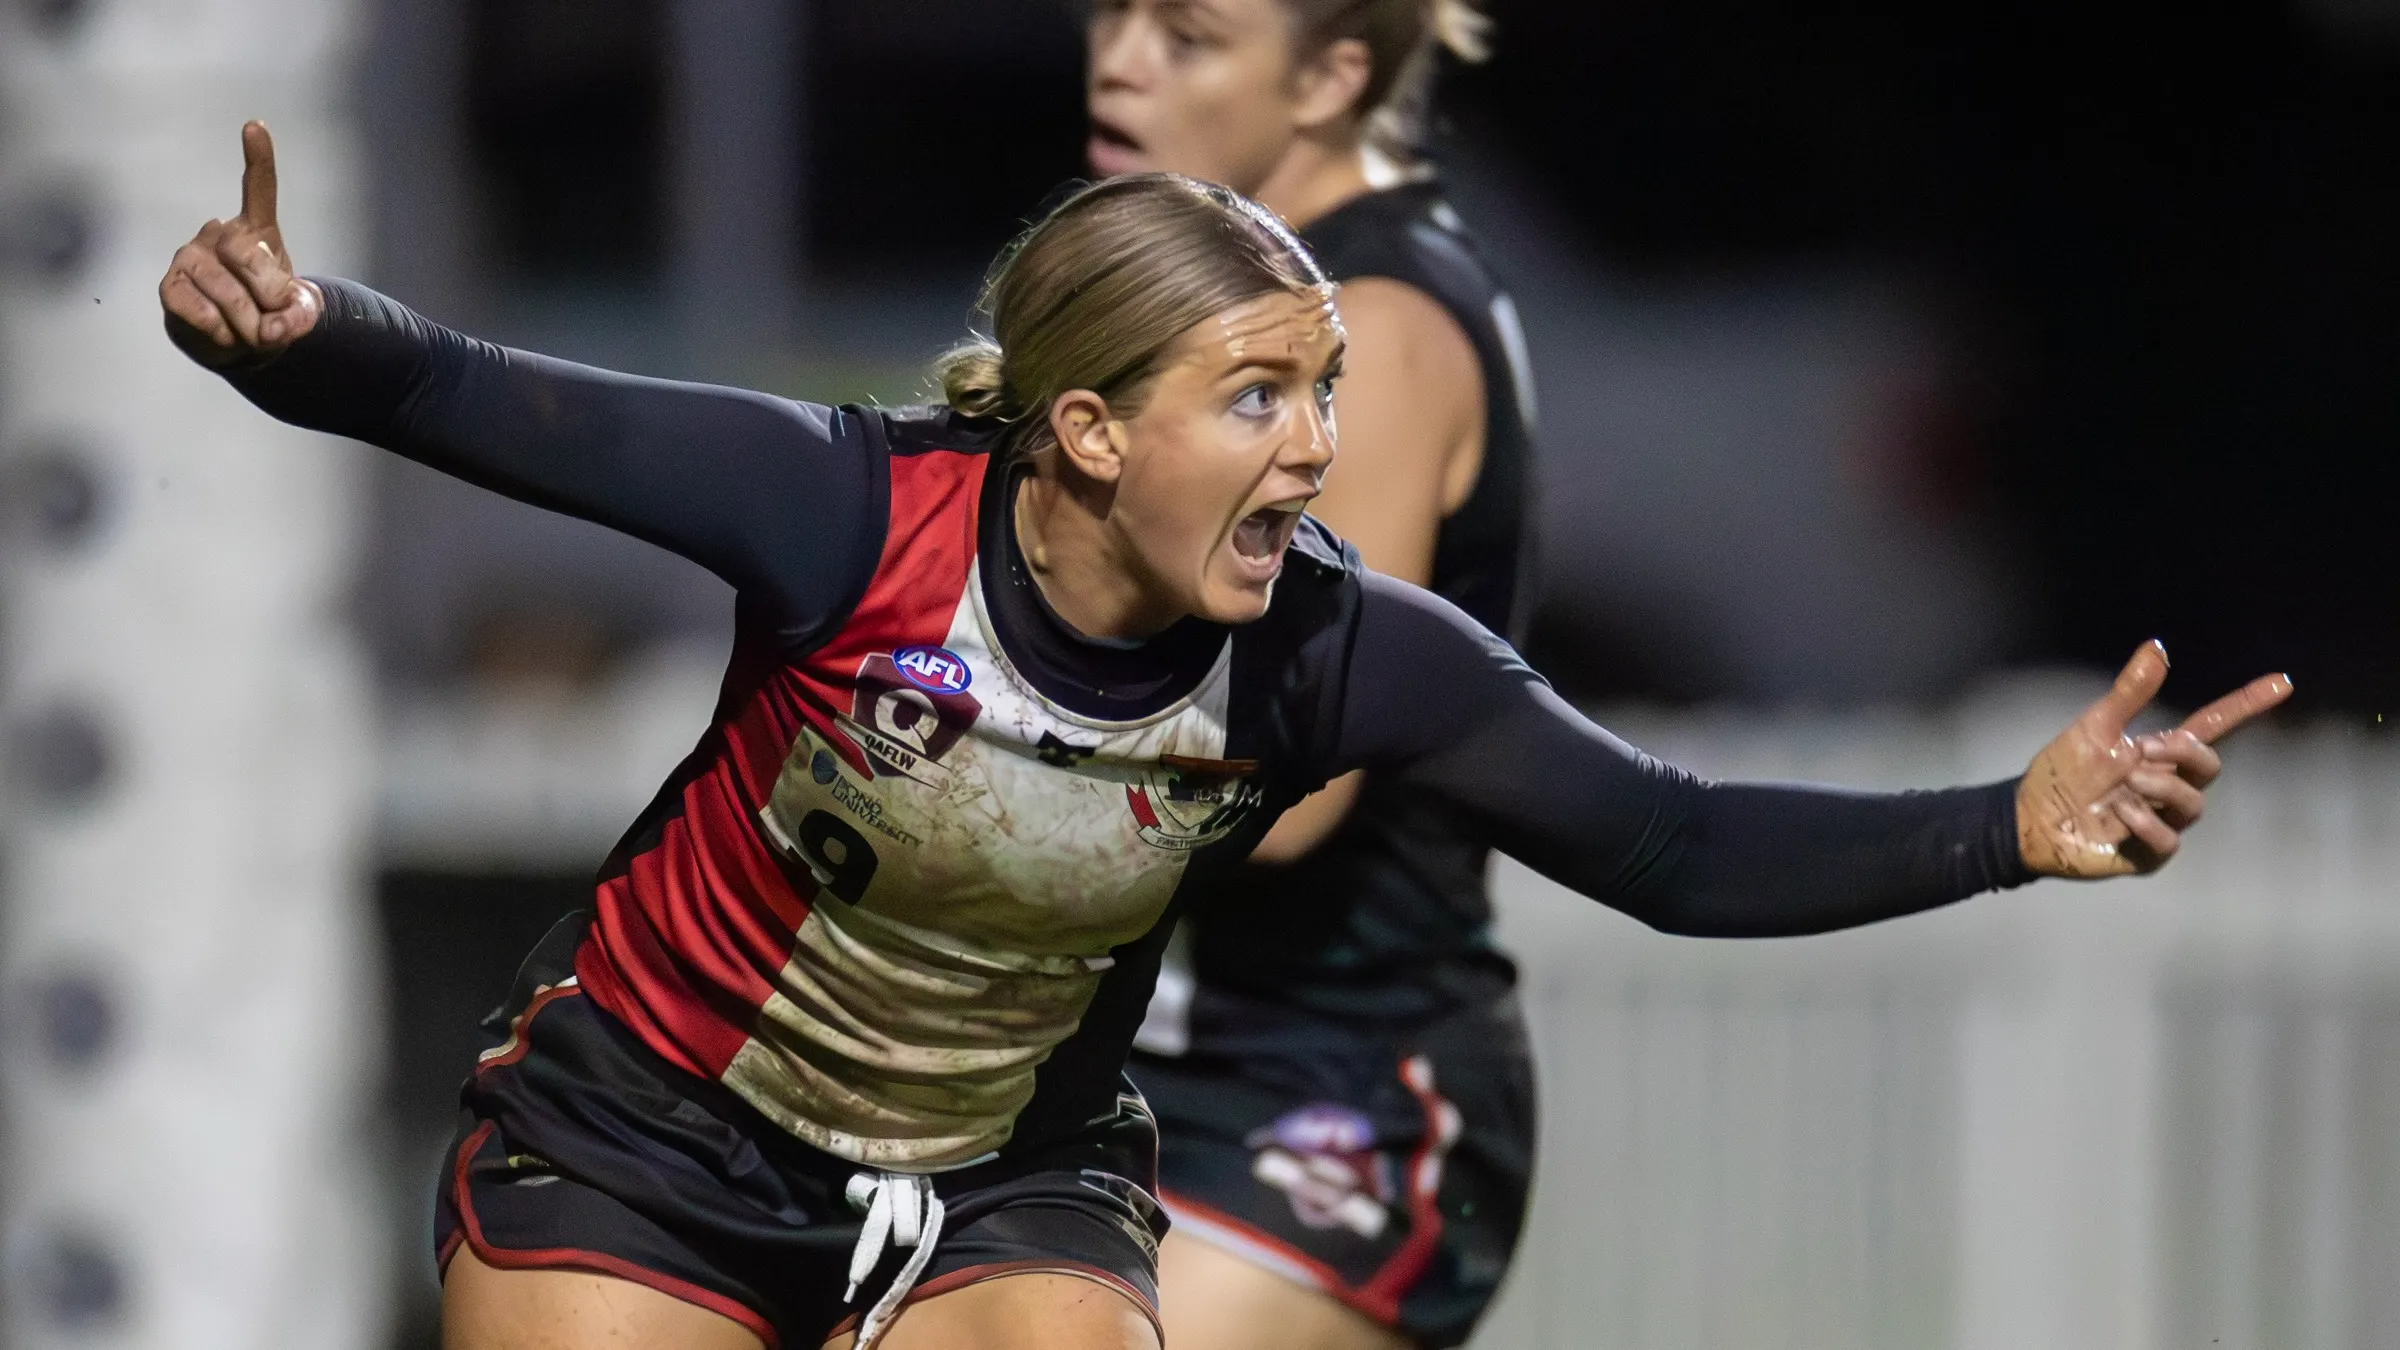
Scouting Notes: 2026 AFLW U18s – Queensland vs. Allies
THE ALLIES spoiled the party for a third straight year at Brighton Homes Arena, toppling Queensland with the last kick of the game. Lolita Savala converted the match-winner moments before thesiren signalling the victory for the combined states side, and denying Queensland the opportunity to play for the title on Saturday. We took note of […]
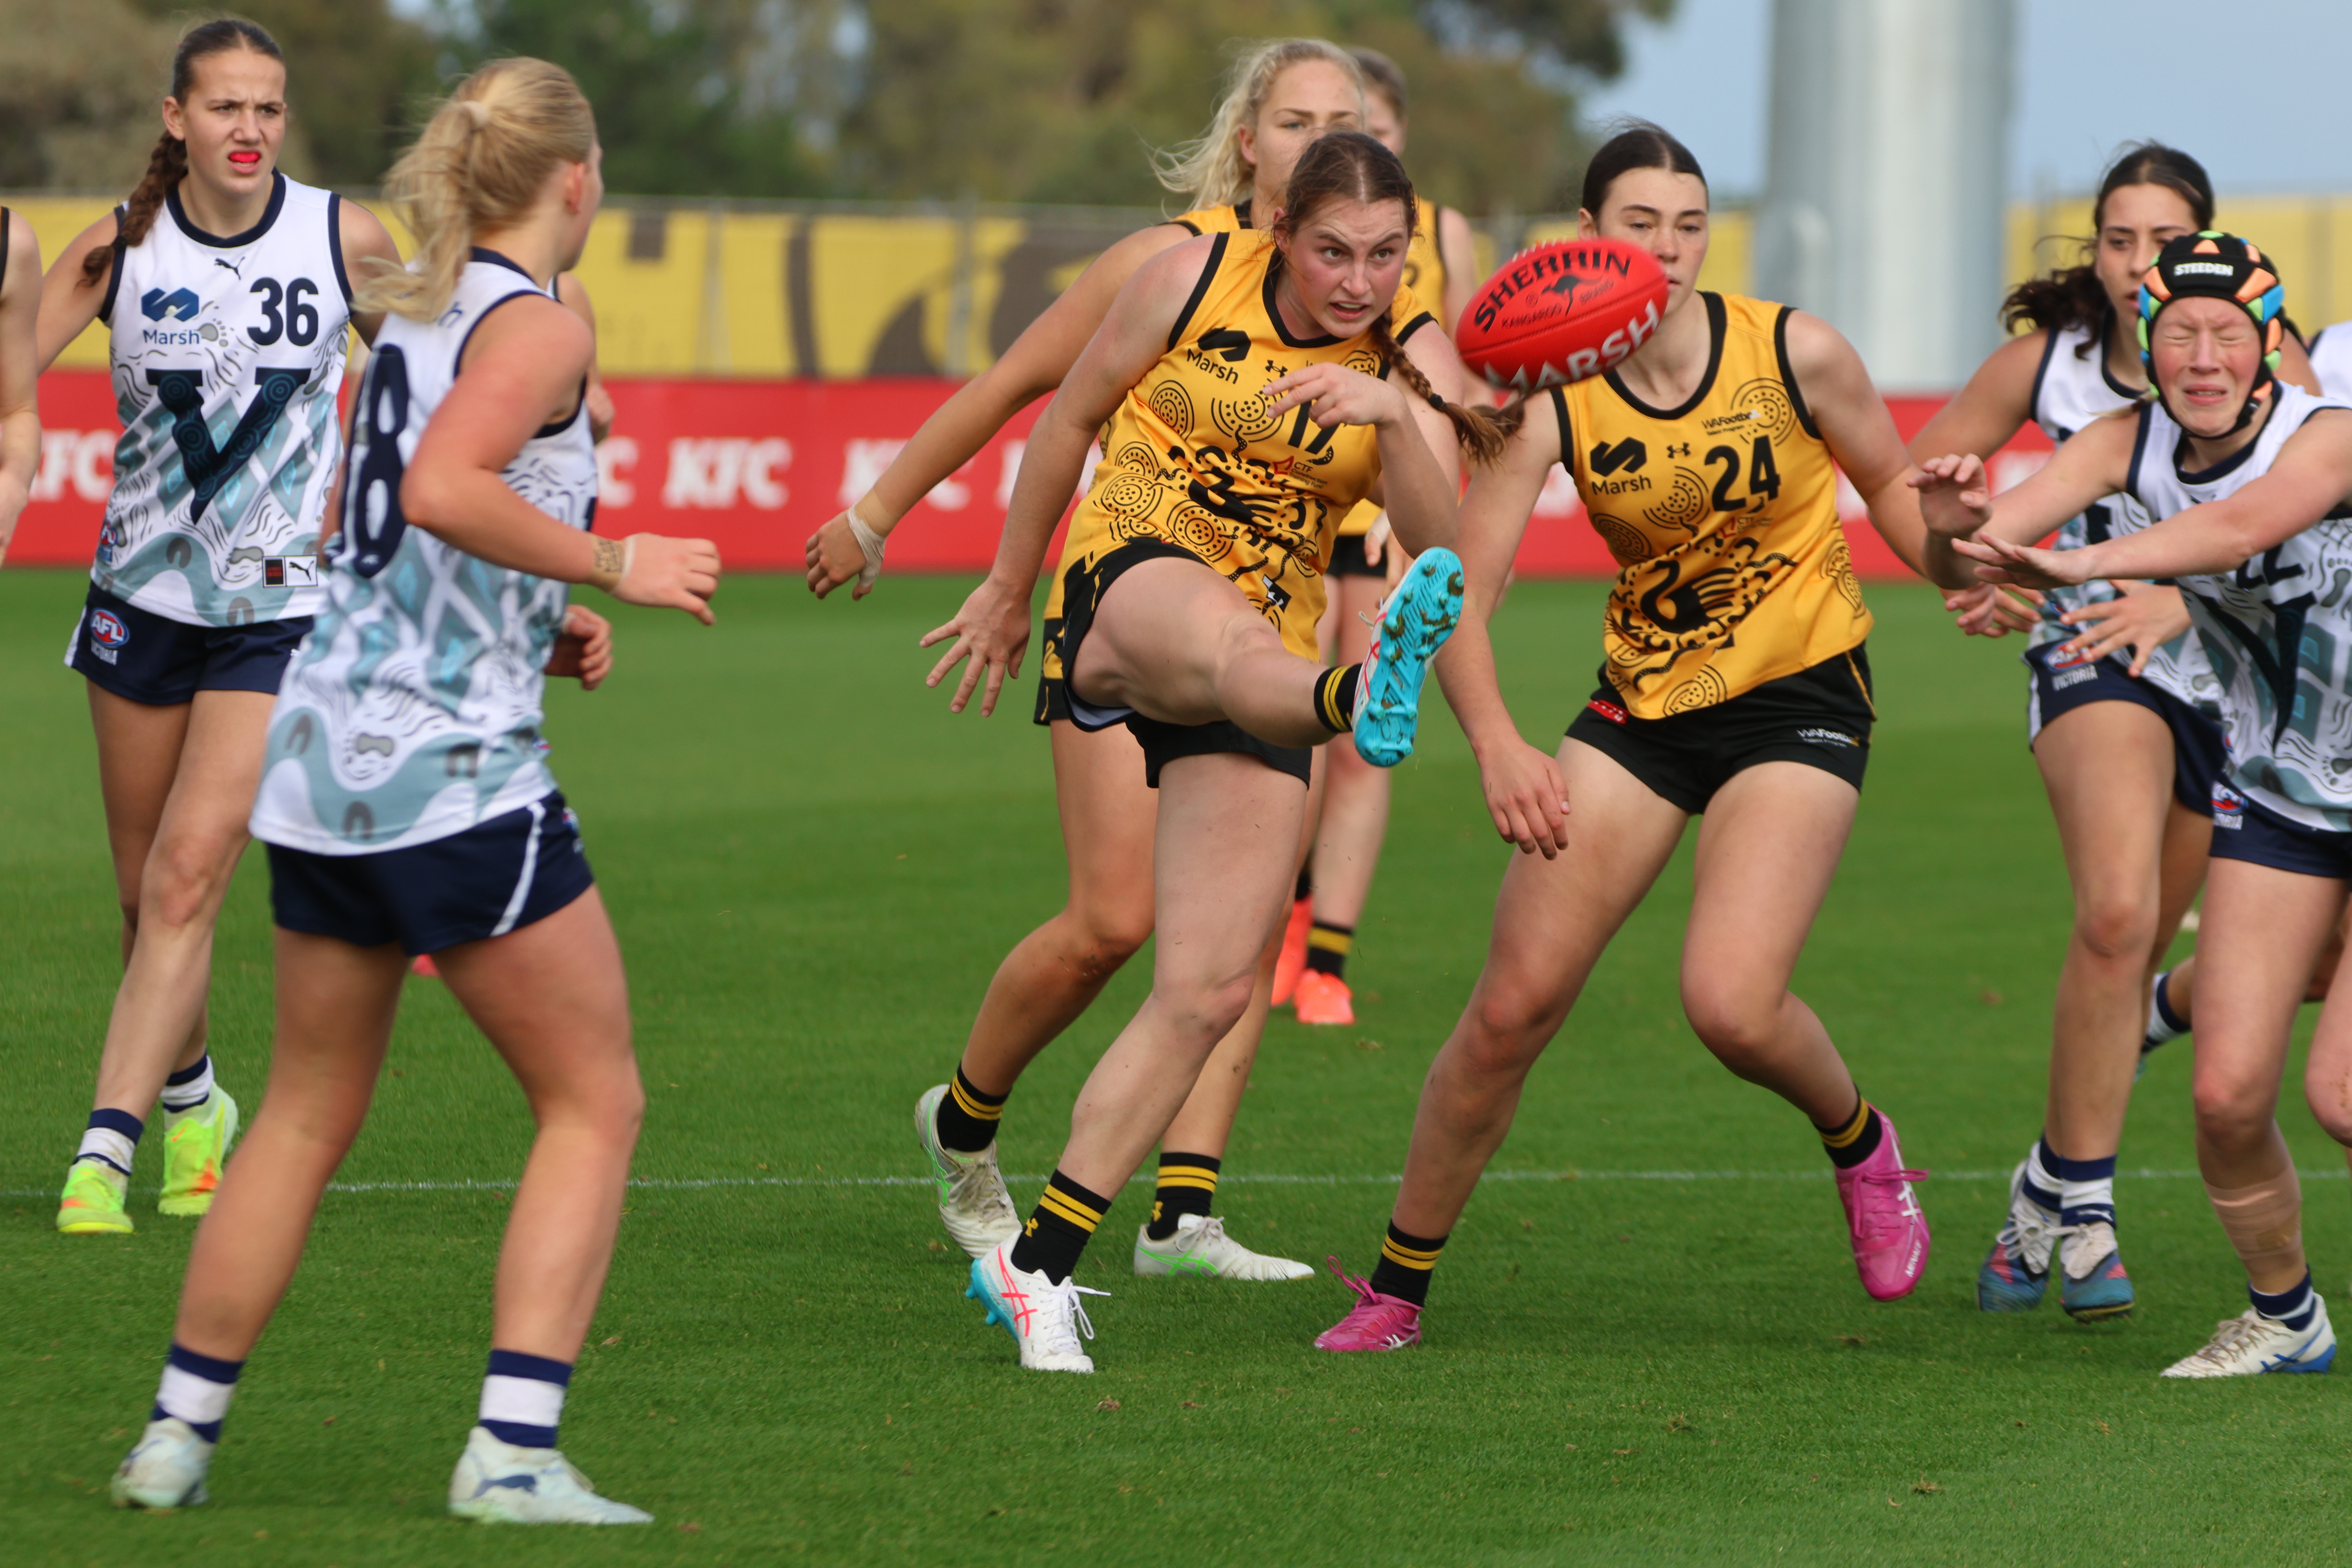
Scouting Notes: 2026 AFLW U18s – Vic Country vs. Western Australia
WESTERN Australia notched up its first win of the AFLW Under 18 Championships, coming back from 16 points down at the final break to run over the top of Vic Country at Kennedy Community Centre in Dingley. The Sandgropers booted four last quarter goals to secure the 6.4 (40) to 5.3 (33) victory on Saturday […]
Scouting Notes: 2026 AFL U18s – Vic Country vs. Western Australia
WESTERN Australia has produced a remarkable turnaround to defeat Vic Country by 16 points at Marvel Stadium on Friday evening. The Sandgropers were restricted to just one goal in the first half and trailed by 33 points early in term three, before piling on nine of the next 11 majors to bag their second win […]
