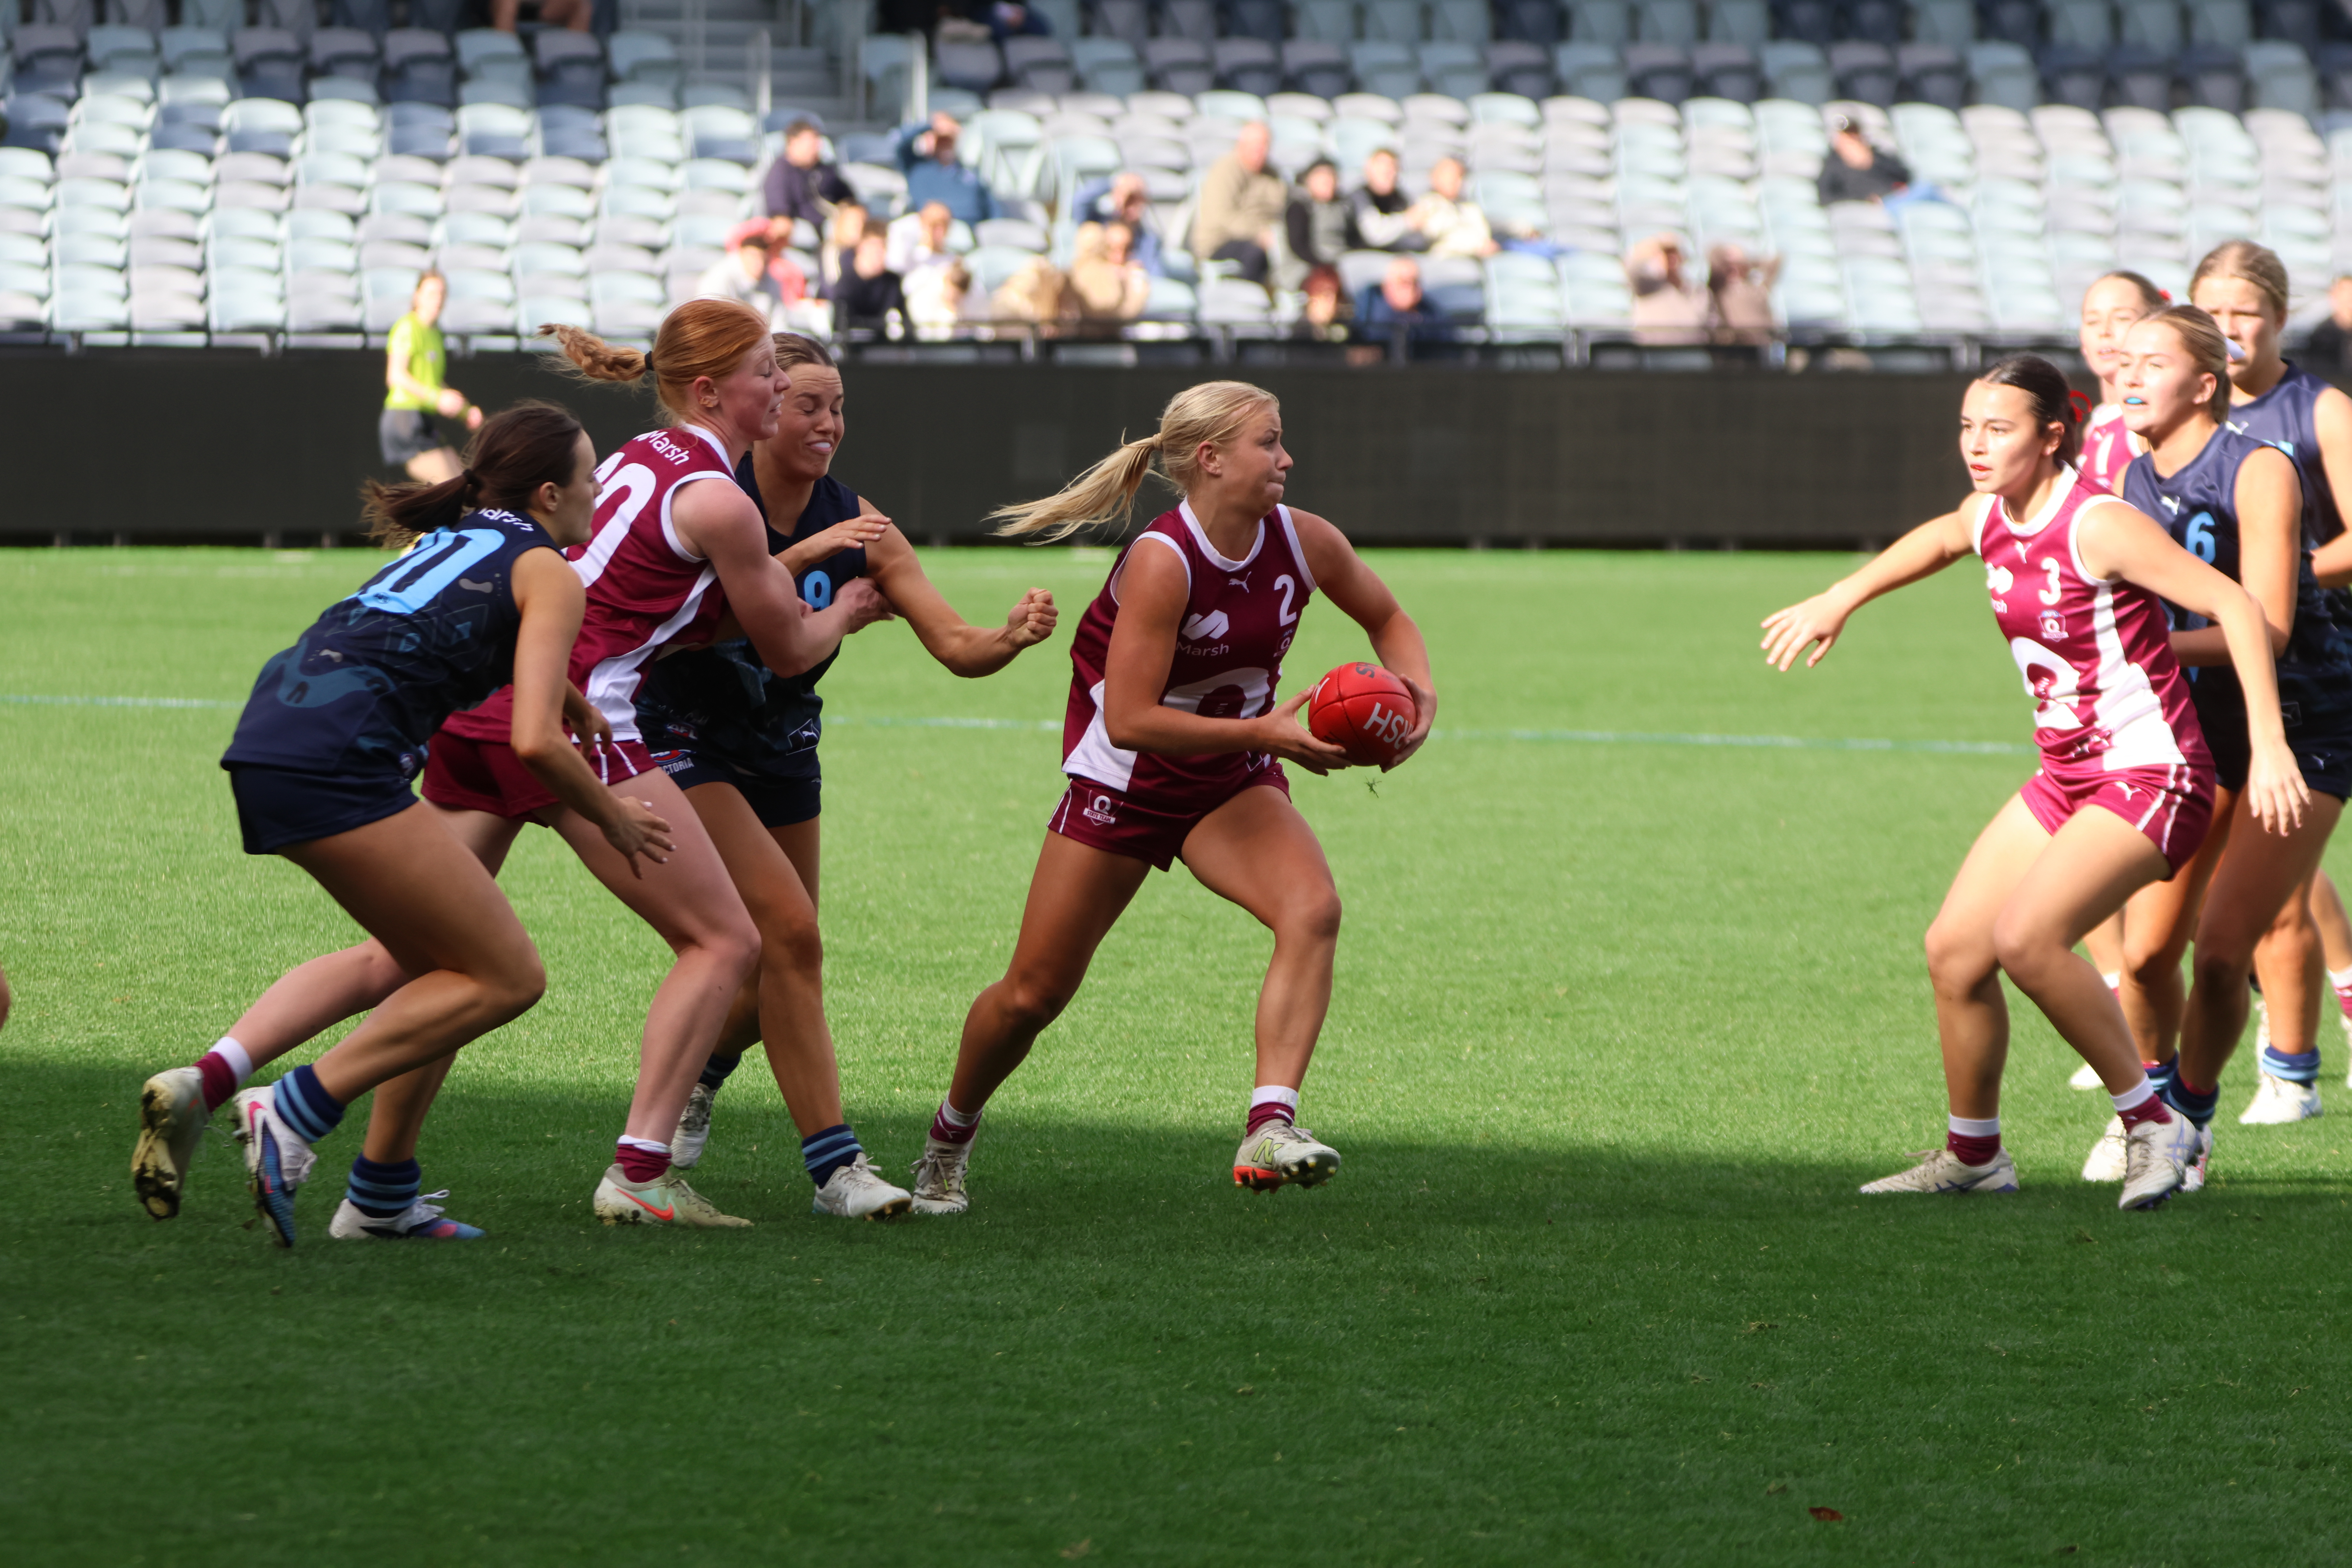
Scouting Notes: 2022 NAB League – Wildcard Round

WILDCARD Round produced the goods this weekend, with four of the five games decided by under two goals, and the same amount of lower-ranked sides earning finals berths. With drama at its height, gun AFL Draft prospects rose to the occasion – we highlight a few in the latest edition of Scouting Notes.
- Team
GWV Rebels

Northern Knights

By: Michael Alvaro
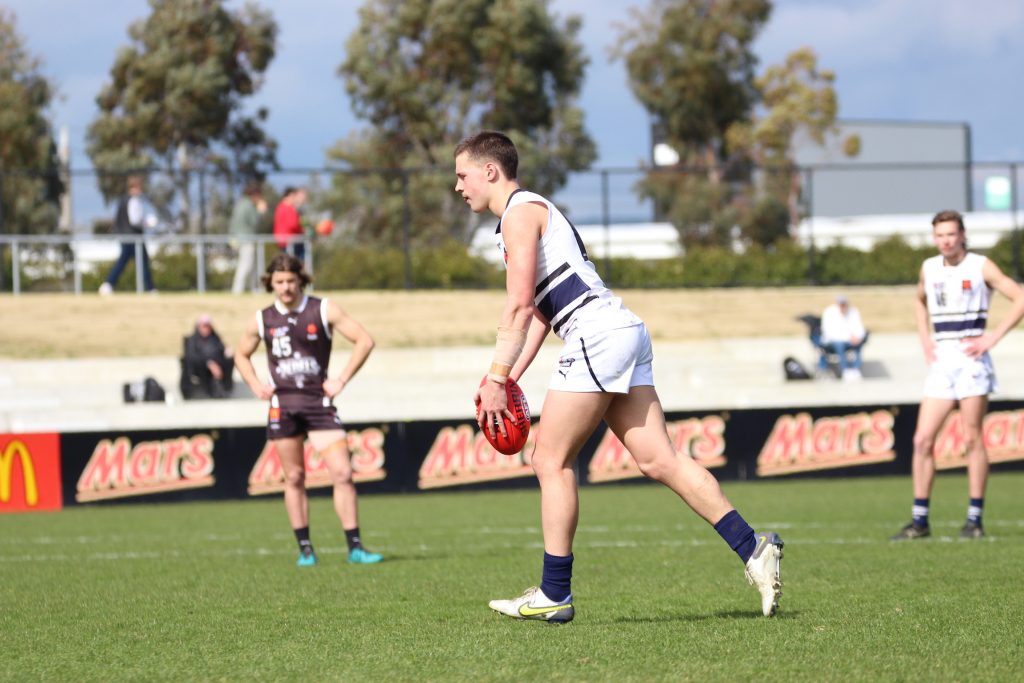
GWV REBELS:
Though he may have bitten off a bit much at times, Ballantyne was one of the Rebels who took the game on most frequently. When it came off, he looked a huge threat, utilising his turn of speed and long kicking through the corridor. That kind of daring play saw him assist a goal and almost nab one of his own during the first quarter, as his 50-metre shot was spoiled over the line. His work rate was another outstanding feature, with the over-ager able to find possession when sweeping back, or working into space on the break.
#5 Aaron Cadman
For a key forward, Cadman’s ability to stay in the game through sheer work rate is incredibly impressive. He was restricted during the first half as the tall Northern defenders played him well, but Cadman would eventually get on top with his athleticism and fearsome attack on the ball. Whether it was a running bounce foray through the middle, his speed off the mark when leading, or his springy leap, he found a way to will himself into the contest. Cadman’s two goals came in the third quarter, putting the Rebels ahead before they were run over the top of.
#7 Hugh Bond
For the second week running, Bond stood up alongside Cadman as a couple of players to lift when their side needed it. His physicality at the contest and long kicking proved factors in helping GWV sneak ahead at the last break, though the win was not to be. Earlier, Bond impressed with his clean work at stoppages, working at a high intensity to prize the ball free and wheel away from traffic. His endurance base also allowed him to accumulate around the ground, finishing as his side’s top ball winner (25 disposals), seven touches clear of the next best Rebel.

NORTHERN KNIGHTS:
#2 Nate Caddy
After an impressive display last time out, Caddy started in midfield once again where his size proved a factor. Still, it was the bottom-ager’s athleticism and attack on the aerial ball which impressed most as he got on top in the second half. With more time up forward, he planted himself close to goal and flew for his marks with confidence, pulling down four but almost clunking many more. Caddy looked most dangerous in those situations, but could not quite translate his form to scoreboard impact with four behinds – missing both snaps and kicks over the mark.
#14 Cooper Harvey
North Melbourne fans would have rejoiced as Harvey sunk a remarkable goal in the second quarter, having been Northern’s prominent ball winner to that point. The Kangaroos father-son candidate collected at the elbow of forward 50, shrugged off an opponent with one arm, and slammed the ball home off one step from 45 metres. His ability to win clean ball both at and away from the stoppages was impressive, and he chained his plays well between the arcs – seemingly always wanting the ball in his hands.
#18 Samuel Grant
With twin GWV talls to lock down, Grant formed a resolute partnership with fellow over-ager Jack Rossimel to keep a lid on the Rebels’ scoring threats. While not overly flashy or prolific, Grant was solid with his ability to win one-on-one tussles or peel off to intercept. His reading of the play proved astute and when in the right positions, he proved a hard man to move en route to six marks from 10 touches.
#41 Jesse Dattoli
Playing just his third NAB League game, the 2006-born prospect again displayed some exciting traits which the Knights are high on. Plying his trade in attack and donning the long sleeves, Dattoli proved both clean and clever with ball in hand and looked to make things happen. His creativity was rewarded with a crucial goal in the fourth term, meaning Dattoli has scored in each of his NAB League outings thus far.
- Team
Geelong Falcons

Western Jets

By: Peter Williams
GEELONG FALCONS:
#5 Jhye Clark
The star of the show, even in a loss, Clark was a forlorn figure post-game. He was enormous and single-handedly tried to will his side across the line, kicking two of his team’s first three goals. He got on the end of one in the first term after running hard to slot a major on the run, then kicked a second one from 40 metres out in the third term after a terrific contested mark. Though his usual classiness by foot was not always there, he replaced it with sheer desire and unmatched willpower that kept his side alive in the contest. He would continually put his body on the line despite the opposition trying to quell him, and was effectively looking to lift his entire team, running hard both ways. Clark would end the match with 27 disposals, eight marks, six tackles and six inside 50s, but his sheer impact transcended the stats sheet and it was hard not to feel a little for the skipper who would clearly bleed for the jumper. The type of player everyone wants on their team.
#9 Ted Clohesy
One of those players that just has a crack for four quarters and often plays an unrewarding game which features him going hard and firing off the ball from contested situations. He doesn’t have a huge influence outside the confines of the contest, but he is able to mow down opponents in fierce tackles. He has been known to play forward, but in this game it was more mopping up in the back half, then assisting teammates on-ball and trying to set up others to move the play forward.
#31 Joe Pike
Playing through the ruck, Pike was the dominant figure there, not only winning a game-high 29 hitouts, but also working hard defensively to intercept the ball. He utilised his 201cm frame to take control at the stoppages, but his best work was when he presented on the wing and held on strongly for a good contested mark. He would take a couple of good grabs inside the defensive 50 as well then allow the runners to go to work, but the bottom-ager’s aerial ability as a whole is what stood out.
#41 Osca Riccardi
The competitive small showcased his outstanding running capacity in the loss to Western, finding the ball in all thirds of the ground and being one of Geelong’s more consistent players. Riccardi kicked a great goal on the run in the second term, and then could be found mopping up in the defensive 50. He would often look to tuck the ball under his arm and run with it or go for the one-two. Though not polished, Riccardi worked his way into ball-winning positions and was able to help his teammates out with his ground coverage.

WESTERN JETS:
#33 Darcy Weeks
Like in previous weeks, the bottom-ager started in defence and progressed into the midfield where he played a key role using his kicking to try and thump the ball forward. It was hit and miss due to the pressure he was under, but he was able to set up a great goal to Petric with a long driving kick from half-back inside 50. Possessing a penetrating boot, Weeks is able to also win the ball at the coalface, and his defensive running is a strength. One of a number of talented players to keep an eye on in 2023.
#41 Jake Smith
The bottom-age midfielder had his fair share of touches throughout the match and worked hard, showing clean hands when in position. He often fired off some quick handballs to keep it moving forward, then when he took an intercept mark late in the match, hit-up a leading Morris inside 50. Generally his best work came by hand in close, and taking in five marks and laying four tackles to go with his 20 touches. Building nicely as one of Western’s more impressive players for next year.
#45 Jovan Petric
A standout player throughout the match, Petric slotted 4.2 and should have had at least a half-dozen majors, the 196cm key position forward also pulled down five marks and had 15 touches. He was busy early, slotting two goals which came from the more uncharacteristic snap and dribble from tight angles. His third came from a more conventional set shot inside 50, with a couple of misses which could have added to his total, before slotting one from 30m out for his fourth during the third term. He worked up the ground and even rolled through the midfield later in the game as Morris became the key target inside 50 later in the match.
#53 Logan Morris
After being held in the opening half and not kicking his first goal until the 14th minute mark of the third term, the talented bottom-ager would finish with three straight goals, all of which were set shots. The first was from a mark 35 metres out, then came two more from similar circumstances, one later in the third term and another in the fourth quarter with 90 seconds on the close, slotting it from 25 out. Though on paper 3.0 looks accurate, Morris also sprayed multiple shots out on the full when he tried to snap around his body. He had about six chances from eight kicks and seven marks to be a solid contributor.

- Team
Sandringham Dragons

Murray Bushrangers

By: Declan Reeve
SANDRINGHAM DRAGONS:
Playing almost exclusively up forward given Sandringham’s midfield depth, Clarke was convincingly the most dangerous forward 50 option across both sides for the game. Clarke’s speed was ultimately his biggest weapon on the way to four goals, burning opponents in foot races to chase up loose balls or get separation on the lead. Clarke showed plenty of courage through the contest, hitting front and centers with speed despite oncoming pressure.
Ashcroft continued his stellar year with another leading disposal effort in the must win match. Ashcroft was once again a focal point for his side around stoppages, with the ruck often looking to put the ball in his path and some of his teammates laying blocks for him to run out with ball in hand. Ashcroft was his usual classy self, cool under pressure with his hands and damaging by foot when out in space. He was often looking to get teammates involved in the game with his disposal, generally running past for a returning handball to keep the Dragons moving forward quickly.
The impressive bottom-ager was once again a key playmaker for the Dragons out of the defensive 50, balancing his defensive duties with his attacking run perfectly through the game. Early on, Roberts did most of his work inside the defensive 50 with some intercept marks and rebounding kicks doing damage, but worked his way up the ground to impact closer to forward 50 as the game went on.
Mackenzie took some time to war into the contest, but once he was on, he became difficult to stop, using his size and burst around stoppages to damaging effect. McKenzie’s quick disposal was a highlight of his game, often only needing a split second with the ball to find an option by hand or foot, always keeping Sandringham moving quickly whenever he was involved in the play.
#16 Harry Sheezel
Receiving quite a bit more attention than usual, Sheezel wasn’t able to have his standard scoreboard impact given how closely he was watched, but managed to set up teammates in the forward half well with his usual composure and damaging disposal. Whilst it would’ve been forgivable for Sheezel to drop his head under the circumstances, he continued to present and take opponents away from dangerous spots for teammates to take advantage of.
#21 Olli Hotton
Hotton spent majority of his time through the midfield and was a nice point of difference for the Dragons. With so many adept inside ball winners, Hotton got to work on the outside of the contest, with his spread from congestion and speed proving to be too difficult for the Bushrangers to keep up with. Hotton’s class with ball in hand was obvious through the contest, often finding the best option easily and executing quickly.
MURRAY BUSHRANGERS:
#4 Darcy Wilson
The classy bottom-ager was a key creator in the forward half for his side, finding good options by hand when under pressure and pinpointing some nice kicks for leading teammates around the ground. Whilst only slight in stature, Wilson wasn’t afraid of heavy contact as he regularly went for contested footy against bigger opponents. Where Wilson did his most damage however was in space, using his speed and foot skills to move the ball quickly and damagingly. The highlight of Wilson’s game was a second quarter goal, where he received a handball along the boundary line and slotted it with a drop punt on a hard angle.
Hollands hasn’t played a lot of NAB League footy due to APS commitments this year, but slotted in seamlessly to the Bushrangers’ midfield mix as their top ball winner. To put it simply, Hollands did a bit of everything through the game, winning it at the coalface and passing off quickly to outside runners, generally following up to get the ball back with his running from contest to contest. His impact around the ground was a key part of Murray’s ball movement, leading to the right spots to get used and then moving it on smoothly to keep Murray moving forward. Hollands didn’t stop working through the game, often seen in defensive 50 to be an outlet option, taking the game on when he was used.
Whilst O’Sullivan wasn’t always rewarded with scoreboard impact, his continual efforts in the forward half kept the Sandringham defence challenged through the game. At 196cm, the bottom-ager played as key post inside 50, but was arguably most impressive with his work below his knees, regularly taking clean one grab pick ups and moving the ball quickly by hand. He showed some nice bursts of speed for a tall, getting separation on leads but also pressuring opponents with his pursuit from behind.
#10 Jedd Longmire
Having cut his teeth as an inside ball winner, Longmire started in the guts and won some early ball at the coalface, but a move forward proved to be a bit of genius as he did damage, especially in the last quarter. Whilst he didn’t look entirely natural up forward, he took the most of his opportunities inside 50 to kick four goals. His one-on-one strength was shown as he pushed off opponents in contests well to give himself the best position as the ball came in, either taking the mark or running onto the loose ball well heading to goal.
- Team
Eastern Ranges

Calder Cannons

By: Peter Williams
EASTERN RANGES:
#1 Kai Windsor
Racking up the ball at will early in the piece, Windsor showed off his nice movement by either sidestepping or quickly disposing of the ball. He had a quick snap towards the goalsquare in the opening term as he was brought down, then ran inside 50 but after taking a bounce lost it in the second quarter. Throughout the second half Windsor continued to buzz around winning the ball, almost taking a good pack mark but it was not paid. He used the ball effectively over short distances, but it was more his ability to get the ball inside 50 on the regular that helped his side.
One of the more consistent players in the match, Bennetts was able to provide some terrific run and carry, tucking the ball under his arm and bursting away, and driving the ball inside 50. Often winning it on the outside working hard along the wing, he also spent time inside 50 where he burst away to mark 30 metres out and slot the goal. He had a flying shot earlier in the third term but missed it. Across the course of the match, Bennetts was not always completely polished, but he got into good positions and was able to catch the eye with his run.
#5 Nick Watson
The pick one contender for 2023 had some lively moments but ultimately could not go to work as he so often has, particularly early in the season. Watson would finish the game booting 1.3, spraying a few shots he would normally get. His sole goal came six minutes into the match, and though Watson always looked like he would hit the scoreboard on the regular, he would be under pressure almost always. He moved well and provided terrific defensive pressure, but would end with the 15 disposals and six tackles to go with his 1.3.
#8 Cam Nyko
A bottom-ager who covered ground well and kept having a crack, he featured early with a good intercept mark and dished off to a teammate, then shook off a heavy tackle. He continued to press up when through the middle to intercept at half-forward, then laid a big tackle in the fourth quarter to win a free kick. His subsequent kick hit-up Weatherill inside 50 nicely.
#28 Riley Weatherill
The main target on the lead in the Ranges’ side, Weatherill stepped up in the second term after a quiet first quarter to take a strong mark 45 metres out. His shot spayed out on the full and an almost identical one from the other side went through for a behind, but he kept presenting. In the third term he marked 25 out but his set shot hit the post, with his first goal coming in the last quarter with a set shot from 40 metres sailing home to cut the deficit back to five points. He finished with five marks from eight disposals and 1.3.
#32 Cody Anderson
Another youngster who is able to crack in at the coalface and use his big frame to win the contested ball, he did get caught early when he tried to take down Rowston front-on. He is quick at winning the hard ball and had a highlight moment by flicking the ball up with his foot to a teammate to kick inside 50. Though Anderson has had bigger games, he finished with 13 disposals and laid three tackles alongside three inside 50s.
#62 Josh Smillie
The Vic Metro Under 16s MVP does not need a lot of the ball to be an eye-catcher and that was certainly the case once again for the Ranges during the win. He had 14 disposals, but his hands and movement through traffic is very good, able to get the ball away quickly when under pressure and thump it on the boot if required. He runs hard and has a nice technique when having time and space, but his hands and strength for a tall midfielder makes him a prospect to keep an eye on the next two years.

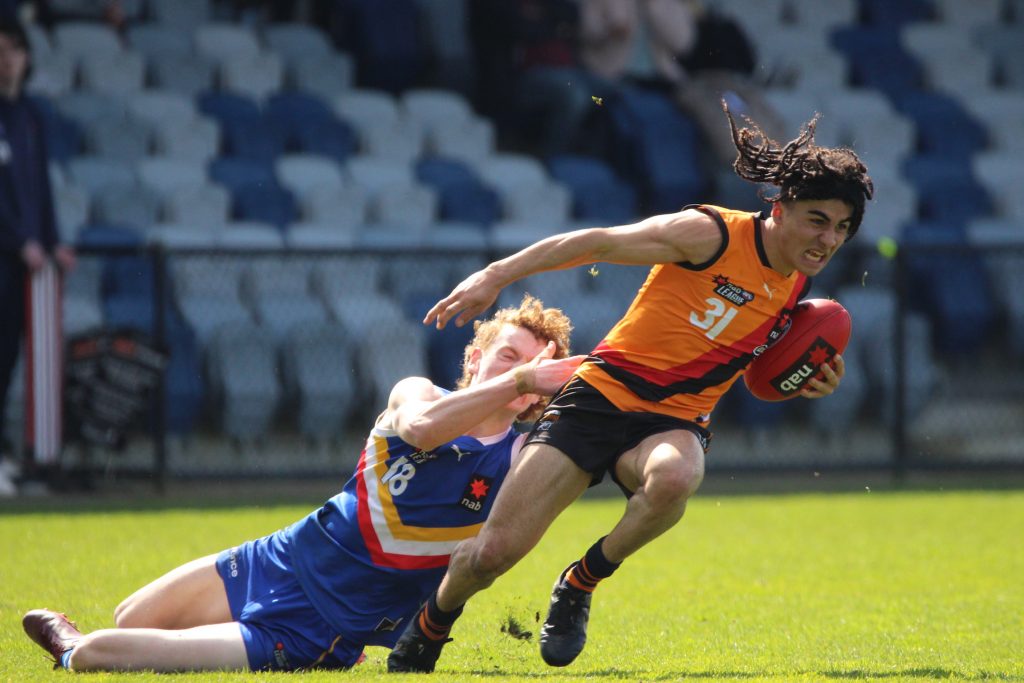
CALDER CANNONS:
#17 Harry Rowston
The GWS GIANTS Academy member and Allies MVP was one of the prime movers in the Cannons’ midfield, playing strongly throughout the match and notching up a team-high 22 disposals. His balance of outside and inside traits standout and he just ticks a lot of boxes. Though at times his kicking can be a little hit and miss, he is creative forward of centre, setting up a goal with a thumping kick inside 50 from the centre stoppage in the final term to help put his side in front. On the defensive side, he laid a lot of tackles, such as one to bring down Anderson. His subsequent kick did sail out on the full, but Rowston did a lot right, taking eight marks and laying six tackles, both equal game-highs.
#25 Nash King
Roaming across the ground, King was able to be an option in transition and found space really well all across Mars Stadium. It was clear he was able to cover ground between the arcs, and when he did have the opportunity to win it, he cracked in and did not take a backwards step. With time and space, King used the ball well, and finished with 17 disposals and four inside 50s in the win.
#27 Paul Pascu
Calder’s skipper tried hard throughout the day, and while not polished, worked defensively to keep his team in the competition. He marked in defence on a number of occasions, and rolled through the midfield too, finding space to be an option in transition. He had a forgettable moment when he went into the corridor, missed his target and it almost created a goal for the opposition, but few could doubt his commitment to the team cause. One who is able to provide leadership in the defensive 50.
#31 Isaac Kako
The Essendon Next-Generation Academy prospect had his moments, and though he only recorded the 10 disposals and one behind, he showed the dare and dash that caught the eye during Metro’s AFL Under 16 Championships. In the second term, Kako went for a trademark run down the wing. He was dragged down by Lewis Hayes, but wriggled out of his clutches to get the handball off. He applied good pressure and a presence inside 50, having a snap in the third term that just missed to the left. His hands were also clean in a game where he might not have impacted the scoreboard but still influenced the game.
#42 Amin Naim
The forward had a number of chances he would like back with a couple of set shot misses, but also a nice clean pickup and snap across his body or a goal late in the third term to cut the deficit to three points. He chased down Windsor to force a mistake from his opponent with a big bump, then took a good mark inside 50 with a set shot 30 metres out but unfortunately just pushed it to the right.
#43 Mahmoud Taha
Though he won an early touch at half-back, Taha would be more influential inside 50, where he finished with 1.1, of which the one major put his side in front in the last term. He saw the clearance from Rowston and worked back hard to pick it up and slot it from the goalsquare. He had a couple of chances himself to add to his tally in that final term with a set shot from 25 metres missing and one from the top of 50 falling short, but overall he read the ball in flight well and recorded six marks for his 16 disposals.
#48 Jayden Nguyen
A talented Under 16s Metro representative who could never be questioned for taking the game on, Nguyen gave it a red-hot crack under pressure, looking to give-and-go down the ground. Early in the game he took an intercept mark in defence getting back into the hole, kicked it and ran back hard to win it and kick down the ground. He also tried to burst through the Eastern defence in the second term but was brought down and ended up a bit sore. Overall Nguyen helped himself to 17 disposals, five marks and three inside 50s.
- Team
Oakleigh Chargers

Bendigo Pioneers

By: Michael Alvaro
OAKLEIGH CHARGERS:
Tsatas again had little trouble finding the ball en route to a team-high 34 disposals, but could do little to turn the tide of Bendigo’s spirited effort. The highly touted draft prospect started brightly, notching the first goal of the day off one step from 40 metres. He was up against it from then on, proving unable to consistently use his burst speed and skills on the outside. Tsatas was shifted forward in the final term and despite the several snaps on goal he had, could not quite add to his scoring tally. When thrown back into the guts, he notched another couple of clearances which proved too little, too late.
#2 Blake Drury
Looking to lead his side into finals, Drury started up forward but had his greatest impact on-ball. He played with vigour which boosted his presence beyond his 178cm stature, and played a lone hand at times in looking to turn the game around against willing adversaries. His start to term four was electric, winning the first centre clearance and driving the ball forward with frequency to end up with 31 touches and eight inside 50s. Drury could not be faulted for the effort he brought.
Making his return to the Oakleigh lineup after injury derailed much of his top-age campaign, O’Sullivan unfortunately ended the day in a sling. He had shown some nice signs in the early stages, proving crafty in possession as he worked in tandem with Drury at half-forward. He was able to work the ball inside 50 and link by hand as Oakleigh surged forward, but was taken out of the game after a heavy tackle in the second term.
After presenting as an ominous force during the first quarter, Jefferson struggled to maintain his output as Oakleigh’s focal point. On several occasions, and with relative ease, he got off the chain to mark while leading, but could not convert three set shots in the first 25 minutes. He slotted a goal at the other end in term two, and added a couple more consolations during fourth quarter junk time to trim the final margin to 12 points. Had he brought his kicking boots, the result could have been much different.
#9 Luke Teal
Teal was just about as consistent and composed as any Charger afield, returning a solid shift in his usual role behind the ball. As it has often been since his return from injury, Teal’s kicking proved one of his best assets to go with the dynamic work he did to win the ball both aerially and at ground level. He had no problem hustling into good spots to impact several contests across half-back, and even as the deepest defender at times.
Though Bendigo’s pressure restricted Philactides’ ability to be as damaging as possible with his run and skill, he still managed to be one of Oakleigh’s most productive players. The bottom-aged defender was just one of three Chargers to hit the 20-touch mark, advancing the ball daringly despite being rushed at times. Undeterred, he played with good intent in an attacking sense and backed his speed, but also contributed defensively with a few nice intercept marks.
#21 Max Gruzewski
Another great user of the ball by foot, 12 of Gruzewski’s 16 disposals were kicks as he slotted seamlessly back into Oakleigh’s back six. The top-ager is a mobile 193cm prospect, and lowered his eyes nicely when hitting targets up the field. His punchy and effective distribution was particularly noticeable in the first quarter, but slowed as Bendigo began to get well on top.
#33 Alwyn Davey
It was a far cry from last week for Davey, whose speed and evasiveness were effectively nullified by the brute force of Bendigo’s midfield. He found 14 disposals but much like Tsatas, struggled to cleanly break to the outside where his skills shines. Instead, he was rushed into awkward clearing kicks, though his drawing handballs were a nice touch amid the madness. Davey snuck forward in term three and almost nabbed a set shot goal, before being shifted back in the final quarter as Oakleigh shuffled the magnets.

BENDIGO PIONEERS:
Reprising the half-back role which has shot him right back into draft contention, Gallagher went about his business with another 42 disposals and 13 rebound 50s. The over-ager now averages 36.8 touches and 11.8 rebounds in his last four games, numbers indicative of Bendigo’s building form. He took on the kick-in duties and worked hard to chain possessions up the ground, leaning on his tremendous work rate to demand the ball back. He proved hard to track with his leg speed, which he also used to mop up plenty in the back half. As per usual, he snuck forward but could not quite snare a goal from his three shots.
#4 Harley Reid
It is hard to believe Reid is still a bottom-ager given the opposition attention he attracted on Sunday, and how mature his response was to it. He proved prominent in midfield, using his power to break away from stoppages and drive the ball inside 50. Oakleigh put time into him when on-ball, but he stood up to the task and looked to do something with each possession, constantly asking questions of Oakleigh. His ability to fend off opponents with ease certainly helped, and Reid looked just as accomplished as he was shifted to defence in the fourth quarter.
#5 Noah Long
Plying his trade in the midfield-forward rotation, Long was yet another Pio whose versatility came in handy. He utilised his turn of speed to burst away from congestion and clear long by foot, but perhaps could have lowered his eyes better before blazing away. Long’s clean work at ground level was also impressive, and he took one of two chances to hit the scoreboard in the third term with set shots.
Having looked to have found a home behind the ball, Gillbee took up a familiar spot on the wing for Bendigo before having an impact up forward. In the first three terms, his work rate and ability to accumulate possessions between the arcs was impressive, but like Long he could have lowered his eyes at times when blasting forward. A terrific overhead mark and goal from the boundary in term four capped off Gillbee’s game emphatically, helping seal the result for his side.
#41 Dayten Uerata
Others may have had more of the ball, but Uerata showed he certainly has a bit about him in just his fourth NAB League outing. The bottom-ager started forward and looked lively with his leap and speed, proving gutsy in marking attempts and daring with his run. He even got a go through midfield when Bendigo needed a spark to start term two, and showed nice signs overall.

>> FEATURE: How Bendigo pulled off remarkable Wildcard win

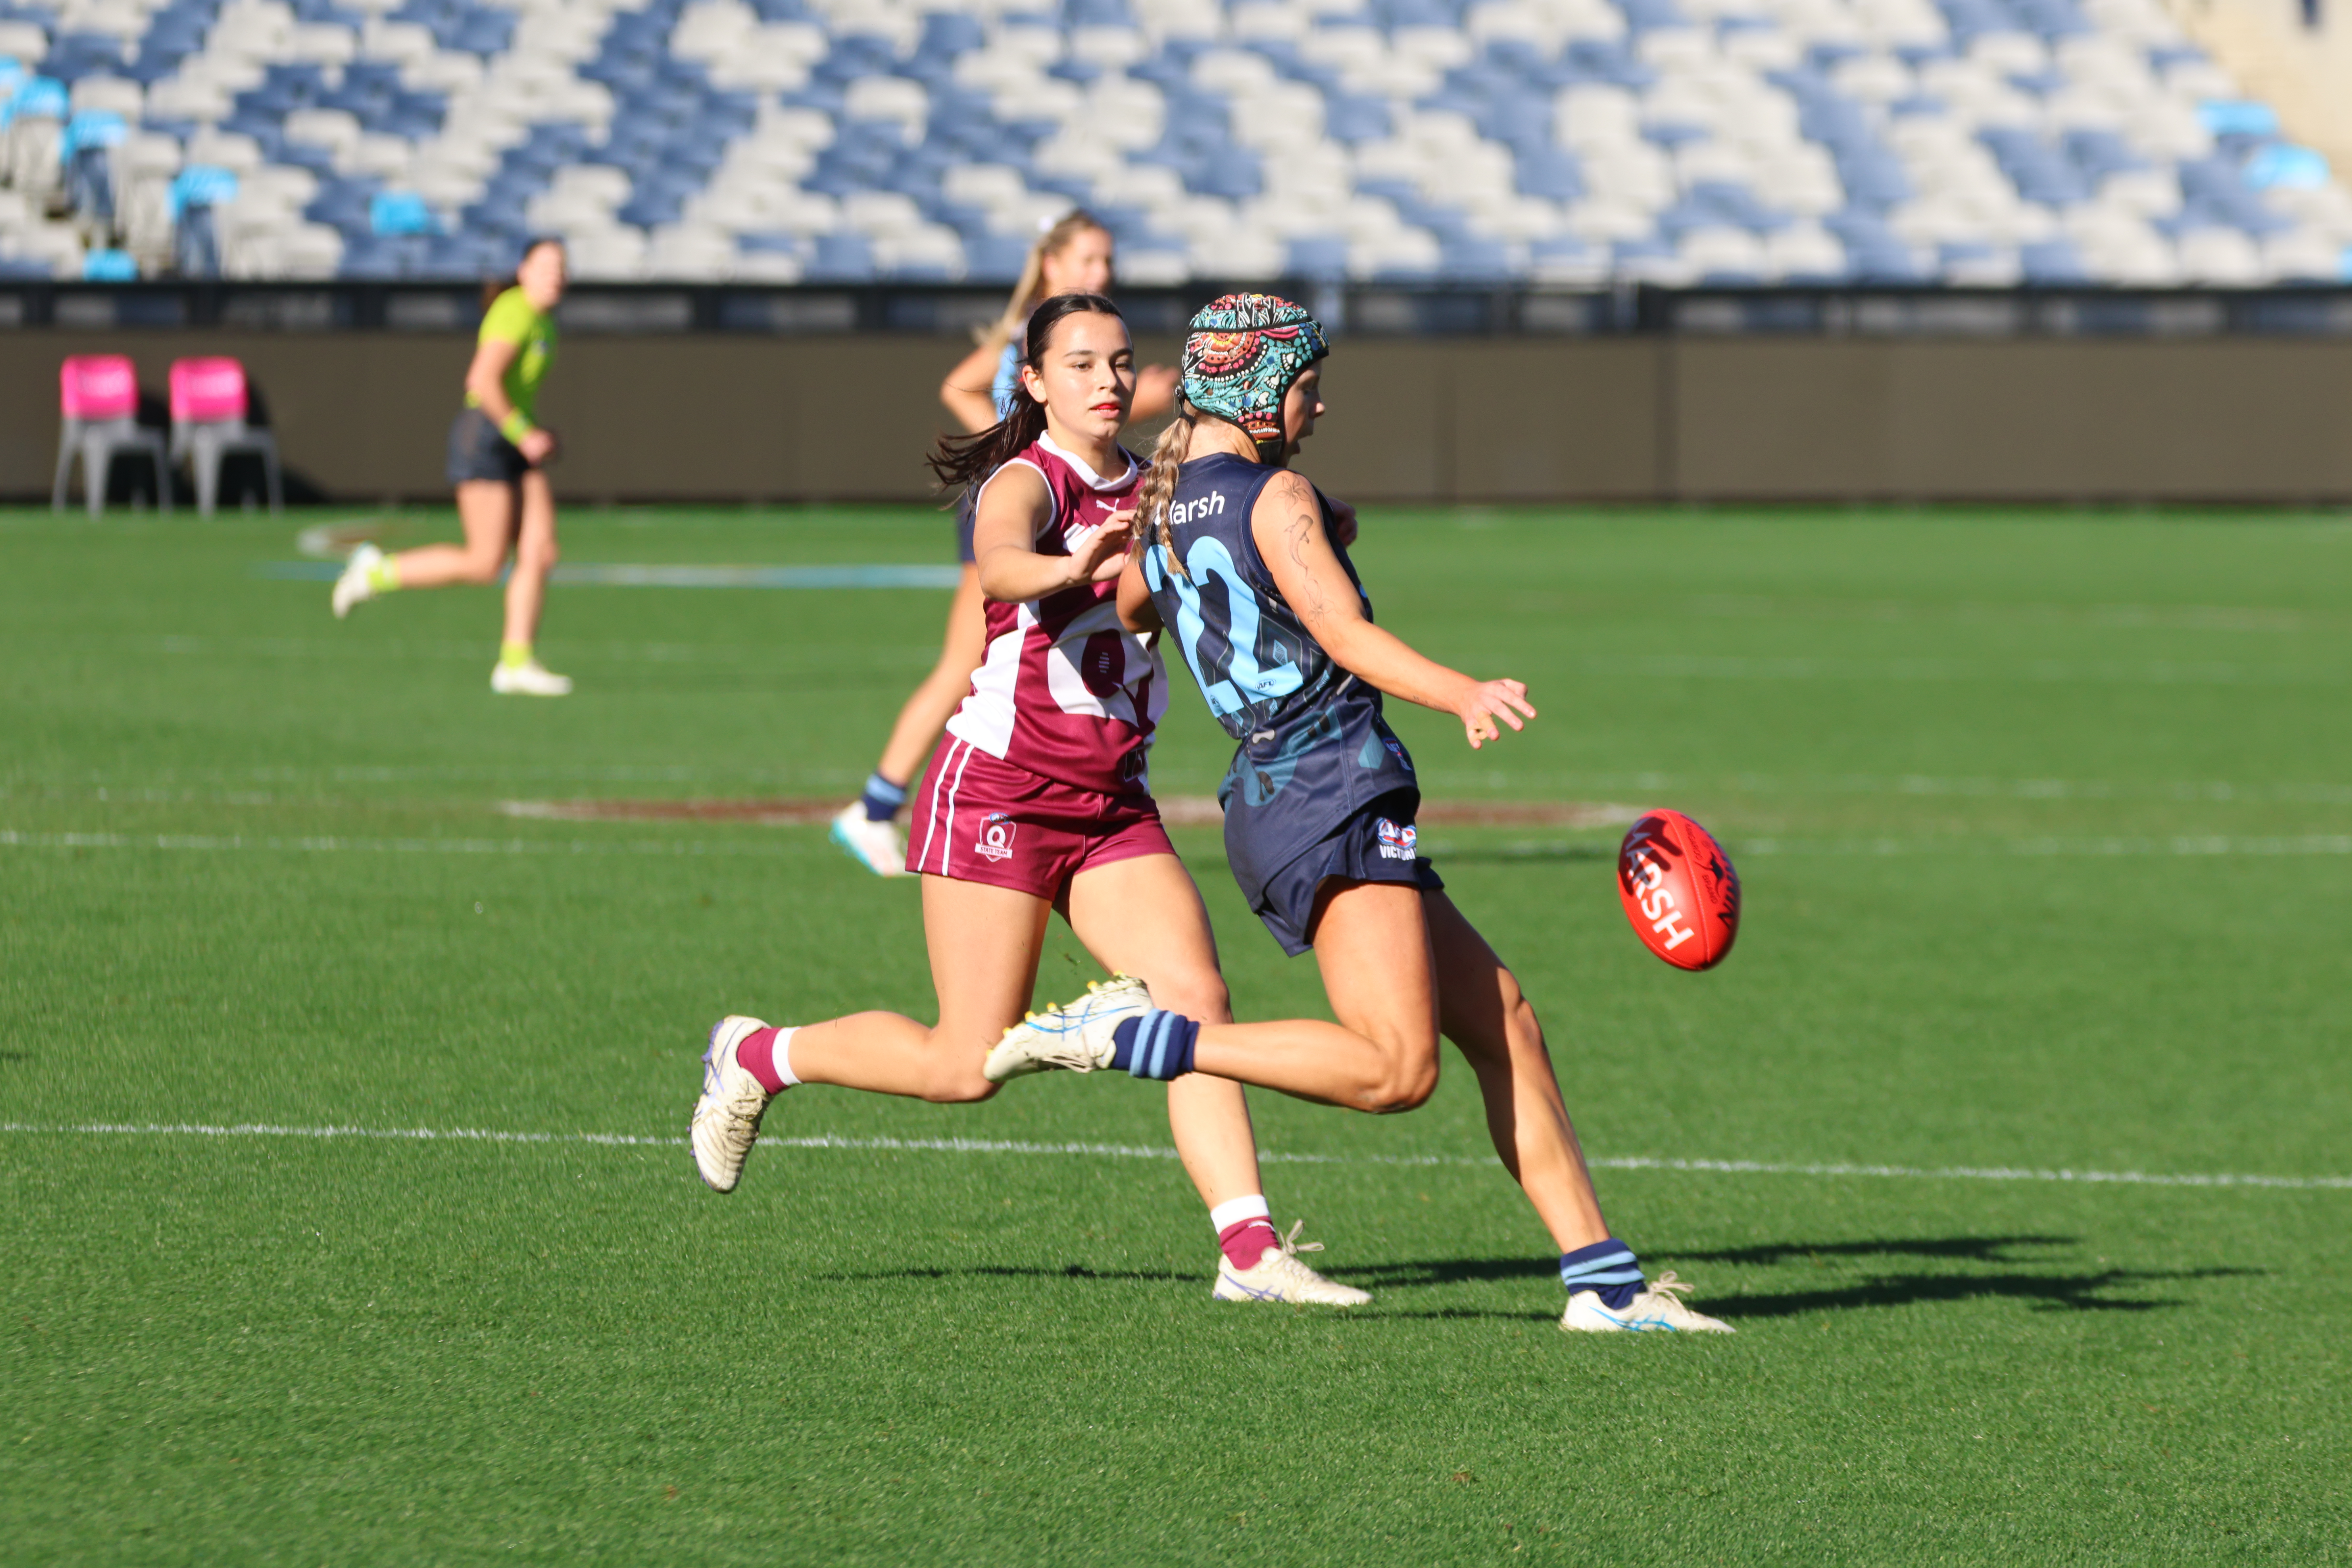
2026 State Academy notes: WAFLW – Round 16
ROUND 16 of the WAFL Women’s season saw the return of the West Australian Under 18s players following the conclusion of the national championships. With the State Academy members back in club colours, there were plenty of standout performances across the four matches as players looked to finish the season strongly. We took note of […]

2026 Talent League Girls R16 notes: Tasmania Devils vs. Sandringham Dragons
SANDRINGHAM Dragons secured an impressive 7.11 (53) to 5.4 (34) victory over Tasmania Devils on the Apple Isle in Round 16 of the Talent League Girls competition. The Dragons took control of the match by kicking the first four goals of the second half to establish a commanding five-goal lead, before the Devils fought back […]
2026 Talent League Girls R16 notes: Bendigo Pioneers vs. Geelong Falcons
GEELONG Falcons won the battle between two of the single win sides over the weekend, defeating Bendigo Pioneers by 54 points in a comprehensive performance at Queen Elizabeth Oval. Despite missing Vic Country MVP Ava Bilyk and National Academy member Greea McKeegan, the Falcons piled on seven goals to two in the first half and […]
Scouting Notes: Dragons’ late surge downs Devils
SANDRINGHAM Dragons have kicked away to a 41-point victory over Tasmania in their standalone Round 19 fixture on Sunday. The visitors were potent throughout the day and kicked nine goals to two at one end of North Hobart Oval to run out with a comfortable, albeit slightly flattering, winning margin. The Devils regained several of […]
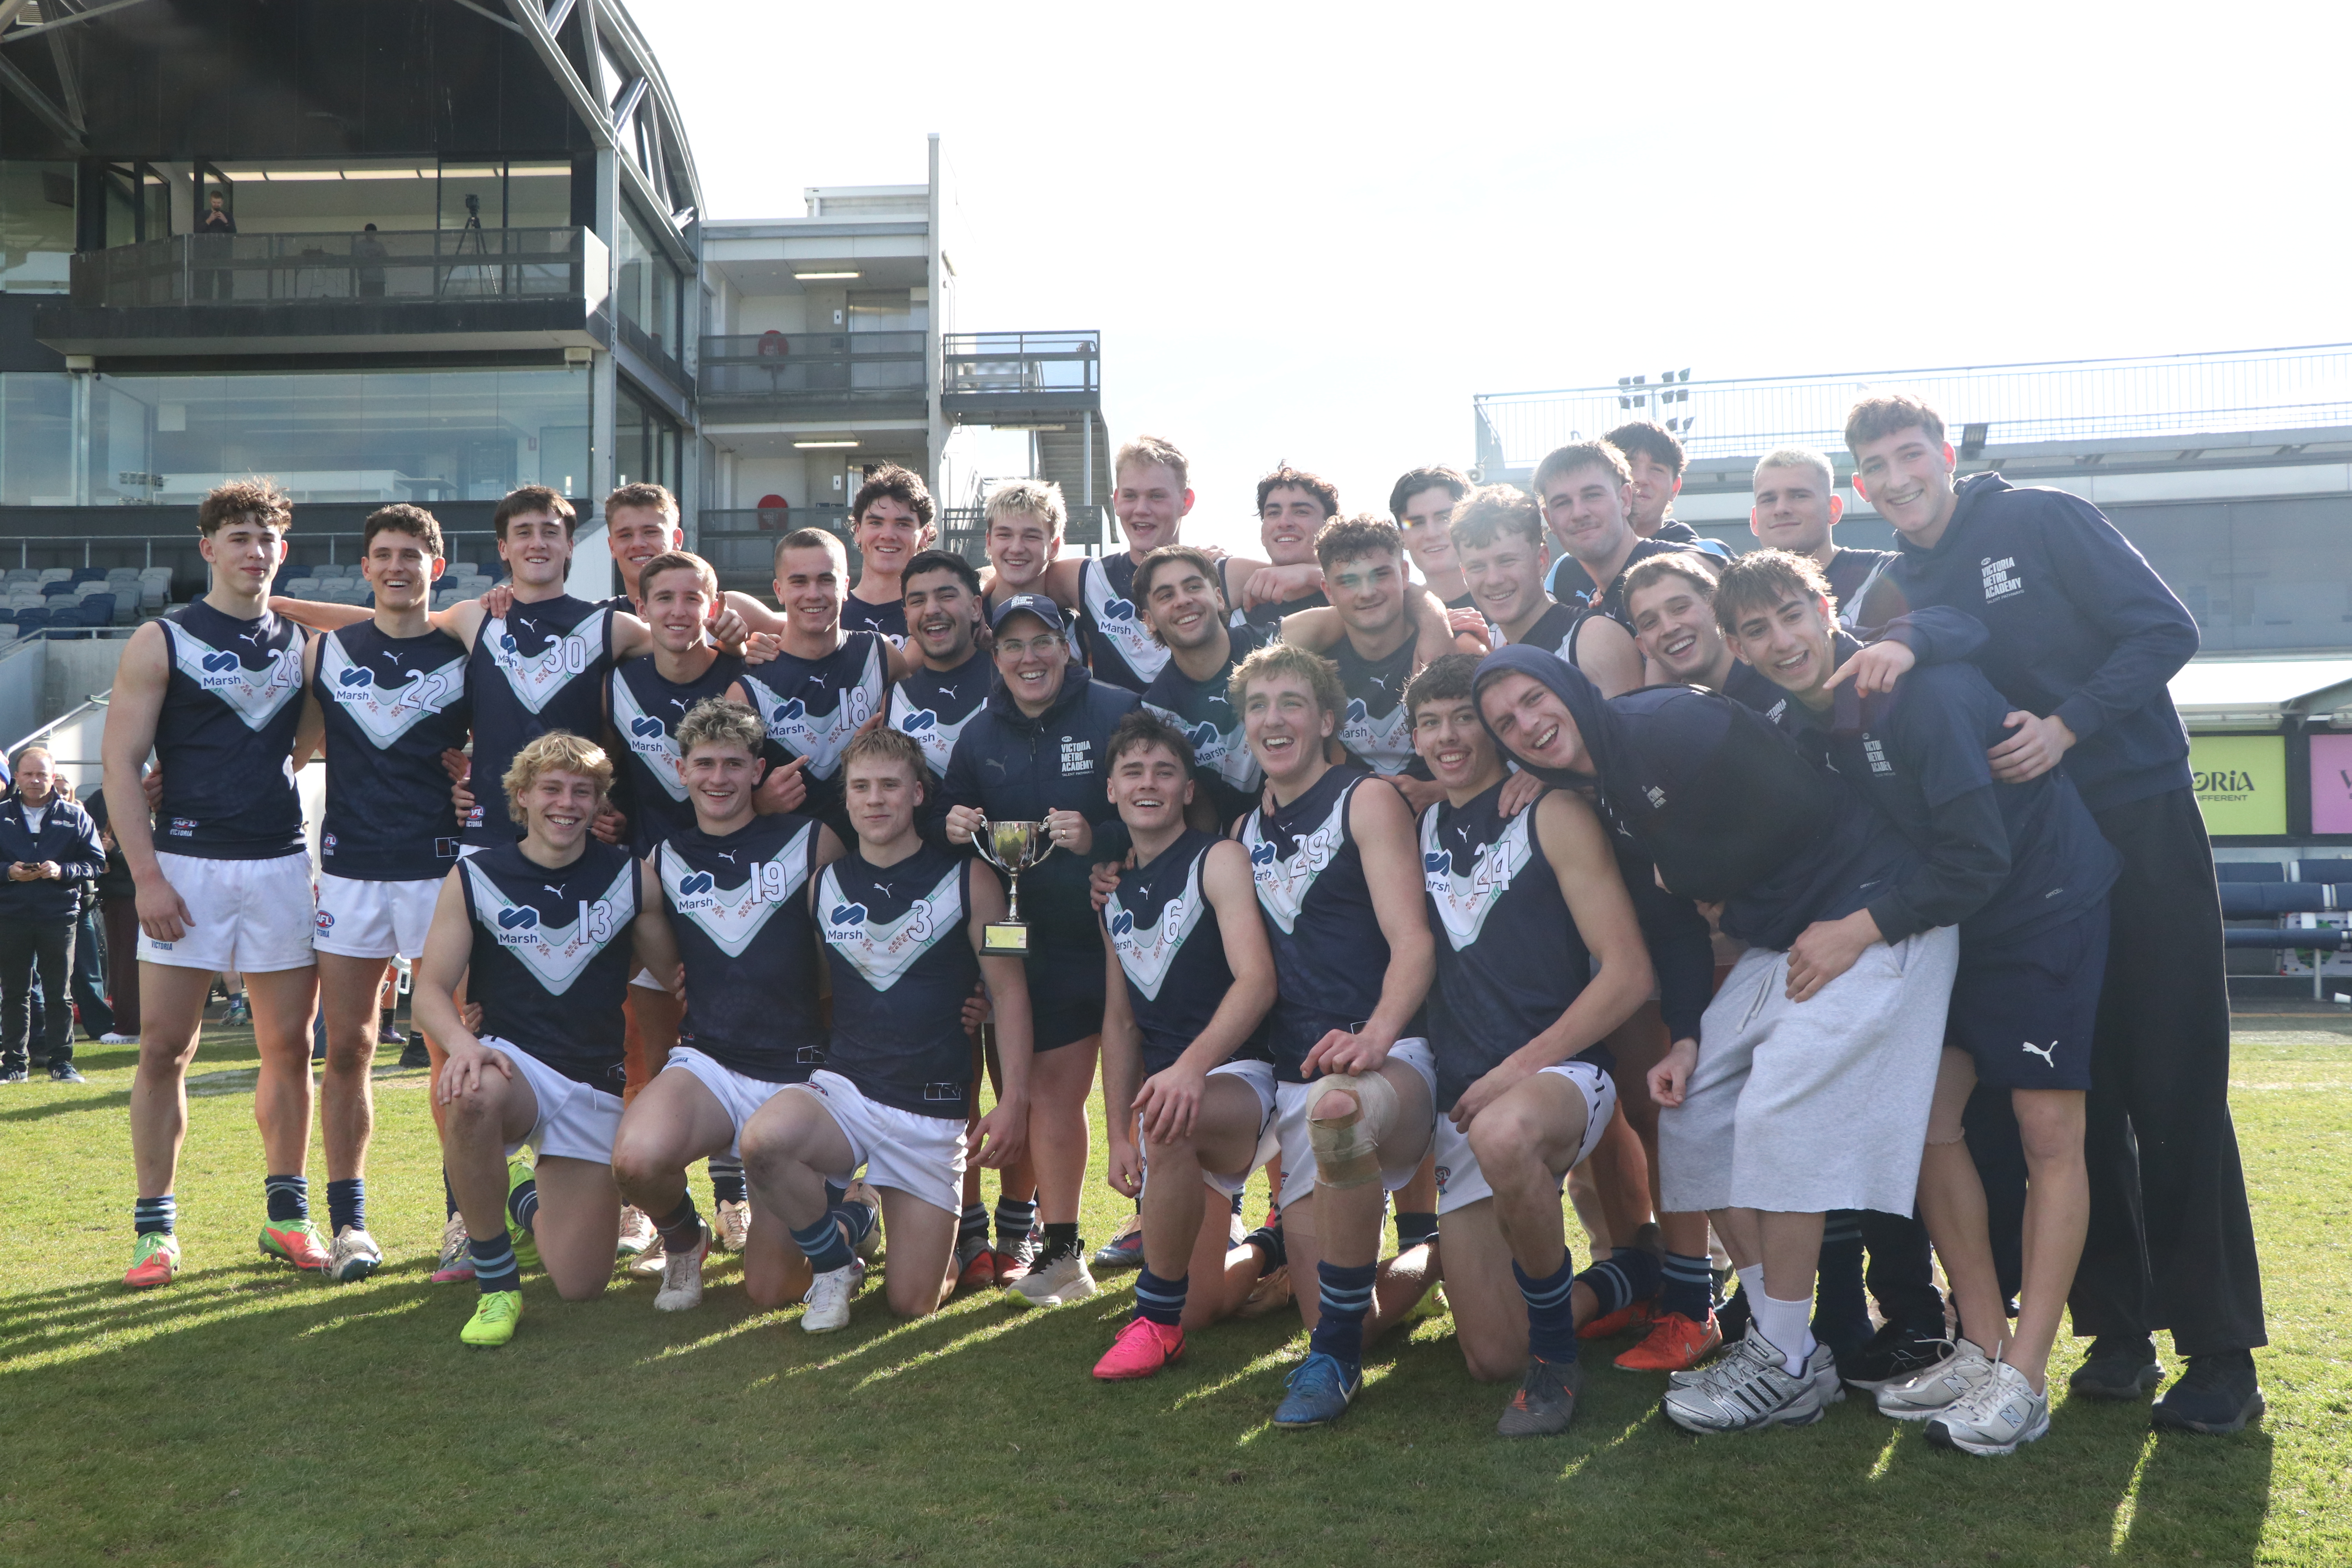
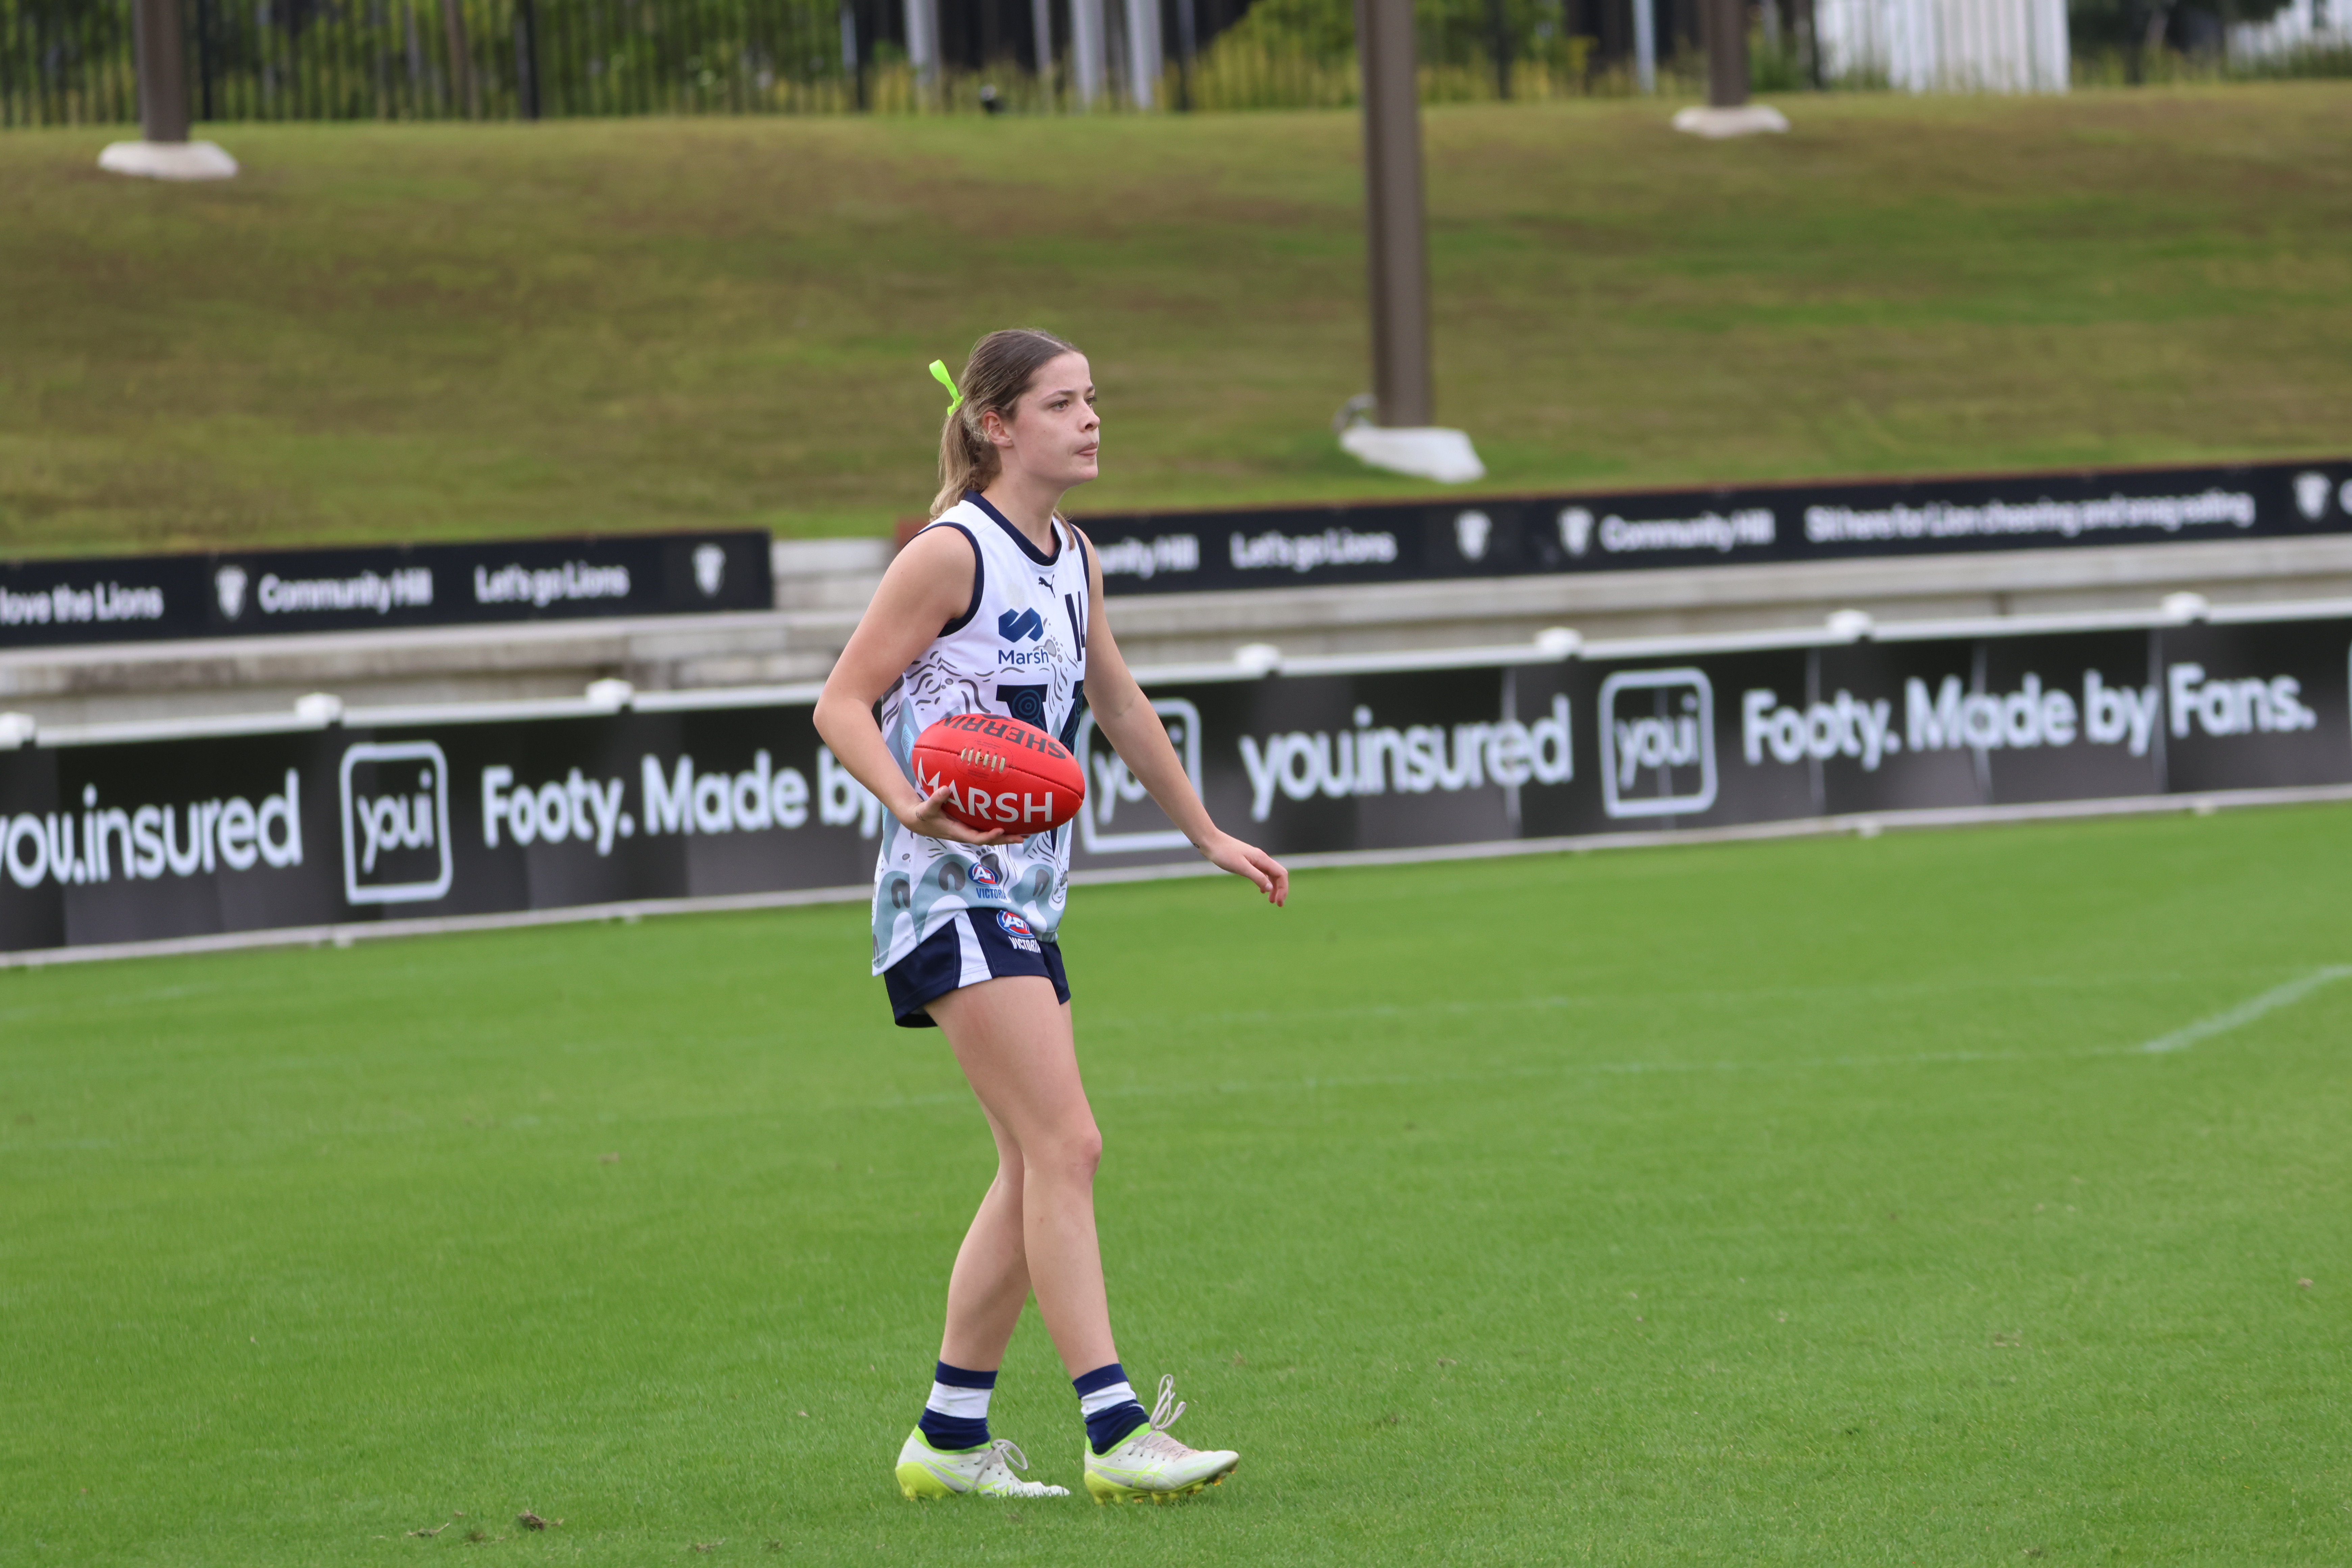
Scouting Notes: 2026 AFL U18s – Vic Country vs. Vic Metro
VIC METRO has completed an undefeated Under 18 National Championships campaign after thumping rivals Vic Country by 92 points at Mars Stadium on Sunday. The newly crowned champions piled on the first 11 goals of the game, setting up their comfortable victory with 13 to one in the opening half. A 35-22 clearance trouncing helped […]
2026 Talent League Girls R16 notes: Calder Cannons vs. Murray Bushrangers
CALDER Cannons continued their season as the top metropolitan team as it stands, producing a 19-point win over Murray Bushrangers in Round 16 of the Talent League Girls season. In a tough day for kicking straight, the Cannons booted six of the nine final term behinds on their way to a 5.13 (43) to 3.6 […]
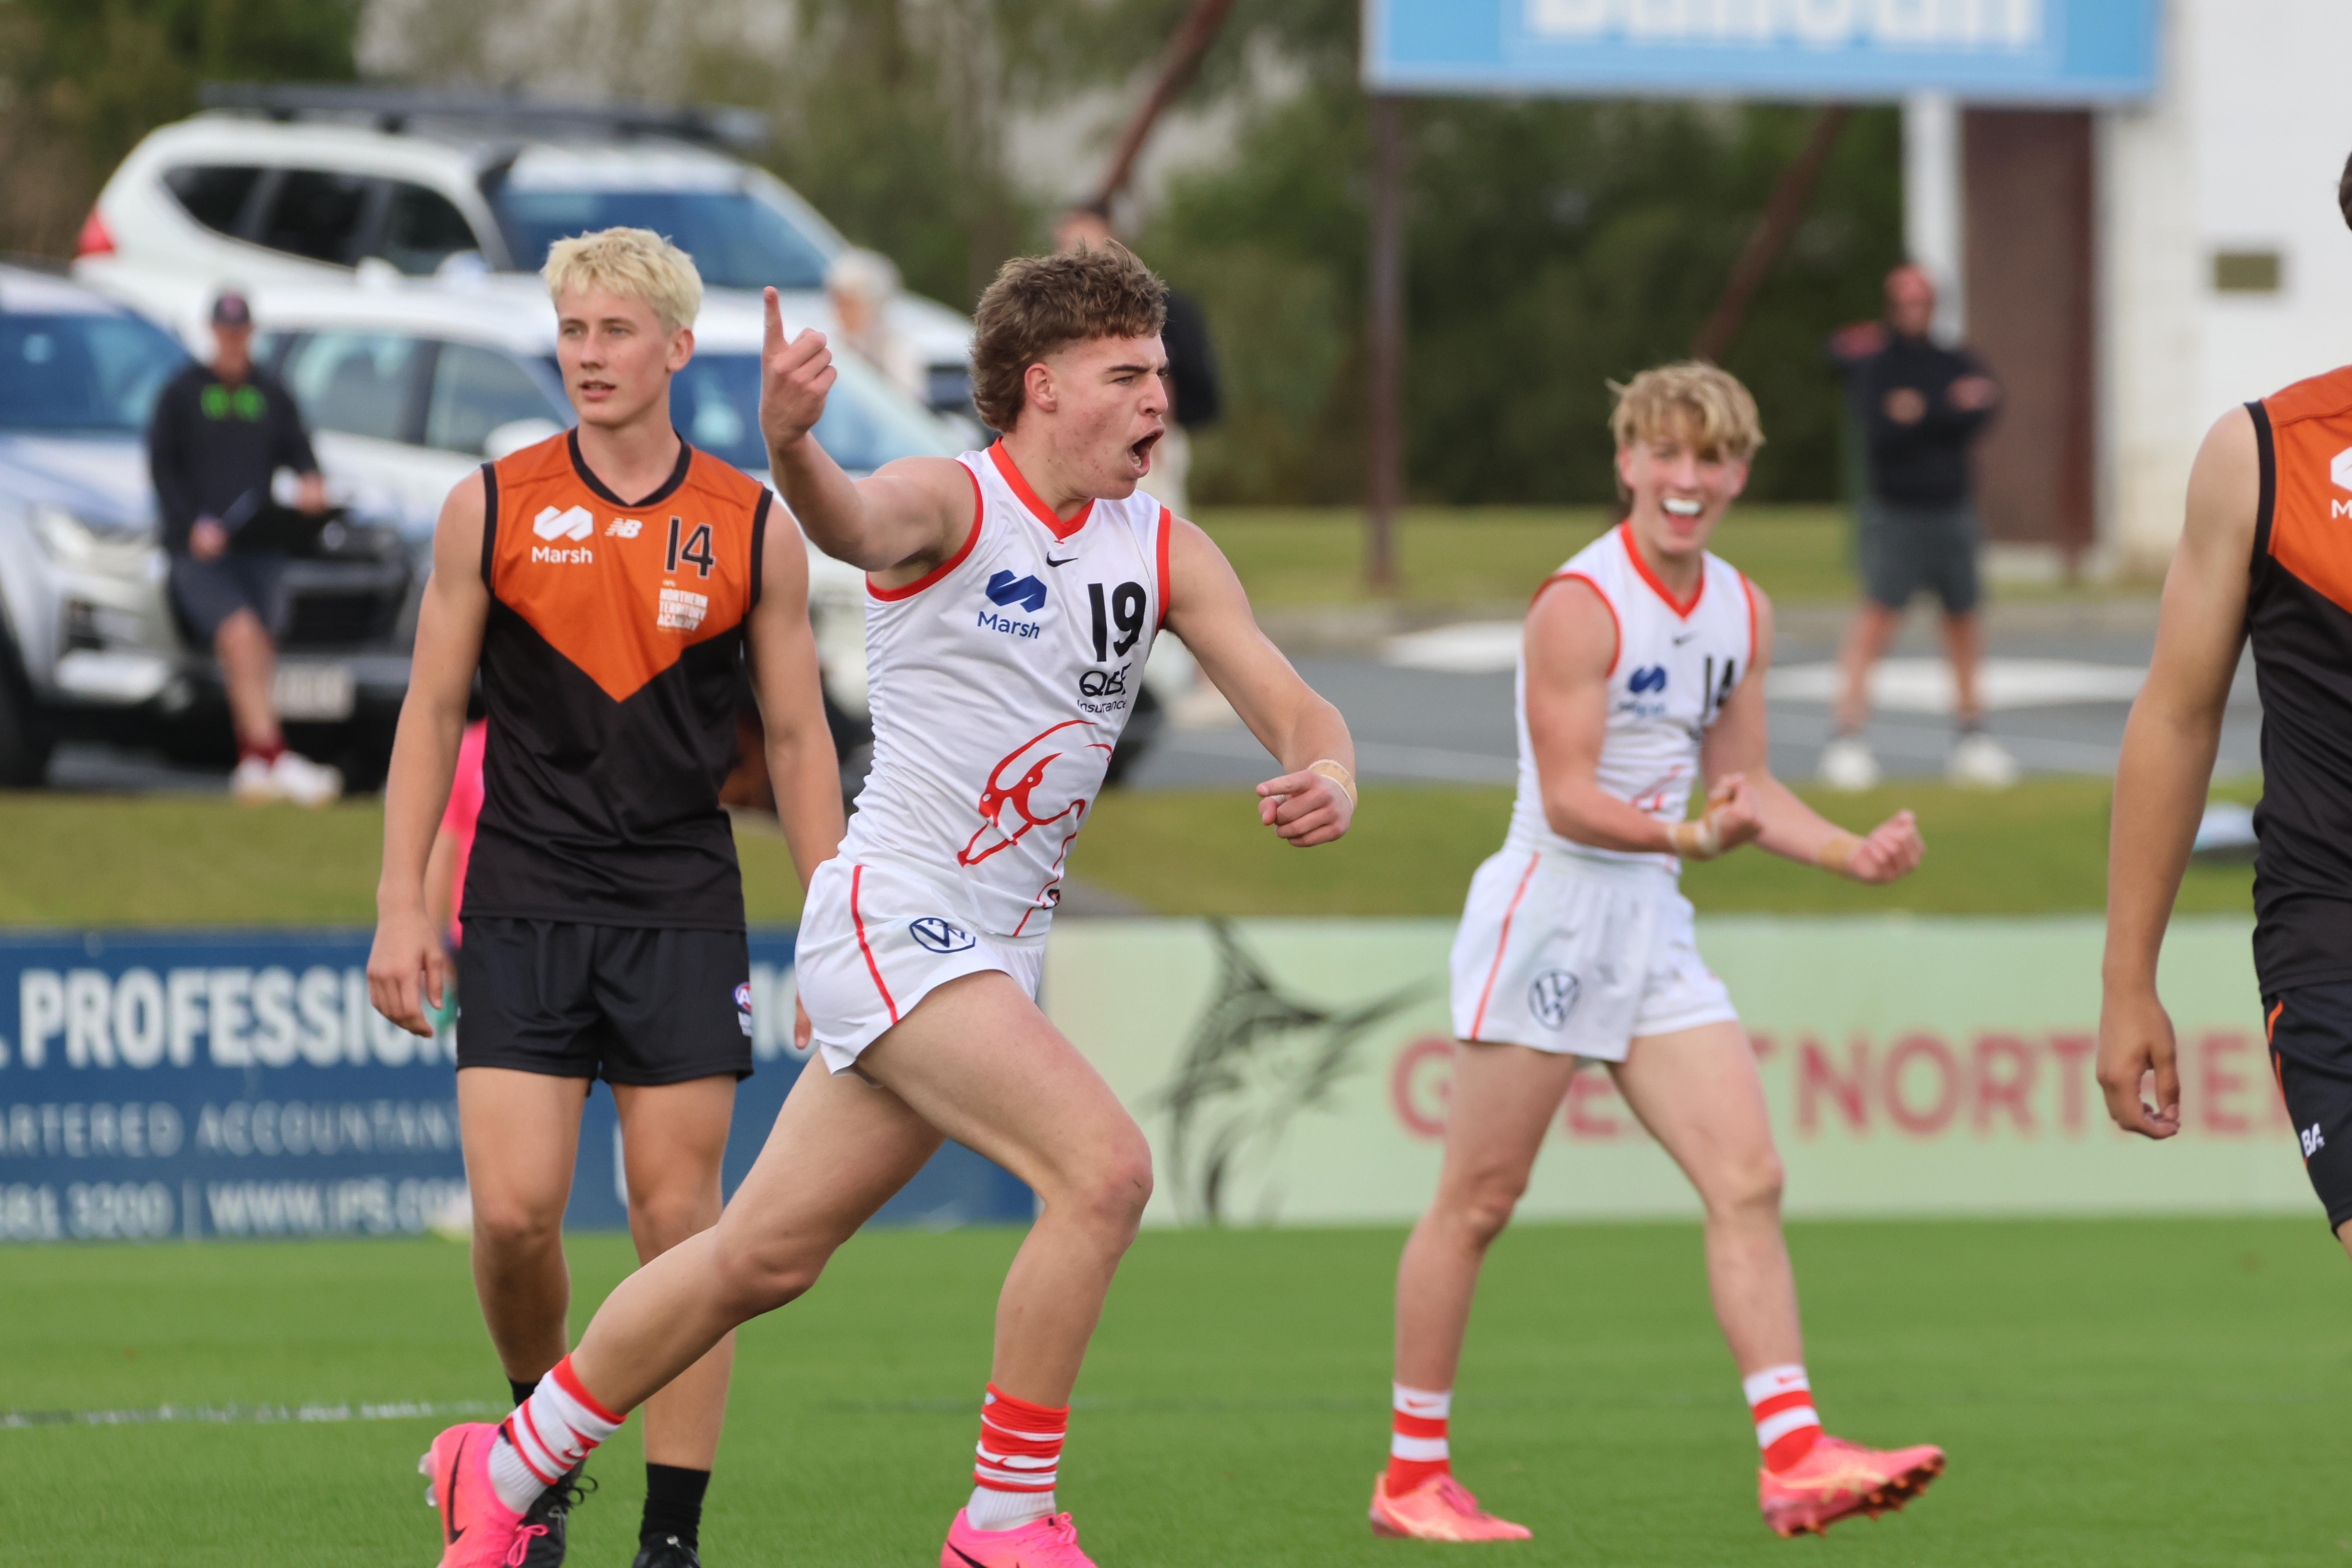
Scouting Notes: 2026 AFL U16s – Northern Territory vs. Swans Academy
THE SYDNEY Swans Academy completed an unlikely comeback against the Northern Territory to complete its Under 16 National Championships on a winning note. Having trailed all day and by as many as 32 points late in term three, the Swans piled on five unanswered final-quarter goals at the scoring end to win by seven points […]
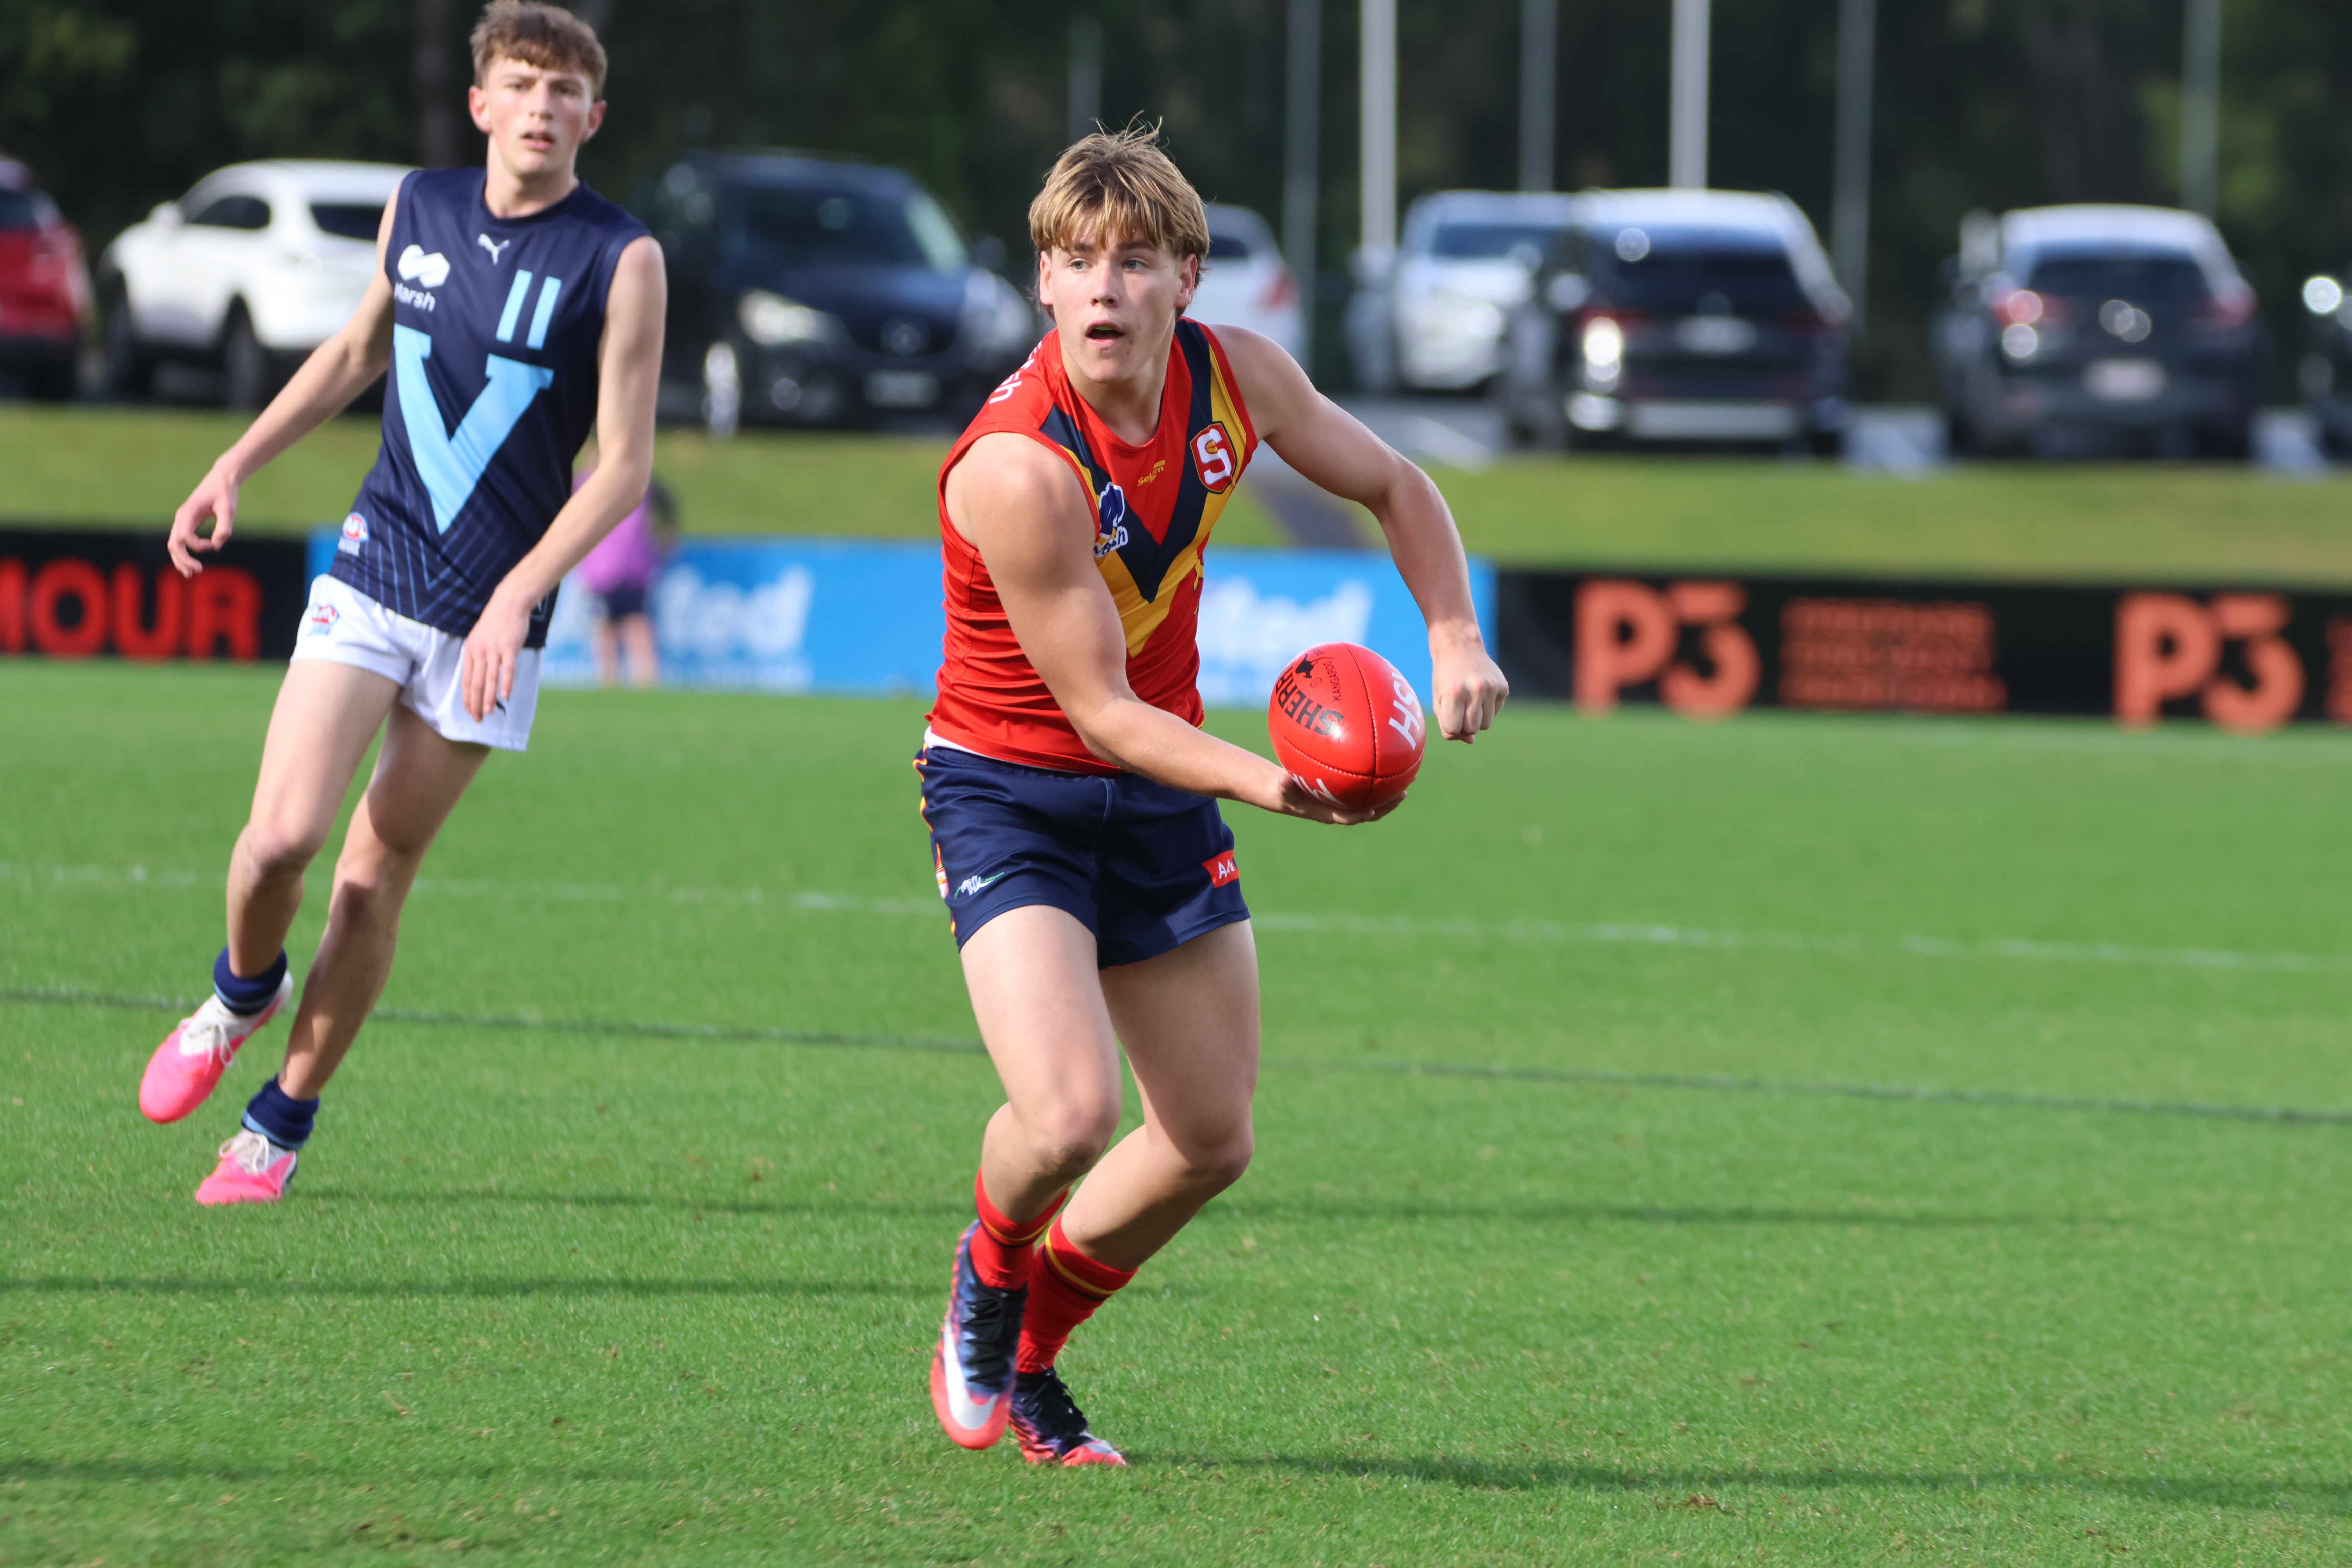
Scouting Notes: 2026 AFL U16s – South Australia vs. Vic Metro
SOUTH Australia overcame horrid conditions at Southport to put Vic Metro to the sword in the Croweaters’ final AFL Under 16 Championships match. Needing a percentage-boosting win to give themselves a chance at lifting the trophy, they did just that, edging 0.8 per cent ahead of Western Australia before the second match of the double-header. […]
Scouting Notes: 2026 AFL U16s – Western Australia vs. Vic Country
WESTERN Australia broke a nine-year title drought by taking out the Pool A crown at this year’s Under 16 National Championships. The Sandrgropers remained undefeated after their 29-point win over Vic Country in Southport on Friday, inspired by co-captain and competition best and fairest Troy Warner. Despite again proving inaccurate in windy conditions, WA showed […]
