Scouting Notes: 2022 NAB League – Round 9
WITH representative football fast approaching, a bunch of NAB Leaguers were out to impress in Round 9 of the 2022 season. We noted some of the top individual performers from each region across the six fixtures, with plenty of stars producing dazzling performances this time out.
All notes are the opinion of the individual author.
- Team
Oakleigh Chargers

Calder Cannons

By: Michael Alvaro
#6 Kynan Brown
One of the hottest starters on the day, Brown looked like making a menace of himself in midfield. The bottom-aged Melbourne father-son prospect has enjoyed a solid start to his NAB League career and that continued on Saturday, as he drove the Chargers forward with bursts of speed and his sharp left-foot kicking. While that touch of polish could be added, Brown has shown some nice signs as a hard-at-it player who can carve his way forward.
#9 Alex Noblet
A top-ager who really stepped up in the absence of others in Round 9, Noblet produced arguably his best game for the year. Stationed on the wing, he and Yuyu Ashwin went to work with terrific outside play and sharp ball use. Noblet hardly wasted his 23 touches and looked composed in possession, often opting to go by foot and hitting neat passes. It was a tidy effort, and he tended to get his touches in bunches.
The standout player league-wide this week, Ashwin produced a true breakout performance with incredible output on the wing. Once Oakleigh had control of the match, he seemed to build in confidence and ran amok on the outside, jetting forward with his speed and hurting Calder with his ball use by foot. He even got himself into the scorebook with three majors, returning a high attacking output from the wing and looking dangerous throughout the contest.
#23 Jerome Lawence
Lawrence was the dominant forward afield on Saturday, booting five goals in what was a clinical display inside attacking 50. The over-aged Hawthorn father-son prospect snared four of his majors before half time, with the last of those coming right at the end of the second period after a speccy which got the crowd on its feet. All of his goals were set shot conversions, with Lawrence able to capitalise on his chances despite dealing with increased opposition attention as his scoring output grew.
#15 Kade Mueller
A diminutive bottom-ager who is not afraid to a crack, Mueller has built nicely over the last three games having debuted in Round 7. The midfielder has notched over 20 touches each time and racked up a high of 27 on Saturday, setting Calder on the front foot with his bursts of speed and positive intent. He worked hard to help the Cannons string together attacks, blending his work on both the inside and outside.
#24 Declan Willmore
Willmore is turning into a handy utility, having grown into his relatively new role on the wing recently. The top-ager rates highly for potential and showed some of that on Saturday, showcasing his strong set of hands with four eye-catching marks. He’s an impressive aerialist, but can also get it done at ground level and doesn’t mind a blind turn to trick opponents, making his play all the more exciting. A usual forward, he also nabbed a goal to cap off his promising outing.
#35 Dane Whitnall
There was plenty for Whitnall to do on Saturday and he held up well in Calder’s defence, clunking six marks and rebounding the ball nine times from defensive 50. The Carlton father-son candidate was Calder’s key distributor from defence, opting to go by foot with 21 of his 23 disposals and spreading the play with relative composure. As an over-ager, he has been one of the Cannons’ more important figures this season.
- Team
Dandenong Stingrays

GWV Rebels

By: Peter Williams
After his massive 40-disposal performance just a week earlier, Campbell-Farrell was again prolific through the midfield and one of the best on the ground across four quarters. He remained involved whether it be offensively or defensively, and threw his body on the line to win the hard ball and get it out, showcasing clean hands and a determination to pump the ball forward. He was strong overhead and laid a truckload of tackles, almost kicking a great goal in the second term but his snap was touched on the line.
The classy defender was able to produce some outstanding dash and drive out of defence, with a long booming kick. Though he made the odd rare mistake, when his kicking was on-point, it was deadly, and he was able to run hard in transition, showing clean hands and neat overall skills. Emile-Brennan’s best kick came in the second term when he was coming out of defence and managed to nail a long-range kick under pressure. He also showed strong evasion to avoid opponents at a stoppage, and always kept involved on his way to the second most disposals for his side.
#16 Henry Hustwaite
Played a ‘Mr Fix it’ role and slotted in across all thirds of the ground, starting off in defence and rolling through the midfield as well as even resting forward to cover all bases. Possessing a thumping kick, Hustwaite was quick to get ball to boot and is able to weight his passes over multiple distances. He looked the most prolific off half-back, and did get a little quieter in the second half when moving into the midfield. With ball-in-hand, Hustwaite was calm and composed, and his clean hands off the deck was what really stood out for a taller player.
#42 Owen Williams
Fair to say Williams had a breakout game playing forward after only kicking the one goal the week before, and spending time in defence prior. The 189cm top-ager slotted a massive four goals from nine scoring shots in the match to be a really potent target, and realistically had his radar being on track, he could have ended the day with a massive haul. He was able to snap around his body in the final two minutes of the first term to snag his first, then two more came in quick succession from set shots in the third quarter. His fourth was from a similar goal inside 50, converting the set shot, with Williams being a dominant player in the match.
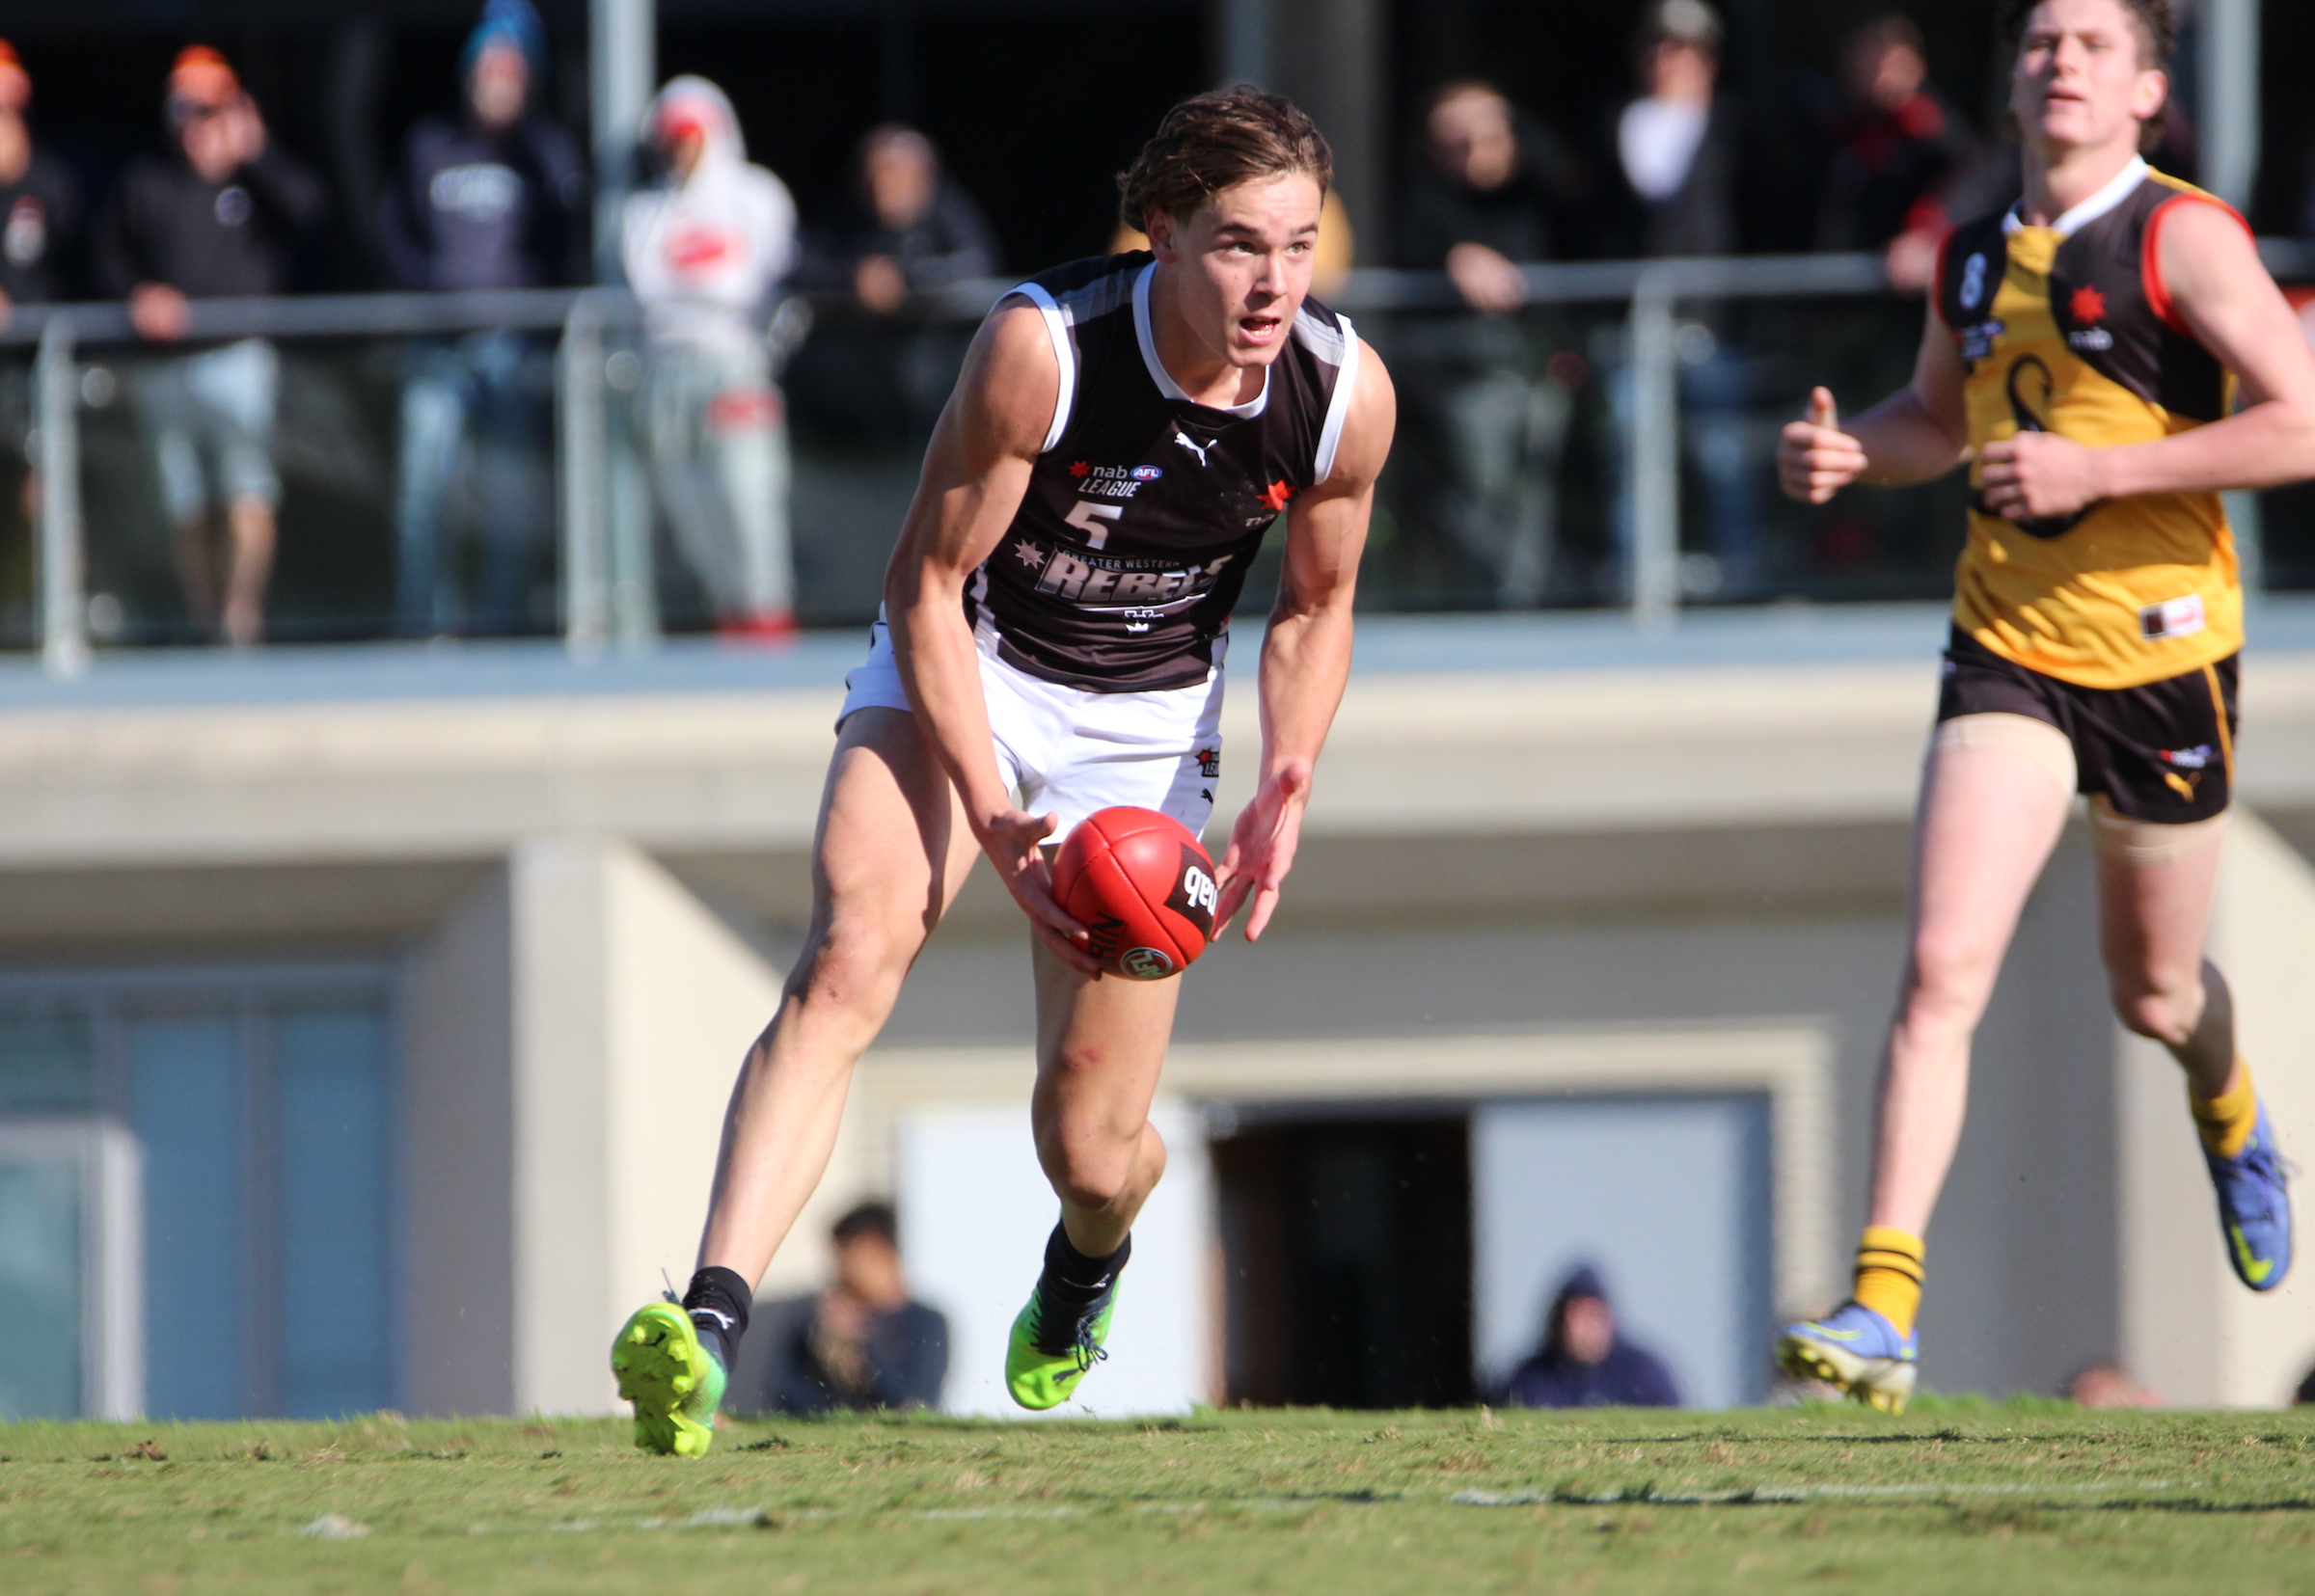
#5 Aaron Cadman
It was not Cadman’s day against the Stingrays, but his work rate up the ground was what impressed, with the talented tall forward kicking one goal from 11 touches, and that goal came with two and a half minutes left in the match after it was called a deliberate rushed behind from the Stingrays. Cadman was able to push up the ground and though he did not have the same aerial dominance, was able to lay a number of strong tackles when the ball did hit the deck.
#10 Thomas Baulch
Playing in defence again, Baulch was able to be another intercepting defender, taking a number of strong intercept marks, or competing in the air strongly. When unable to pull down the mark, he either spoiled or brought the ball to ground. At times he could sharpen up his decision making, but he did produce a brilliant long handball to open up space across goal in the opening term of the match.
#34 Beau Tedcastle
Snagging three goals in the win, Tedcastle looked lively inside 50, and was involved in a number of scoring passages. His first goal came in the first term where he released by hand going inside 50, then won it back as the last player in the chain to snag a major in the final seconds of the opening term. After laying a strong tackle in the back pocket during the second term, converting a set shot from a difficult angle with a brilliant kick. Tedcastle’s third goal was a dribbler running into goal, having missed one midway through the third term on the run you would expect him to make. He continued to apply good defensive pressure throughout the match.
- Team
Sandringham Dragons

Northern Knights

By: Declan Reeve
Clarke continues to provide week in, week out with his pace and defensive work in the forward half, creating plenty of scoring opportunities with consistent application to win the ball. Clarke appeared to play higher up the ground than he has done previously, winning the ball closer to the centre and moving it forward with his run and carry. Clarke had a few opportunities on goal that didn’t pay off, sometimes looking to kick them when out of range, but ended the day 1.2 for his efforts.
After somewhat of a down week against Dandenong, Ashcroft returned to his usual form against the Knights registering 36 disposals, and an equally impressive game-high 8 tackles. Ashcroft made his impact felt around stoppages with his supreme positioning and timing of his runs, winning first possession and following up with a smart handball multiple times. What was arguably most impressive was seeing Ashcroft win more of the ball in space, able to get separation well and follow up with good ball use forward, seemingly impacting more with each kick that he got.
A picture of consistency through the season, Benton provided another solid shift in a different role. Playing a significant chunk of the game as a half back, Benton proved his versatility as he was able to impact with his impact in the air and ground level. Benton was safe with his disposal in the defensive half, looking to move the ball up the field along the boundary with most of his game-high 11 rebound 50s.
#15 Ben Hempel
Showing some great two way running through the game, Hempel managed to impact in all thirds of the ground despite being positioned mostly on the wing. Whilst his work rate was impressive, the real eye-catching part of Hempel’s performance came from his kicking and run with ball in hand, burning opponents a few times to deliver a penetrative kick forward. Hempel had a couple of opportunities on goal which came from his daring run in the attacking half, slotting one and having one drift to the right.
#16 Harry Sheezel
Having played more and more time in the midfield each week, Sheezel had his breakout performance as a rover against the Knights with a game-high 37 disposals. Sheezel shined with his ability to win first possession from stoppages, generally making the best decision when disposing by hand quickly. Sheezel’s kicking was damaging all game, hitting leading teammates well even when in congestion, as he looked to give it off to teammates in central areas. As is usual, Sheezel was an aerial threat through the game taking a couple of intercept marks around the ground, but impressing with his ability to even out contests even when outnumbered, and beating his opponents at ground level with his follow up work.
#56 Luke Lloyd
An impressive return for a bottom-aged debutant, Lloyd had an equal game-high three goals, looking lively whenever the ball came into his area and taking some impressive grabs. Lloyd was competitive at ground level despite being a taller player, generally winning the contests he went for.
A strong game from the small forward, Seiter looked untouchable at times with his pace and his will to win the ball even with oncoming pressure, hitting front and centers courageously with commitment not many others showed. Seiter managed to hit the scoreboard once despite a few opportunities, taking a few shots that just fell short.
#10 William Green
You’d be forgiven for thinking that Green registered more than his six disposals given his impact on the contest, with all of his disposals damaging and his aerial presence obvious when playing a kick behind the ball. Green impressed most when running through the ruck, winning 23 hitouts, placing most of them well to the advantage of his midfielders. At still only 16 years of age, the 202cm talent is certainly one to look out for over the next 18 months.
#27 Jason McCormick
The most consistent performer for the Knights, McCormick just constantly gave 100 per cent through the midfield all game. Despite being a smaller player, McCormick didn’t shirk any contests and was difficult for opponents to beat all day. Despite winning a lot of the ball in the thick of the contest, McCormick was mostly clean with his disposal, looking to find teammates out the back of contests via hands or use his speed to get forward and kick forward.
- Team
Gippsland Power

Geelong Falcons

By: Peter Williams
Providing a great balance of offensive and defensive traits on the day, Konstanty was involved through the midfield and forward rotations and had an impact on the proceedings. He laid a whopping 14 tackles which speaks volumes in itself, then hit the scoreboard as well from a free kick and conversion from the goalsquare. He had a big second term getting involved with a number of neat kicks through the middle to open up the ground, then took a strong mark in front at half-forward off some nice verticals, and was able to hit up Reid leading inside 50 off the long kick.
#9 Zane Duursma
The talented bottom-age rotated between forward and midfield, and had some booming clearances by reading the taps and thumping it long down the ground to the danger zone. Other than the hit and hope to put pressure on the opposition defence, Duursma was generally good by hand or foot, setting up a goal to Jonti Schuback in the third quarter. He had a snap that missed from the boundary line after a strong grab in the first term, but then slotted two goals late in the game. He won a free kick at a stoppage 20m out and made no mistake in the 14th minute of the third quarter, then ran in and kicked an easy goal late in the match to finish with the two goals from 22 touches and six marks in another big game.
#22 Archer Reid
Boasting incredibly clean hands for a tall on a wet day, Reid was able to lead out from forward 50 and provide a target, then push up the ground and rotate to be the long option down the line from kickouts. His strong hands allowed his teammates to be confident in his ability to bring the ball down, and he was presenting throughout the match. Early in the first term he took a clean grab but missed to the left, with his two other attempts – from much closer range – being on target. Overall he as an eye-catching tall in the conditions.
#27 Cooper Vickery
The premier ball-winner on the day, Vickery provided some great run down the ground and was able to generally clear the ball from the danger zones to the right spots. His left boot coming off half-back was rarely phased under pressure and he put it to contests at the very least. He took was able to handle the conditions well overhead, finding place and being an option in transition,. Mopping up time and time again in defence, Vickey was one of the keys to victory and definitely one of the Power’s better players.
#40 Max Knobel
Another tall with good hands in the wet, Knobel rotated between ruck and forward to finish with two goals and 16 hitouts. He clunked six marks as well, with his aerial ability very impressive throughout the game. He was not as influential once the ball hit the deck, but his tap work – to set up Duursma for the first clearance of the second term as an example – was strong. He kicked both his majors from set shots, the first being a 30m delivery in the opening term, then another one 15 minutes into the last quarter.
#5 Jhye Clark
Just a clean and classy work horse able to win a lot of the ball through the middle and generally use it well going forward. In the conditions, Clark was able to showcase his quick little burst from stoppages and just creating his own space to make something happen in the front half. In the third term he had a particular highlight, running hard to go inside 50 and pinpoint a pass to Gillett on the lead to set up a goal. He had a few chances on goal when forward himself, but he kicked two behinds and one out on the full so just that finishing in front of the big sticks plagued him on the day in an otherwise impressive performance.
#9 Ted Clohesy
Had a real crack throughout the four quarters and was not afraid to get his hands dirty. Clohesy won the ball on the outside and the inside and pushed forward to even had a running shot on goal, but his best work was done through the middle of the ground. He laid a massive 13 tackles for the Falcons, and was able to be strong overhead when required, taking an intercept mark early in the game and switching play. He copped a knock to end the game with taping around his nose and face, but it was an indication of how much he put his body on the line in the game.
#53 Olivier Northam
The talented ruck had a tough day at the office against his opponents, but still emerged as one of the standout players on the day. He battled against both Knobel and Harvey Howe and gave up centimetres to them. That resulted in him not often winning the ruck battle, but was able to influence the game around the ground. He took a number of strong marks and was utilised in transition which is rare for a ruck, and he was a presence when near the football. At one stage in the final term, he took it out of the ruck, slipped backwards in the conditions, but had the presence of mind to handball to Clark while on the ground before he could be tackled.
#58 Tom Gillett
The powerful forward was unbeatable once he got to the front position, slotting another four goals from six scoring shots, 12 disposals and four marks. Surprisingly, three of the 193cm forward’s goals came from snaps, able to quickly put ball to boot and know where the goals are. His fourth was a long-range set shot in the third term, with his two other set shots at either end of the game missing from 40m. He showed good bodywork one-on-one and though he is a touch undersized for a key position player at 193cm, has the strength to match it with others, and reliable hands.
- Team
Murray Bushrangers

Tasmania Devils

By: Michael Alvaro
#4 Darcy Wilson
One of a few promising bottom-agers for Murray, Wilson has some great traits to work with heading into next year. The rangy 184cm forward worked hard up the ground to be a real feature on the outside, using his marking ability to claim the ball cleanly before setting off and carrying his side into attack. Wilson backed himself to be productive with such run, and was elusive enough to cause Tasmania a few headaches.
#6 Coby James
Having cut his teeth in defence to start his NAB League career, James has slotted into Murray’s midfield and got a permanent run in there on Saturday. The lively bottom-ager is an apt rebounder, and translated that skill to drive his legs coming away from the contest. He also leant on his kicking more often than not to compound his metres gained, and had no trouble finding the ball with 26 touches all-up. James even showcased some of his explosiveness in the air, leaping for a couple of gusty marks.
#21 Ryan Eyers
With Toby Murray unavailable and Fletcher Hart eventually going off injured, Eyers fared quite well in the primary ruck role. The over-ager was able to show off his leap at the centre bounces and used his reach to get first hand to the ball with a game-high 19 hitouts. Eyers is also a clean marker of the ball and dropped behind the play to take six grabs, including multiple intercepts. With ball in hand, he moved it on swiftly to ensure Murray could generate quick attacking play.
#28 Noah Bradshaw
Leading all comers with 30 disposals, Bradshaw was again the prime mover for Murray in midfield. The son of Brisbane double-premiership forward, Daniel, he is similarly strong but has added different dimensions to his game this year. As Saturday’s game wore on, Bradshaw began to carry the ball in more dangerous areas, getting to the outside and backing his turn of speed. He can also accumulate on the inside, and proved as much with his game-high haul.
#15 Lachlan Cowan
The Tasmanian skipper was once again a standout for his state, and continues to showcase refinements in his game – particularly from a decision making standpoint. Working out of his usual defensive post, Cowan peeled off to intercept and sparked numerous rebounds, but also allowed others to carry the ball forward with some team oriented hand-offs. He also worked hard to earn his own handball receives and made excellent decisions when kicking; shifting angles and mixing up his distances. The AFL Academy member was switched on in terms of clock awareness too, slowing play down in the dying minutes of each term when his side was ahead.
#27 Colby McKercher
While not as prolific as in other games this year, McKercher proved once again why he is such an exciting bottom-aged prospect. The speedy midfielder produced a couple of his best moments in the second term, setting off on a four-bounce foray through the corridor, and later taking the advantage to snap a classy goal. His decision making and use by foot were again terrific, living up to much of what McKercher has produced so far this season.
#37 Tom McCallum
After a couple of quieter weeks, McCallum got back up near his best for Tasmania with more of the raw talent he caught the eye with early in 2022. The tall and athletic defender clunked seven marks on the day, with many of them being intercepts, before launching rebounds with his run and attack-minded kicking. One pass in particular stuck in the mind, as McCallum weighted a perfect switch kick from the wing to Brandon Leary to run onto at half-forward.
- Team
Western Jets

Bendigo Pioneers

By: Michael Alvaro
#13 Jaelen Pavlidis
Along with Jake Whybrow, Pavlidis again produced much of the drive from midfield for Western, using his turn of speed to jet into space. The over-ager was handy at ground level and proved able to release handballs when under tackling pressure, but does his best work with a bit more time to carry the ball forward. As one of just two Jets to tick over 20 touches, it was a solid day out.
#45 Jovan Petric
With starting ruck Nathan Dowdy down, Petric was one who took on some of the rucking load alongside Jackson McMenamin. He did plenty of that inside 50 and won 16 hitouts overall, but also got to work with four scoring shots. The top-ager could only manage one major for the day though, sinking it in the third quarter after a couple of earlier set shot misses. In tandem with Logan Morris, he was too big and strong at times inside 50.
#53 Logan Morris
There weren’t many frills to Morris’ game on Sunday, but he got the job done as Western’s main scoring source. The 192cm bottom-ager ended with an equal game-high four majors, booting three of them in the first half and proving a strong marking target inside 50. He claimed the ball cleanly and was able to capitalise on his chances, helping keep Western in the contest until Bendigo kicked away late.
Rotating between midfield and the forward line, Gallagher dealt his biggest blows inside 50 with three goals. The crafty over-ager has the smarts to draw free kicks, and did so on numerous occasions. It helped him get on the board in the first term, but he also worked hard to create more opportunities in open play and he was a thorn in the side of Western’s defence.
#4 Harley Reid
Easily the best player afield, it is easy to forget that Reid is still a bottom-ager. The powerful Pioneer has racked up plenty of midfield minutes lately, thriving on the added responsibility and dominating in his latest outing with a game-high 30 disposals. Reid looked as accomplished as anyone afield, displaying clean hands and unbelievable strength at the contest. He used his athleticism to break to the outer, with one particular running passage in the first term highlighting just what he’s all about. It included a stoppage break, one-two handball, baulk, and ended in a goal assist. Damaging.
Playing his first game in Pioneers colours since Round 5, Gillbee worked into the game from defence but wasn’t without his rusty moments. Taking on the kick-in duties, he again leant on his running capacity to string together possessions on the way out of defensive 50 and got teammates involved in the process. Able to play in multiple positions, it seems defence will be his home base going forward.
#19 Eli Pearce
Pearce is a top-age prospect whose production has not always been high throughout the year, but his traits make him a promising type. His first bag of multiple goals for the year saw him finish with four, all kicked in the second half as Bendigo began to run away with the game. Pearce presents well with clean hands and is mobile enough to impact in all levels of play at 192cm, with his finishing ability proving astute on Sunday.
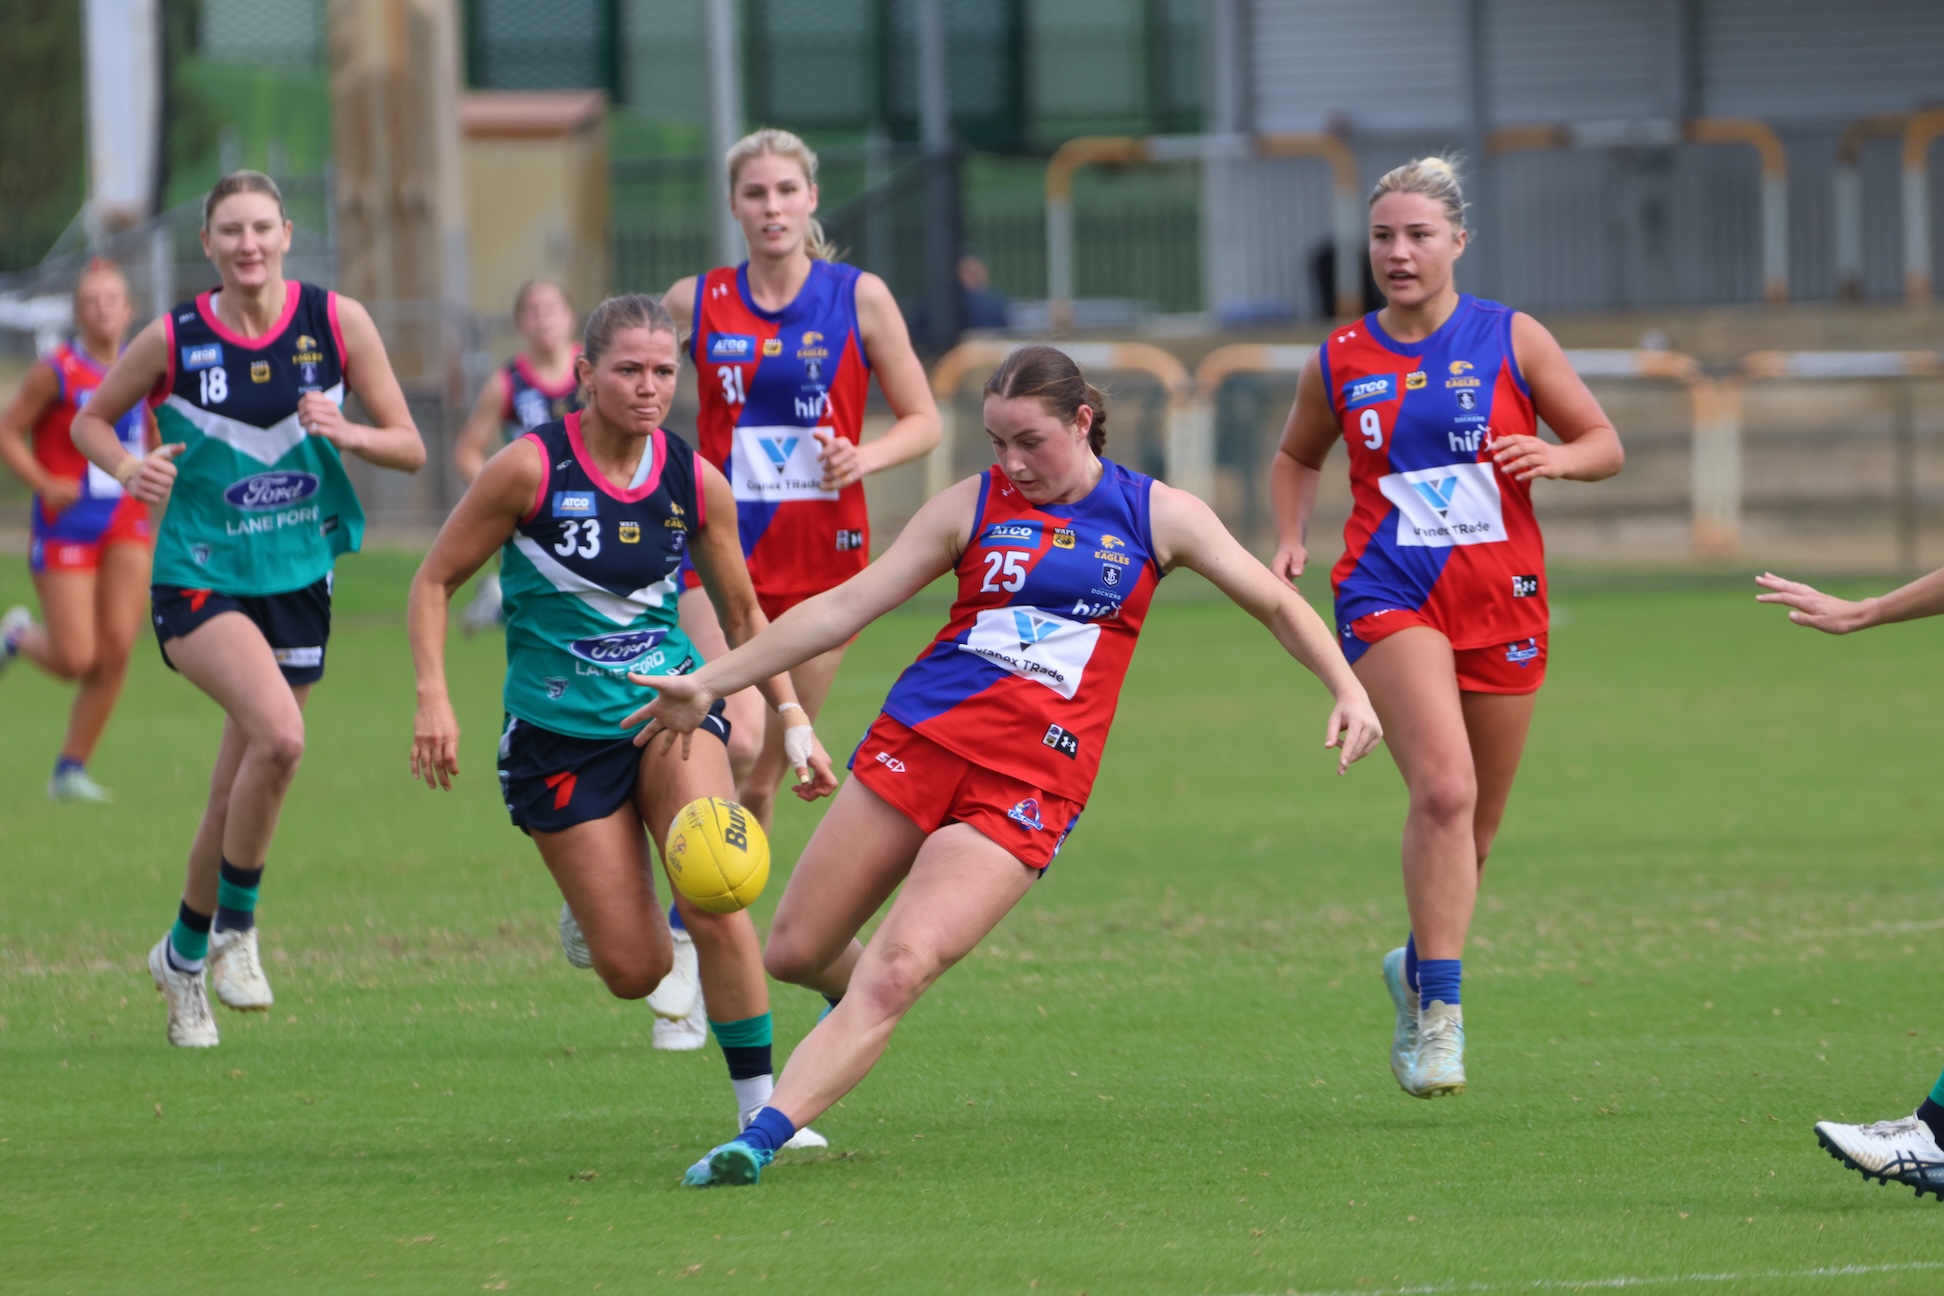
2026 State Academy notes: WAFLW – Round 17
ROUND 17 of the WAFL Women’s season produced some eye-catching individual performances as the competition heads towards its business end. We took note of how the West Australian Summer Squad members fared across each game. All notes are the opinion of the individual author.
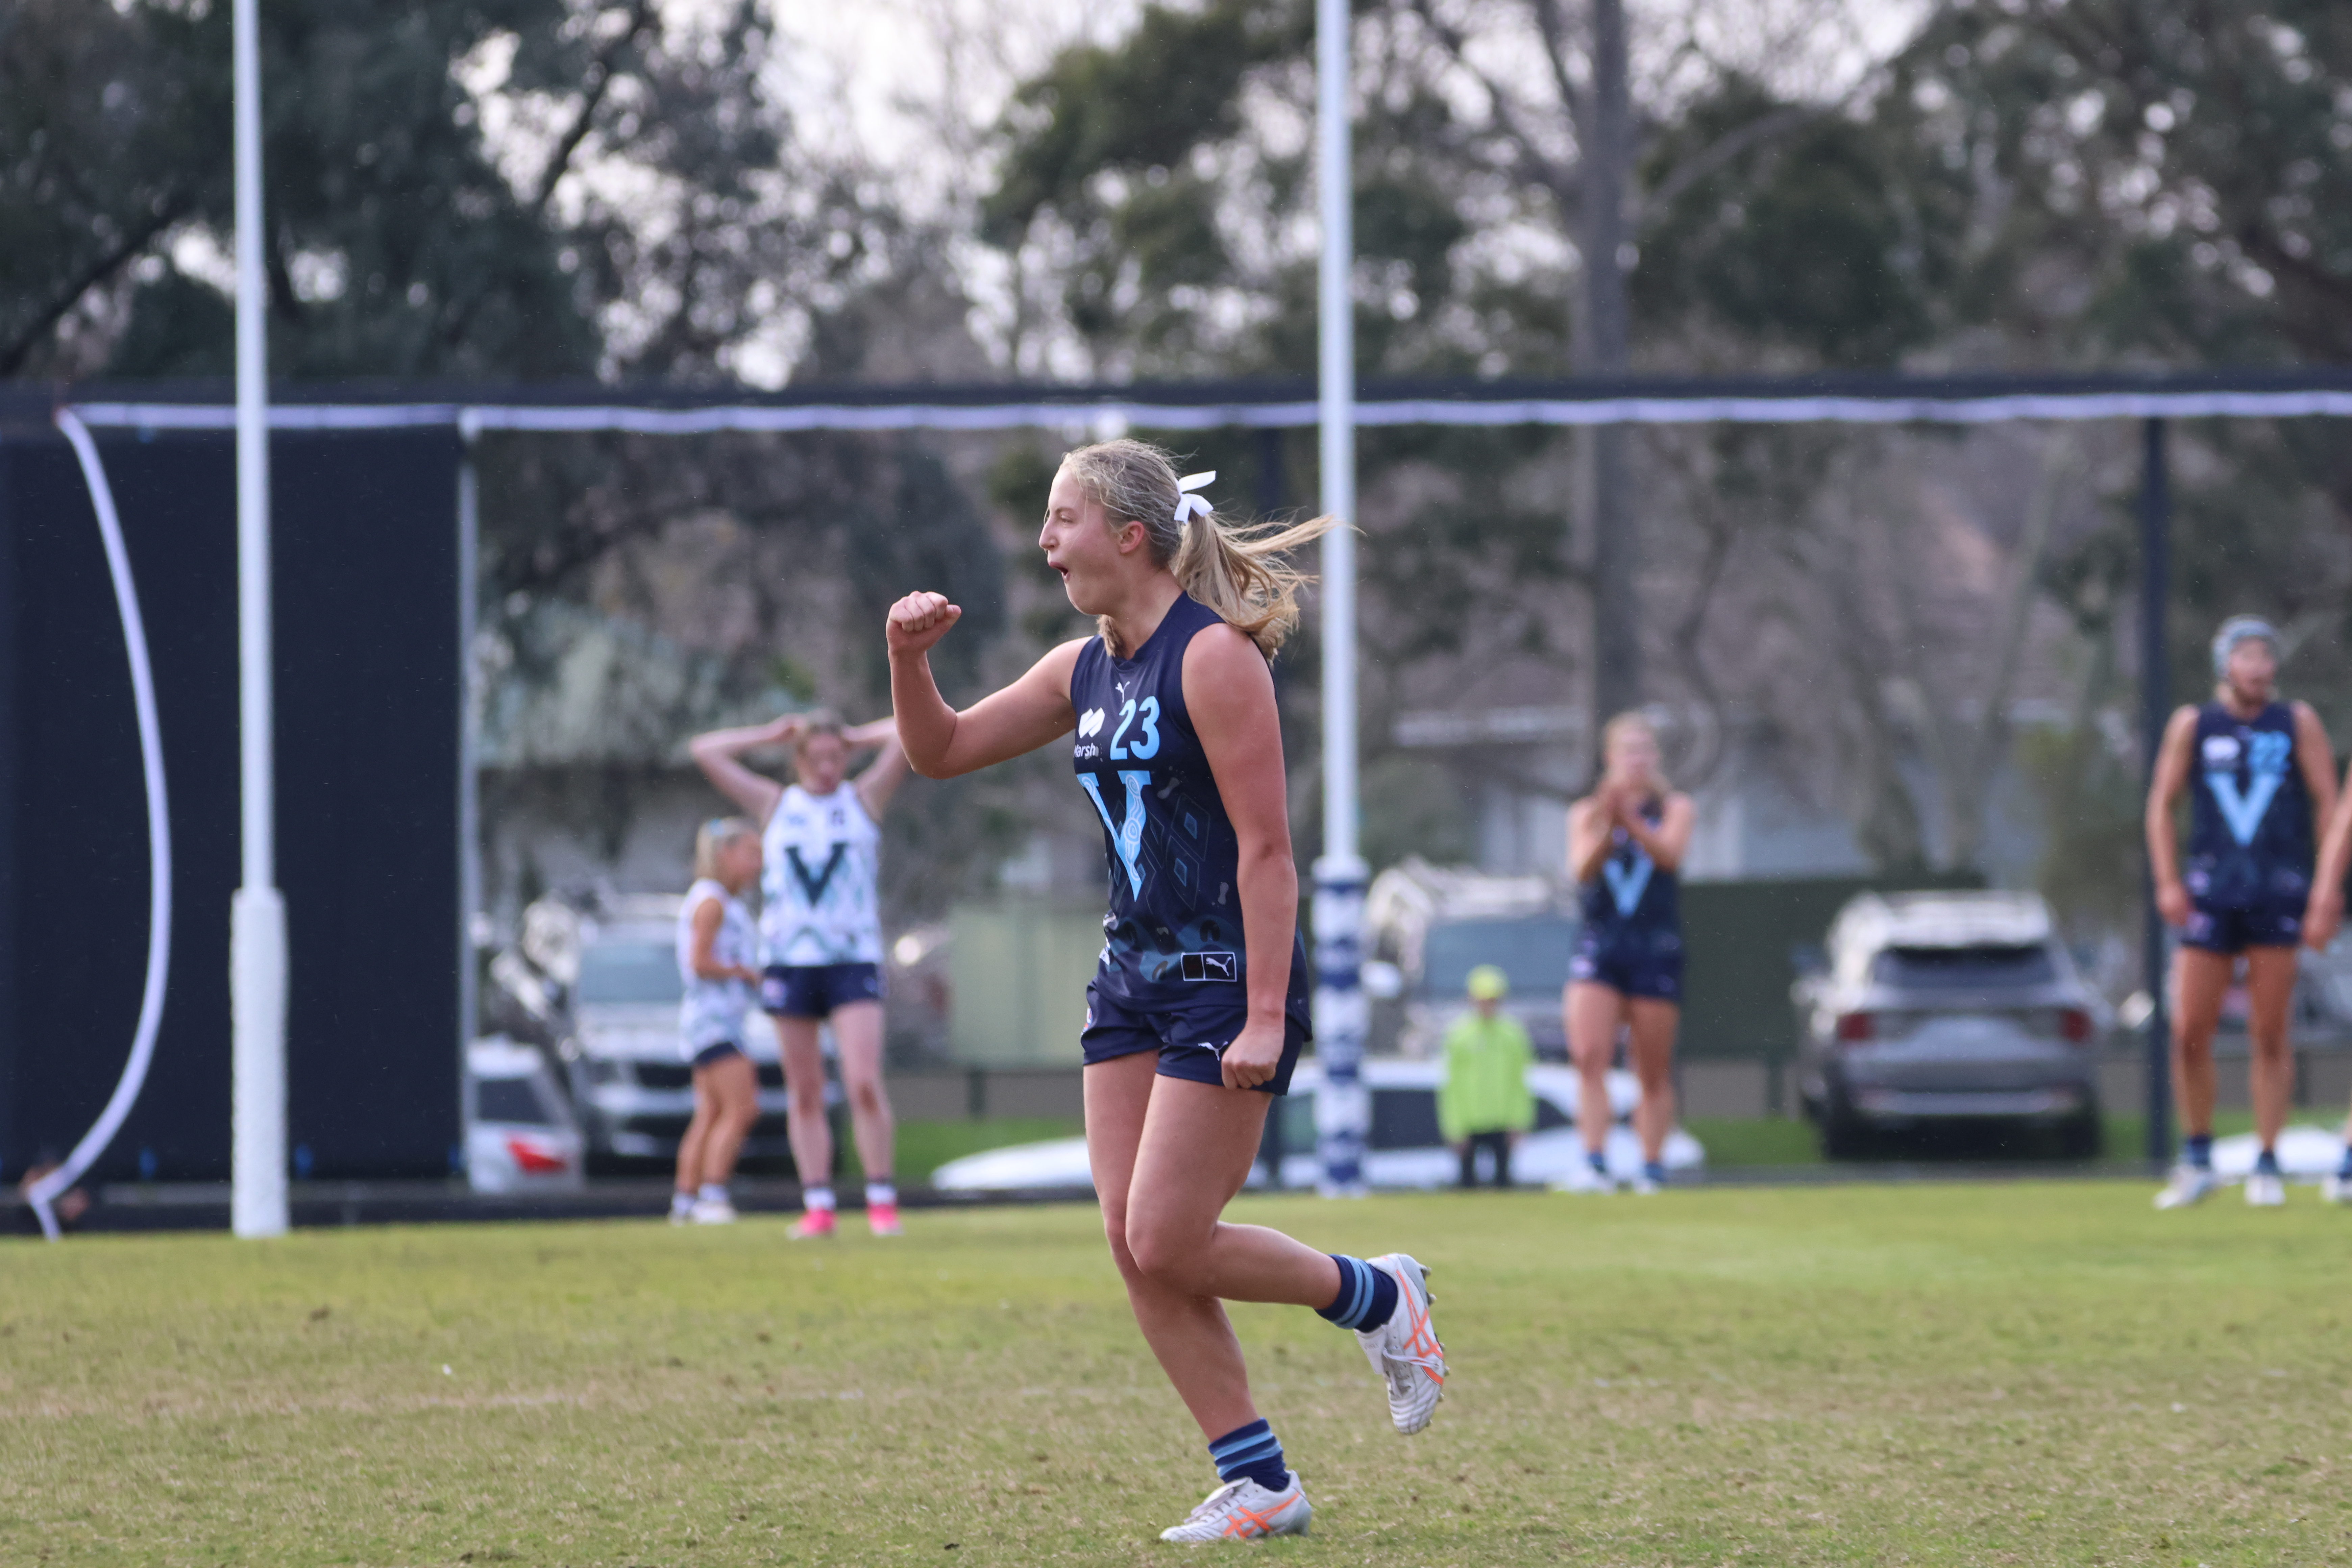
2026 Talent League Girls R17 notes: Geelong Falcons vs. Oakleigh Chargers
A FULL-STRENGTH Oakleigh Chargers outfit proved far too good for a Geelong Falcons side missing a huge chunk of its top-end talent, running away with an 80-point win and keeping the Falcons goalless for the entire match. Cate Deayton and Bailee Martin combined for 9.5 during the game, as the Chargers secured a 13.10 (88) […]
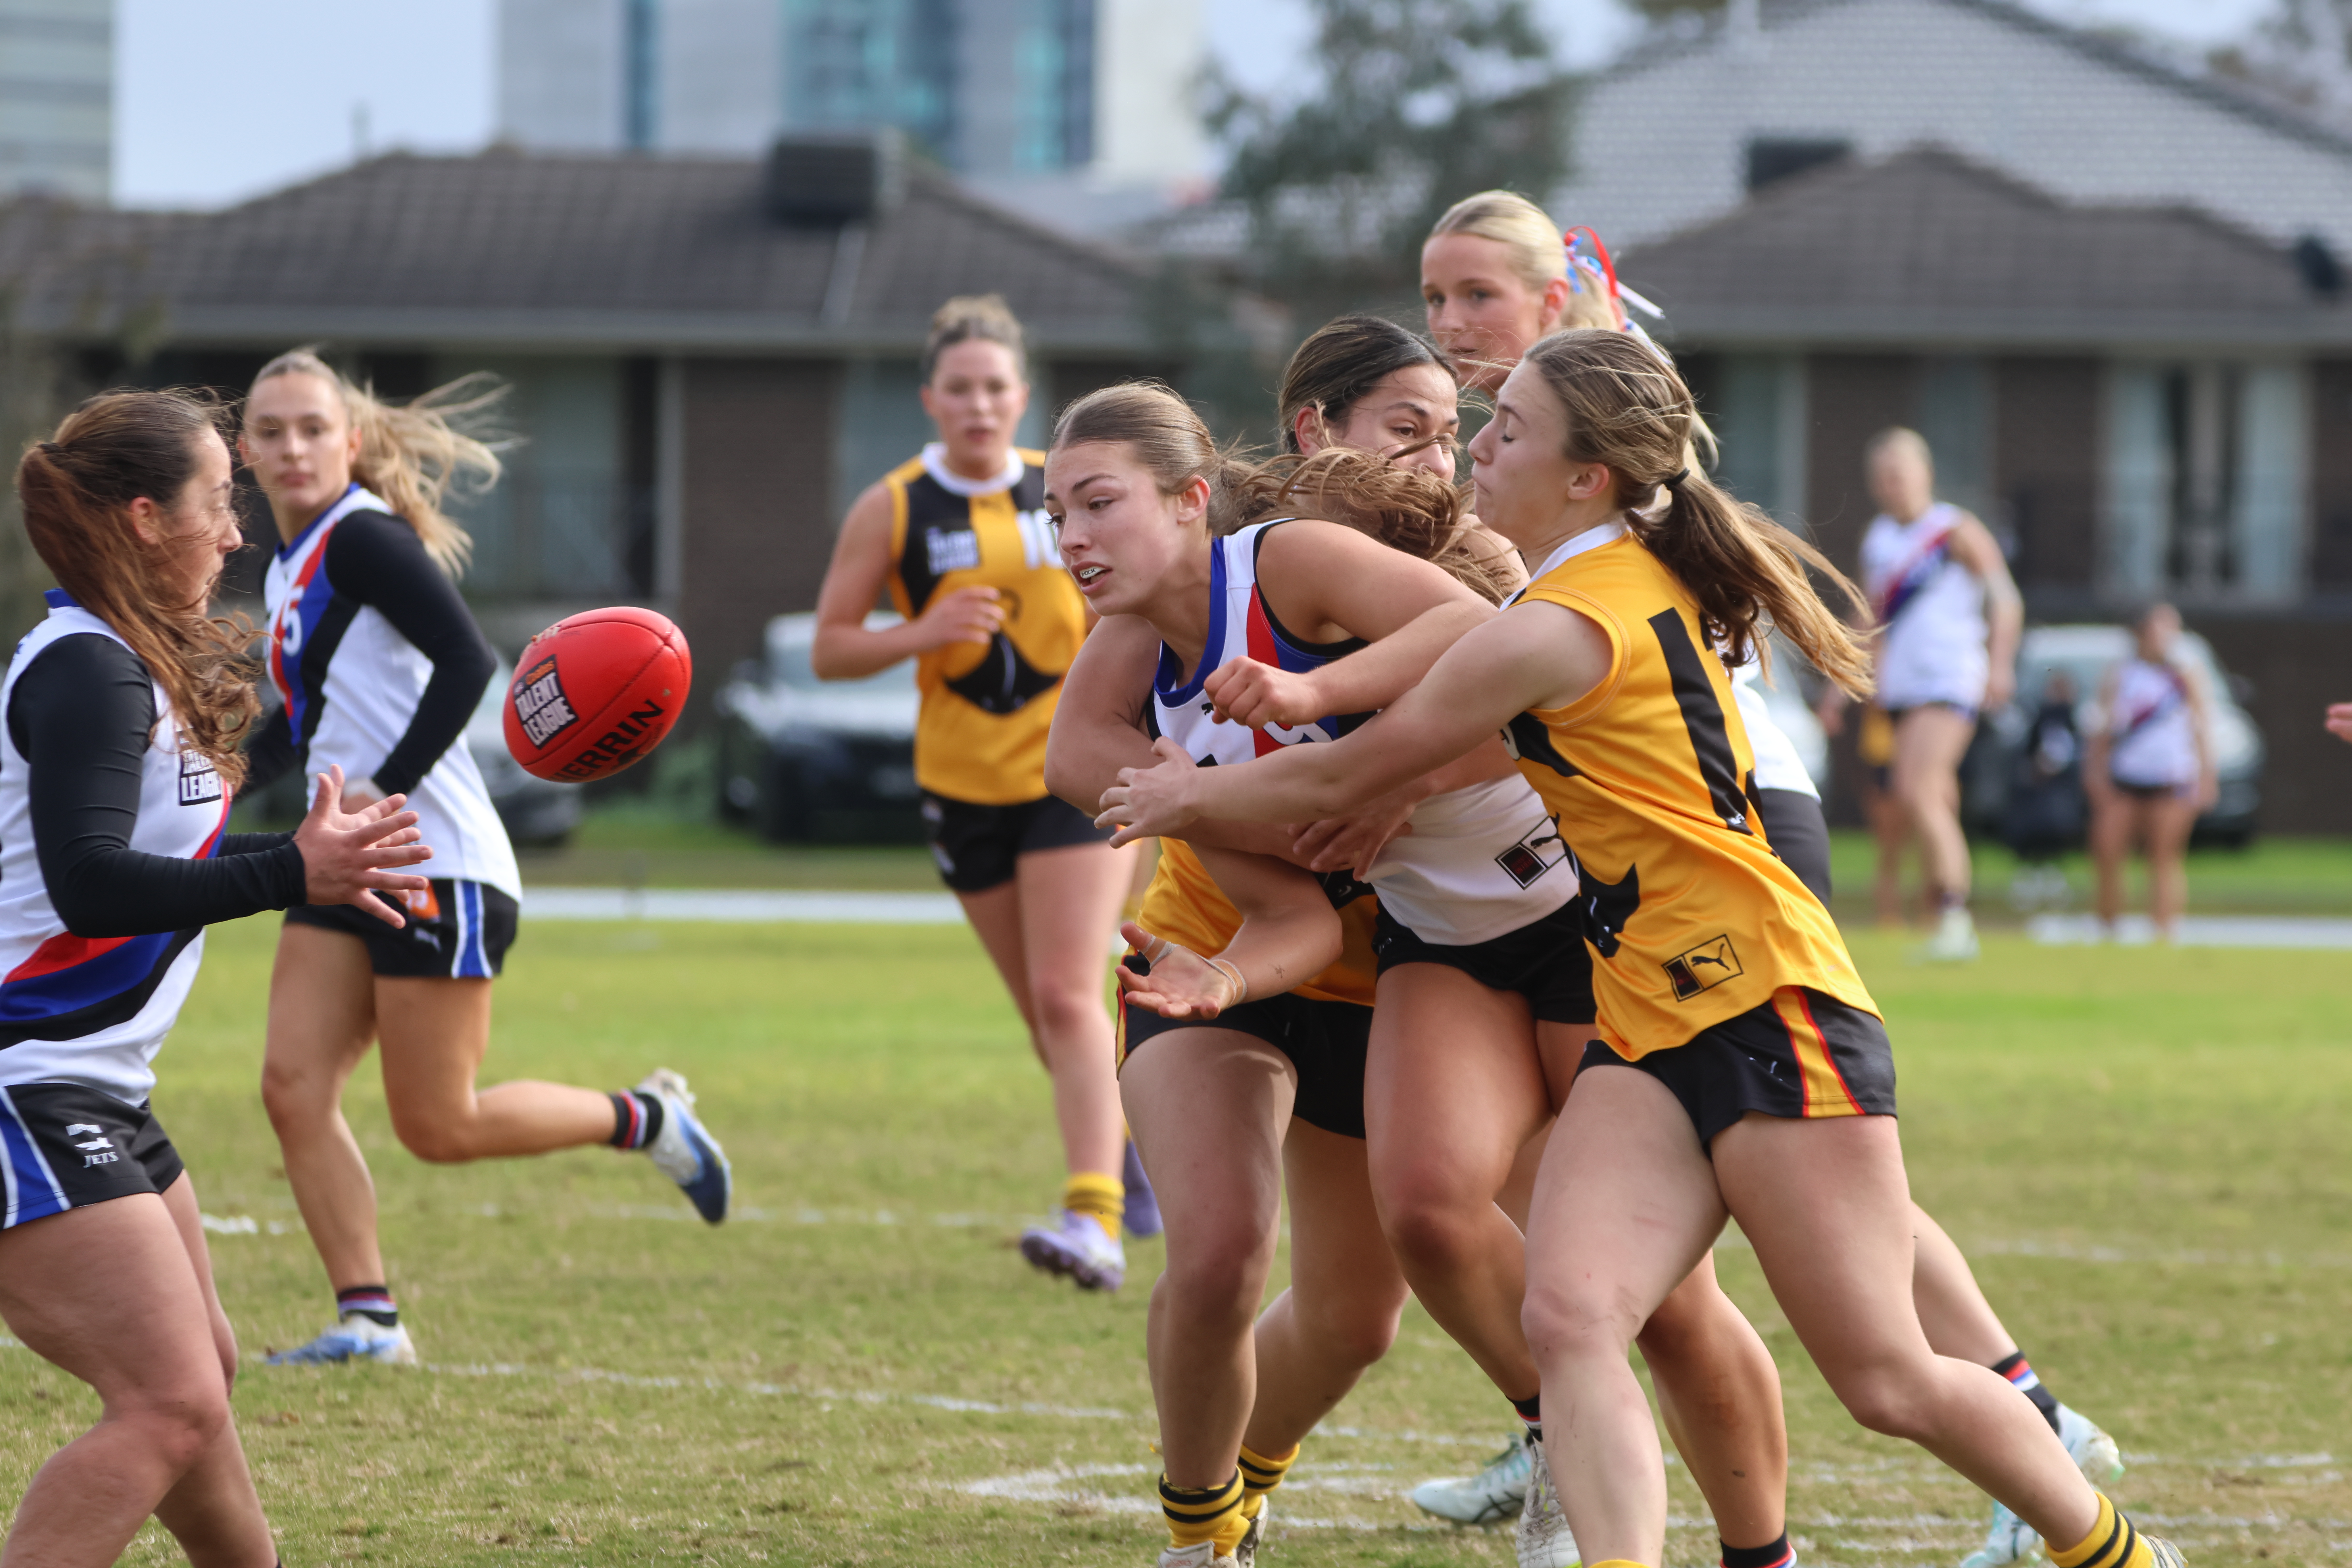
2026 Talent League Girls R17 notes: Dandenong Stingrays vs. Western Jets
DANDENONG Stingrays’ unbeaten start to the 2026 Talent League Girls season rolled on with a 23-point victory over the Western Jets at Shepley Oval in Round 17. In a tight tussle for most of the first half, the Stingrays ended up kicking the last five goals of the match to secure the four points, 6.9 […]
Scouting Notes: Cannons clinch thriller after final siren
CALDER Cannons have snatched a last gasp win over Tasmania in Hobart on Sunday, with Thomas Lincoln‘s goal after the siren delivering the four points. Scores were tied after Lincoln put two previous set shots wide, but he hit the target with his third to see the Cannons salute by six points. In what was […]
Scouting Notes: Lions fight off plucky Falcons
SUBIACO has resisted a late West Perth charge to come away four-point victors in their Round 15 clash at Leederville Oval on Saturday. Spearheaded by four goals to Thatcher Simmons, the Lions led all day and held on despite conceding the last three majors, seeing them pegged back to within a kick. With the Under […]
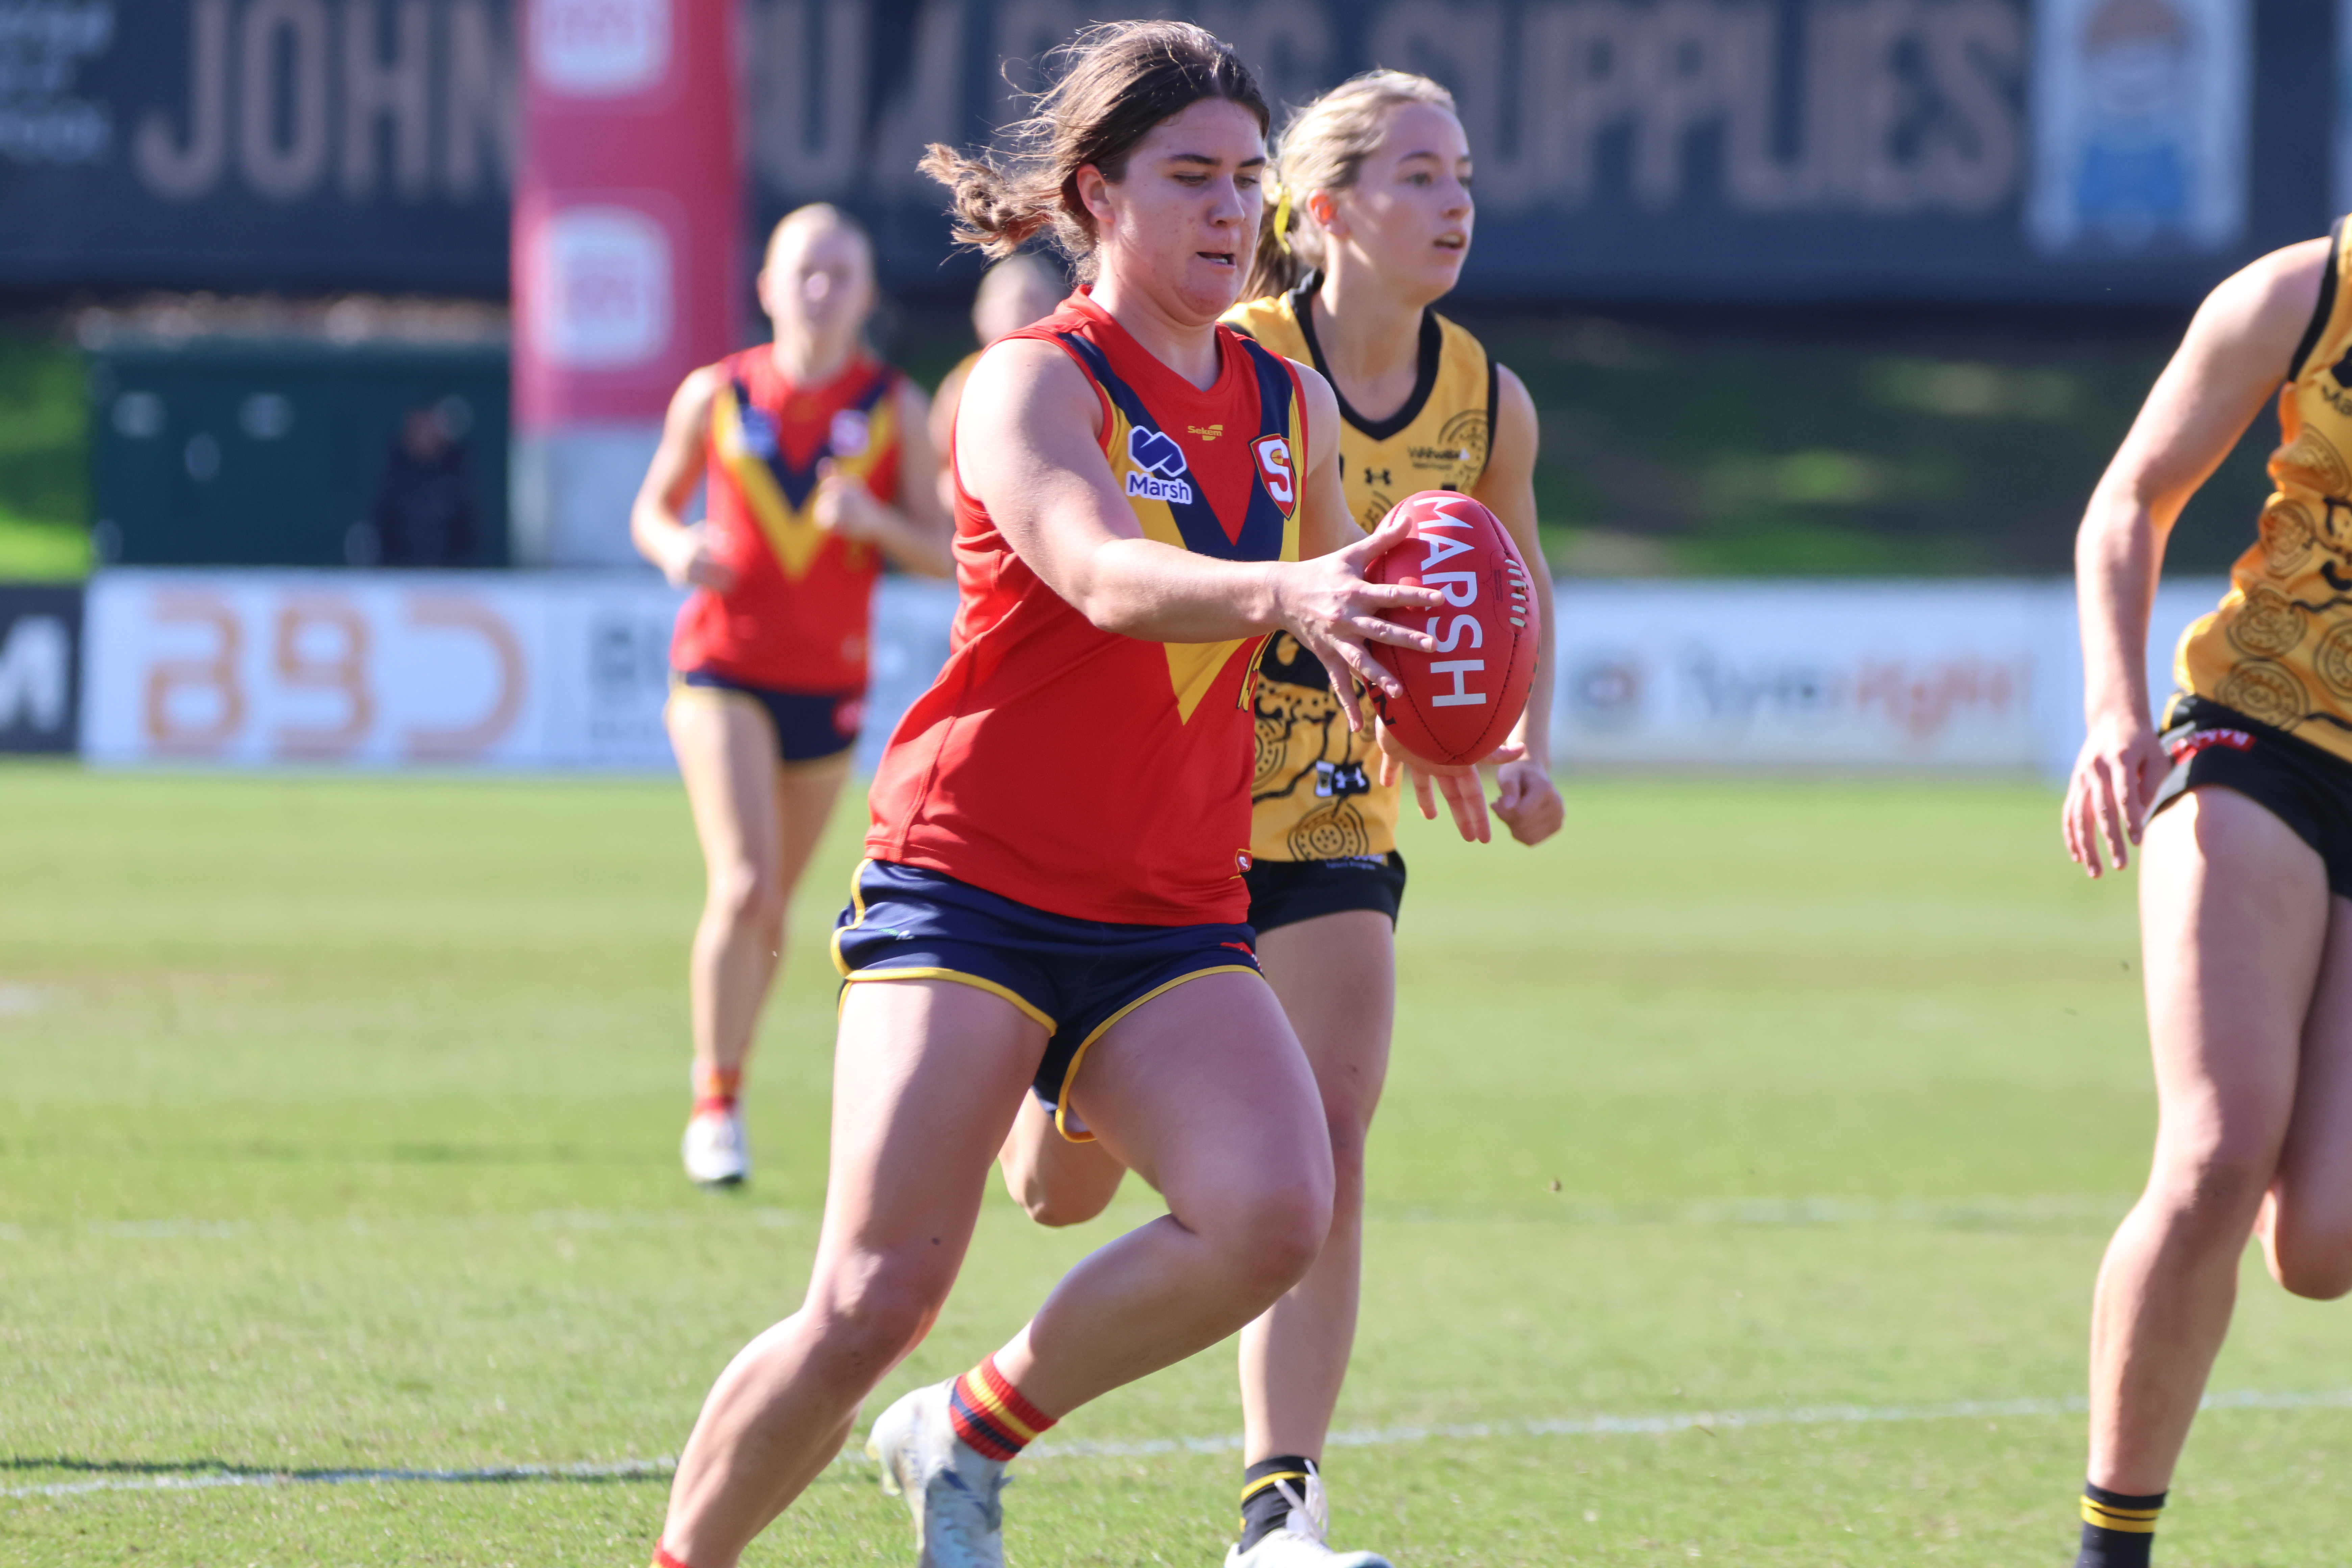
State Academy notes: 2026 SANFLW – Round 11
ROUND 11 of the 2026 SANFL Women’s season saw the State Academy members back in action for a second round since taking out the national title, continuing to build and show their class across the four games. We took note of how each of the Academy members performed in the latest round of action. All […]
Scouting Notes: State stars shine as Bays beat Panthers
GLENELG has flexed its scoring muscle in the second half to remain fixed in the AAMI Talent League top four with a win over South Adelaide in Round 15. The Bays kicked away with six goals to two in the third term at Stratarama Stadium and always seemed to have an answer for the Panthers […]
2026 State Academy notes: WAFLW – Round 16
ROUND 16 of the WAFL Women’s season saw the return of the West Australian Under 18s players following the conclusion of the national championships. With the State Academy members back in club colours, there were plenty of standout performances across the four matches as players looked to finish the season strongly. We took note of […]

2026 Talent League Girls R16 notes: Tasmania Devils vs. Sandringham Dragons
SANDRINGHAM Dragons secured an impressive 7.11 (53) to 5.4 (34) victory over Tasmania Devils on the Apple Isle in Round 16 of the Talent League Girls competition. The Dragons took control of the match by kicking the first four goals of the second half to establish a commanding five-goal lead, before the Devils fought back […]
