Scouting Notes: 2021 AFL U19 National Championships: South Australia vs. Western Australia
WESTERN Australia completed a clean three-game sweep of South Australia this past weekend, cementing its dominance over this year’s makeshift Under 19 National Championships. In the Black Swans’ hard fought 10-point victory, there were plenty of prospects out to press their draft credentials during the final underage game of the year. We detail the performances of all 46 players afield in our Scouting Notes.
>> Match Report: Sheldrick seals West Australian sweep in suspenseful scrap
SOUTH AUSTRALIA #1-20
By: Micah Hann
#1 Isaiah Dudley (Central District)
One who took some time to get going, Dudley was uncharacteristically poor by foot in the first quarter, turning the ball over with kicks into the middle of the ground and missing targets inside 50. He started to work his way into the contest with his tackling pressure, something that has been present in Dudley’s game throughout much of the year. In a surprising move, Dudley was shifted into defence where he played the entire second half. His best moment came in the last quarter where he marked in the middle of the ground and delivered a perfectly weighted kick inside 50 to Central District teammate Luca Whitelum.
#2 Blayne O’Loughlin (North Adelaide)
It was another productive performance from O’Loughlin, who continues to accumulate the football in defence and generate rebound with his quality ball use. A solid decision maker and classy user, O’Loughlin was close to mistake-free as he delivered the ball from an abundance of kick-outs created by a wasteful Western Australia. His run and carry was important too, as he did everything he could to repel the Sandgropers’ attacking efforts. O’Loughlin controlled the speed of the game to great effect, understanding when to take the game on with long, aggressive kicks and when to maintain possession with shorter, safer passes.
#5 Jase Burgoyne (Woodville-West Torrens)
Burgoyne took some time to work himself into the game but kicked a much needed goal in the first quarter to keep his side in the contest. Western Australia threatened to run away with the game early, before a sharp handball from Matthew Roberts found Burgoyne, who threw the ball onto his left foot and snapped a goal from about 30 metres out. That goal crucially steadied the ship for the South Australian’s after Western Australia’s early dominance. After another quietish second quarter, Burgoyne was involved in everything early in the third term. He found plenty of the football and his disposal by hand and foot improved as the game wore on. Playing predominantly on the wing, Burgoyne worked back to support his teammates defensively and helped generate meaningful drive from the back half. His class stood out in key moments where he was able to win ground balls, avoid opposition tacklers and deliver accurately to teammates.
#6 Lachlan Grubb (Central District)
Playing on the wing and across half-forward, Grubb often had to push up the ground to find the football. He worked hard to present himself as an option up the ground and his effort was rewarded with teammates consistently finding him as they rebounded from defensive 50. He was effective by foot, moving the ball to teammates quickly and executing a switch to release players on the opposite side of the ground. Probably one of his more productive games for South Australia, Grubb had the opportunity to cap off his performance with a goal late in the last quarter but his effort fell short and didn’t register a score.
#7 Brayden Calvett (Woodville-West Torrens)
Calvett looked to set the tone early with a big tackle on Western Australia’s Kade Dittmar. Stationed on a wing throughout the contest, Calvett was another who worked up and down to help South Australia generate drive from defence. He used the ball tidily by foot and he was particularly clean below his knees where he was able to gather ground balls and distribute to teammates outside the contest. Calvett was one of South Australia’s more consistent four-quarter performers and was a meaningful contributor throughout the contest.
#11 Harvey Harrison (North Adelaide)
Harrison consistently presented as an option through the corridor, where he was often used when rebounding out of defence or to switch the play to the open side. Always looking to move the ball on quickly, Harrison used his burst of speed to create separation from his opponent and find some space to deliver to his teammates. Primarily a midfielder for North Adelaide in the SANFL Under 18’s, Harrison has adjusted well to his role across half forward in his appearances for South Australia where his ability to apply pressure around the football, link up with teammates through the middle of the ground and distribute effectively by hand and foot have been key in his performances at the level.
#12 Cade Kennedy (West Adelaide)
Kennedy had his moments through the midfield, demonstrating his competitiveness in the contest and ability to win the ground ball. He’s certainly at his best when distributing by hand with his use by foot at times rushed and ineffective. Kennedy tried his best to generate fast ball movement forward with his run and carry. This lead to his best passage of play as he was involved in a chain of handballs before he delivered a kick inside 50 to Morgan Ferres on the lead.
#14 Jacob Owens (Glenelg)
It was a tough day for Owens who struggled to work his way into the contest. He appeared to be sore late in the second quarter, before an awkward fall in a marking contest late in the third quarter, ended his day prematurely.
#15 Alastair Lord (Norwood)
Lord was one of South Australia’s best on the day with his run, carry, and ball use influential out of defence. In only his second game for South Australia this year, Lord looked comfortable at the level, showing good composure when under pressure and neat skills to hit a high percentage of his targets when exiting defensive 50. He was most important throughout the first half, as he stood tall under Western Australia’s barrage of inside 50’s and repeatedly used his speed and skill by foot to rebound out of defence. His second half was a touch quieter as the contest evened out a little more. Lord stood up to most of the challenges thrown at him in the back half and was key in South Australia’s transition from defence to attack.
#17 Hugh Stagg (Glenelg)
Stagg’s first quarter was everything we’ve come to expect from him as he combined high energy, manic pressure and strong tackling with some key ground ball wins and effective disposal by hand to teammates outside the contest. His tackling pressure and effort was an absolute constant throughout the match and he was finally rewarded with a goal late in the third quarter. After winning the ball from an inside 50 stoppage, Stagg quickly snapped over his left shoulder for an impressive major to keep South Australia in the hunt.
#20 Matthew Roberts (South Adelaide)
Roberts flashed some of the traits that made him so highly rated at the beginning of the year. His strength inside the contest was critical as he was one of very few South Australian midfielders who looked capable of winning the ball out of the middle of the ground. He was clean below his knees and distributed sharply to teammates by hand. When second to the ball, he laid some big tackles to lock the ball in and prevent Western Australia from exiting the stoppage. His work-rate into space away from the contest was important as he consistently presented around the ground to accumulate possession of the football. When he found time and space, Roberts made good decisions by foot and executed accordingly. As has been the theme for Roberts in the second half of this year, he met challenges when under pressure and had moments where he was forced to rush the ball to foot, resulting in some ineffective kicks. Roberts was one of South Australia’s best on the day with his work through the midfield and around the ground pivotal in keeping the Croweaters in the contest.
SOUTH AUSTRALIA #21-37
By: Tom Wyman
#21 Adam D’Aloia (Woodville-West Torrens)
After producing a terrific past month of football, highlighted by a best on ground showing in Woodville-West Torrens’ Under 18 premiership, D’Aloia was quieter in the third meeting between Western Australia and South Australia. He started at the opening centre bounce and spent the game in his natural on-ball role. D’Aloia didn’t win as much of the ball as he has in recent games, but was typically hard at the contest and clean with his distribution by hand. He may not have been as damaging by foot as he would’ve likes, but his strong tackling and efficient hands in-tight were important in a solid, albeit unspectacular overall display.
#22 Mani Liddy (Sturt)
The South Australian skipper battled hard in the midfield, applying plenty of pressure around the ball and dishing it out cleanly by hand. Away from the stoppages, Liddy looked to generate some run and carry, with the Sturt midfielders long kick to key forward Lukas Cooke setting up his state’s first goal of the match. He battled tirelessly against the Western Australian midfielders and finished among South Australia’s leading ball winners.
#24 Luca Whitelum (Central District)
The Sacred Heart College captain took a while to get into the game, but had a couple of nice moments across half-forward, despite the often inefficient ball use further afield. He tackled strongly and was targeted in the air numerous times. The clear highlight of his game was a clever one-on-one mark taken against WA’s Jack Avery. Pushed up against the boundary line, Whitelum calmly went back and slotted the goal of the match with a textbook drop punt.
#25 Max Litster (Woodville-West Torrens)
Stationed down back for the clash at Thebarton Oval, Litster was clearly one of South Australia’s best. He attacked the ball with ferocity in the air and at ground level, throwing his body around to good effect. He knew when to peel off his direct opponent and come across to either intercept or spoil in the defensive-50. Lister also used the ball well, demonstrating good skill execution and composure under pressure. Litster’s courage throughout the game was admirable and his defensive efforts were terrific.
#26 Shay Linke (Central District)
Linke was perhaps South Australia’s best performer in its narrow defeat to Western Australia. Running through the midfield, he had a couple of quick kicks early in the contest and was quick to apply pressure on the ball carrier. The tough, defensive stuff would continue to be a feature of the Barossa product’s match as the game wore on. His cleanness at ground level and ability to weave his way through traffic set him apart from the other SA on-ballers. Linke also used the ball to good effect even when under pressure. He used his extra height to good effect too, taking numerous strong overhead marks in the forward half of the ground in a strong display.
#29 Morgan Ferres (Sturt)
Sturt forward, Ferres worked hard all game in attack. His high work rate and strong endurance base allowed him to get up the ground as the link-man between defence and attack. Ferres found more of the ball in the attacking half of the ground as the match wore on, flying high to take a couple of good overhead marks. His ball use going inside 50 was largely efficient and he received reward for effort with a nice goal from close range in the second half.
#30 Jarrad Parish (Glenelg)
As he has done all season, Parish took up a key defensive role on the Western Australian key forwards. He was involved in a good one-on-one battle with Ethan Regan, with the pair both having their moments. Despite giving away a down-field free kick to gift WA the first shot of the game, Parish stood up fairly well down back.
#31 Lukas Cooke (Woodville-West Torrens)
Mobile key forward, Cooke booted the Croweaters’ first goal of the game from the goalsquare after teammate Mani Liddy spotted him in some space out the back. Cooke might not have been as threatening on the lead and in the air as he was throughout the year for Woodville-West Torrens, but capitalised on his opportunities close to goal. His clean pick up and snap on goal was perhaps the best of his four majors. Cooke could have even added a fifth if he didn’t play on and find himself in traffic from point-blank range. His four goal effort kept South Australia in the game and gave them every chance of taking the chocolates in the third encounter of the year between the two representative sides.
#32 Zac Becker (Sturt)
After booting a couple of goals when swung forward against the Allies last weekend, Becker returned to defence for SA’s final hit-out of the season. He spent some time on WA forward Jack Williams early on in the contest and held his own, taking some strong overhead marks and distributing well across half-back. After a strong season at club level with the Double Blues, Becker finished the year with a serviceable performance in defence.
#33 Oscar Adams (Glenelg)
Adams partnered up with Tigers teammate Jarrad Parish down back. He shouldered the ruck work in the defensive-50, having done a bit of work on ball throughout the year with Glenelg. Although he had a quiet game, Adams’ athleticism was on show, using his spring and leap to fly for the football in the defensive half of the ground. Adams looked comfortable entering contests as the third man up and will have taken plenty from representing SA in the latter stages of the season.
#34 Saxon Evans (Central District)
Evans earned selection for the SA Under 19 side following a strong year in the ruck with Central Districts. Evans worked in tandem with Woodville-West Torrens’ Zac Phillips and his raw athleticism was on show. He often used his terrific leap to reach over the top of the WA ruckman to win his hit-outs. Although he wasn’t able to get involved in the game away from the stoppages, Evans competed well and is one to keep an eye on as he continues to physically develop.
#36 Harry Lemmey (West Adelaide)
The highly touted bottom-aged forward didn’t have a big impact on the game, but certainly wasn’t helped by some lacklustre ball use going inside-50. He looked dangerous when the ball was delivered to him cleanly and at pace, using his quick turn of pace and terrific reach on the lead. Lemmey finished the game with a goal to his name, snapping truly following a nice piece of play against the flow of the game. The West Adelaide tall looms as one of a handful of pick one candidates ahead of the 2022 draft, following a terrific year with the Bloods.
#37 Zac Phillips (Woodville-West Torrens)
Last Sunday, Phillips lined up for the Allies, but this week he donned the tri-colours and shouldered part of the ruck duties for SA. The starting ruckman, Phillips worked his way around the ground and looked to get involved in general play. He also used the ball efficiently by foot.
WESTERN AUSTRALIA #1-18
By: Declan Reeve
#1 Jesse Motlop (South Fremantle)
The son of former North Melbourne and Port Adelaide forward, Daniel, Jesse Motlop has been one of the more impressive WA prospects this year, playing a chunk of the season in the League side at South Fremantle. Motlop was often caught in the forward 50 with multiple opponents on him, trying to stop him from getting a free run at the ball, limiting him to little impact in the forward 50 for the contest. He did however impact the game up the field well, looking dangerous with his ball use going forward as he won possession up on the wings or in the centre square, with his ability to break free of his opposition making him particularly damaging in transition.
#4 Judd McVee (East Fremantle)
Not quite the day the defender would’ve wanted, McVee struggled to accumulate possessions through the game with WA generally on top or looking to use midfielders to move the ball out of defense. What McVee did do well was keep the SA forwards accountable, constantly around the create a contest or apply pressure to the smaller forwards off of packs.
#5 Kaden Harbour (East Perth)
The pressure forward had a game to remember, bringing his usual energy and frantic approach to tackling to the game and forcing mistakes from the opposition with his relentless pressuring. It wasn’t just pressure work from Harbour, he proved to be lively in offensive play as well, with his ability to consistently hit front-and-centres and following up with generally sound disposal. Harbour maintained his composure through traffic, holding his hands high to keep them free and pass it off to a teammate. Harbours also took more and more inside 50 marks as the game went on, but was unable to convert on the scoreboard.
#6 Zac Fleiner (West Perth)
Fleiner used his zip in the defensive half of the ground to pressure the opposing forwards with the ball, throwing himself at opponents to stop them getting an easy run into goal and doing his best to force stoppages.
#7 Angus Sheldrick (Claremont)
Awarded best on ground for the game, Sheldrick just kept racking up contested possessions for fun through the contest, with SA not having a proper answer for his strength on the inside of the contest. To go along with his superior contested game, Sheldrick was at his best with his ball use, hitting some impressive kicks into the centre corridor from the defensive half of the ground, starting off a few promising attacking plays. The continued workrate from Sheldrick to get contest-to-contest meant opponents were forced to cut corners at times to slow him down, giving Sheldrick some valuable free kicks. When the game was on the line, it was Sheldrick who stepped up late, intercepting an opposition handball, running into an open goal and easily slotting it.
#9 Max Chipper (Swan Districts)
Chipper played to the level we’ve come to expect of the ever consistent and reliable winger, accumulating large numbers as he ran contest-to-contest, providing an option on the outside and quickly moving the ball onto another teammate. Chipper was generally safe with his ball use, looking to go backwards more often than not, but still taking the central option when he spotted it.
#10 Arthur Jones (Claremont)
Jones burst onto the scene and into the spotlight in the previous WA-SA match with his eye catching speed and movement on the wing and in the forward half of the ground, with this game no different. Whilst Jones can at times lack some polish, his persistence with applying pressure, tackling and following up on his work are some traits that are already well developed. One particular highlight play from Jones came as he got space on the wing with ball in hand, going for a run into the inside 50, taking three bounces on the way, and having his shot drop just short.
#12 Lochlan Paton (West Perth)
Playing arguably his best game for WA, Paton was involved in what felt like everything in the early stages of the game, pushing up from the forward flank to effectively play as an extra midfielder and rack up touches around the contest. Settled into a more forward 50 orientated role as the game went on, kicking two goals, one from a lead right in front of the goals and one from a free kick on the boundary line, where he put it through well with an impressive snap.
#13 Bryce Watson (Swan Districts)
Watson played well as a defender pushing up the ground to intercept the ball in the midfield, keeping the pressure on the SA backline. Watson was impressive at ground level through the game, able to react quickly and win the ball off of half-volleys. His work defensively was good, pushing off his opponent to drift across and spoil other contests in the defensive half, but also being strong in his one-on-ones to be a nuisance aerially.
#14 Taj Woewodin (East Fremantle)
A somewhat lowkey game from the Melbourne father-son prospect, Woewodin started well in the midfield, winning a bit of ball early but tapered off towards the end of the game. What Woewodin did extremely well all game was present as a marking target around the ground, pushing up near the defensive 50 to be an outlet kick for his teammates, then use it well, generally looking to move the ball inboard. Woewodin got consistent penetration behind hjis kicks even if they weren’t always accurate, making them hard to intercept for defenders.
#15 Finn Gorringe (East Fremantle)
Gorringe plays a consistent high workrate and team orientated style of game, with the match against SA no exception. His defensive focus for the game stopped a few promising SA attacking pieces of play. Gorringe’s hardness at the ball was a standout in the defensive half of the ground for WA, putting himself under high balls or running and jumping in front of packs to intercept the footy coming in, even throwing himself at one-on-two ground balls to make sure SA didn’t get out with the footy easily.
#18 Josh Browne (East Fremantle)
Another WA player that has had an impressive WAFL Colts season, so much so we’ve come to expect a high level of performance from him. He was at his clearance winning best against SA, often the target of his side’s hitouts, where he’d move well through traffic once he won it and hand it out to runners. Browne worked hard to be an option for teammates in close, where he looked to move the ball wide by foot or backwards by hand.
WESTERN AUSTRALIA #19-45
By: Peter Williams
#19 Kade Dittmar (East Perth)
A prolific midfielder throughout the contest, Dittmar’s strength and intensity was a constant throughout the match. Whilst his kicking was not always perfect, he often cleared the ball from danger and pumped it inside 50, and he has the footy smarts to make things happen. He laid some big tackles, and in the third term hit the scoreboard with a clever snap around his body to kick a goal late in the term. He also laid a massive tackle on Matty Roberts, continually tacking up the ball.
#20 James Tunstill (East Perth)
One of the better West Australians on the day, was at least cleaner more often than not, particularly via hand, able to open the game up with long 45-degree handballs to a running teammate. Not only did he find plenty of the ball, but his second and third efforts through defensive pressure and shepherds were also noticeable, and he kept winning the pill throughout the match. He had a nice kick positioning well to Arthur Jones in the final quarter, and kept trying to move the ball in transition.
#22 Jack Avery (Perth)
Continually involved, though his execution on the day was off, feeling the pressure of the South Australian forwards. He had some nice defensive efforts through spoiling, and presented as an option in transition, often mopping up in the back 50 and pushing up the ground.
#25 Ethan Regan (East Perth)
Played a lively forward role and took the first mark around the top of the 50 in each of the first three quarters, with his first half particularly impressive. He had a great battle with Jamie Parish all day, getting on top in the first two quarters before Parish won the battle in the second half. He took a number of good marks, and had his chances, but either opted to pass it off, was rushed across the line or just missed. He had a highlight with a running bounce on the wing in the second term.
#27 Oscar Armstrong (East Perth)
Matched up against Harry Lemmey most of the time, Armstrong had an early highlight by reading the play well, taking a good intercept mark and hitting a target on the wing. Unfortunately from then on, Lemmey won the on-on-one battles and Armstrong was caught chopping the arms once and then was too easily pushed over in the marking contest late. Kept Lemmey’s impact lower outside those one-on-ones though.
#31 Eric Benning (Claremont)
Had a good start to the game with a really lively first quarter, creating a contest inside 50 leading out, and then rotating through the ruck with Josh Cripps. A couple of times Benning had almost-moments, and then took a mark near the goal line and snapped around his body for a goal late in the term. After quarter time he was a little quieter but still created contests, bringing the ball to ground and had a nice mark and subsequent delivery on the wing a couple of times in the third term.
#32 Luke Polson (Peel Thunder)
The most consistent four-quarter key forward for the Sandgropers, Polson produced his best effort of the championships. He worked hard up the ground, provided a marking target, and was too strong for his opponent. He had a kick inside 50 towards goal that set up Benning’s first term major, then kicked one himself with a clever snap after a turnover. He lost one one-on-one to Zac Becker not long after, but other than that won most of his one-on-ones. He should have had another goal but hi accurate long-range set shot was marked on the line by Williams who goaled. Kept working hard all game long.
#34 Corey Warner (East Fremantle)
Had some nice moments throughout the game despite not winning as much as he is capable of. Warner had a flying shot on goal early which missed, then buttered up with a quick handball on the wing. This would end up somewhat of a calling card in the match flicking off quick handballs in transition, trying to create run and carry off half-back. Generally he looked composed with ball-in-hand, and applied good pressure to opponents, winning more of the ball through the middle stages of the game.
#38 Brady Hough (Peel Thunder)
In a scrappy game, Hough was one of the few who consistently used the ball well by hand or foot, and even though he did not win a lot of it, was able to impact the game with each touch. Playing in defence, he often looked for the one-two early to get it moving, but was not always rewarded, then pushed up to the wing to win the pill. He hit short, effective kicks, and took a great intercept mark at half-forward in the last minute of the game to save WA from SA having a chance to steal the win.
#39 Jarrad McIlvinney (Peel Thunder)
He played in defence, often matched up on Lukas Cooke, with the latter able to create separation when going back towards goal. He went up to contest in the air when he could, but was beaten overall by his opponent on the day.
#43 Jack Williams (East Fremantle)
Spending most of his time in attack before going into defence in the final term, Williams provided another tall target inside 50. He took a juggling mark in the opening term, but stabbed at the ball and it drifted in the wind, but kicked a major in the second term after getting free inside 50 and taking a bounce for a running goal. He had one of the easiest goals he will kick after marking on the line after a Polson set shot and putting it home, with his next mark and set shot sailing out on the full. In defence he looked more comfortable, reading the ball in flight well and able to utilise his strengths better.
#45 Josh Cripps (East Fremantle)
The big ruckman was able to really control the stoppages with clean hands and apply some fierce pressure to his opponents. He tackles with real intent and his determination to scrap at ground level was also noticeable. His lack of athleticism caught him out a couple of times when he tried to sidestep an opponent close to goal, but he was the most consistent tap ruck when he could utilise his big frame to advantage.
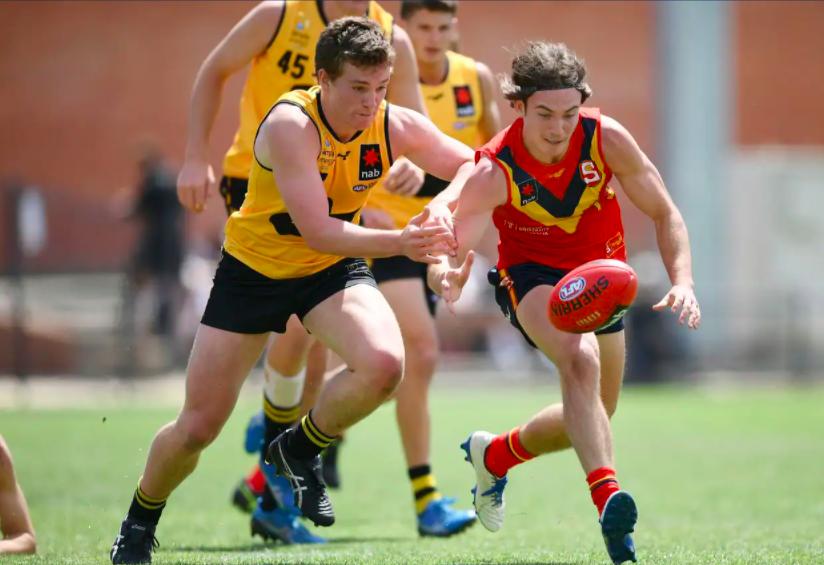
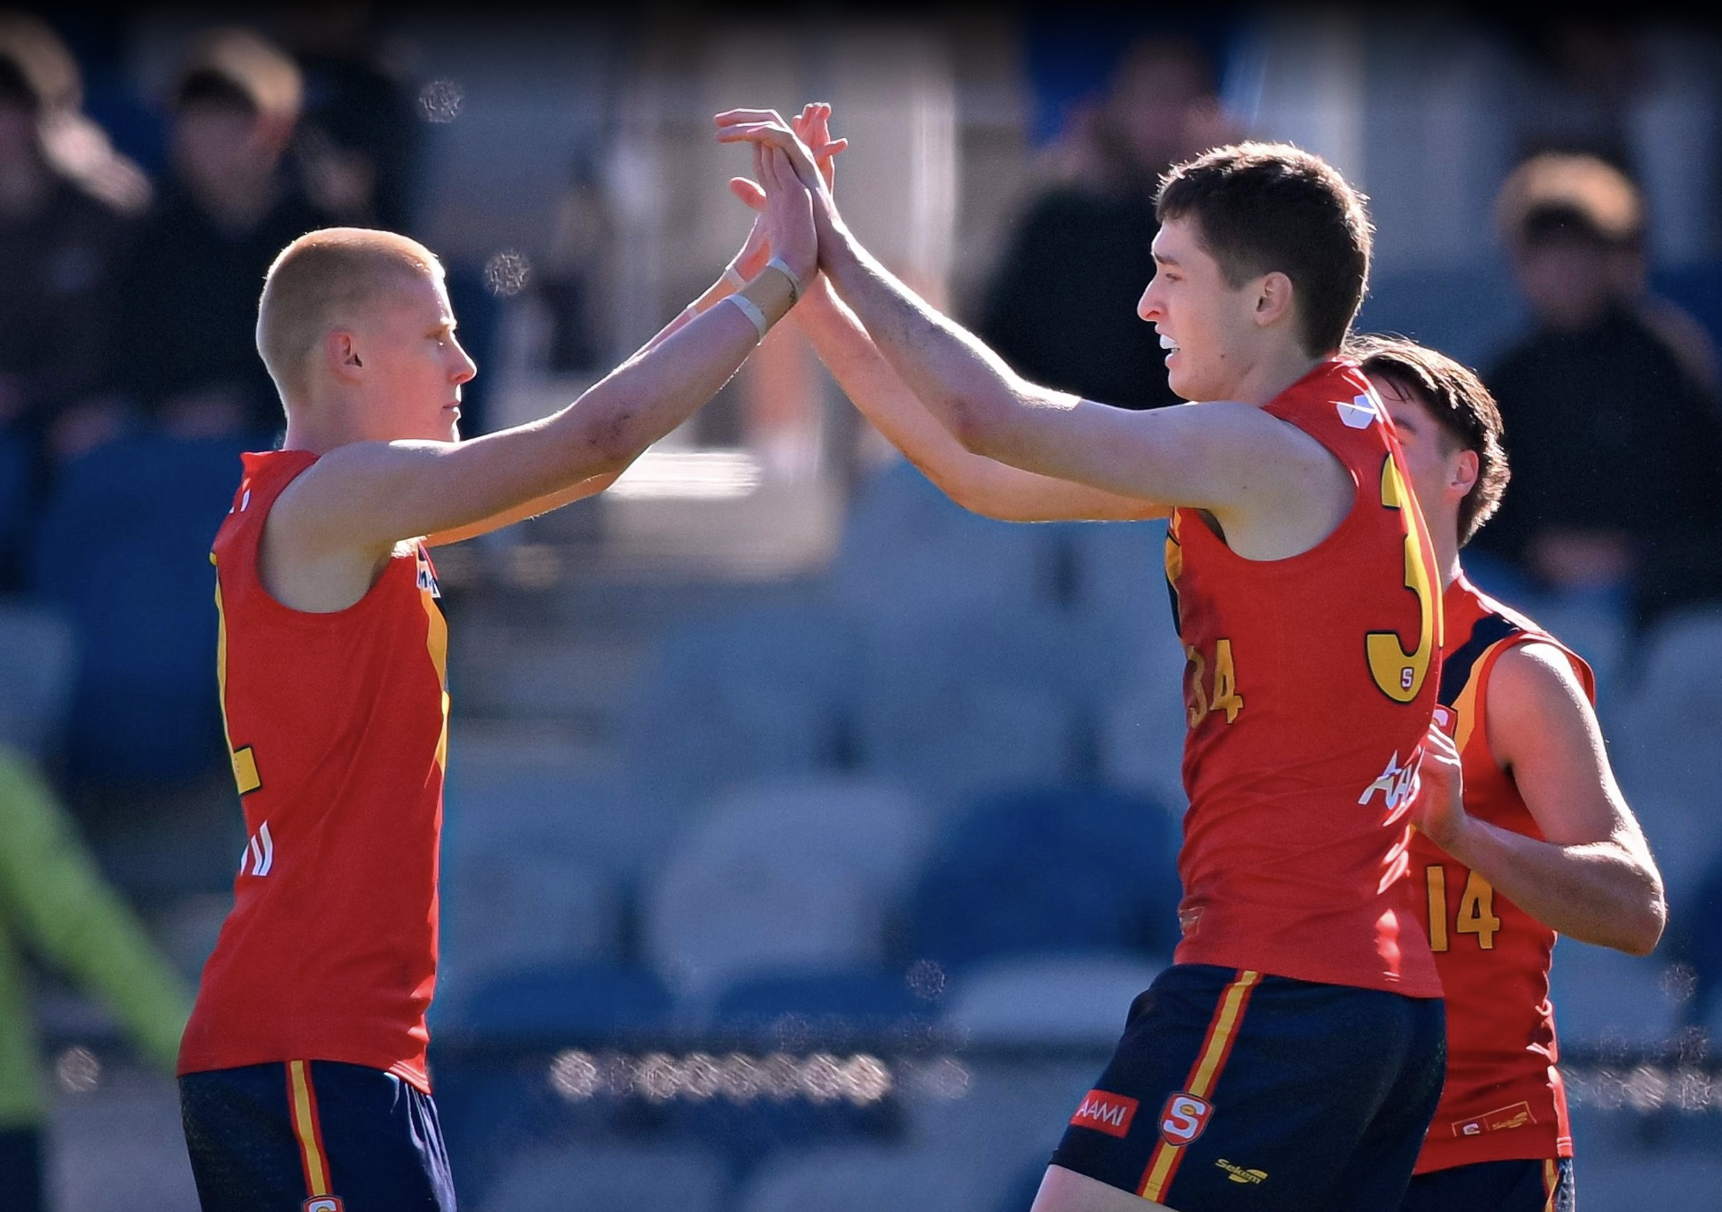
Featured Image: WA’s Angus Sheldrick (left) competes for the ball against SA’s Harvey Harrison | Credit: Mark Brake/AFL Photos

Scouting Notes: 2026 AFL U16s – Lions Academy vs. Tasmania
A THIRD-QUARTER blitz has seen the Brisbane Lions Academy finish the Under 16 Championships with a positive record after defeating Tasmania by 14 points in Southport on Thursday. After heading into the main break all-square, the Lions piled on 5.7 to nil at the scoring end to set up an unassailable lead. Tasmania had its […]
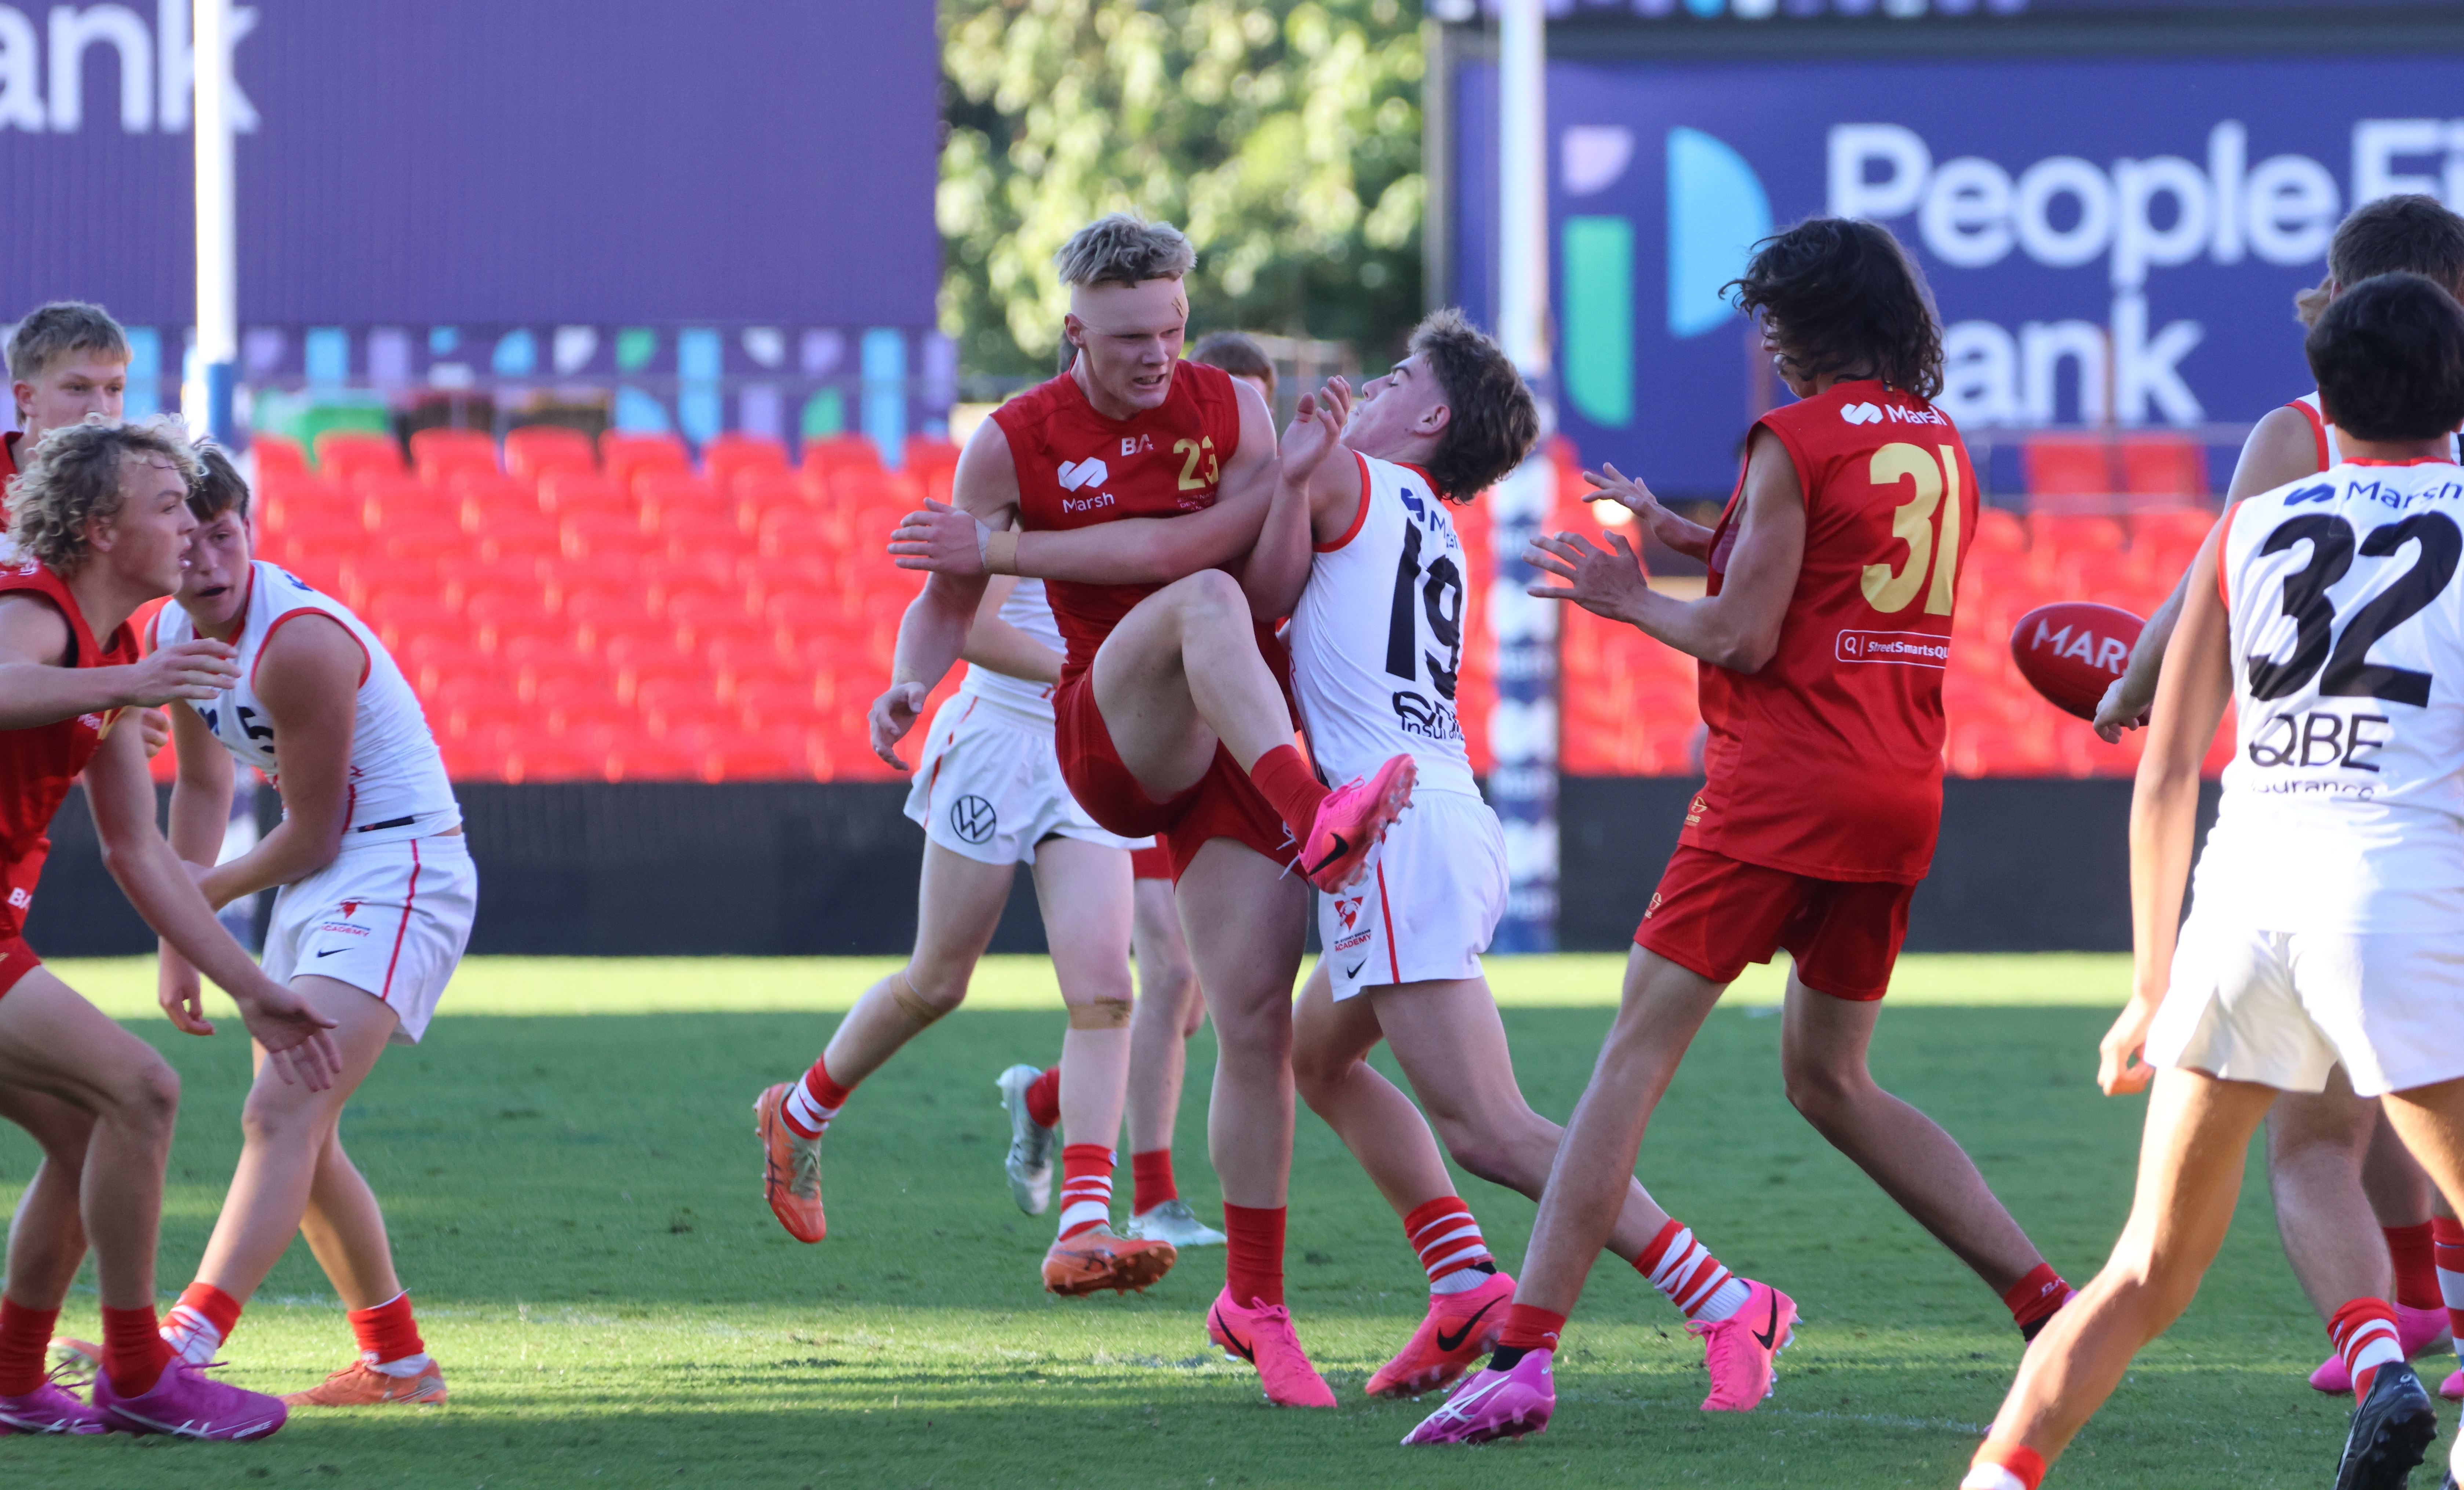
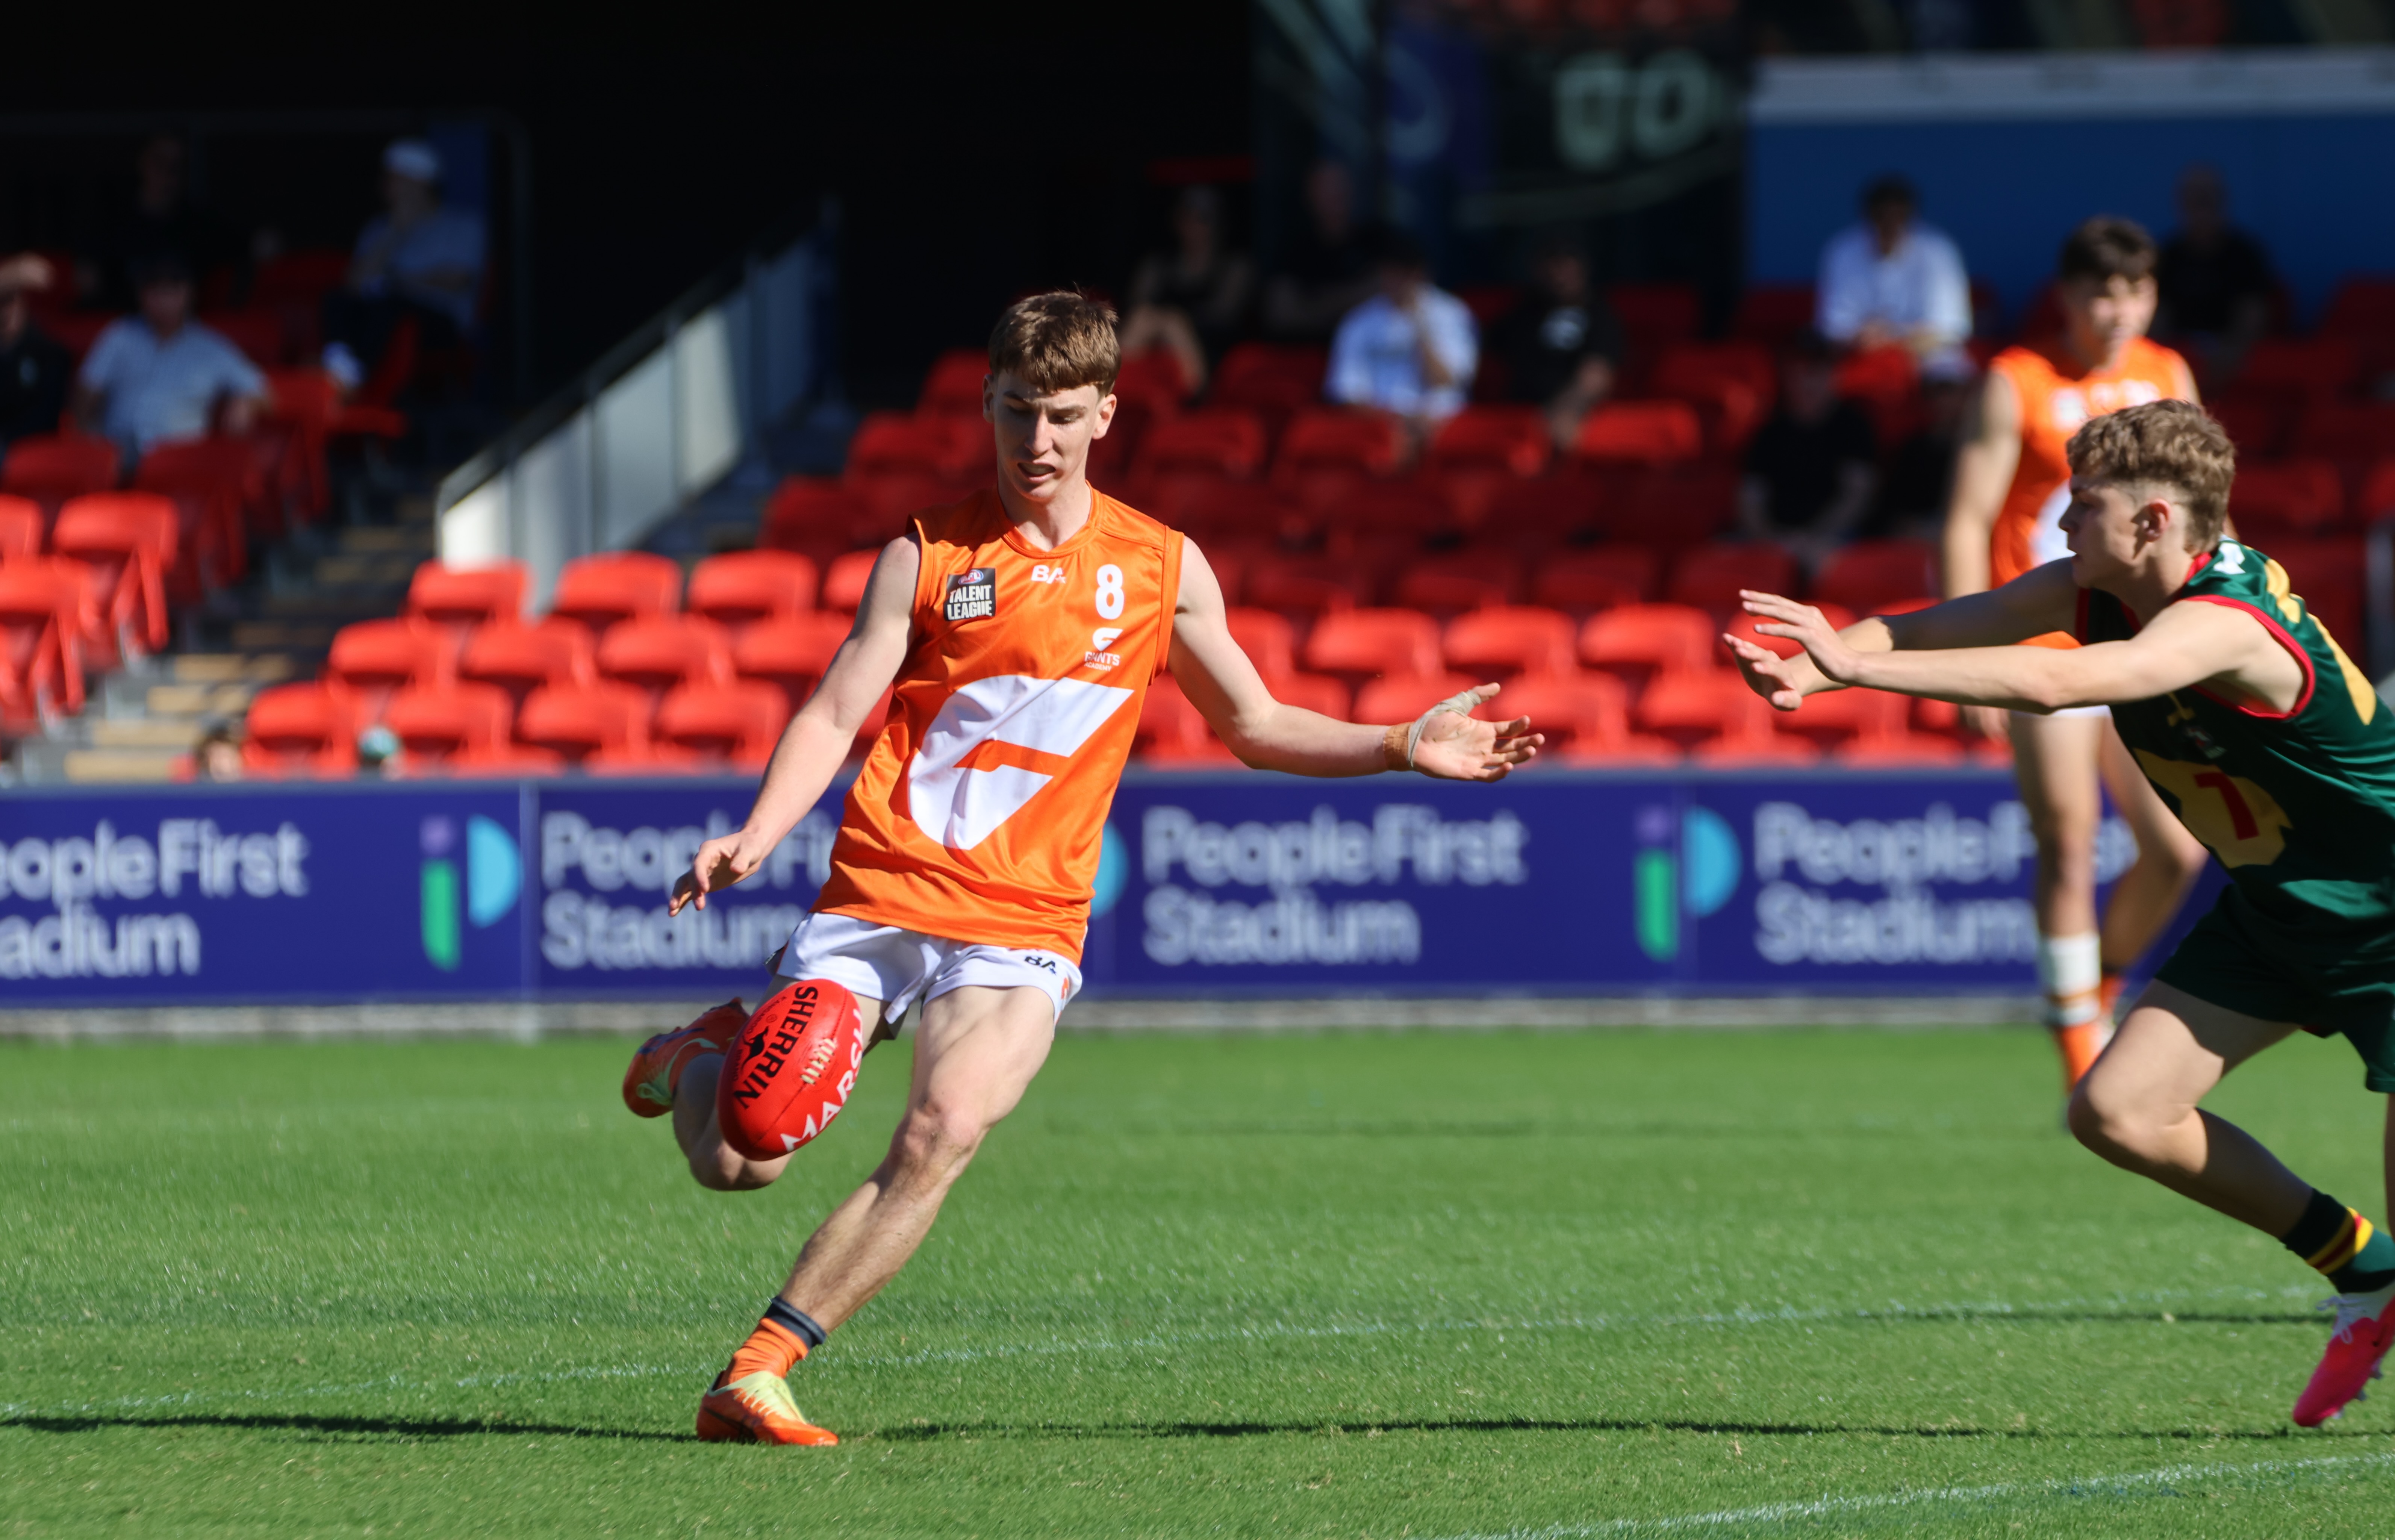
Scouting Notes: 2026 AFL U16s – Suns Academy vs. Giants Academy
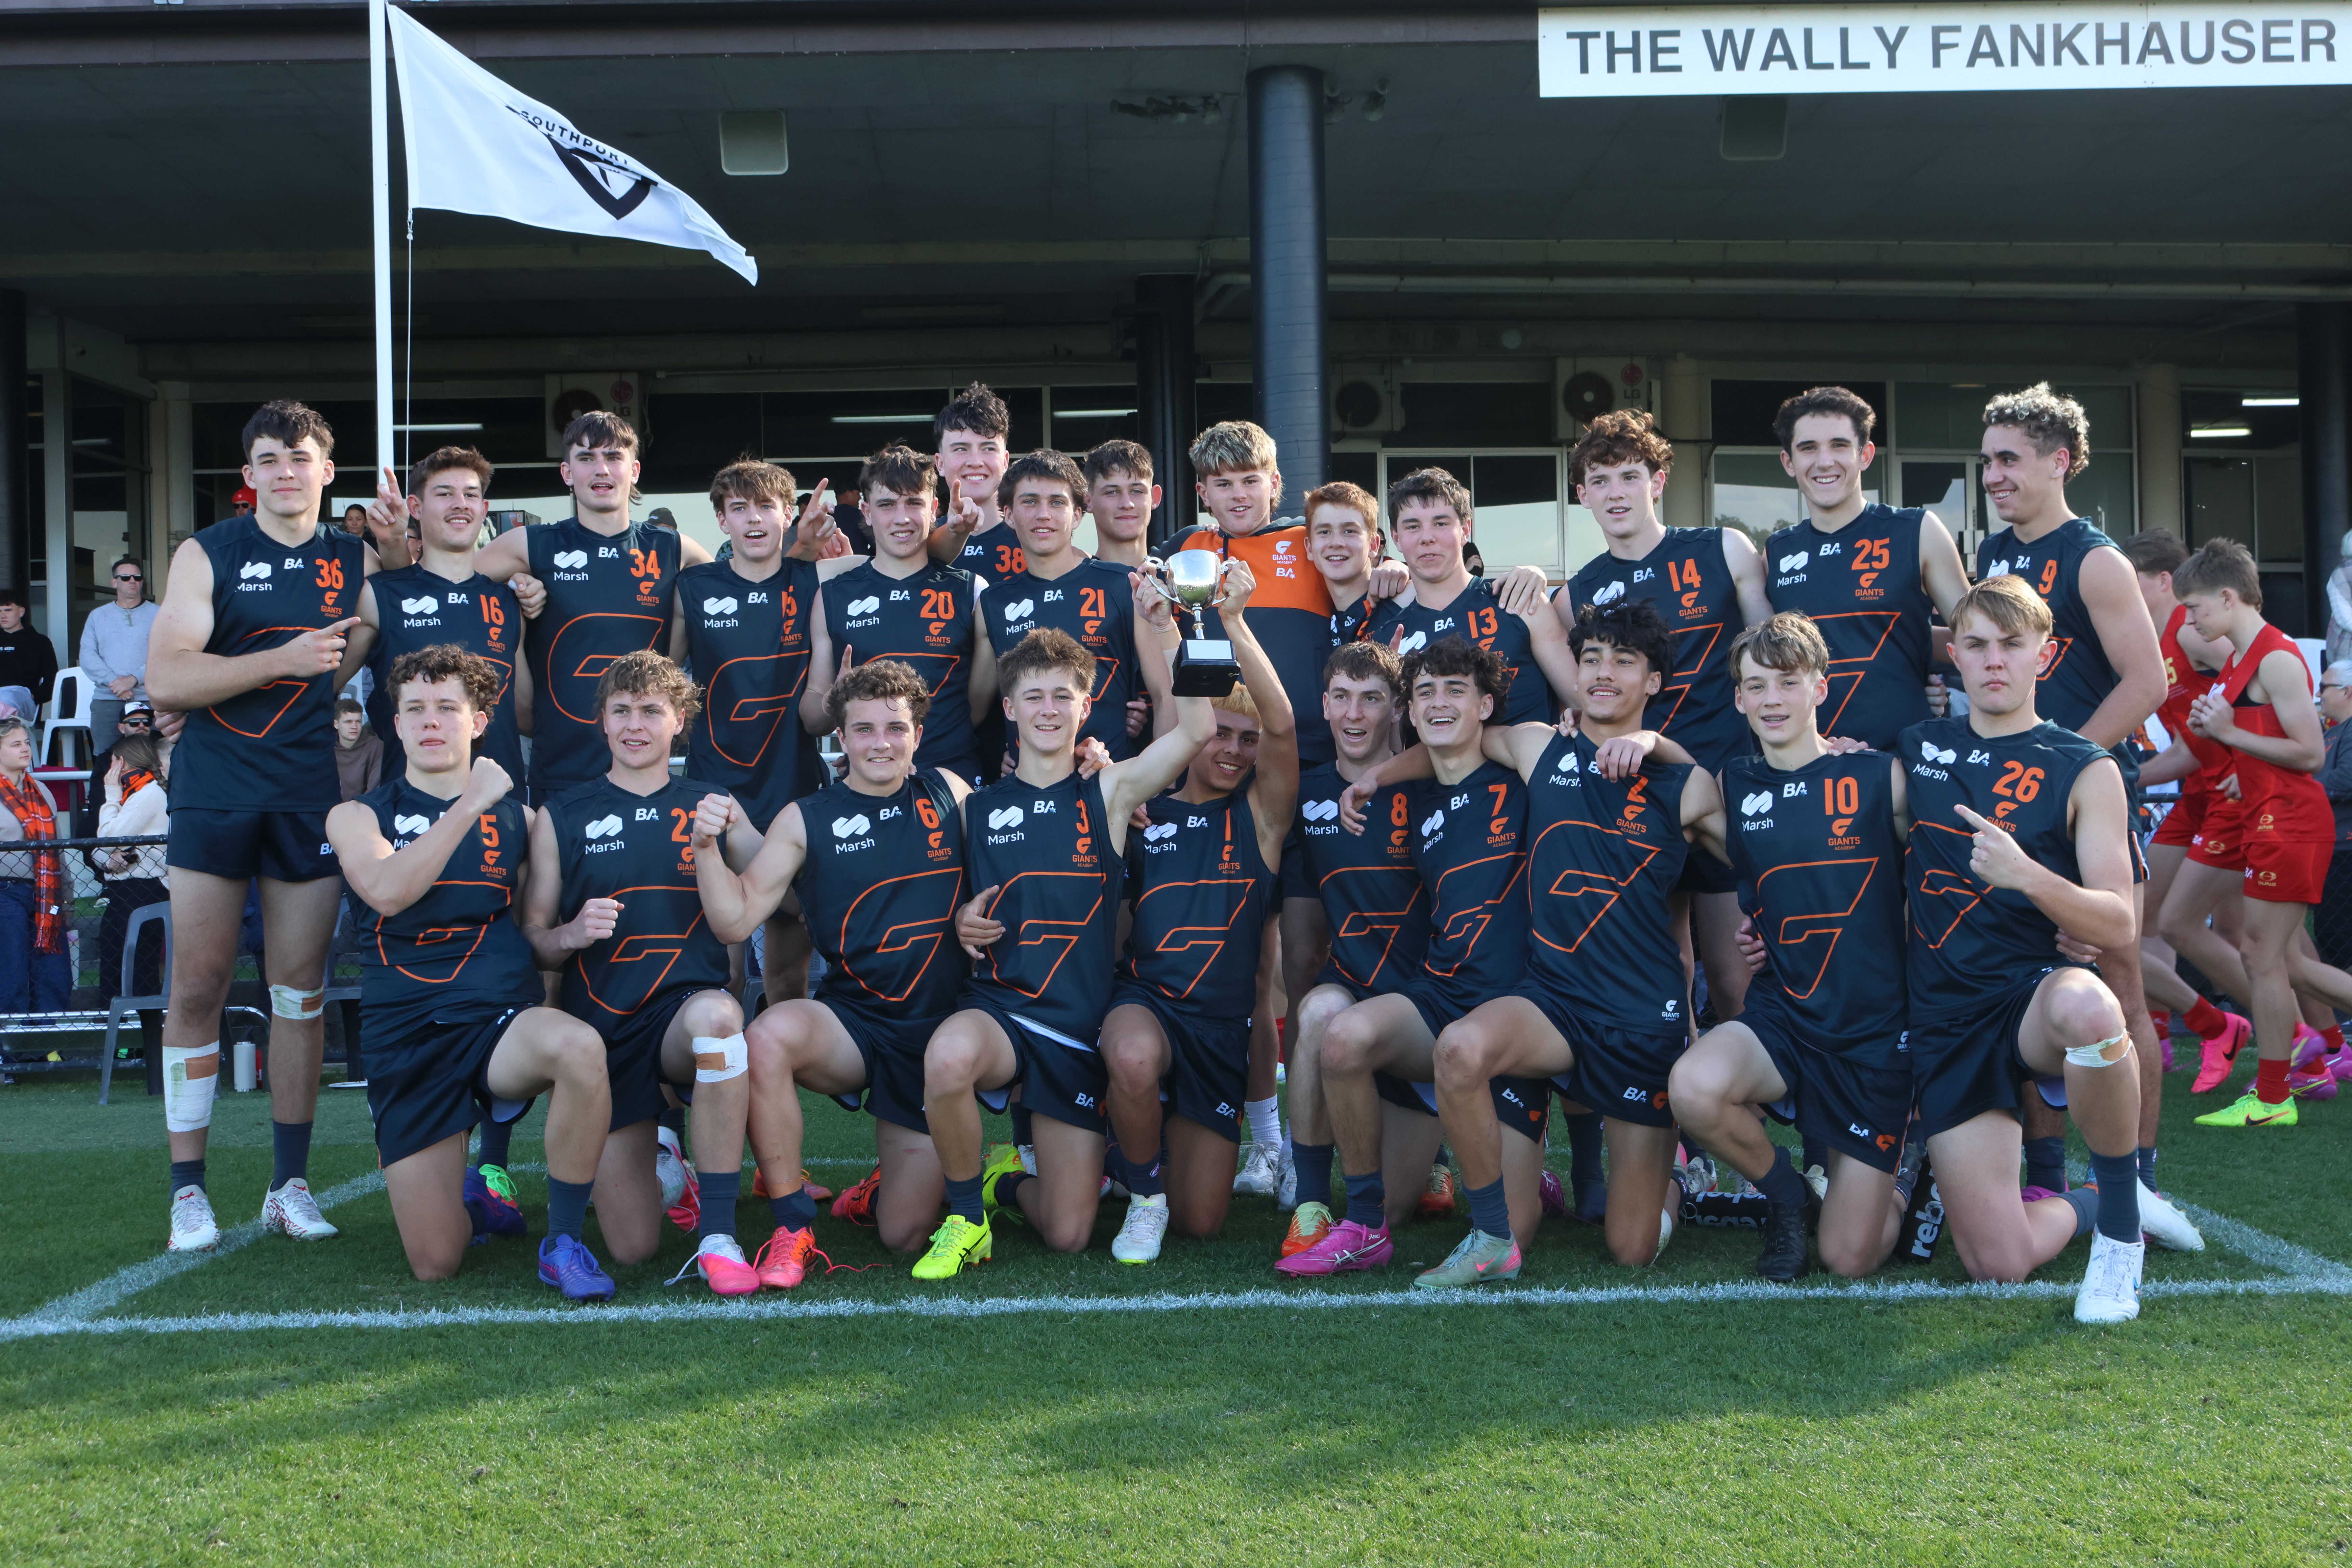
AN ORANGE tsunami swept across Southport as the GWS Giants Academy secured the Pool B AFL Under 16 Championships title after defeating the Gold Coast Suns Academy by 15 points. There was a big, big sound as the Giants kicked three goals into the breeze during the third term to maintain an important lead at […]
Scouting Notes: 2026 AFL U16s – Vic Metro vs. Western Australia
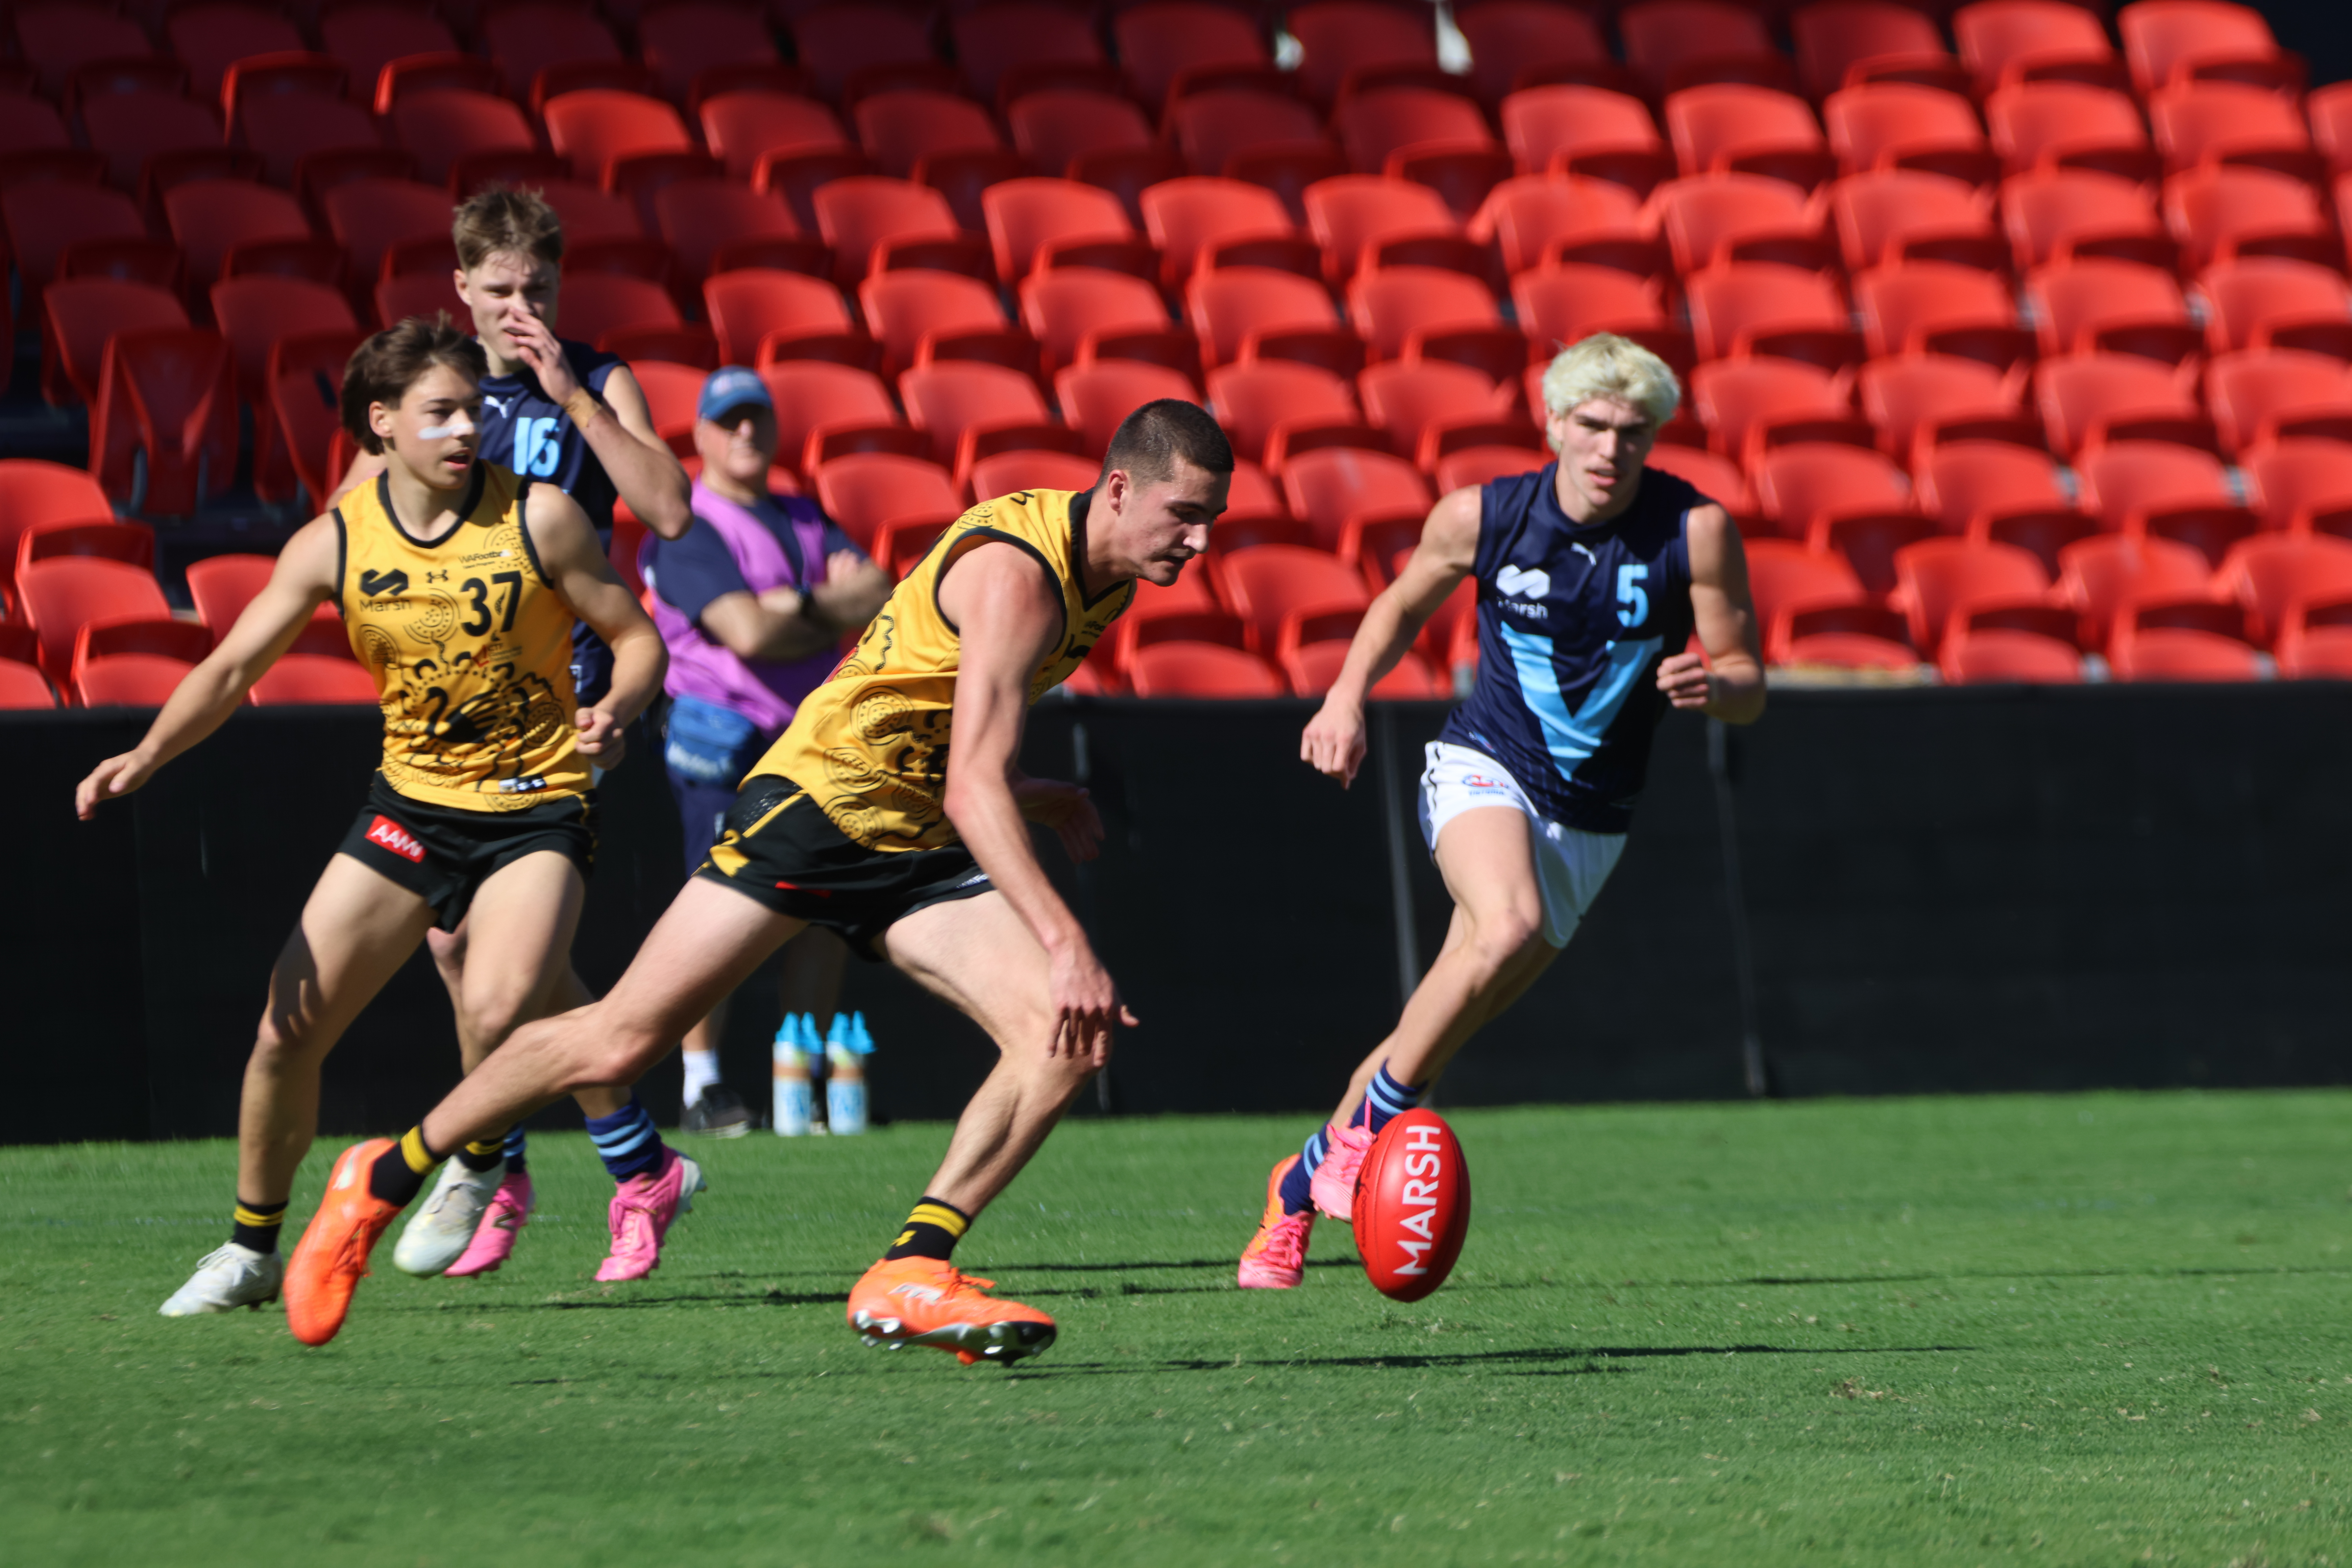
WESTERN Australia has moved one step closer to claiming the Pool A title after defeating Vic Metro by 27 points in their Under 16 National Championships clash on Tuesday. The Sandgropers posted over 30 scoring shots but were wildly inaccurate in front of goal, with the winning margin not truly reflective of their dominance. Co-captains […]
Scouting Notes: 2026 AFL U16s – Vic Country vs. South Australia
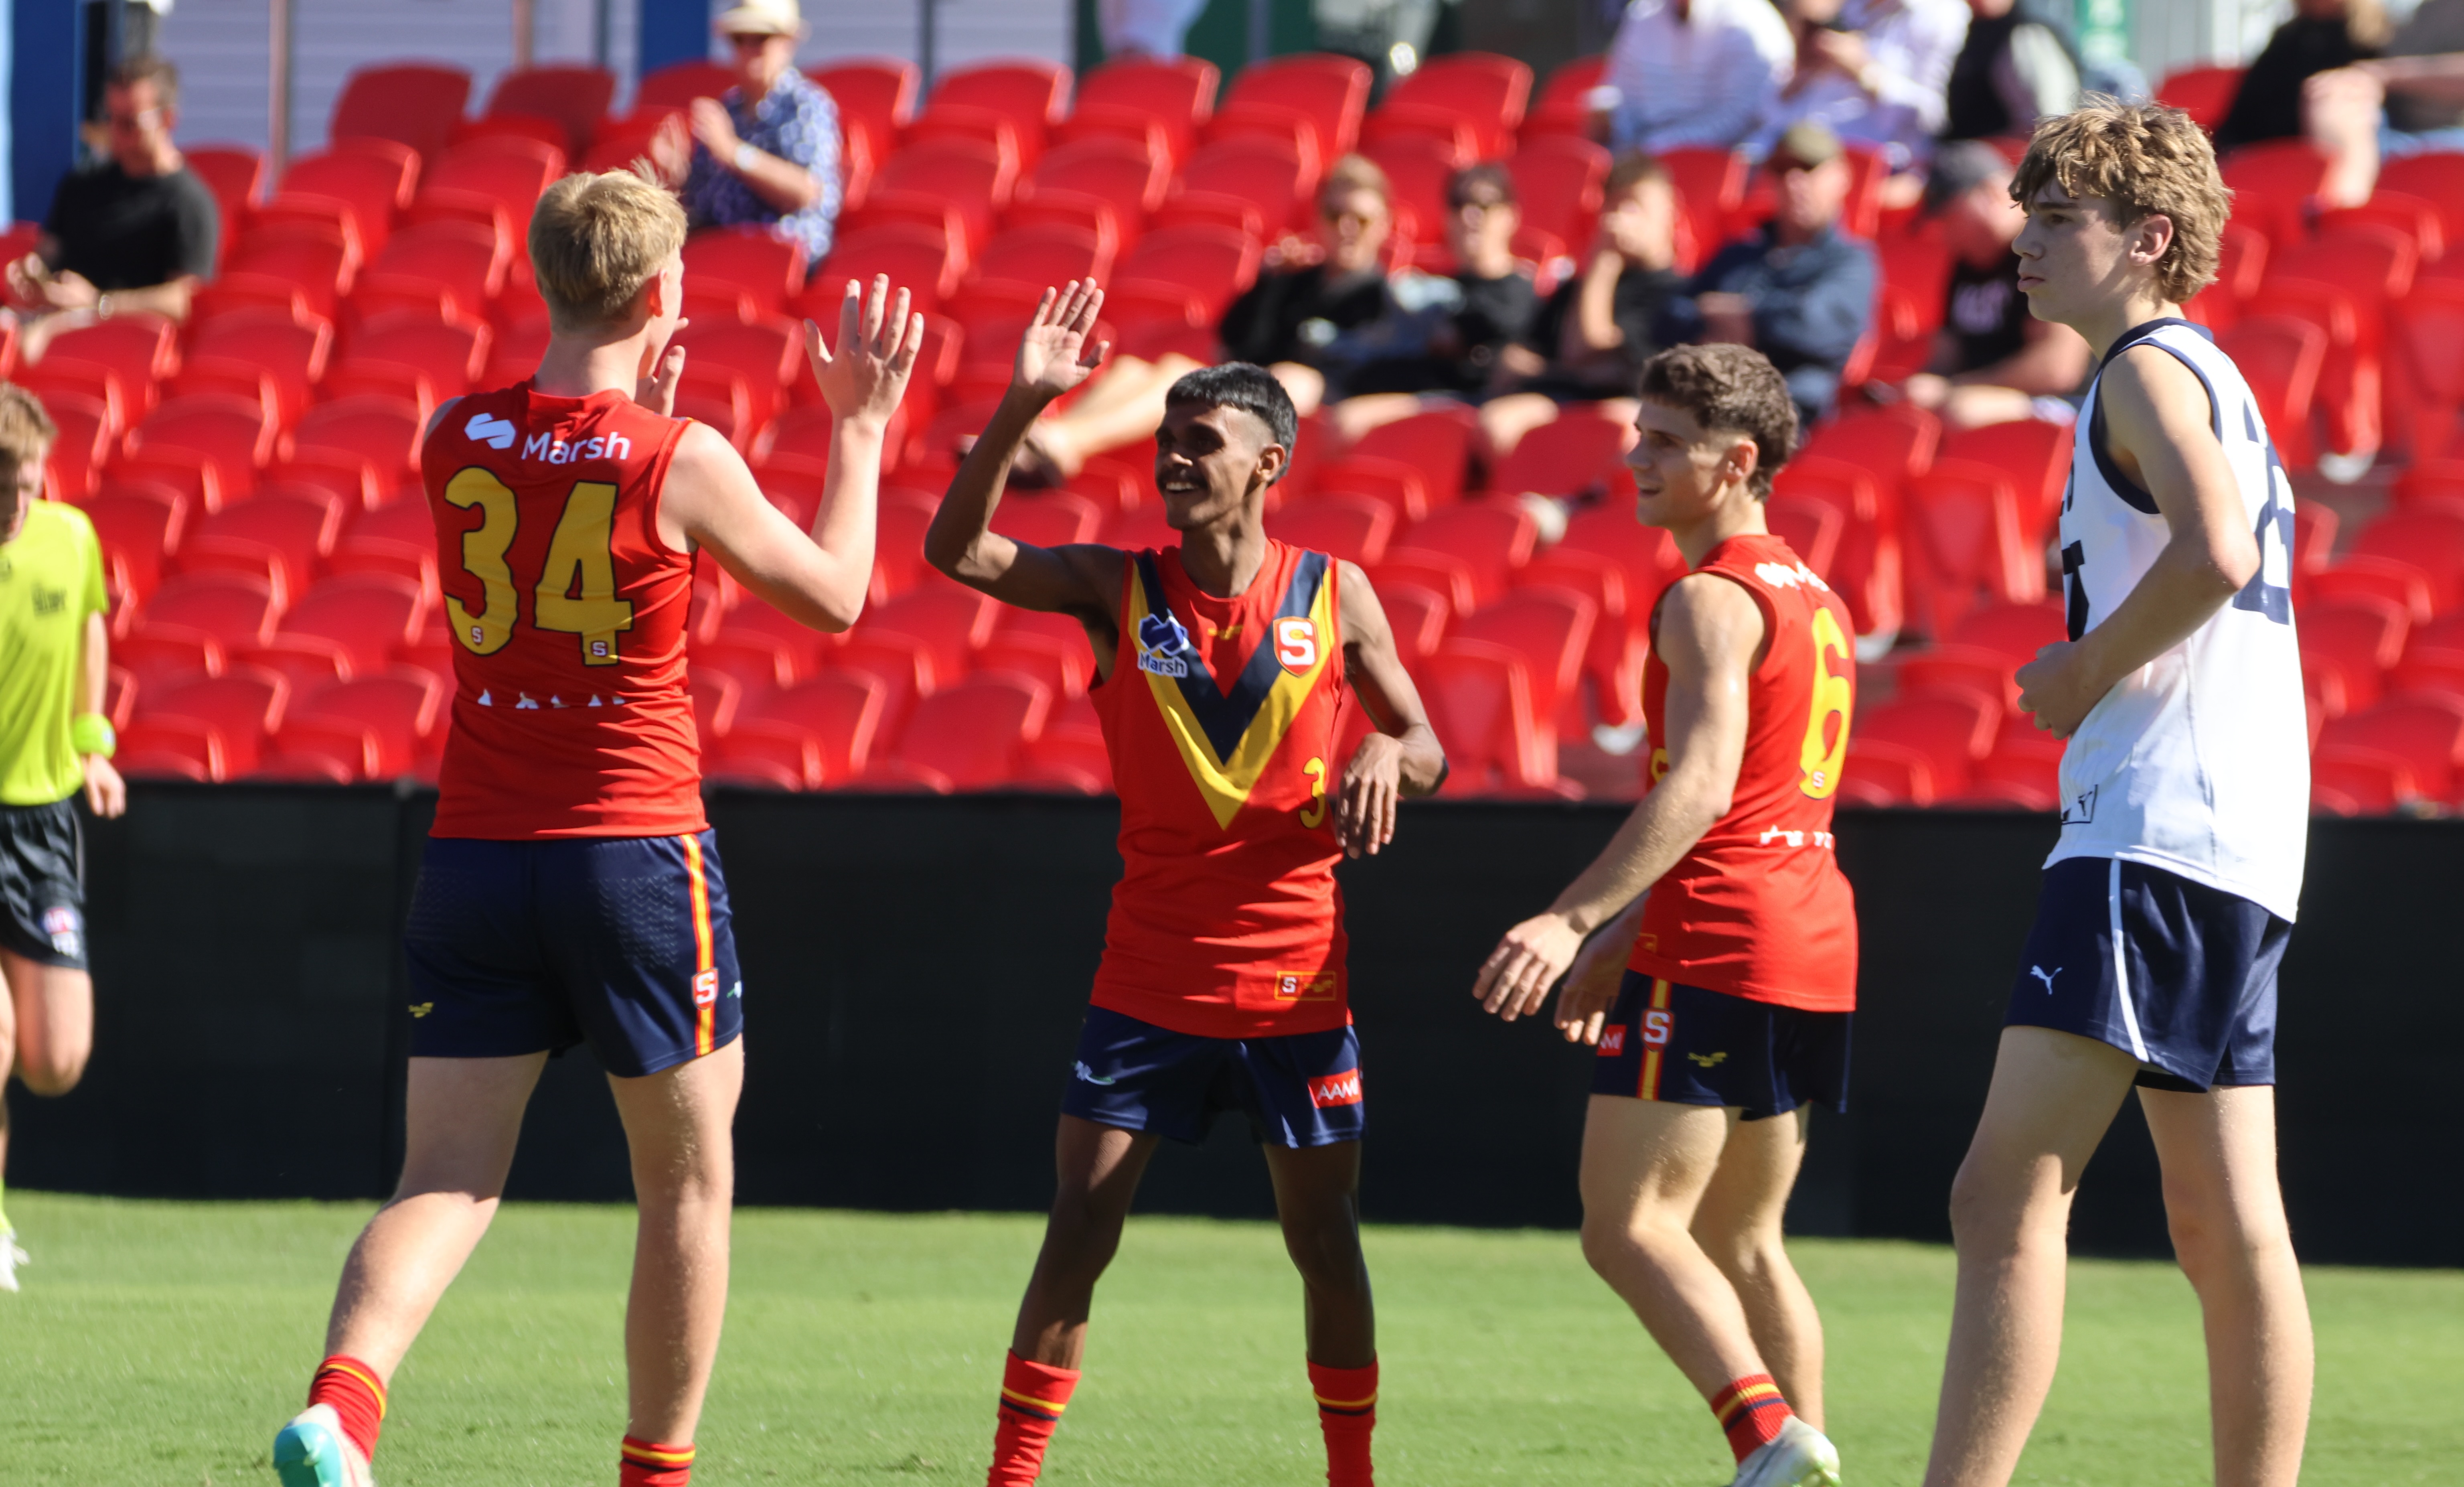
SOUTH Australia opened its account at this year’s Under 16 National Championships with a 23-point win over Vic Country at People First Stadium on Tuesday. In what was an enthralling high-scoring shootout, the Croweaters simply had too much firepower and made their opportunities count to notch up a triple-figure score. The win was spearheaded by […]
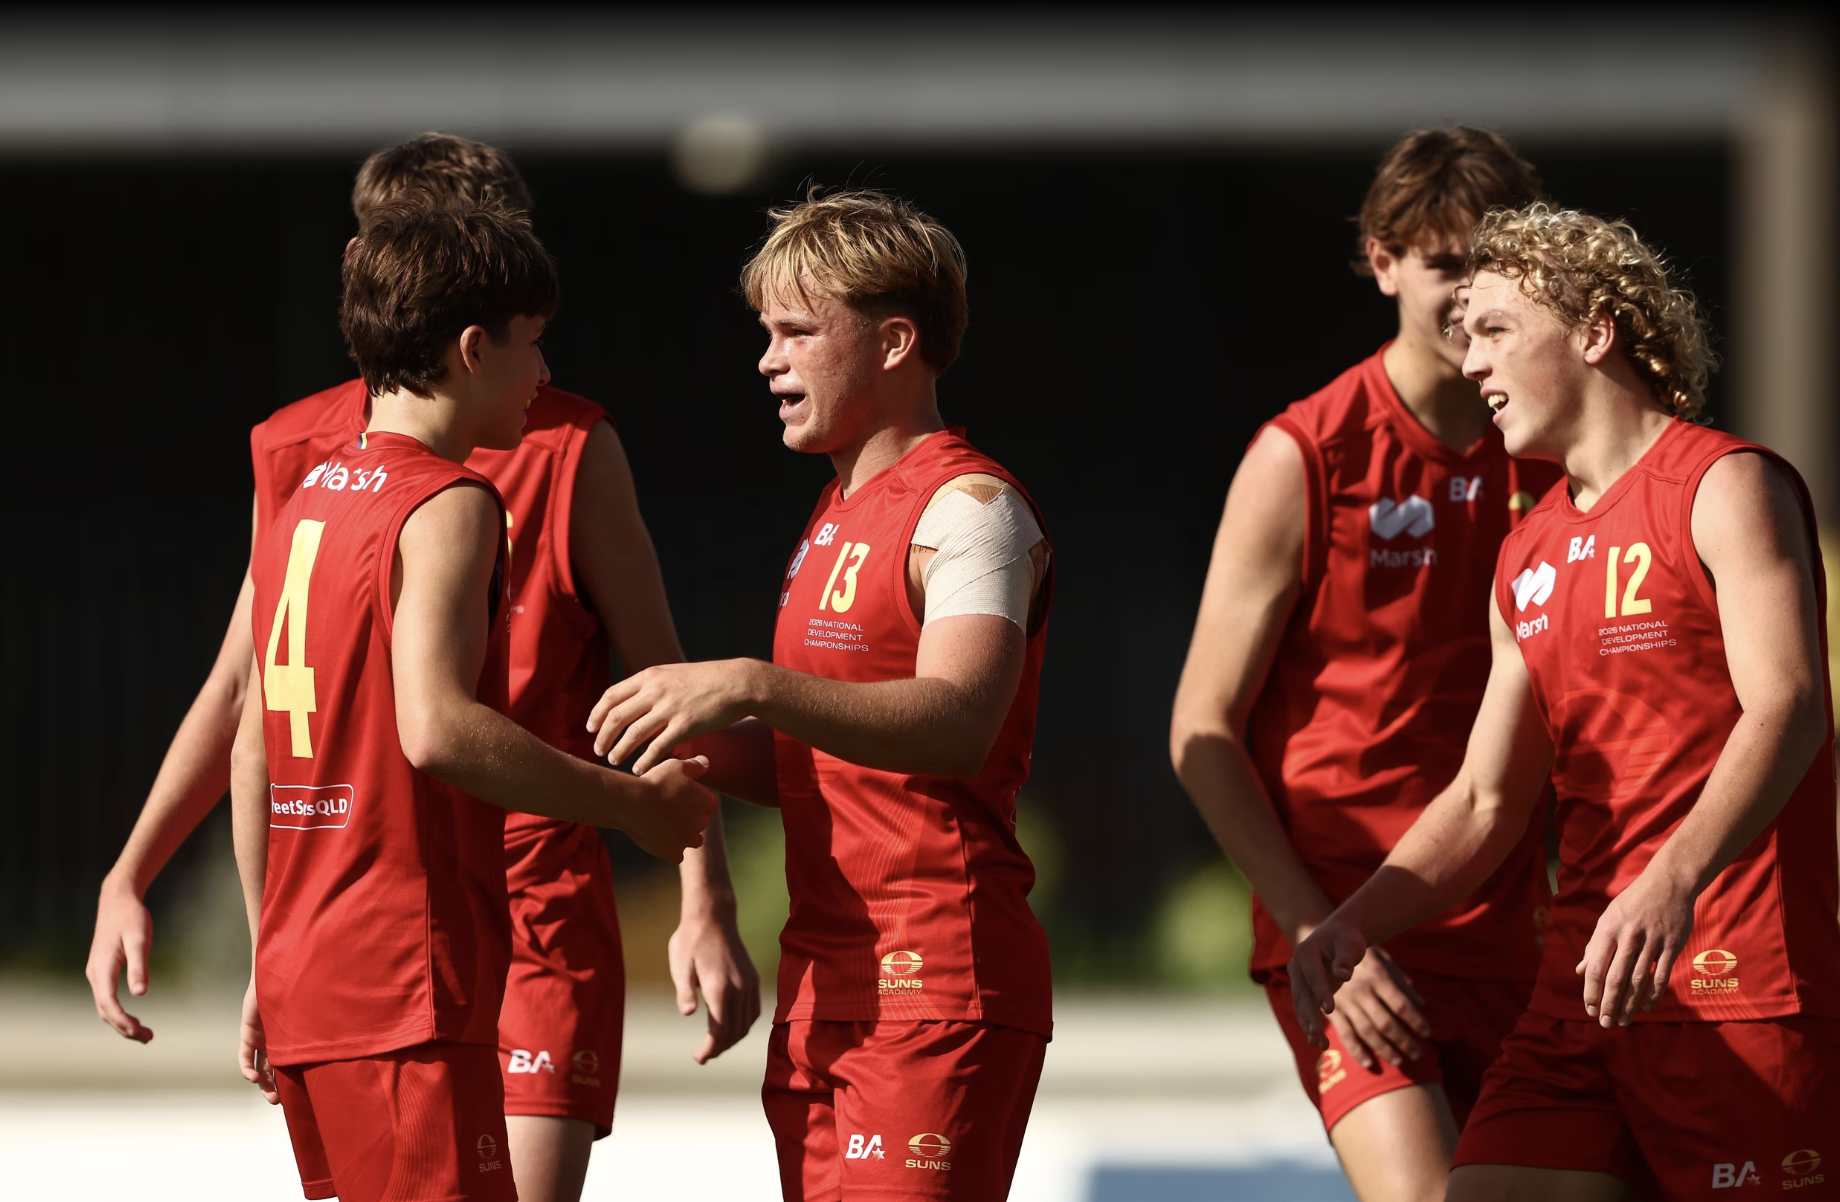
Scouting Notes: 2026 AFL U16s – Suns Academy vs. Swans Academy
THE GOLD Coast Suns Academy continued its winning run at the Under 16 National Championships on Monday, defeating the Sydney Swans Academy by 24 points at People First Stadium. After a cagey opening half, things opened up in term three but the Suns remained ahead at every break and kicked away late to salute by […]
Scouting Notes: 2026 AFL U16s – Giants Academy vs. Tasmania
THE GWS Giants Academy notched up the second win of its Under 16 National Championships campaign, defeating Tasmania to the tune of 43 points at People First Stadium on Monday morning. A dominant first half set the platform for what looked like being a giant victory for the orange team. After kicking out to an […]
Scouting Notes: 2026 AFL U18s – Allies vs. Western Australia
THE ALLIES have ended their National Championships campaign on a high after defeating Western Australia by six points in a thrilling encounter at Mars Stadium on Wednesday. The Sandgropers led by as many as 28 points during term three, but were quickly reined in and made to settle for a 2-2 record. A run of […]
Scouting Notes: 2026 AFL U16s – Lions Academy vs. Suns Academy
THE GOLD Coast Suns Academy claimed bragging rights in their opening Under 16 National Championships fixture, defeating the Brisbane Lions Academy by 47 points in a junior Q-Clash. A run of eight unanswered goals in the first half set up the Suns’ dominance at Brighton Homes Arena. Key forward Callum Samuelson helped establish Gold Coast’s […]
Scouting Notes: 2026 AFL U18s – Vic Country vs. South Australia
SOUTH Australia has ended its Under 18 title defence on a positive note after beating Vic Country by a single point in Ballarat on Wednesday. The Croweaters overcame an inaccurate start and early Victorian onslaught to get over the line via a minor score off the boot of captain Kodah Edwards. After Vic Country’s run […]
