Scouting Notes: 2022 NAB League Boys – Round 4

ROUND 4 of the 2022 NAB League Boys season brought a fruitful end to the Northern Academies’ stints, with a bumper nine games of action producing a number of outstanding individual outings. We highlight some of the top performers from each side in the latest edition of Scouting Notes.
Note: All comments are opinion of the individual author.
- Team
Murray Bushrangers

Northern Knights

By: Michael Alvaro
The usually energetic and creative George was a touch quiet on Friday night, but still managed to have a say in several scores and found the big sticks himself. He notched a goal and assist in the first term, weighting a lovely kick to Toby Murray in the goalsquare and nabbing his own six-pointer on the end of a lucky bounce close to home. He added a second goal in the third quarter, displaying incredible finishing with a 40-metre set shot from the wrong side to take full advantage of a free kick inside 50.
#3 Toby Murray
In a game stacked with tall talent, Murray was one of the more prominent bigmen afield as he completed second consecutive return of over 20 disposals and multiple goals. He got on the board with the game’s first major and notched another in the second quarter, using his size to advantage inside 50 and in the ruck. He looked ominous when allowed room to leap into the ball, and even better when an opponent could provide a ride. With his dual position ability, Murray had a more rounded impact around the ground than other key position talent afield.
#4 Darcy Wilson
The lean bottom-aged forward was a handy point of difference in attack for Murray, and again managed to trouble the scorers with a good amount of opportunities. He played as yet another lead-up target for the Bushies, presenting up to the edge of the arc where he found a lot of the footy. After half time, he ventured closer to goal and got over the back for a soccered finish in the final minute of the game. That was his only major score, but not for a lack of trying as he had multiple attempts from range which fell short or strayed wide.
Returning for his first game since Round 1, Hollands was thrown right back into the thick of things and looked to have hardly missed a beat. With his very early touches, he displayed good composure and looked slick by hand, but still has some consistency to iron out with his kicking under pressure. Hollands went about his usual business accumulating 26 touches and was ultra-competitive going both ways. His step through traffic is a weapon which he looked comfortable using despite his opening round foot/ankle issue, and it served him well when navigating tight spots.
#7 Tyler Norton
Norton was a real eye-catcher on Friday night with his dash from defence, putting to practice the exact style Murray looked to execute in transition. The over-ager took on kick-in duties and in several plays, chain possessions from the last line all the way up to the wing. Norton’s give-and-go proficiency and aggressive forays up the field made for good viewing, but also helped Murray break the lines and connect into attack with fluency. His 35 disposals and 13 marks were game-high numbers.
#21 Ryan Eyers
Again taking his place in Murray’s defence, the 198cm over-ager was not afraid to get involved in his side’s running transitional play. With clean hands and sound distributive skills, Eyers was able to help the Bushrangers springboard from defence and played somewhat below his height in that sense. He was still able to rise for a couple of intercepts and clunked 10 marks overall, looking like a tall with good upside.
#28 Noah Bradshaw
Solid is a word that’s easily attached to Bradshaw, and the Brisbane Lions father-son candidate proved exactly that once again for Murray. Stationed in the engine room, he again improved on his previous disposal tally with 26, getting stuck in on the inside and using his size to impact. While not always showcased, Bradshaw also gave a glimpse of his punchy kicking with a speared pass to the leading Darcy Wilson inside 50.
#4 Jack Chubb
On a night where Northern did very little in the way of scoring, Chubb contributed a third of his sides scoring shots with 1.3 from eight disposals and four marks. The top-ager boasts a vice-like set of hands and started in promising fashion with that trait coming to the fore. He took a lovely pack mark before converting Northern’s first major, before another strong overhead grab saw him earn second set shot in term one. He had a couple of open play shot dribble through for minors, but was reasonably productive in a tough outing for the Knights.
No matter the score, Dozzi is the type of player who has proven reliable for Northern this year and that was again the case on Friday night. The over-ager took up his usual place at the centre bounces and was super clean on the inside, dishing out handballs with sound vision and execution. He also worked hard around the ground and got stuck in to lay five tackles, including one to catch Ollie Hollands holding the ball in the first quarter.
#14 Cooper Harvey
Harvey has proven up to the task when granted midfield opportunities this season, and again finished as his side’s top ball winner with 24 disposals. The North Melbourne father-son candidate looked in good touch early on, showcasing a clean set of hands both at stoppage and in his marking around the ground. He also had the smarts to draw free kicks in contested situations and was strong enough to break tackles when required. Though he failed to trouble the scorers for the first time this season, Harvey also has that in his locker.
- Team
Sandringham Dragons

Tasmania Devils

By: Peter Williams
Put together a massive seven-goal performance and was able to top up his numbers with three goals in the final term that came after he kicked three in the first quarter. The clever small got into the right spots and always looked likely to have a big day out. His day started with a clever snap across his body in the opening minute, then actually missed the next flying shot on goal. He converted a set shot form 50m showing her could get it done there, and in the blink of an eye had his third with an over the top pass n the goalsquare. He set up Hall-Kahan in the second term, and then after not hitting the scoreboard for a couple of quarters, kicked a running goal from just inside 50 for his fourth. The final term was party time for both Clarke and the Dragons as they blew out the lead, and he padded up his goal tally with a massive day out.
The potential number one pick had a massive day out and was huge through the midfield, winning the ball at will and showing clean hands each and every time he went near it. His disposal was effective and he had a number of pinpoint passes inside 50 that really created opportunities for his teammates. Involved in many scoring passages, Ashcroft dominated around the clearances, and after missing a flying shot on goal in the second term, joined the party in the fourth quarter with an almost identical attempt that this time sailed through. Everything Ashcroft touches seems to turn to gold, and he looked that class above when on-song.
When you slot four goals and are only the third highest goalkicker, you know your team has had a good day. Hall-Kahan spent the day forward and was good in his positioning and kicked three second quarter goals to really spark his side further after the Devils had done well to contain them for the first half of the second quarter. Two of them came from the goalsquare, but then there was from a clean grab out in front of his opponent and a set shot after the siren. His fourth major came after reading the play off hands and kicking truly to be a very handy forward.
A seemingly underrated midfield prospect who looked really good onball alongside Ashcroft, McKenzie was clean, net and not phased by pressure around him. He set up scoring opportunities going inside 50 and racked up the ball with ease. Like Ashcroft, very few of his touches did not make their way into Dragons hands, and almost always made good decisions with ball-in-hand. McKenzie had a highlight in the third term by fending off a couple and still managing to get the ball away and finish with 25 disposals.
#16 Harry Sheezel
An absolute ridiculous performance from Sheezel who was best on ground with six goals from 28 disposals, five marks and five tackles. Simply unstoppable, the 184cm forward-midfielder topped his four-goal effort last week with half a dozen against the Devils. Three of those came in the first term, with the first from a 40m set shot, the second from running into the goalsquare a metre out, and the third off a left foot snap that curled to perfection. His fourth may have been the best of the lot, with a 45m goal off his right off just a step to sail home in the second term and he looked on track for double-figures. When he was not kicking them, he was setting them up, and hit the post in the third term, but soon kicked another couple in the last quarter with back-to-back snaps, the second just before the final siren.
#28 Ryley Sanders
The former Devils player took on his past side for the first side and showed some class for the Dragons. He took a good mark at half-forward early in the game, and though it ended up being his only mark of the game, the was able to apply both offensive and defensive pressure to the opposition. Sanders was clean with his ball use and able to bring others into the game, finishing with a very handy 20 disposals, whilst laying six tackles in his best game in Dragons colours.
#15 Lachlan Cowan
The standout Tasmanian prospect for this year once again took the kickout duties, then rolled through the midfield, amassing 27 disposals and 10 rebound 50s to be the Apple Isle’s best. He used his high level football smarts to use a range of disposal methods, including a clever outside of the boot kick when he spotted a teammate with his peripheral vision. He quite often was seen playing on from full-back and pumping it long outside 50 with his raking boot, and even had a flying shot on goal later in the game from outside 50, but it went well wide and out on the full. He did take a nice intercept mark in the third term, and his passing was crucial to keep his side in the game.
#27 Colby McKercher
The bottom-age talent showed some draftable qualities with his speed of the mark and clean hands at ground level. He won the second most touches of any player in the game with 23, often having to get them under pressure, and gave as good as he got with five tackles. He had a nice run down the wing at one stage, and in the second term burst out of a stoppage but could not direct the kick on goal and it went through for one behind. However he did set up a goal for a teammate with very clean hands.
#33 Liam Jones
The 181cm top-ager was not able to win as much of the ball against a dominant Sandringham midfield as past weeks, but when he did win it, he was able to have an influence. Sending the ball inside 50 time and time again, Jones was good in the air, and provided some nice run and carry from the stoppages, making his own space. After being smacked through the middle in the opening term, the likes of Jones started to win more of their own ball, and he was an influential player in transition.
- Team
Gippsland Power

Dandenong Stingrays

By: Michael Alvaro
The Gippsland skipper has looked to improve his ability to impact when rotating forward, and with another couple of goals, continues to do exactly that. Humphrey almost made the ideal start, intercepting a horror Dandenong kick-in but missing his set shot. He was strong around the ball in midfield and looked to bustle his way towards goal when forward, eventually getting on the board in term two. He added another major with a great running effort in the third quarter, providing a solid example for his troops all day.
Moschetti had his most prolific outing this year with a team-high 28 touches, and was able to stamp his style on the contest. The classy left-footer brought neat skills and a handy turn of speed away from the contest, helping Gippsland power to the outside and use the ball effectively. He booted a long-range goal in term two and hit up Bailey Humphrey for an assist, proving a capable accumulator moving forward from midfield.
Somewhat of a ‘moments’ kind of player, Konstanty’s time in the spotlight came during a sensational two-minute period in the first quarter where he strung together three consecutive goals to put Gippsland ahead. Looking dangerous at the fall of the ball inside 50, the crafty top-ager only needed a little time and space to take full toll, roving packs and snapping home with aplomb. He faded after that period of brilliance to finish with 10 touches and four goals, despite again earning some midfield minutes.
#10 Jonti Schuback
Ticking up over 20 touches for the fourth game running, Schuback produces eye-catching running plays but is almost unassuming in collecting such numbers. The rebounding defender looked potent on the outside when latching onto handball receives and setting off through the corridor. He set Gippsland into attack on several occasions and was able to breach the forward arc just as much as Gippsland’s defensive 50, proving a productive carrier of the ball in exciting bursts.
#43 Harvey Howe
Often the dominant bigman afield, Howe once again won the ruck battle with 21 hitouts and managed to hit the scoreboard as he spent more time operating inside attacking 50. The 201cm talent showcased his ability to win clear hitouts, leaning on his size advantage and directing nicely to his mids. Howe’s second term goal came on the back of a great one-on-one effort, where he pushed off his opponent at the last minute and marked virtually uncontested before converting.
In what was easily his quietest outing for the year, Szybkowski managed 14 disposals and a goal as the Stingrays were outgunned. Nonetheless, he looked clean as always when he got his hands on the ball, using his strength to have a say at stoppage while also looking for exits by hand. He did not quite reach the same levels of proficiency as usual, but spent some time up forward and kicked a goal for the second week running, converting a set shot in term three. It’s hard to keep a good player down.
#4 Jaxon Binns
The hard-running Stingrays utility again featured out on the wing and got to work in notching up possessions in either half of the ground. His work rate saw him sweep behind the ball and launch attacks, while also getting on the end of a few transitions to end up with a couple of minor scores. Binns proved a key link between the arcs, especially going forward as he managed seven inside 50s in the loss, attempting to spark his side.
Leading all comers in a losing effort, Campbell-Farrell’s 29 disposals and eight tackles make for good reading after another solid outing. The top-age midfielder was able to get first hands to the ball at stoppage, and much like Szybkowski, was really clean in those situations. His ability to connect by hand with his fellow midfielders was sound, as Campbell-Farrell helped keep the Stingrays moving forward with a touch of fluency. He has been super consistent this season, and somewhat underrated for his role in Dandenong’s 3-1 start.
#16 Henry Hustwaite
There is little fuss about Hustwaite’s game, but he is just so reliable in defence with his cool head and clean handling. He’s perhaps a touch under key position size at 194cm and plays that way, sweeping across the last line to help retrieve the ball for Dandenong and distribute it quickly on the rebound. He hardly put a foot wrong in defence and having navigated tight spots with aplomb, was again afforded some midfield minutes after half time.
- Team
Calder Cannons

Oakleigh Chargers

By: Declan Reeve
#8 Rye Penny
Penny played a difficult role through the day, filling in as an under-sized key defender. Despite only being 4 games into the season, Penny has already become well known for his marking and run out of the backline, possessing a big leap and good dash of speed, Penny continued to fly for every mark he could, and look to break open the game with his dash. Whilst Penny’s use by foot was occasionally unconvincing, when Penny has time to assess his options he hits his targets well.
#13 Michael Ktona
The primary ball winner for Calder through the day, Ktona at times was the sole roadblock for the Oakleigh midfielders around stoppages, consistently cracking in hard and trying to win first possession and get the ball moving forward with a long kick. Ktona worked hard to get involved in open play as well, making short and smart leads around the ground to allow Calder to gain territory bit by bit.
#27 Paul Pascu
Pascu had some moments of pure brilliance through the clash, showing off his burst of speed from congestion with some impressive clearances from the center. Pascu continued to show off his high level workrate, regularly getting down back to assist in defense, and then working just as hard to get forward and involve himself in link up chains. Pascu was clean with the ball and hard at it all game, cracking in to win hard balls and generally using it well by hand to get it to runners.
#28 Jamieson Jarvis
A smart and versatile player, Jarvis managed to pop up at some crucial times and use the ball well, finding teammates in good spots and generally making the best decisions available to him. Jarvis was smart on the lead and in marking contests, finding little spots to lead to or using his body well one-on-one to get his opponents off balance.
The pick one contender continued his hot start to the season with another exceptional performance. Tsatas possesses a burst of speed unlike any other prospect and he wasn’t afraid to back that in to burn off opponents with ball in hand and get into space to deliver the ball well forward. Tsatas showed some finesse with his kicking at times, able to change angles quickly and hit targets in more central areas of the ground, even under pressure. Tsatas got a move to the inside from the wing in final term and continued to shine, showing he’s not one to shy away from contested ball, and continued to show off his burst from the congestion.
Just an all round exceptional performance from the tall, the highlight of Jefferson’s game was his marking and leading. As the deepest target, Jefferson was often looked for by teammates when they had the ball inside 50 and stuck some impressive grabs, able to just stick his arms up in the middle of packs and hold the ball at times. Another impressive aspect of Jefferson’s game was his work when the ball was in Calders forward half, Jefferson moved up the ground aggressively to be a link up marking option, taking some grabs higher up the ground in transition and finding ways to get separation on his leads. Jefferson ended the day 3 goals and 1 behind on the scoreboard, but could have ended with a higher tally had it not been for some wayward kicking and unselfishness in the forward half, giving a couple off and having some not make the distance.
Wardlaw started the game on fire, winning the first clearance of the game and beautifully hitting up a leading forward by foot. How comfortable Wardlaw is with taking contact is a big part of his game and sets him up well for the future, showing this off with an early clearance where he held the ball with one hand whilst copping a heavy bump, then dribbling it out for a teammate to run onto. Wardlaw continued to do everything well, taking marks, even a speccy, working hard in transition and winning the ball in the contest. Recovering from an illness, in the second half of the game it seemed Wardlaw was more heavily rotated, but still impacted the contest when he was on in the same ways he always does.
#9 Luke Teal
In his first game of the season, Teal took some time to work into the game making a few skill errors early, but once he had warmed into the contest he showed what many would have expected from the National Academy Member. Teal was mostly solid by foot after the first quarter and looked to move the ball quickly when he won it, often playing on from his marks to move it to teammates in space. Teal positioned well all game and intercepted when the ball came in his area, pushing up the ground more and more as the contest went on to intercept the ball closer to the forward 50. Teal showed some real class and composure under pressure at times, with a handball chain off the halfback line early on standing out in particular.
The bottom-ager took yet another step up in this game, winning a season high 19 disposals as he looked to use it more aggressively than he has done in the past. Philactides continued to take on the game with his speed and agility and use it well by foot, generally looking for safer options but at times looking to centre it going forward.
#33 Alwyn Davey Jnr
Although ending the day with 14 disposals, many would’ve walked away from the game thinking Davey won the most of the ball on the ground given his impact. Davey spent essentially the whole game on the ball and was damaging with every touch, particularly out of stoppages where he found releasing handball options well, drawing in opponents to relieve his targets of pressure. Davey had a couple of moments of pure brilliance when it came to getting around opponents, with a couple of candy sells and quick bursts to get away from an opponent on the mark, but the highlight without a doubt came as he played on from a free kick, took a couple of bounces running forward and hit a leading teammate perfectly.
- Team
Northern Territory Academy
Geelong Falcons

By: Max Hughes
#3 Jet Kneebone
Kneebone was solid without being spectacular, as the reliable midfielder picked up 17 disposals in a rounded display. Very few players won big amounts of the ball, with Kneebone finishing with equal second most on the ground. He used the ball neatly and was strong in and under, extracting the ball from stoppage and working well in tandem with Northam, who was winning his fair share of the hit outs. The next step in his game will be finding ways to accumulate more of the football as a midfielder, something that is well within his capacity. If Kneebone can get up around the 25 disposal mark consistently, the attention from recruiters will only intensify, as he has a strong foundation of skills as an on-baller.
#40 Thomas Burke
It was a strong showing for the Falcons small forward, as Burke kicked three straight from his 16 disposals. In what was a very scrappy, low quality affair, Burke’s finishing ability stood out, particularly as others were spraying their opportunities on goal. He was busy throughout the contest too, getting his hands on the ball and looking dangerous inside 50. A genuine small forward at 170cm, Burke played that role perfectly for the Falcons.
#47 Euriah Hollard
It was an ‘almost’ day for Hollard, who was unable to capitalise on numerous opportunities in front of goal. Hollard showcased his athleticism on multiple occasions, taking some fantastic marks for a player that stands at only 175cm. He got into dangerous spots, and looked to be one of the few players on the ground with real X-Factor. His disposal wasn’t perfect, and there were a couple of shots at goal that seemed unnecessarily rushed, but Hollard provided a real spark and was one of only a couple of players who caught the eye with the way they played.
#53 Olivier Northam
Northam was a powerful presence throughout the contest, finishing with two goals, 14 disposals and 19 hitouts. What was most impressive about the 195cm ruckman’s performance was his follow up work, clearing the ball from stoppages and pushing forward to pose a threat. Northam has good hands and moves very well, which is what allows him to be effective given his slightly undersized stature. Akin to Essendon’s Sam Draper, he also has a great physical presence, through both his tackling and contested ball work. This is an absolute necessity for ruckman at the higher level, so it is encouraging to see that side of Northam’s game.
He’s not a big ball winner, but Waistcoat’s nine disposals showed plenty of exciting skills, and his impact on the game was profound. Possessing great speed and agility, Waistcoat utilises this both offensively and defensively, dancing through traffic whilst also chasing hard and hunting opposition players. He is physical too, unafraid to bump and nail people in tackles. Waistcoat’s kicking, albeit from a small sample size, looks to be a real asset, as he has a languid technique that exhibits both touch and power. Clearly it’s about getting him more of the ball, but Waistcoats 2 goal return was impressive regardless.
#27 Riley Stone
The leading possession winner for the NT Thunder, Stone worked hard to provide for his side despite the eventual result. Stone was pushing both ways, bringing the ball inside 50 often, but also rebounding from the Thunder’s defence. This work rate cemented him as an integral part of their ball movement, and in a low possession game, his 17 disposals carry more weight. Whilst his performance was less eye-catching than Waistcoat’s, it maintained the required consistency, allowing the NT to compete against a stronger Falcons side.
- Team
Bendigo Pioneers

GIANTS Academy

By: Peter Williams
#4 Harley Reid
The enigmatic excitement machine provided the highlights, and though still ironing out some consistency, Reid almost pulled down one of the marks of the year early in the game, and then looked to twist and turn his way around opponents to create something forward of centre. He took a great grab 40m out from goal in the first term but his set shot just drifted, then got involved further up the ground in a nice one-two with Gillbee on the wing. He looked dangerous every time he went near the ball and showed some high-level power and penetration with his kicking, as well as clean and quick hands in transition. Ultimately he failed to kick a goal, but his best was clearly the best running around.
Worked tirelessly throughout the game and was generally clean with his touches, running hard from one arc to the other and finding plenty of ball on the outside. His rare blemish came in the fourth term where he had the chance to hit up a target inside 50 but just pushed the kick too wide. Other than that, he reseted full-forward, marked 30m out and converted the set shot in the 15th minute of the third term, and got behind the ball in the last quarter to provide some run and drive. At one stage, he came off for a rest late in the game, but was quickly rushed back on such was his importance to the team, and he kept running until the final siren.
#17 Oskar Faulkhead
The over-ager talent was the most damaging Pioneers forward with the most disposals and equal most goals in that forward half. He picked up 19 touches and slotted two goals, the second of which was a ridiculous one. He picked up the ball, bounced off an opponent, fended off another and then as he was off balance snapped around his body to sail home – from 50m no less – to put the Pioneers in front late in the third term. His other goal was more of a regulation lead mark and set shot in the second term, but he kept getting to the right spots and was leading both straight and laterally to try and work over his opposition defender.
#10 Ethan Grace
The dominant goal kicker on the field, Grace finished his day with 4.1 and was lively throughout. Though his first kick at the top of 50 looking for a target inside was not pinpoint, he would took nail a set shot himself from 40m and wonder why he ever passed it. He kicked a second goal in dramatic fashion with a ridiculous shot from a standing start sailing home early in the second, and then converted another set shot from 30m out. He would finish the day with the our majors, but also record 18 disposals and take six marks to be the most potent forward on the ground.
#16 Harry Rowston
Won the equal most touches in the game and looked lively throughout the game, being a target with some nice hands above his head. A kick-first player, Rowston hit a nice pass at speed in the second term to set up a goal-scoring opportunity, then kicked one himself after laying a tackle on an opponent who took too long to dispose of it. Throughout the game Rowston continued to bob up and keep winning the footy, often getting it forward and putting immense pressure on the Pioneers defence.
#18 Luke Lawrence
Smooth and deadly, Lawrence was clearly the most eye-catching ball user out there, being able to weight kicks of multiple distances and have impact on the game. Though at times he might have gone a touch quiet, he would remind fans of what he was capable off with a bullet pass inside 50. Nearly each touch he had lead to something special, with his creativity in transition going forward really important. In the final 30 seconds with the game in the balance, Lawrence won a critical contested ball at half-back and fired out the handball to a teammate so as not to be caught holding the ball, and the side held on.
The towering 204cm ruck became the match-winner for the GIANTS, slotting the last two goals of the game to ensure the orange and charcoal side took away the chocolates. In the first six minutes of the match, Madden would rack up five touches and get involved, then provided a target throughout the match. Though his middle two quarters were a little quieter in terms of impact, he still racked up the 16 touches, took six marks and slotted those two goals, and his contested pack mark and subsequent set shot make was a highlight of the game.
- Team
Lions Academy

Eastern Ranges

By: Michael Alvaro
#2 Bailey Tome
In tough conditions, Tome put in an absolute shift for the Lions. His style somewhat suited the windy and greasy weather, with his contested style and ability to accumulate cleanly at the contest coming to the fore. He also got busy around the ground and ended up hitting the scoreboard with an important goal in the final term, converting a free kick from about 40 metres with the heavy ball.
#18 Jaspa Fletcher
There’s much to be said about players who can show their class in the most awful of weather, and Fletcher was repeatedly able to do so on Sunday. The Lions father-son candidate started out on the wing and simply looked more polished than anyone else afield, showing a clean pair of heals and great skills. His booming kick was used to best affect with two long-range goals in the third quarter which lifted his side into the lead, proving his obvious class and leadership quality. His repeat runs and chained possessions were also a good watch, as Fletcher capped off a stylish NAB League stint strongly.
#34 Tristen Meekin
A raw bottom-ager, Meekin started off like a house on fire with three goals in the opening quarter. Everything he tried came off, starting with a solid mark on the lead and set shot conversion from 40 metres. He then finished off a nice passage closer to goal, before adding a third major by breaking inside 50 with unorthodox running bounces and slotting the ball home on his left side. He lacked the same polish as the game wore on, but caught the eye in that first 25-minute period.
#1 Kai Windsor
Spending much more time in attack than in previous weeks, Windsor again dropped down to 12 touches but still managed to get his hands on the ball in good spots. He leant on his running capacity to work up the ground and presented as a viable option for his midfielders on the break. He had multiple attempts on goal from set shots, but only one carried the distance and earned the Ranges six points, remarkably with a heavy ball amid the third-term downpour.
#12 Hayden Smith
Somewhat of a surprise packet for the Ranges with season-best numbers of 23 disposals and 11 tackles, Smith was afforded plenty of midfield minutes and made use of them. The top-ager was easy to catch with his blonde mop and contested style, adding flair to the engine room with his breaks from congestion and tackling heat. A rundown tackle in the first term was among his highlights, along with an important overhead mark in the fourth.
#18 Lewis Hayes
A unique prospect at 197cm, Hayes continued his promising form in defence before spending some time on the wing. He looked arguably more comfortable with ball in hand than when defending, making great decisions and executing his skills well by both hand and foot. He took up aggressive positions behind the ball and looked to help Eastern lock it in the front half, but not quite having the same intercept impact as previous weeks.
#60 Tyreece Leiu
The over-ager has had a big few months having trialled for a top-up spot with Carlton, and has gotten back on the park in the last two weeks back in his home region of Eastern. Leiu again finished with 18 disposals, rotating through the midfield and showcasing his range on the inside. In a game with plenty of scrappy play, he generally looked composed and used his size to have an impact at stoppage across a solid display.
- Team
GWV Rebels

Swans Academy

By: Peter Williams
Accumulated the ball across three quarters and kept moving through the midfield, and he won a holding the ball free kick in the middle early. As a player utilised in transition between midfield and half-forward, Ballantyne was strong in the air and found space well, sending the ball inside 50 on a number of occasions. Though not always consistent with his execution, Ballantyne was a player who got into ball-winning positions and was able to help his side pile on goals throughout the game with his movement in transition.
After a quieter first half, Sinnott came alive in the second half. Known for his outside play, the midfielder showed those traits again, with some hard attacking running and finding space. He seemed to find a paddock with ease, and his high-level endurance allowed him to work over endurance. Sinnott has the capability to find a lot of the ball in a short space of time, but his consistency from quarter to quarter, and particularly his defensive traits – one of only four Rebels not to lay a tackle – are areas to continue to build on, but he is a smooth mover and used it well.
#5 Aaron Cadman
The tall forward really build into the game after a quieter start and had six scoring shots for three goals. His first goal came in the second term where he funnily enough played the role of crumber, cleanly picking off the deck from a marking contest and snapping around his body in the 14th minute. He then produced a lovely set shot 14 minutes into the third term with a terrific kicking action, and his third came later in the term from leading into space, marking and converting the set shot from 35m out. He built up enough confidence to try and kick a goal off the outside of the boot in the same term but it went wide for one behind, though earlier in the quarter he released a perfectly-timed handball to Flynn Loader to set up a goal.
#11 Charlie Molan
The best-on in terms of four-quarter consistency, Molan is the definition of having a crack. He genuinely wanted to carry the side when they were down, and did everything he could with his defensive pressure to put pressure on the opposition. Her generally did well by hand or foot and worked so hard running from the stoppages, and most importantly ran defensively as well as offensively. He would be rewarded with disposals on the wing, but sometimes when he got free, his teammates did not utilise him. He missed a set shot from the top of 50 in the fourth term, but that came after a great running goal early in the second term to put his side in front. Competed hard across the four quarters.
#34 Beau Tedcastle
An incredibly clever small forward, almost all of his highlights were his goals, with some great speed off the mark, terrific goal sense and his ability to get into the right spots looked all in his wheelhouse. He finished with four goals, including a great snap from the pocket which looked like child’s play for him, though perhaps his most eye-catching goal was the dribble effort from the pocket under pressure from 30m on the boundary line that looked like the attempts made either side of training. Looked settled inside 50, and certainly dangerous each time he went near it.
Providing strength in the air and an ability to hit the scoreboard, Endemann made the most of his chances inside 50. He competed well in the air and brought the ball to ground early in the game, and managed to grab it cleanly off the deck and snap around his body for the first goal of the match. He kicked his second goal in the third term from a quick snap in congestion, and it appeared that a degree of difficulty was needed for the Swan, missing a set shot from 50m to the right which was the easier of the three attempts. He looked lively throughout the game and was the most damaging player on his side.
#18 Hamish Morrison
Standing at 183cm, Morrison was able to make plenty of his 11 disposals, often standing in the perfect spot for the quick release rebound 50 from the the Rebels, taking multiple intercept marks at half-forward. His sole goal came when he found space all alone in the pocket and marked, converting the set shot from 40m on a tight angle. He might have only had 11 touches, but took six marks and laid five tackles, which was why he caught the eye in the forward half.
#27 Angus Anderson
The Swans over-ager was by far the most prolific ball-winner, amassing 28 touches and just doing his third across four quarters. He managed to hit the scoreboard in the third term off a step with a great snap, breaking the drought of the Swans who had not managed a major since the first three goals of the game. He was fierce around the stoppages and tried to lift his side across the game, working hard both ways to cover the ground in the defensive half, then get forward and create avenues to score in transition. Finished the match with an impressive 28 disposals, six marks, six tackles, three inside 50s, five rebound 50s and a goal.
- Team
SUNS Academy

Western Jets

By: Michael Alvaro
Crafty at ground level, Harrington finished with a game-high three goals, including two in a minute during the first term. His ability to collect the ball at speed off the deck was impressive, as was his finishing on the move with all three of his majors coming in open play. Harrington showed his smarts in those goalkicking situations to get to the fall of the ball off hands and accelerate out of danger, while also working well up the ground to link the Suns into attack.
#6 Jake Rogers
Another smaller player who proved useful at ground level, Rogers was in constant motion and helped break open contested patches of play. He got on the board with the game’s first goal after a holding the ball tackle inside 50, and proved polished when collecting the ball in motion at the stoppages. Difficult to contain for that reason, Rogers was one of the more skilful players afield and looks a promising type for the Suns to develop as a bottom-ager.
#15 Jared Eckersley
Eckersley was wickedly clean at the contest throughout the whole of Sunday’s clash, winning his fair share of ball at stoppage and dishing it out in style. The tall midfielder has great range with his reach at 192cm, and used it to play the distributor role with aplomb. Even when tackled, he always found a way to keep his arms free and remain balanced enough to find the right option while absorbing opposition heat. Gaining confidence throughout the match, he began to look for more expansive exits and with 17 handballs from 24 touches, some had the same effect as kicks in releasing teammates.
#32 Jed Walter
The bottom-age AFL Academy member has been super impressive throughout his NAB League stint, and brought a great deal of intensity to his final outing. Even without the best delivery to his forward post, Walter presented on the lead and harassed the Western defenders when the ball hit the deck, throwing his 194cm frame around. Walter’s competitiveness saw him create opportunities from nothing, and he got reward for effort in the form of two goals. His second, kicked on the three-quarter time bell, came after a big contested mark at half-forward and put the Suns in front. He’ll be a good watch next year too.
#6 Matthew Payne
Despite a steady start and limited opportunities, Payne hardly let up until the final siren and injected a bit of speed to the game whenever he could. The small forward was hard to stop when he got his legs pumping and made use of that with his ventures up the ground. He looked to burn his opponents on the way back to goal, and added a major in the third term via a set shot, maintaining his streak of scoring in every game this season.
D’Ambrosio has shouldered a mountainous workload across the first four rounds, doing a bit of everything across Western’s defence and playing well above his 178cm height. On Sunday, he took on the kick-in duties, mopped up off packs at ground level, distributed the ball short and long, sparked rebounds with his run, and rose for some impressive intercept marks. The over-ager was gutsy and his numbers highlighted his work rate, finishing with a game-high 30 disposals, nine marks and 13 rebound 50s in a losing effort.
#47 Zayne Galea
Along with D’Ambrosio, plenty of play went through Galea in Western’s own half as he worked to both intercept and set his side in motion. The 194cm over-ager clunked just two marks but got in the way of several Gold Coast attacks both in the air and on the ground, before turning his possessions into productive rebounding play. He ended up with 15 touches (12 kicks) as one of his side’s more important players on the day.


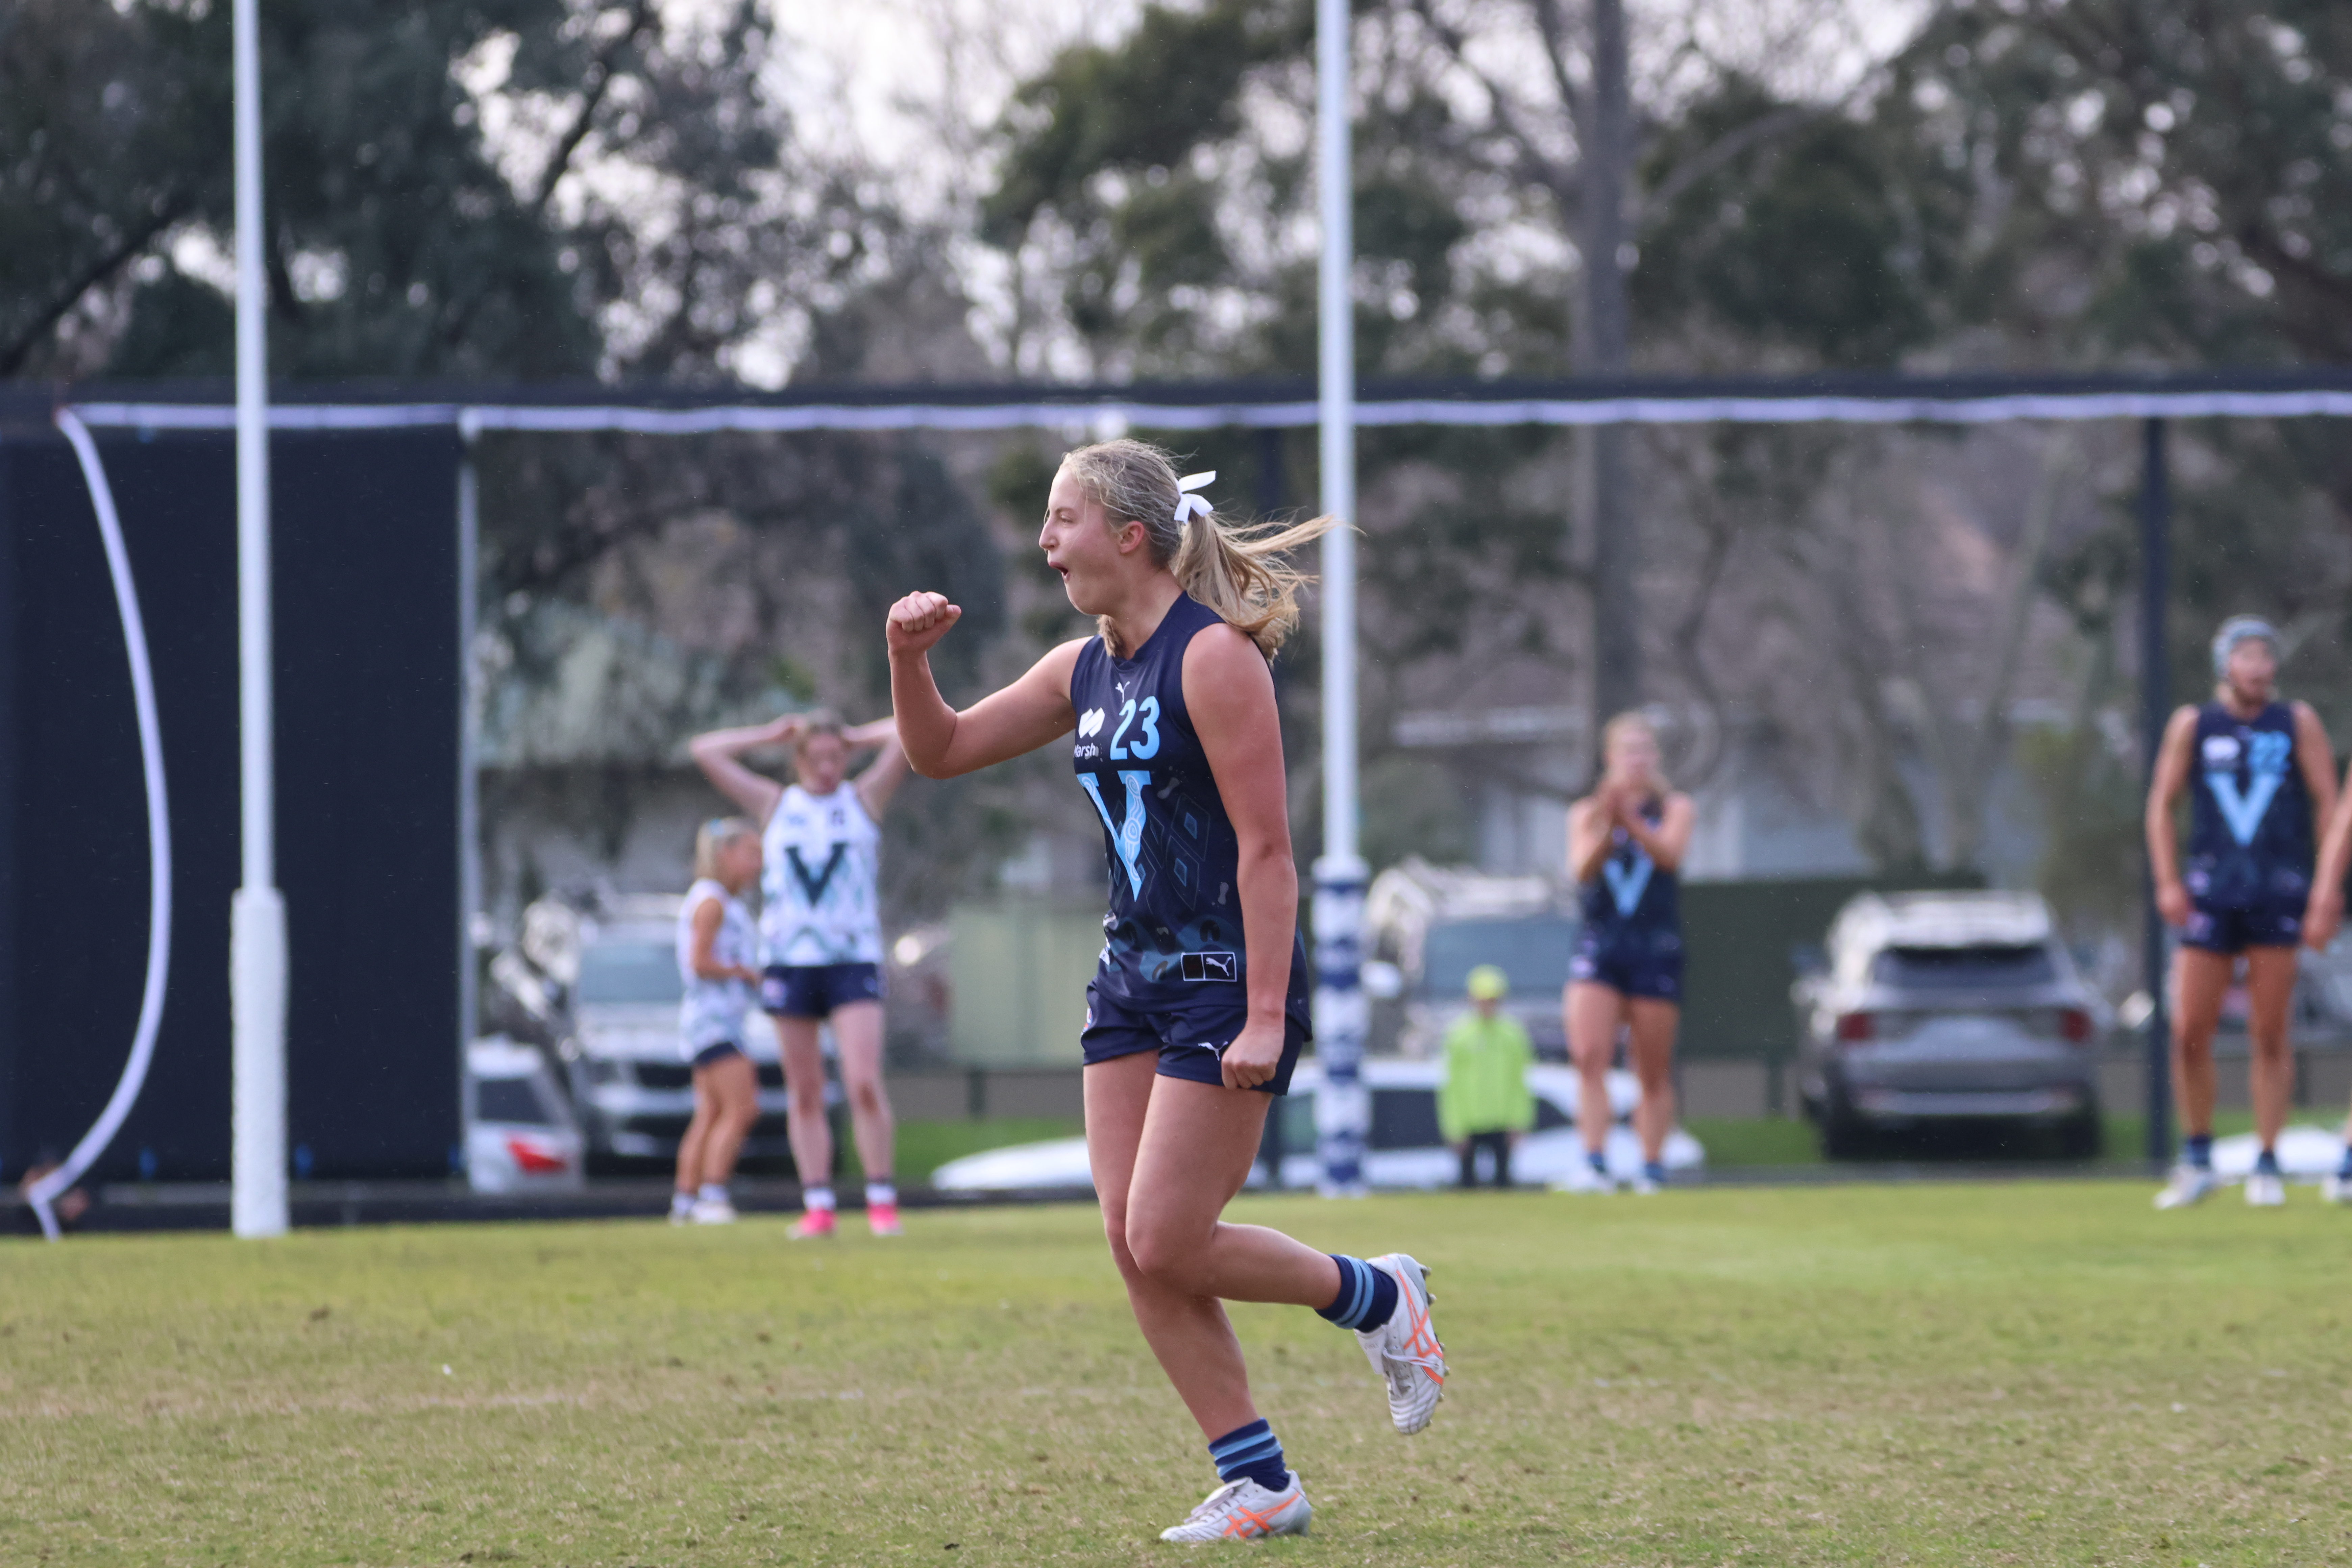
2026 Talent League Girls R17 notes: GWV Rebels vs. Sandringham Dragons
SANDRINGHAM Dragons made it two wins on the trot with big victory over Greater Western Victoria (GWV) Rebels at Mars Stadium over the weekend. The first term was a tough scrap, before the Dragons booted eight goals to one in the final three quarters, with Grace McIntyre and Maya Duane combining for seven of their […]
2026 Talent League Girls R17 notes: Tasmania Devils vs. Calder Cannons
TASMANIA Devils secured the all-important 12-point win over Calder Cannons down on the Apple Isle with some key AFLW Draft prospects putting in huge shifts. We took note of some of the players who caught the eye in the 5.9 (39) to 3.9 (27) result with not much between the two sides. All notes are […]
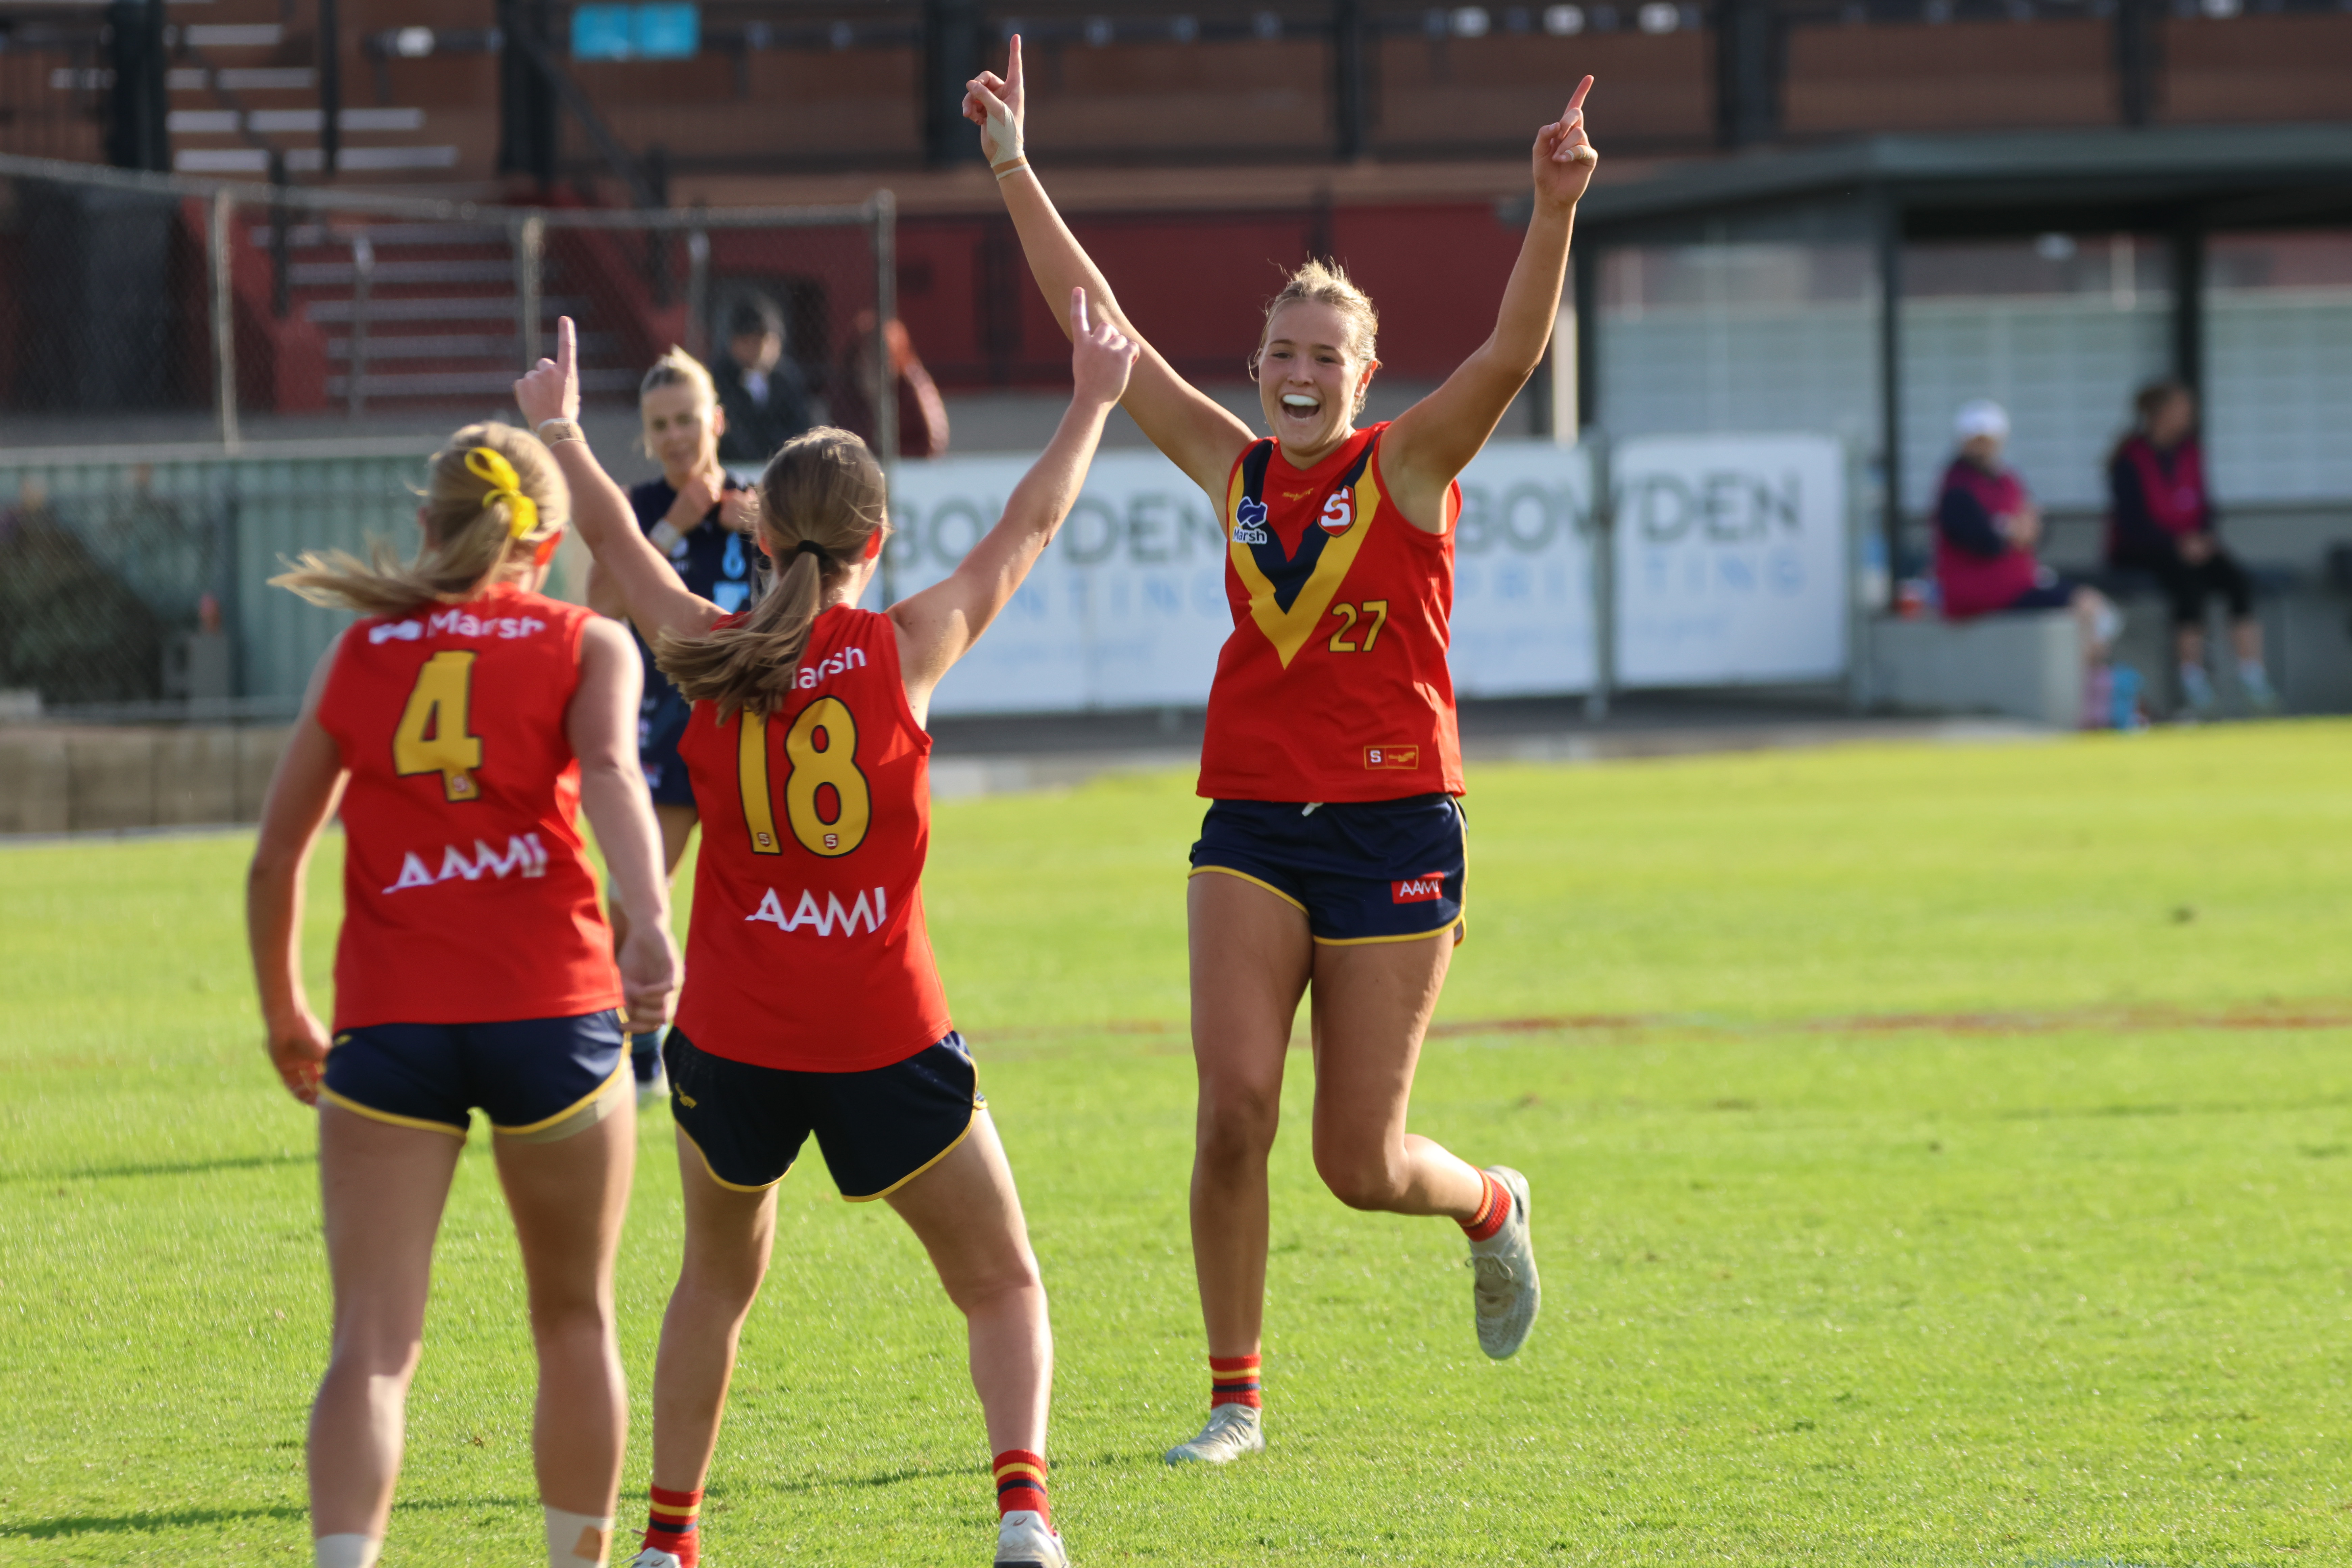
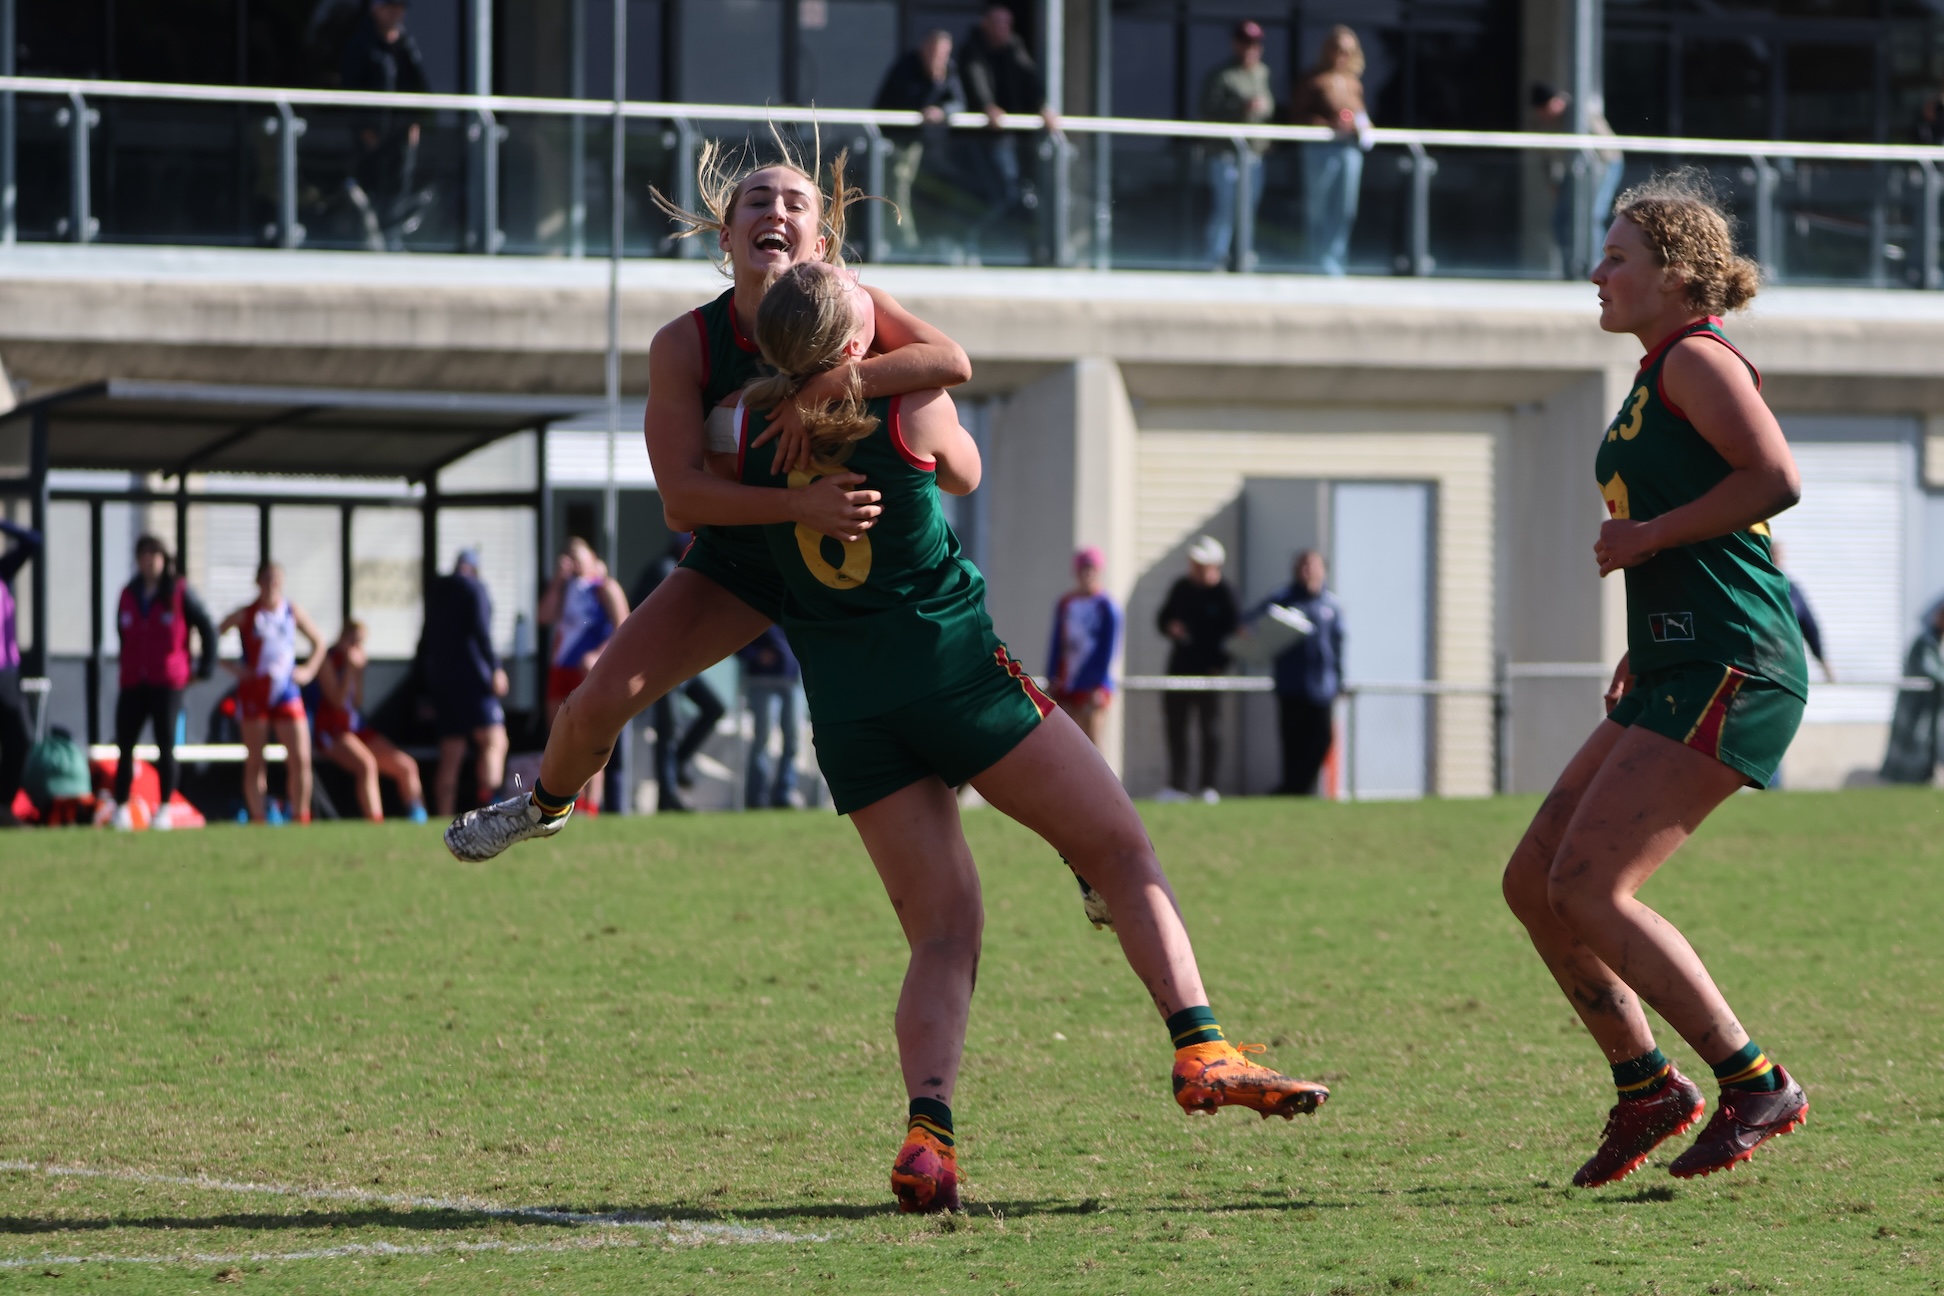
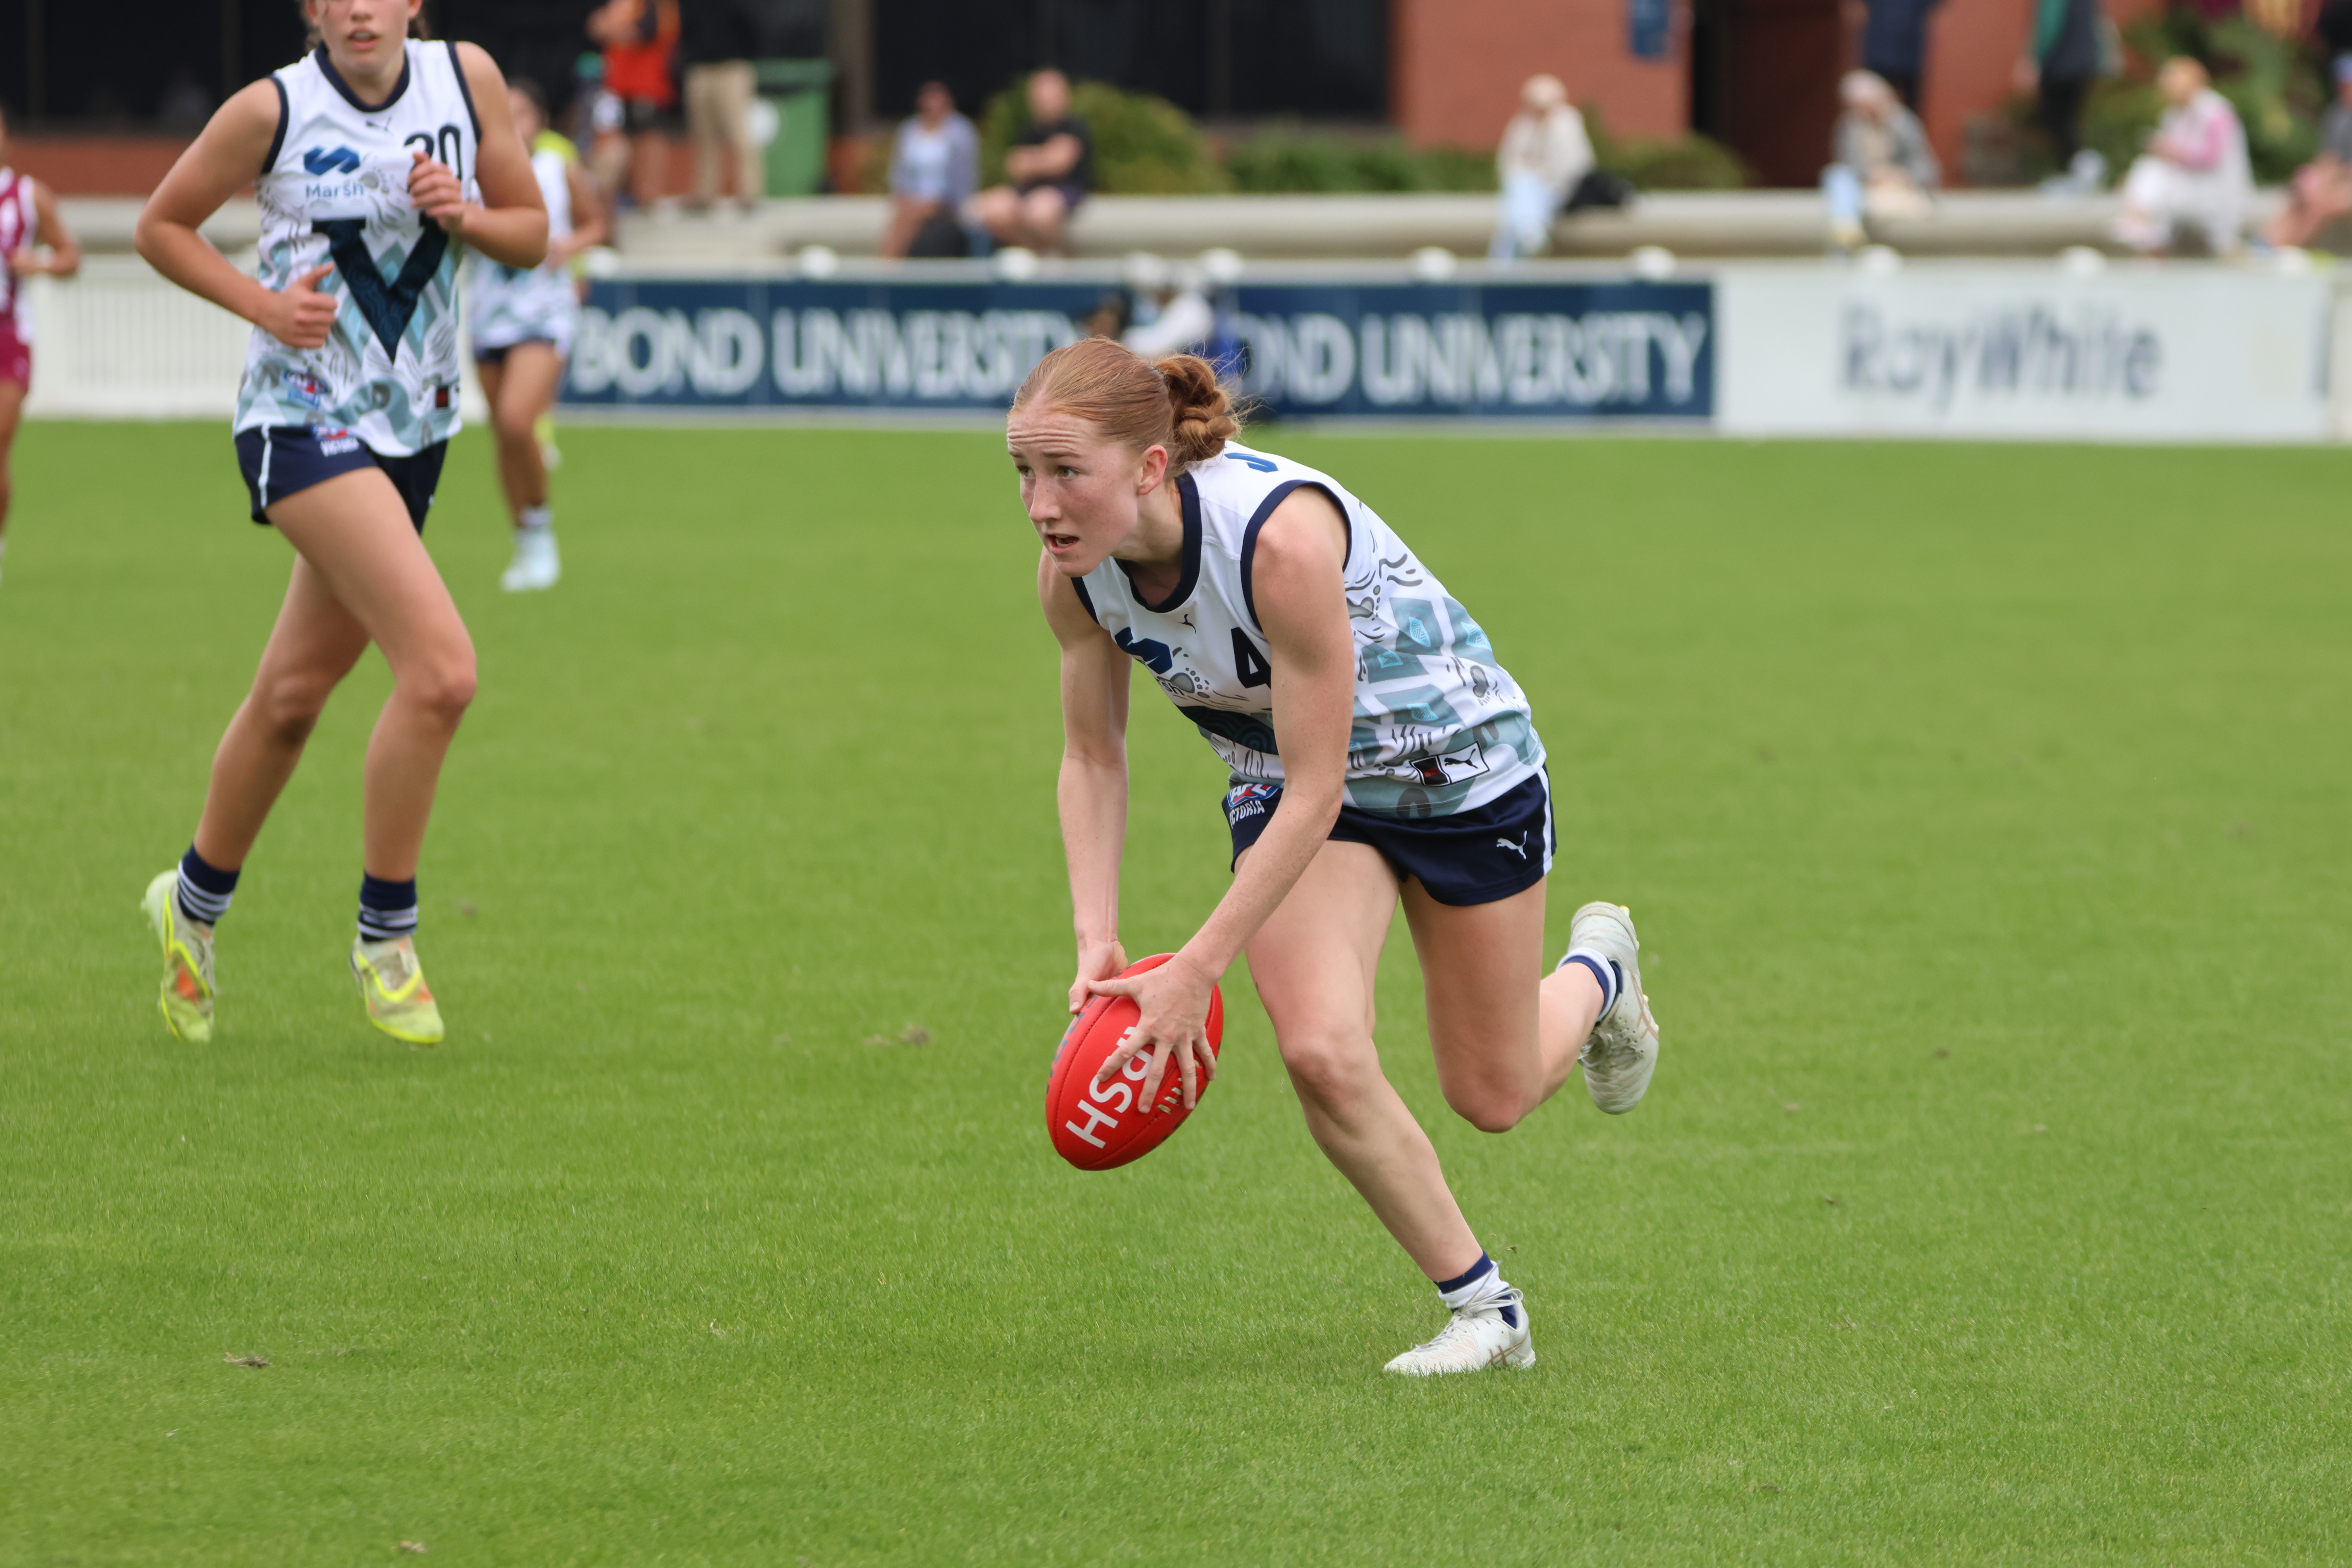
State Academy notes: 2026 SANFLW – Round 12
ROUND 12 of the 2026 SANFL Women’s season produced another absorbing weekend of action, with the State Academy contingent continuing to press their cases. We took note of how each of the Academy members performed across the four games. All notes are the opinion of the individual author.
2026 Talent League Girls R17 notes: Bendigo Pioneers vs. Eastern Ranges
DESPITE conceding the first goal and trailing at quarter time, the Eastern Ranges’ class shone through at Queen Elizabeth Oval, booting 12 goals to nil after the first break to defeat Bendigo Pioneers by 66 points in Round 17 of the Talent League Girls competition. We took note of some of the players who caught […]
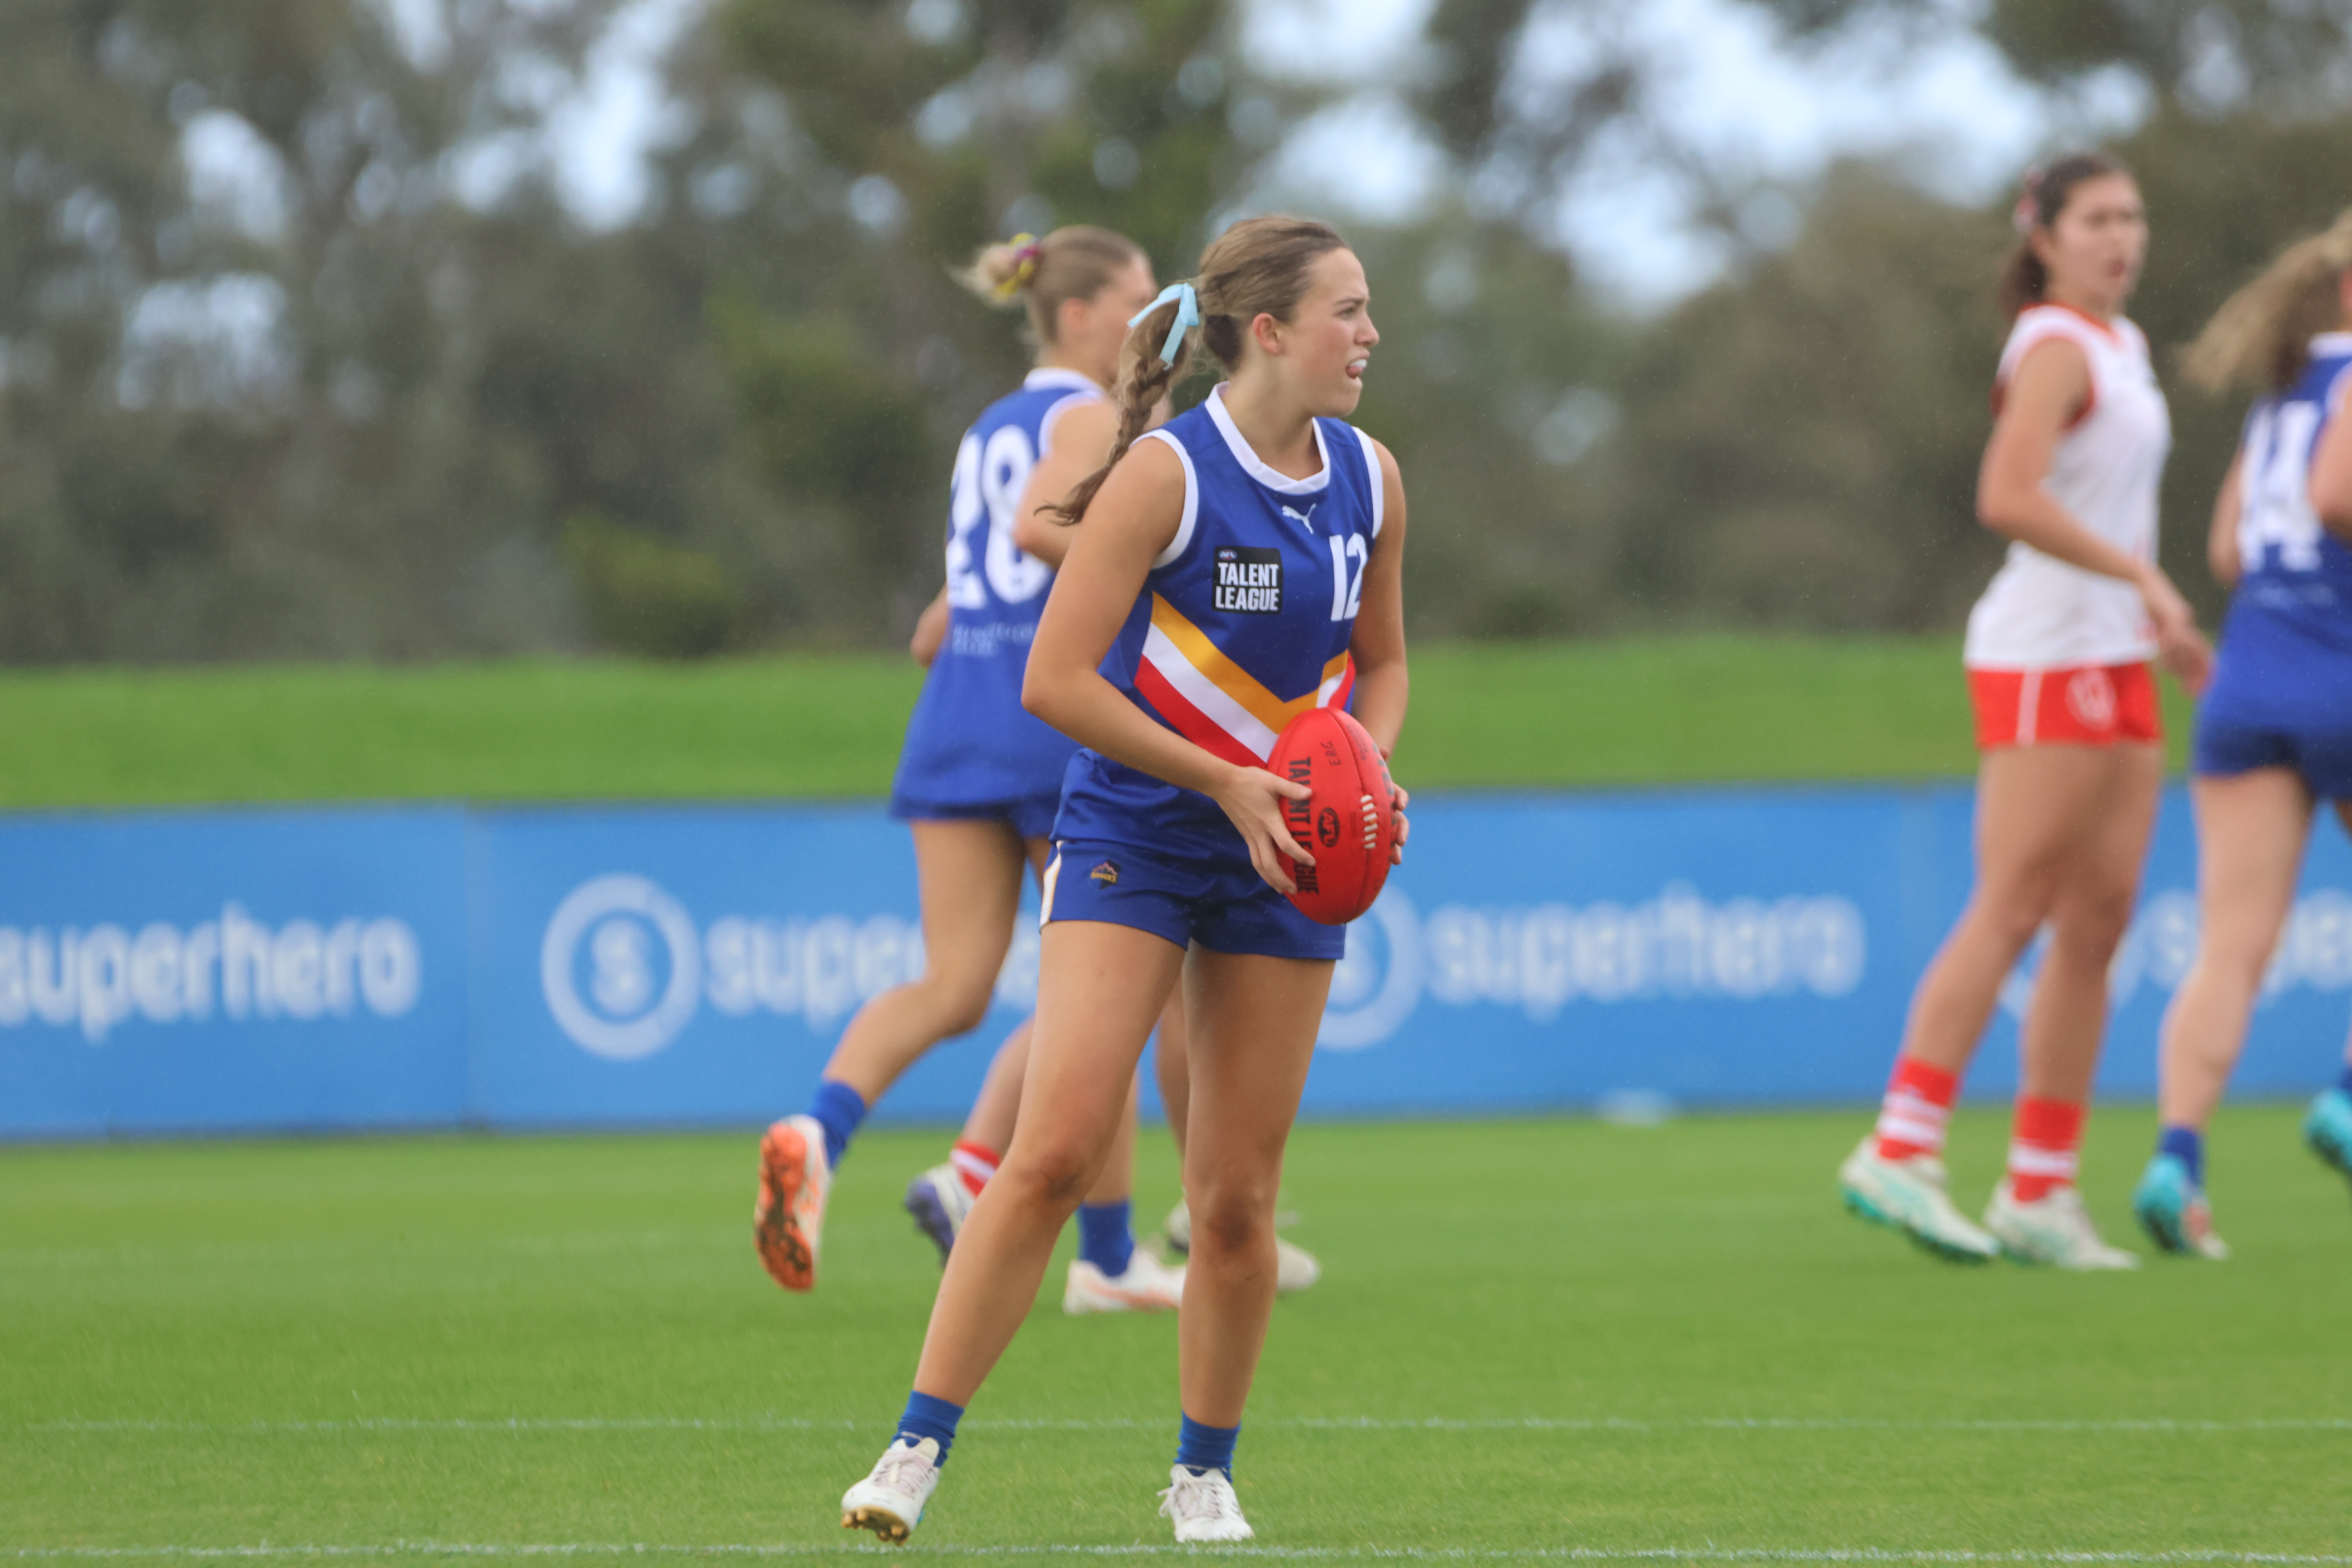
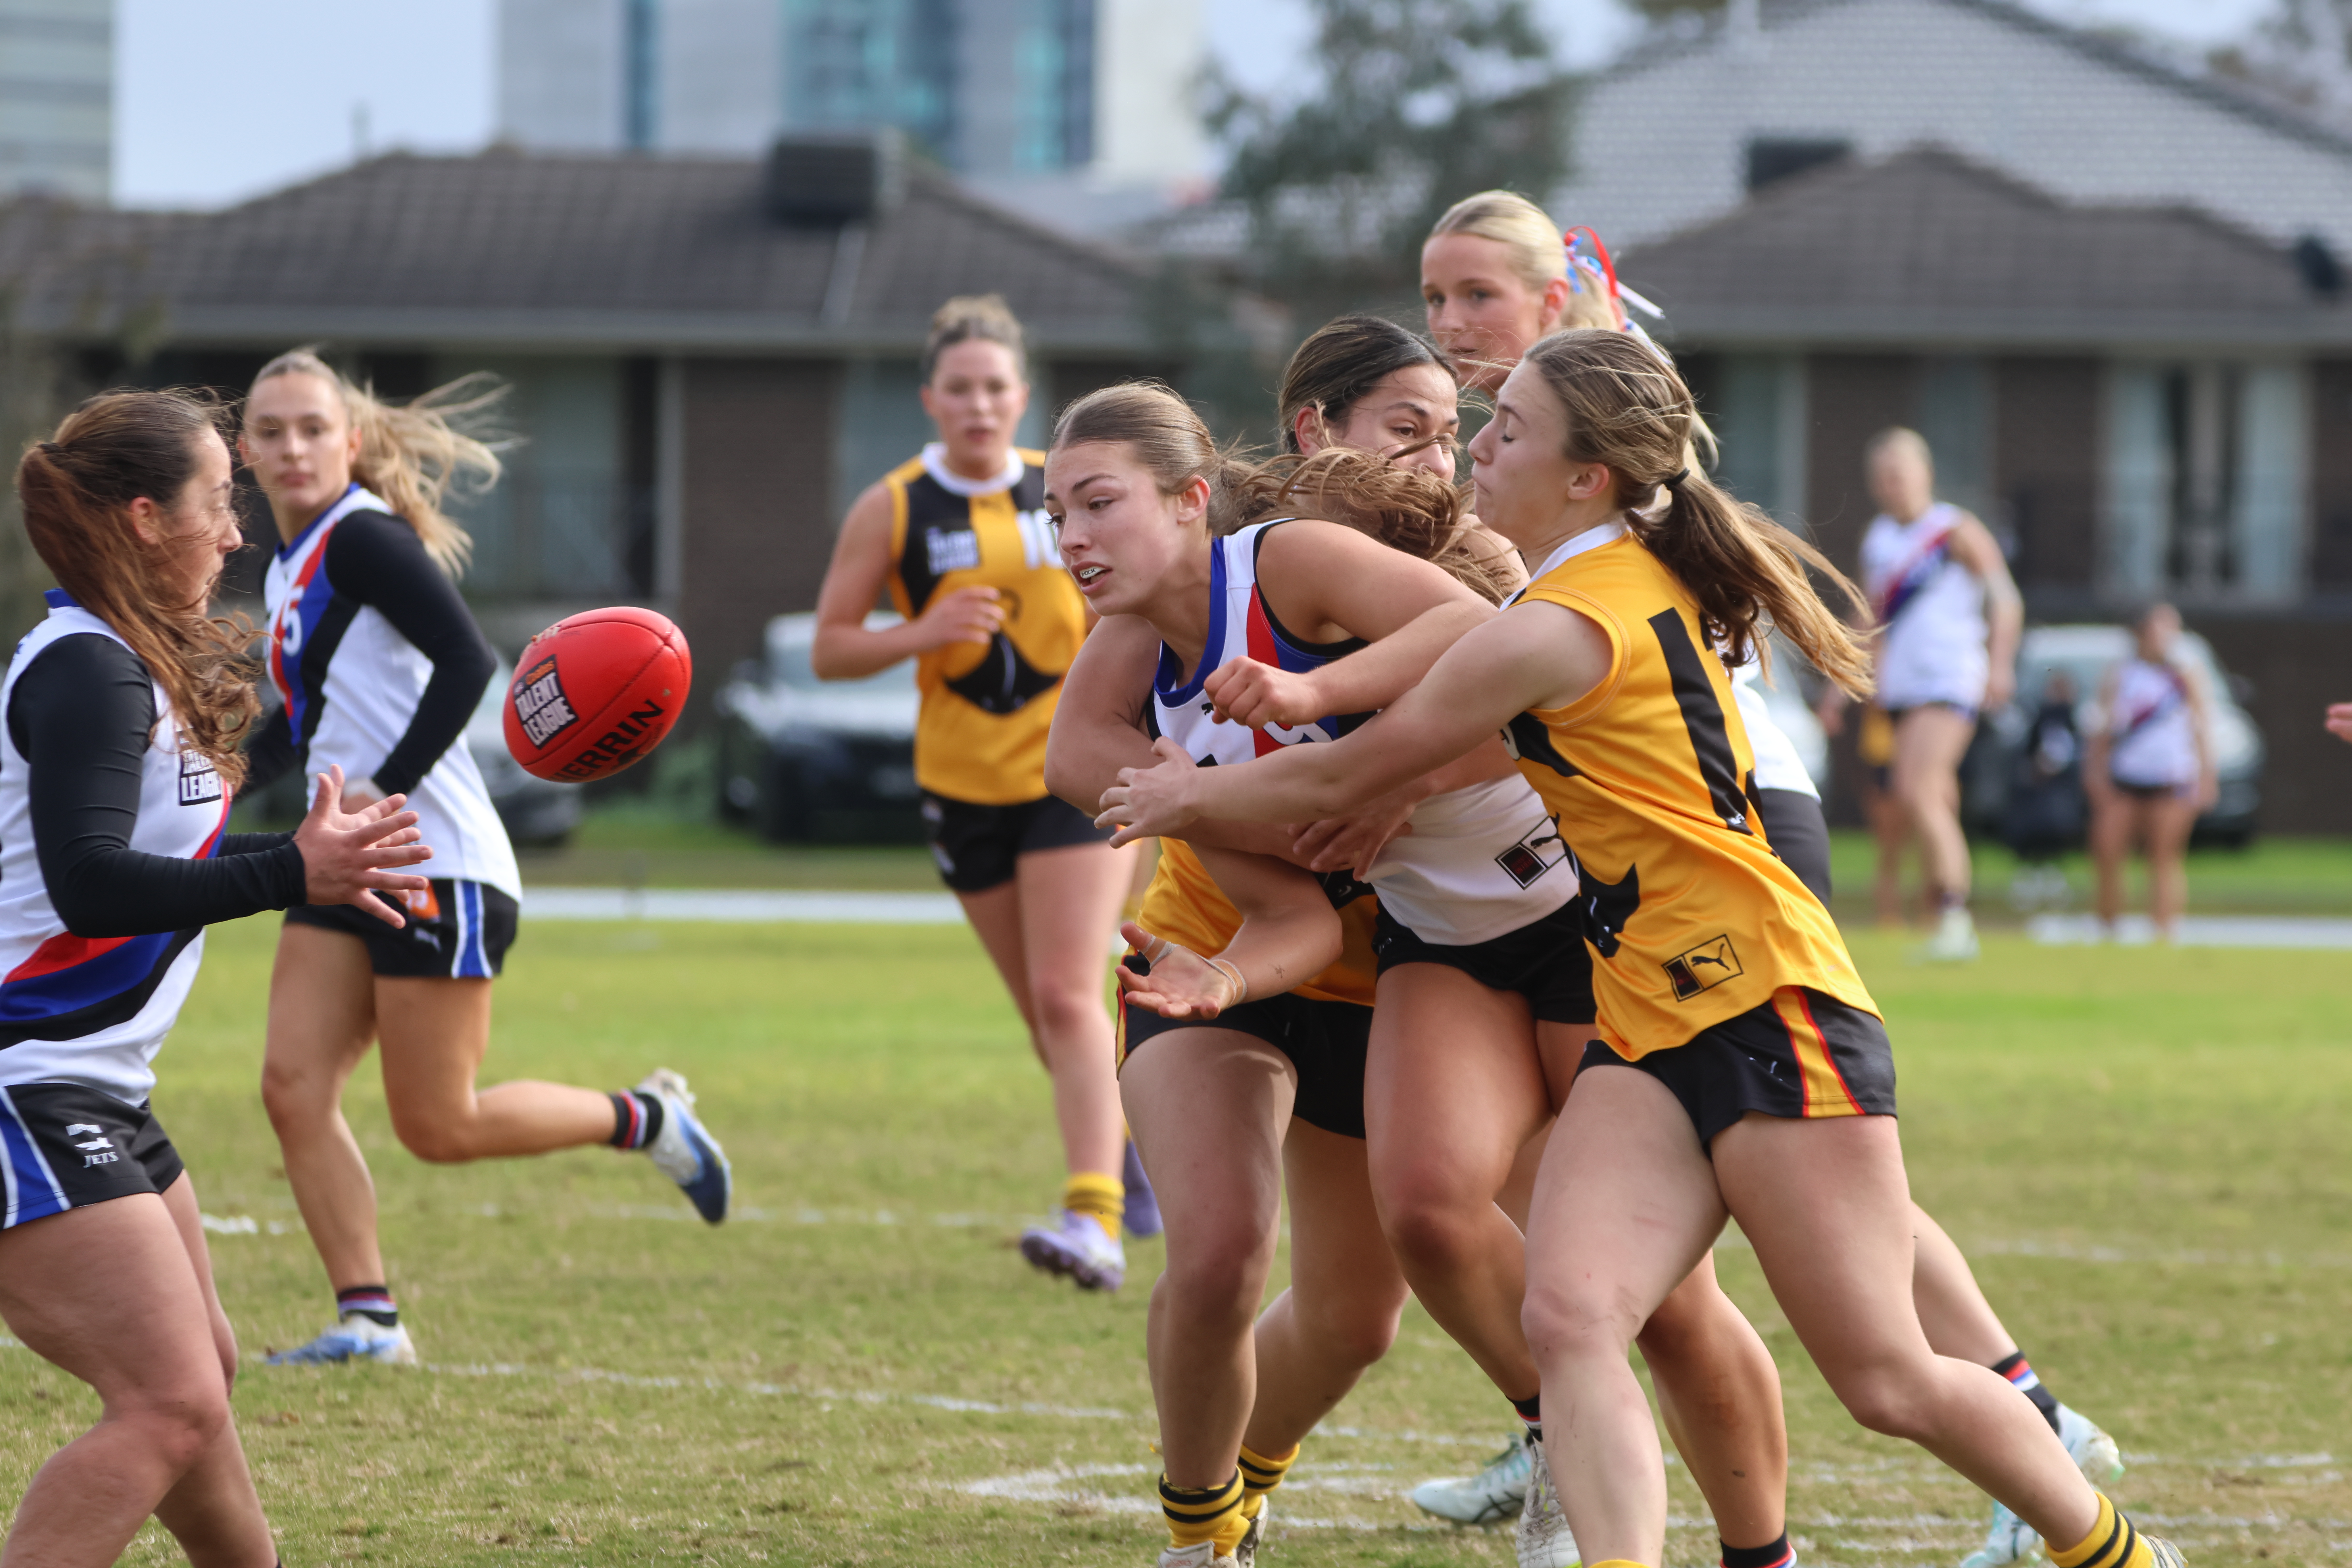
2026 Talent League Girls R17 notes: Murray Bushrangers vs. Northern Knights
BOASTING a host of Vic Country and Allies representatives, Murray Bushrangers got back on the winner’s list with a strong 26-point win over Northern Knights. In what was ultimately a tight clash in Seymour, the Bushrangers booted three goals to nil in the third term to really create some breathing room and run out 9.8 […]
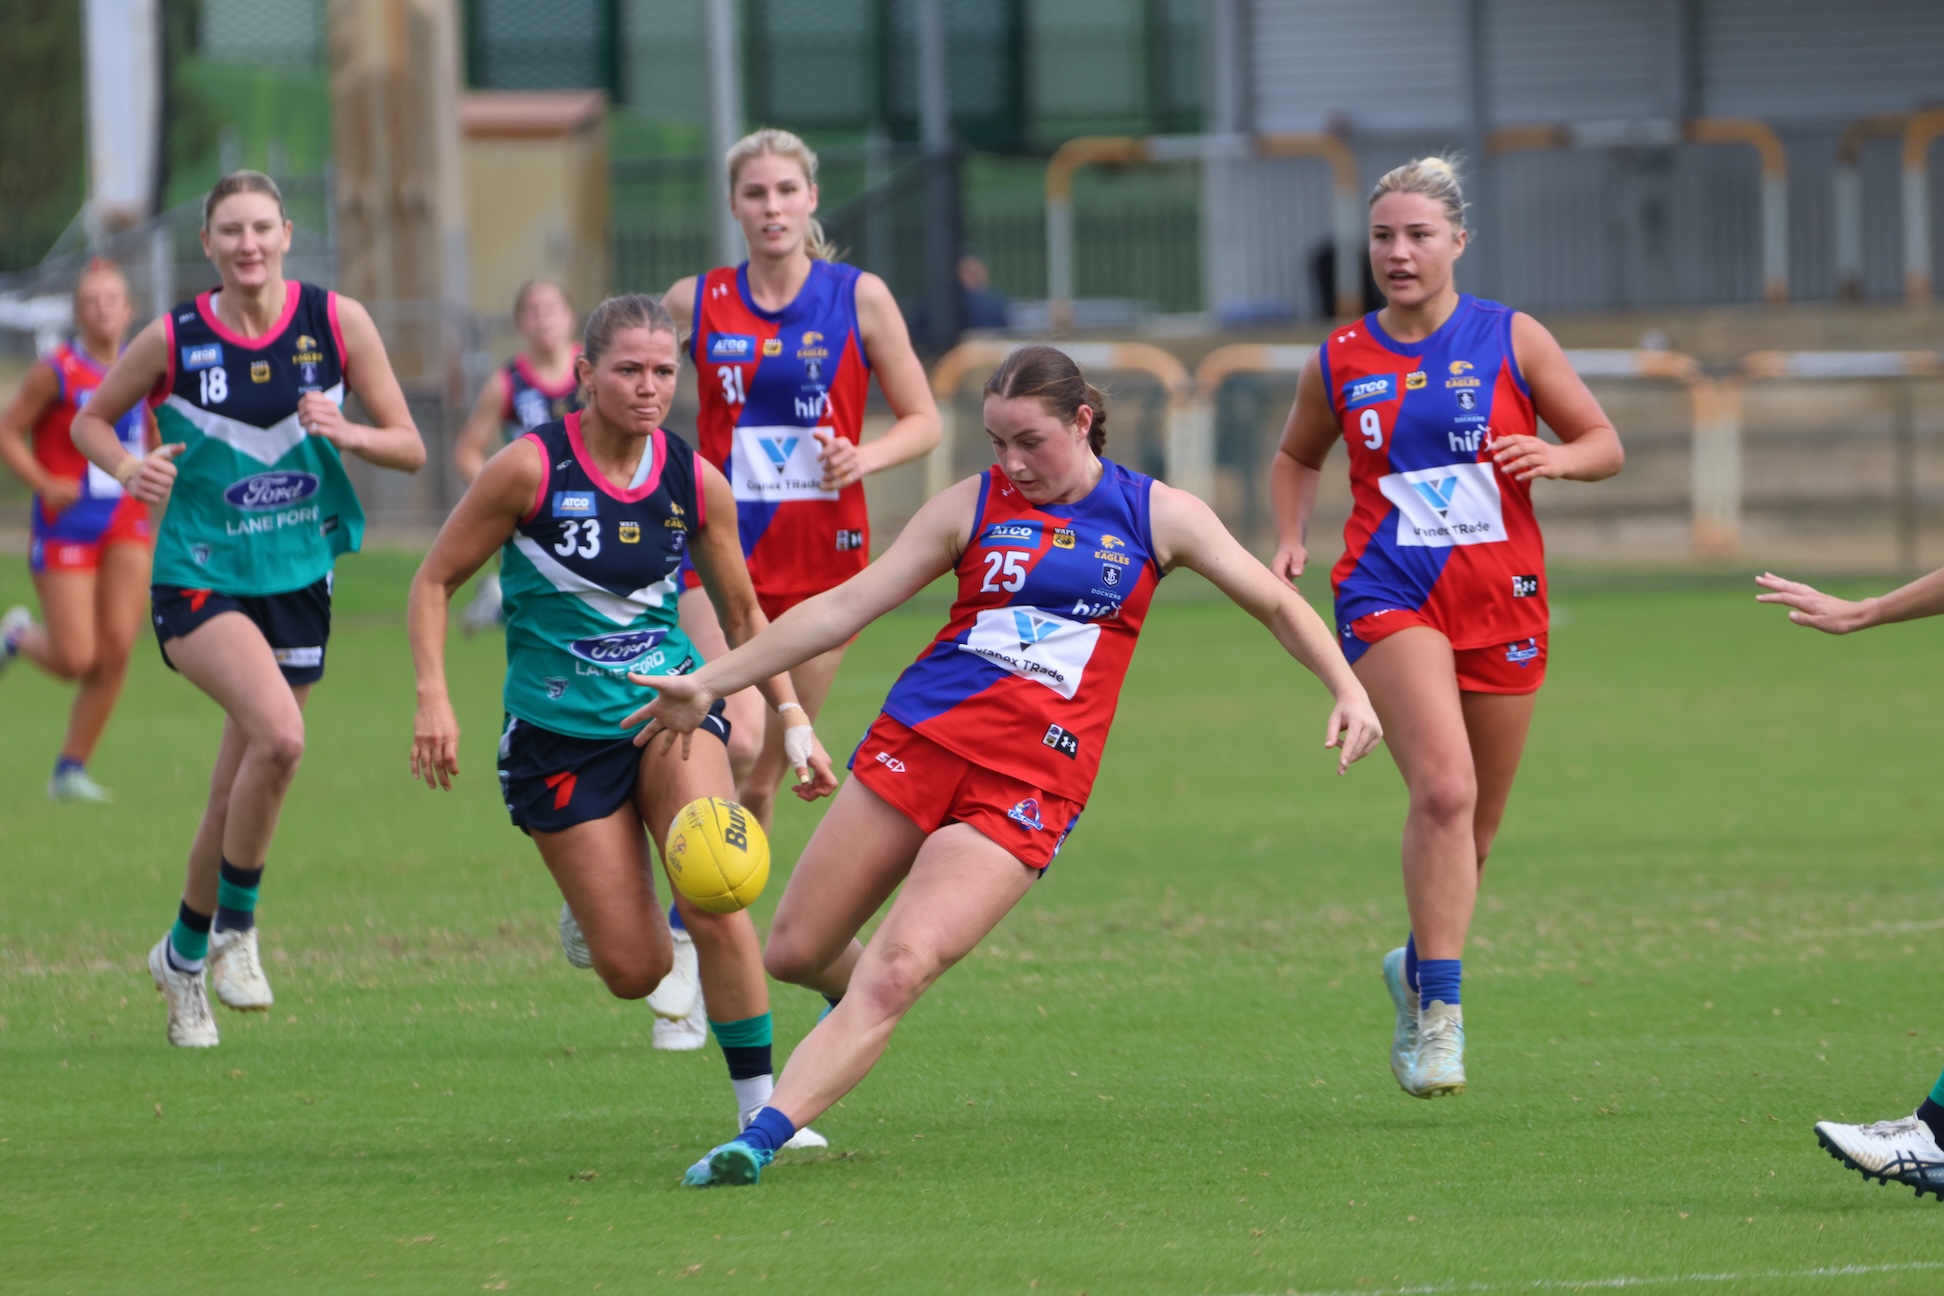
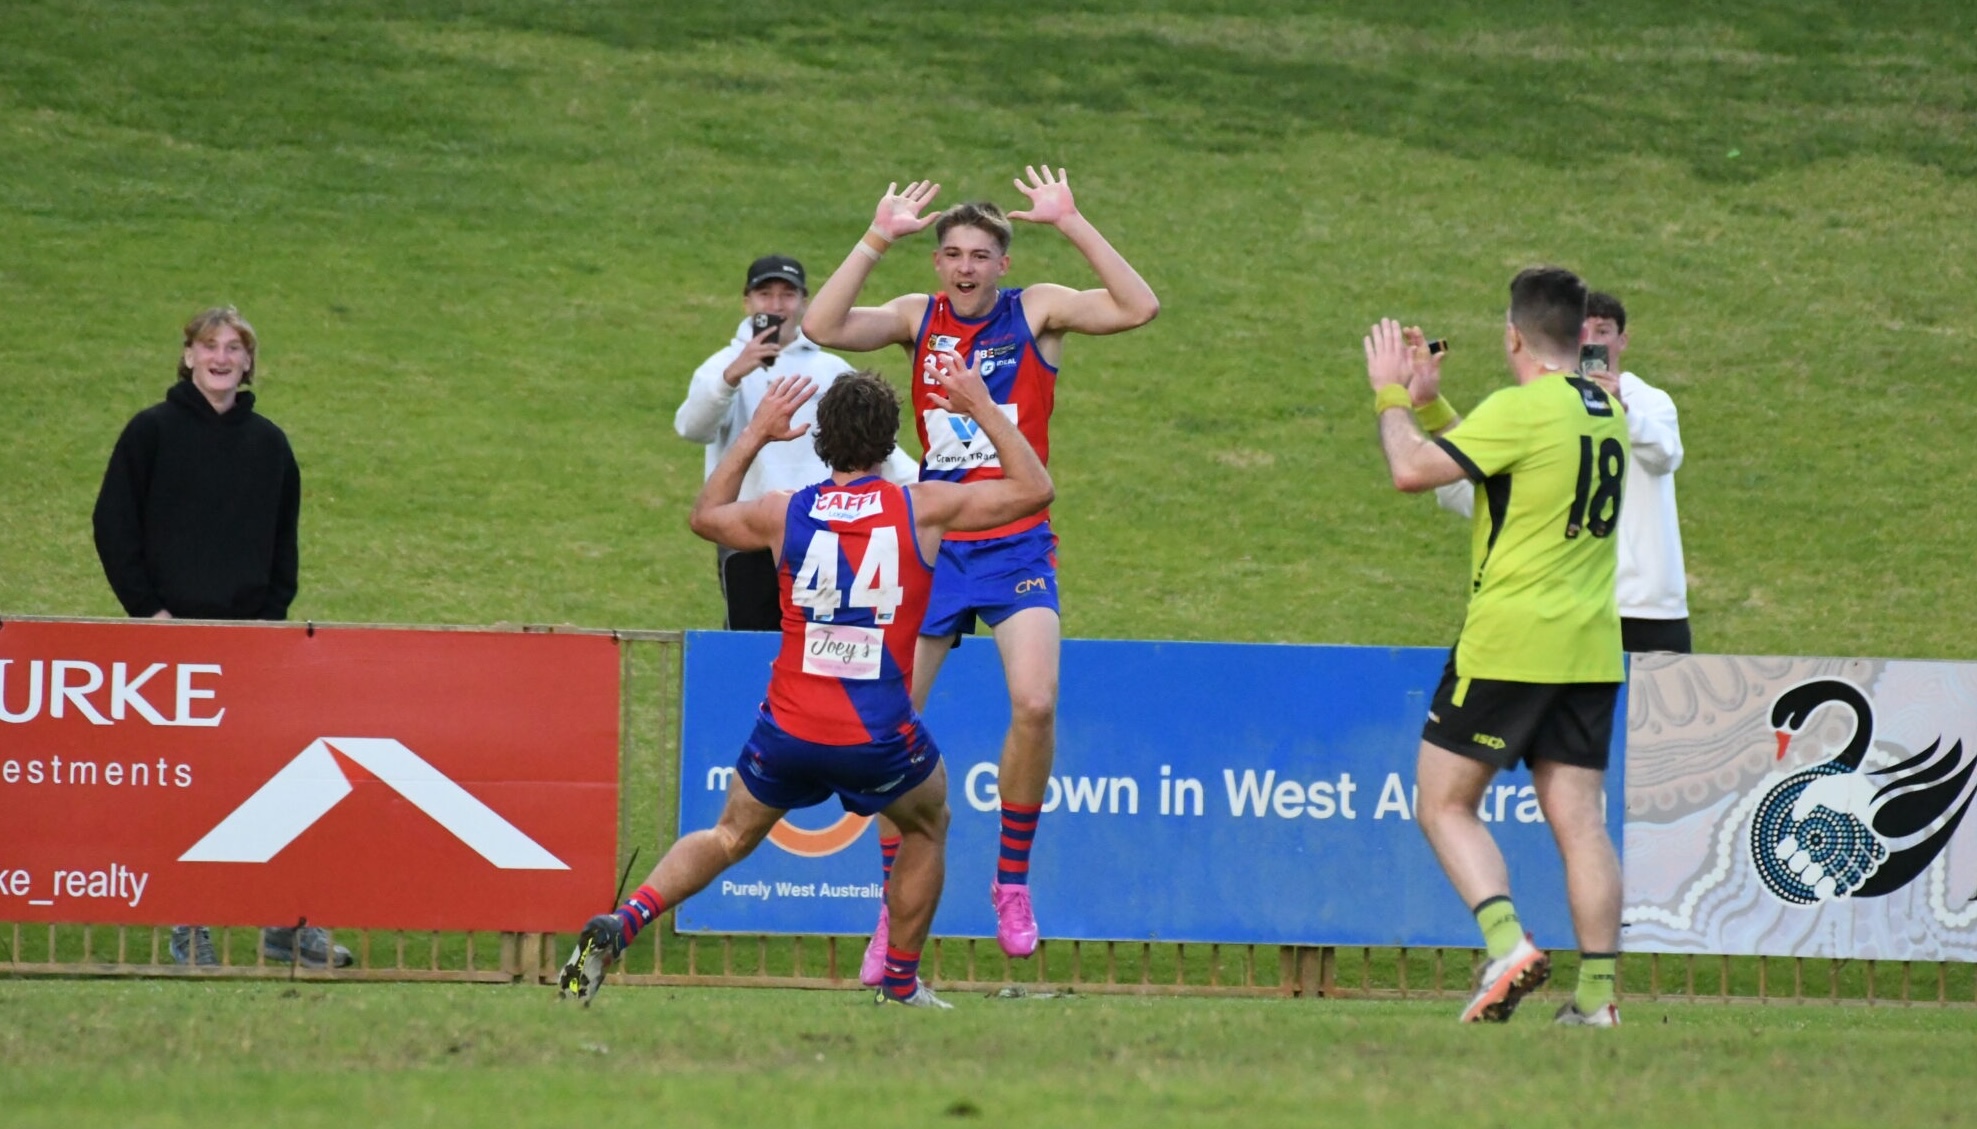
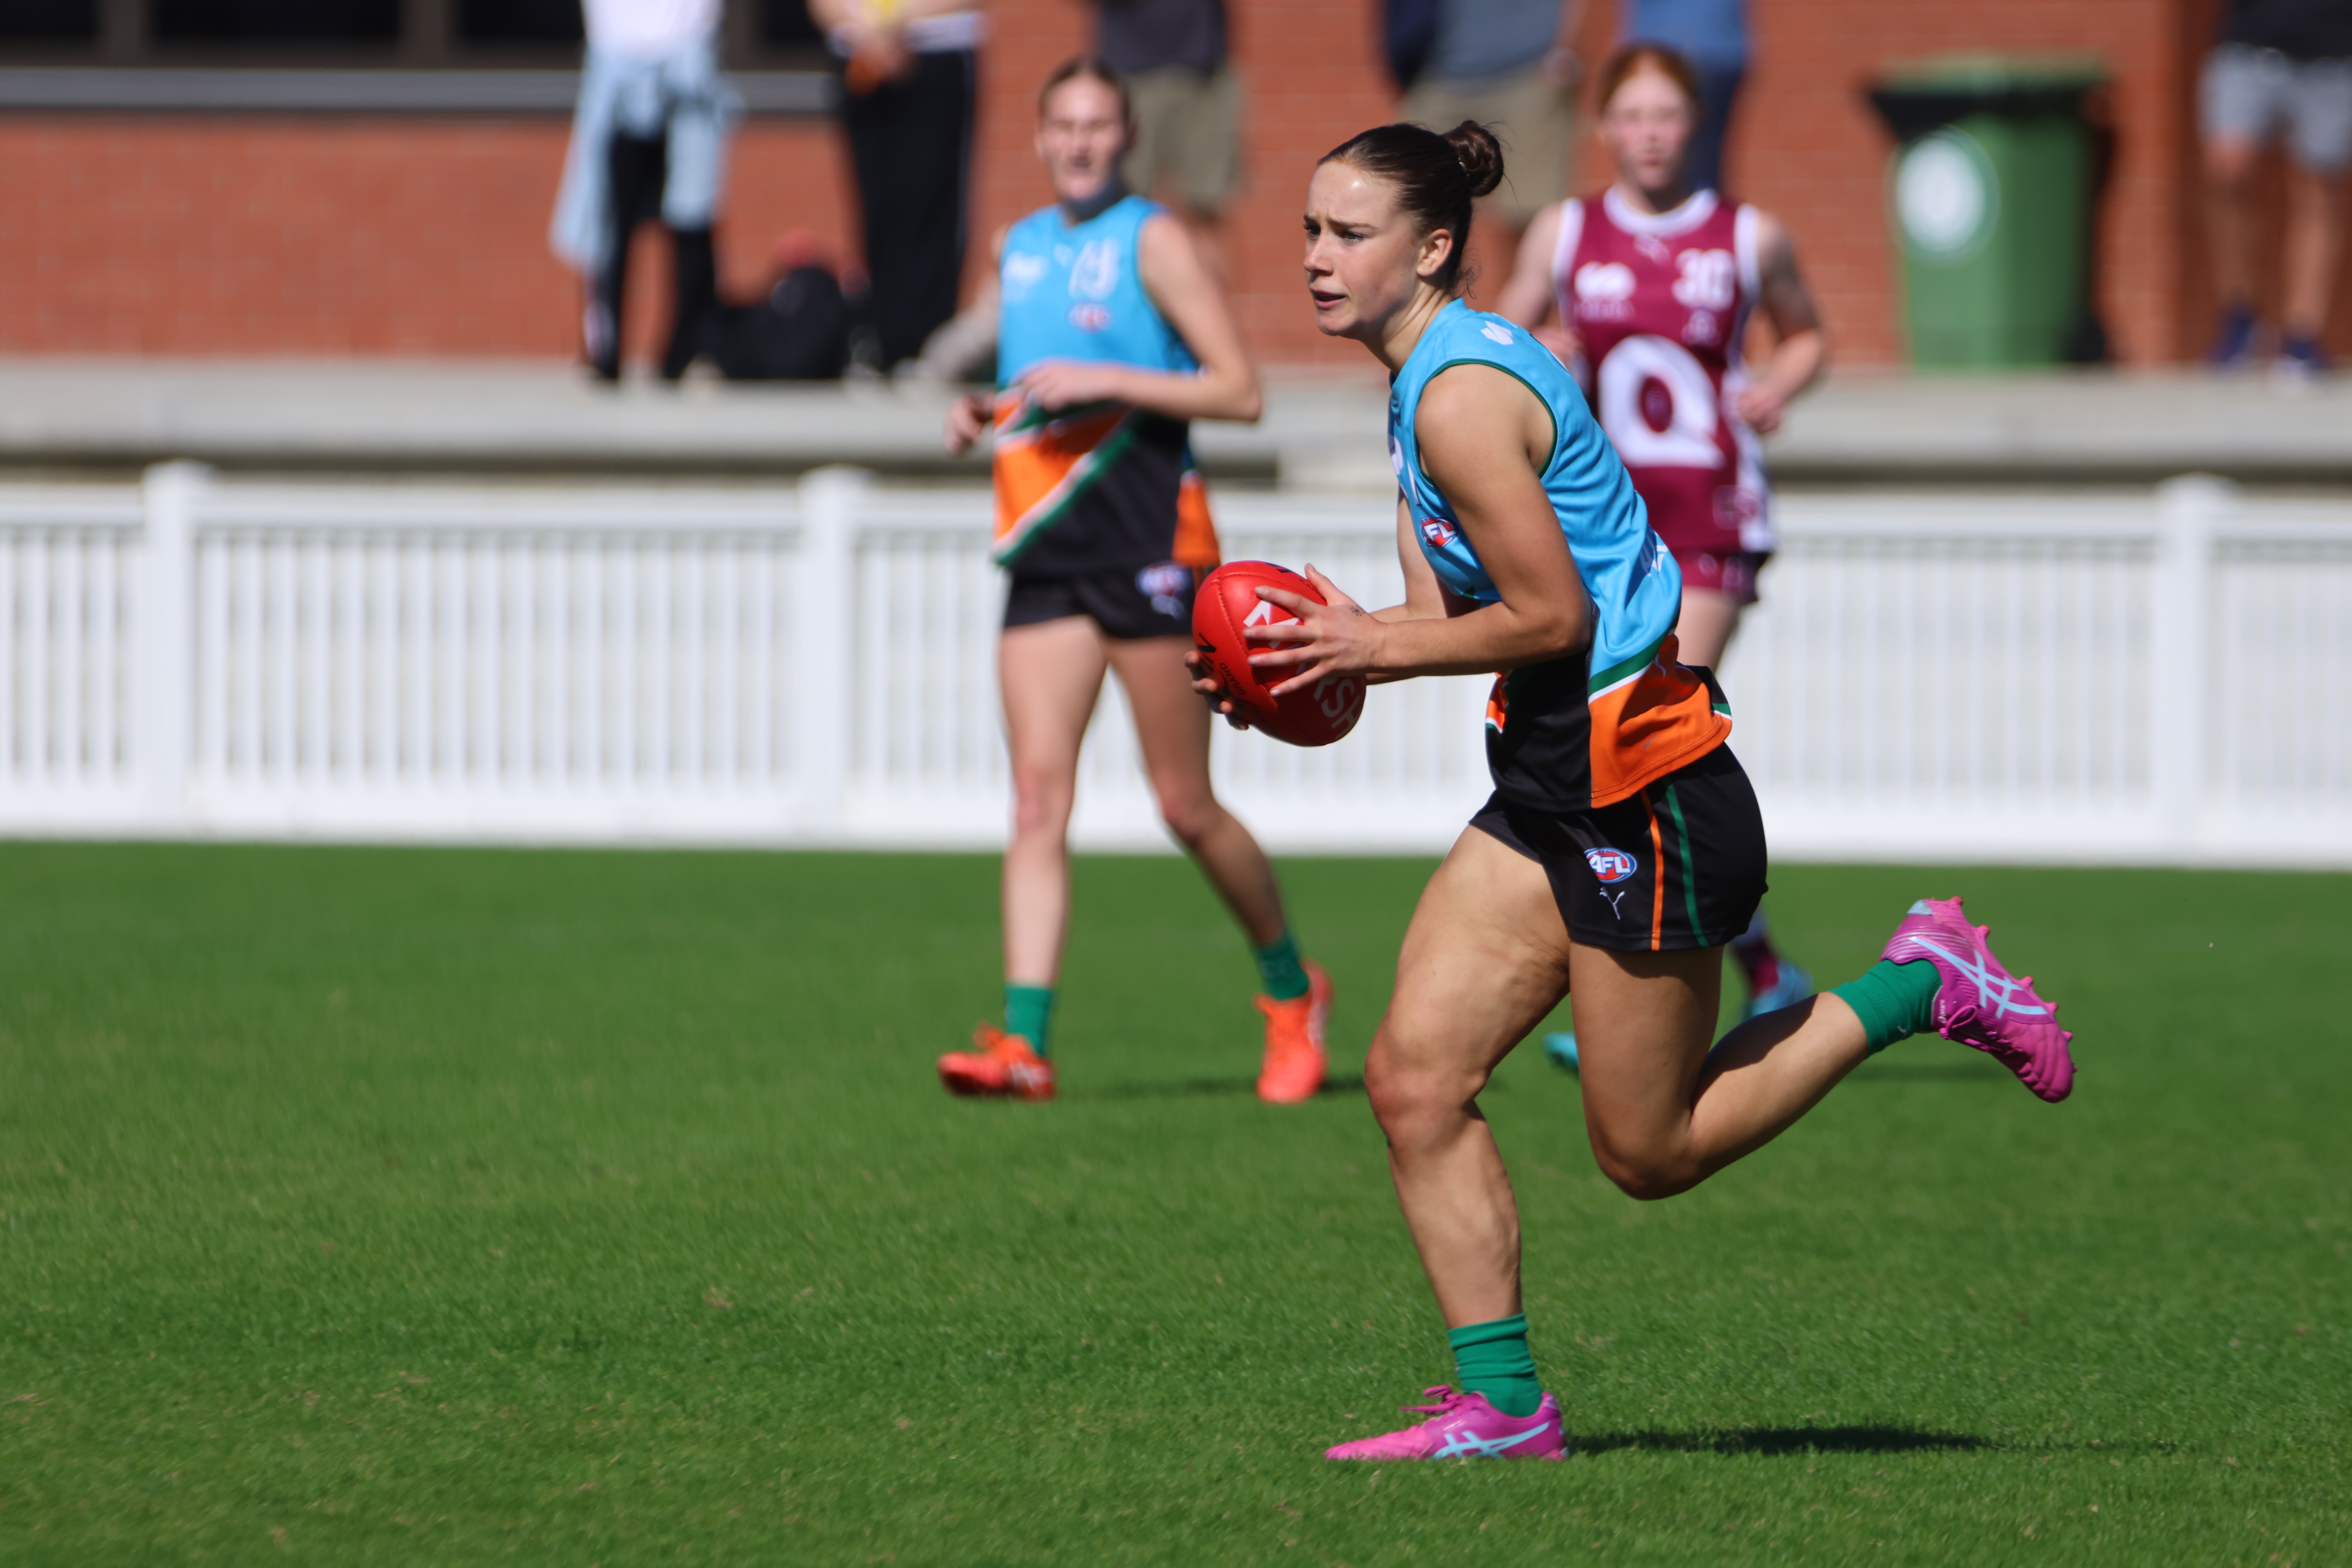
2026 State Academy notes: WAFLW – Round 17
ROUND 17 of the WAFL Women’s season produced some eye-catching individual performances as the competition heads towards its business end. We took note of how the West Australian Summer Squad members fared across each game. All notes are the opinion of the individual author.
2026 Talent League Girls R17 notes: Geelong Falcons vs. Oakleigh Chargers
A FULL-STRENGTH Oakleigh Chargers outfit proved far too good for a Geelong Falcons side missing a huge chunk of its top-end talent, running away with an 80-point win and keeping the Falcons goalless for the entire match. Cate Deayton and Bailee Martin combined for 9.5 during the game, as the Chargers secured a 13.10 (88) […]
2026 Talent League Girls R17 notes: Dandenong Stingrays vs. Western Jets
DANDENONG Stingrays’ unbeaten start to the 2026 Talent League Girls season rolled on with a 23-point victory over the Western Jets at Shepley Oval in Round 17. In a tight tussle for most of the first half, the Stingrays ended up kicking the last five goals of the match to secure the four points, 6.9 […]
Scouting Notes: Cannons clinch thriller after final siren
CALDER Cannons have snatched a last gasp win over Tasmania in Hobart on Sunday, with Thomas Lincoln‘s goal after the siren delivering the four points. Scores were tied after Lincoln put two previous set shots wide, but he hit the target with his third to see the Cannons salute by six points. In what was […]
